I love my Heidi Swapp MINC foil applicator. If you follow my Instagram accounts @PinkimonoGirl and @pinkimonopapers, you will see the evolution of my infatuation with my MINC foil applicator.
After reading this post from DamaskLove.com about foiling, I wanted to give it a try. At the time I only had the option of a laminator to foil my work which worked okay. Then a few days later (as if it were destined to be for me) the announcement of the MINC Foil Applicator popped up in one of my social media feeds. SWEET! I ordered my MINC as soon as I could from JoAnn, ripped open the box upon delivery and got to foiling. And then sadness hit me – I couldn’t get consistent coverage with my foiling.
*This post may contain affiliate links. That means if you click on some of the product links, I may receive commissions for purchases made through them, but at no cost to you.
Frustrated MINC Foilers Like Me
In doing my research about the inconsistency of my foil output I came across several complaints or frustrated posts about the tool.
I purchased the machine about a week ago and I am having trouble with it. The pre-printed cards that came with the machine turn out great, but anything from my printer is very spotty. I have a very nice laser printer and I can’t get anything to turn out half way decent. I have tried a new black ink thinking it might be the problem, but no luck. I am going to try another brand of ink and see if that helps. sarajeancarro (Make The Cut Forum on April 4, 2015)
I bought this to make foil prints. I also bought Minc foil – silver and blue. My prints are awful! The coverage is very spotty with the black toner showing through everywhere. I did very simple black prints and tried all of the different settings and even tried a different brand of foil and different paper stock. None of my results were good. All of them turned out with black specs showing through, and not just a little, but a lot! There isn’t much help in the manual to give you tips on how to fix this problem. I just wasted my money.” 1 out f 5 stars Very Disappointed (Amazon Customer Review on April 25, 2015)
After reading more posts like these and trying it out on my own, I found myself in that same camp – foil frustration! But I’m a gal who likes a challenge. I figured there must be a few different issues that had to be tweaked. And I was right. After a long journey, I finally have beautiful, consistent, foiled designs. It was a long process, but I came away from it with 3 Key MINC Foil Takeaways:
- You must use a Monochrome laser printer
- Print on high-quality smooth cardstock
- Use a heavy and high-quality brand of foil
What’s In A Printer?
This all started with the search for the perfect printer to make my foil dreams happen. Little did I know this process would take me through 5 printers. Yes, I said FIVE! I purchased and returned the following laser printers:
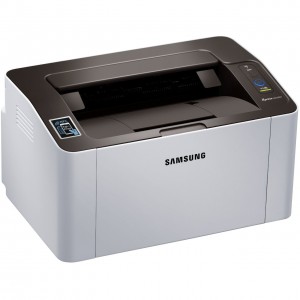
Samsung Xpress M2020W Monochrome Printer (Office Depot)
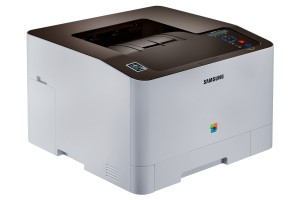
Samsung Xpress C1810W Color Printer (Office Depot)
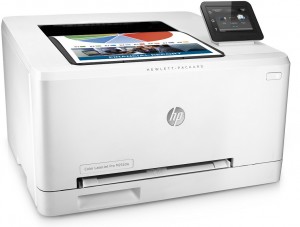
HP LaserJet Pro M252dw Color Printer (Office Depot)
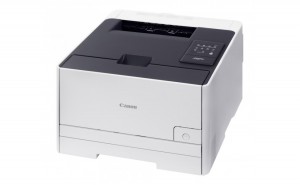
Canon imageCLASS LBP7110Cw Color Printer (Staples)
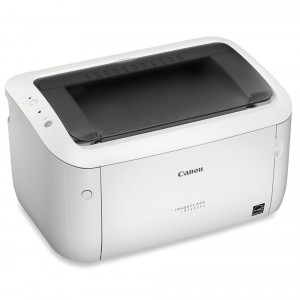
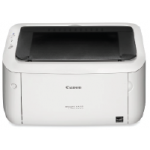
THE WINNER: Canon imageCLASS LBP6030w Monochrome Printer (Best Buy)
Here’s what I learned after buying and returning the above printers in the listed order. In order to get the best coverage and consistent foil application, you need a laser printer that deposits toner evenly. I found that monochrome printers worked the best. When I was testing the printers above, a representative at Office Depot told me that the black toner in a color printer is formulated differently than in a monochrome. The black in the color printer is designed to mix with the other colors whereas the monochrome cartridge has only one job – deposit all black toner.
I’ll be honest, initially, I thought that was the dumbest thing ever. Why wouldn’t HP or Samsung just use the same black for everything? Well, I was wrong. The black ink in the color printers produced the shoddiest performance hands down. No matter which brand I used, I always had speckled foiling. If this is the effect you’re going for cool, but it wasn’t for me. So takeaway #1: Use a MONOCHROME laser printer.
Paper! Get Your Paper!
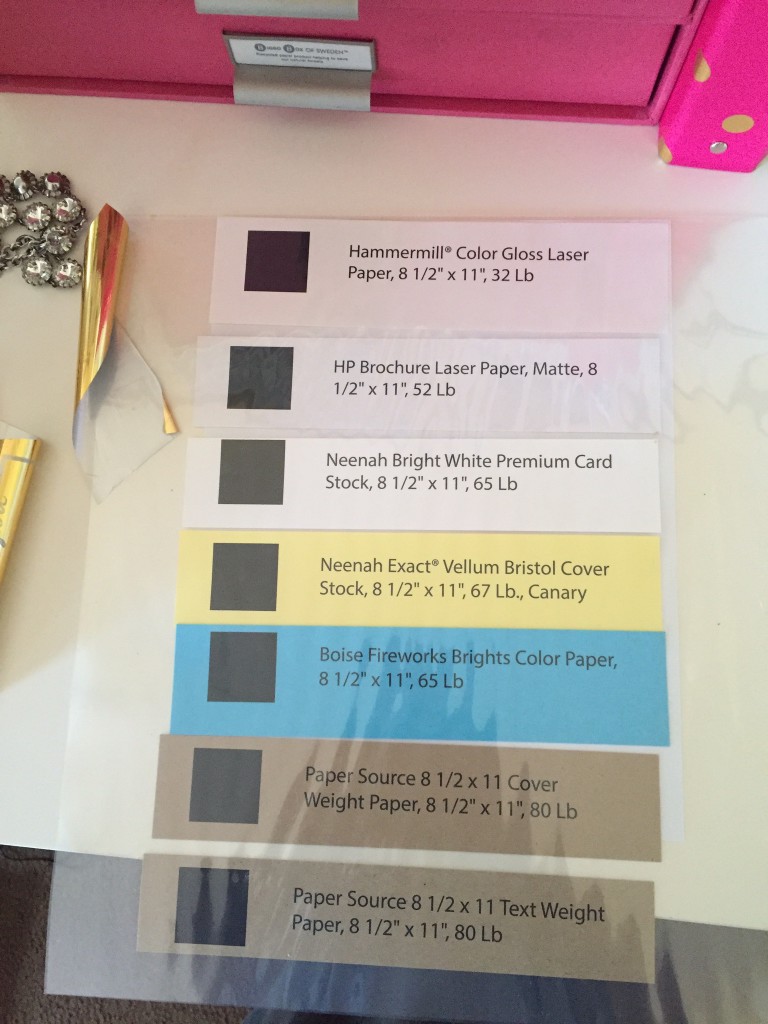
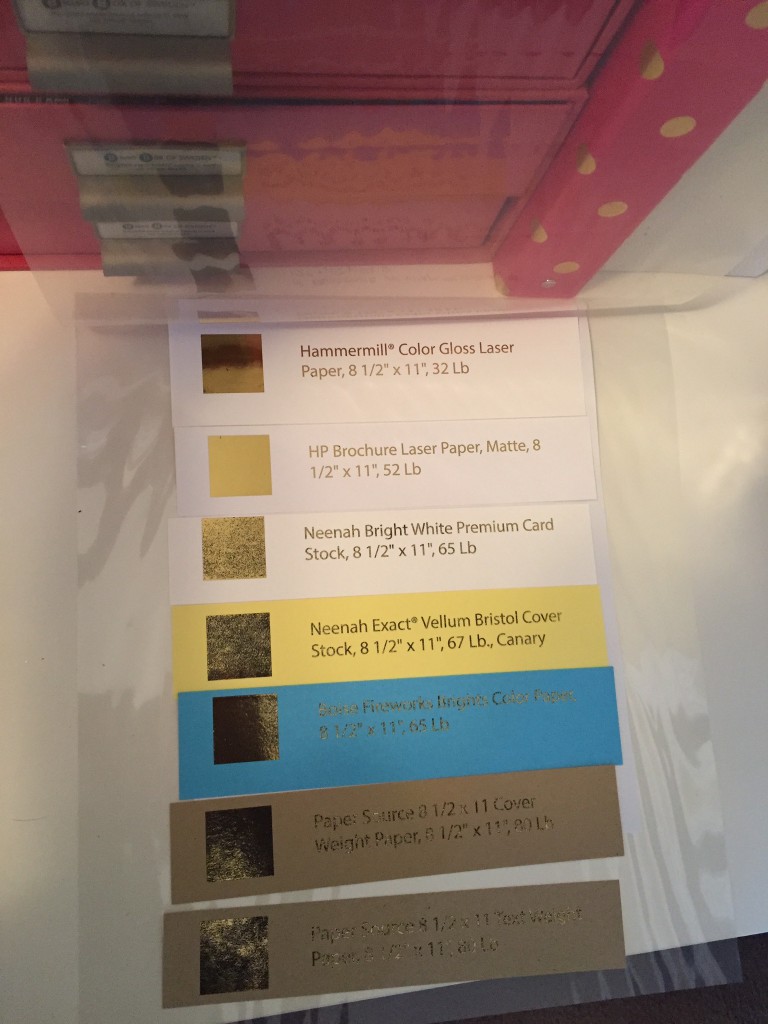
Second, check the paper you’re using. SO like other posters, the applicator worked beautifully with the Heidi Swapp MINC Prints or the MINC Toner Sheets. But let’s be real, nobody spent $200 on this machine to ONLY foil pre-printed designs. Most likely if you have this tool, you’re 1) probably a creative like myself and want to create original pieces or do your own things and 2) realize it gets hella expensive buying her items all the time. Don’t get me wrong, I purchased some of the pre-printed pieces and they look really cute in my house.
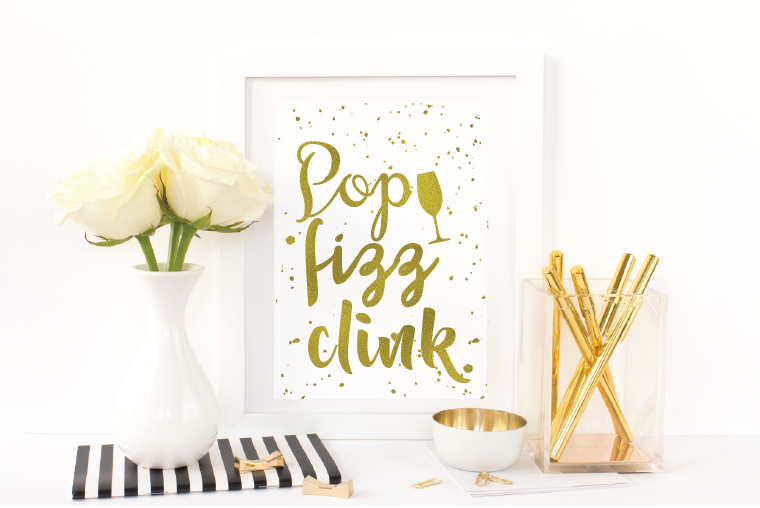
It was a nice way to add simple sweetness to my gallery wall in my living room, but I have designs of my own. I use my applicator to create custom cards, inserts for Limelife planners and wall art.
So again after being frustrated, I took a minute to dry my crafting tears (you know what I’m talking about) and just sat and thought. (Well between changing my son’s diapers, feeding the cats and cleaning up, I got to think.) And I started thinking about the paper quality. All of the Heidi Swapp pre-printed items came on a high-quality paper. Well, I’m a Paper Source girl who is seriously loyal almost to a fault to them. All of my wedding and baby shower paper goods were printed on Paper Source paper at home. I have so much of their paper I could probably start to sell it and turn a profit.
I am sad to say that I had to seek foil bliss elsewhere. See, the Heidi Swapp pre-printed items came on not just high-quality paper but on a very smooth/semi-gloss coated paper. The paper at the Paper Source regardless of color isn’t smooth enough to achieve a CONSISTENT finish with the applicator. I’m not saying it can’t be done, but I don’t like to waste paper nor money.
So I started to check out cardstock from Office Depot, Michaels, Wal-Mart, and Staples. What I found that worked the best was the Georgia Pacific Bright Cardstock from Wal-Mart. It is a little lighter in weight, but I got the most consistent foil with it. So takeaway #2: Use a HIGH-QUALITY SMOOTH cardstock.
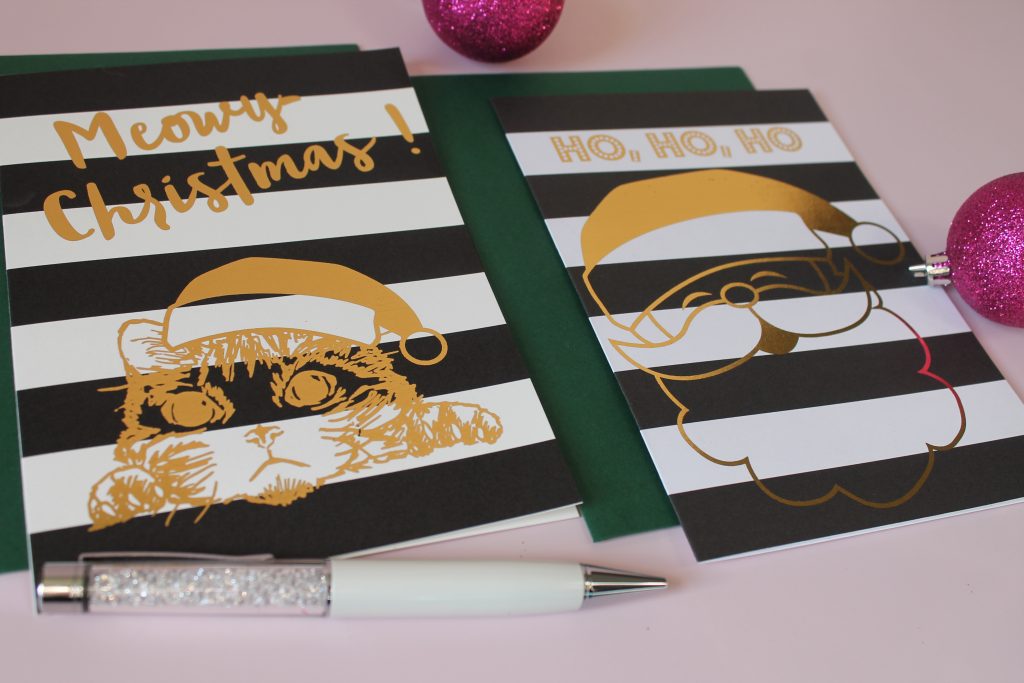
BEST PAPER: These holiday cards are from my shop. I made them with the Georgia Pacific Cardstock and you can see I got full coverage!
Quality Matters!
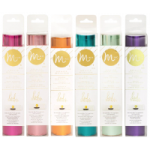
Third, the quality of the foil. Here’s where I have to break up with Heidi Swapp. I am definitely a fangirl. I do love her colors. Her foil colors are gorgeous.
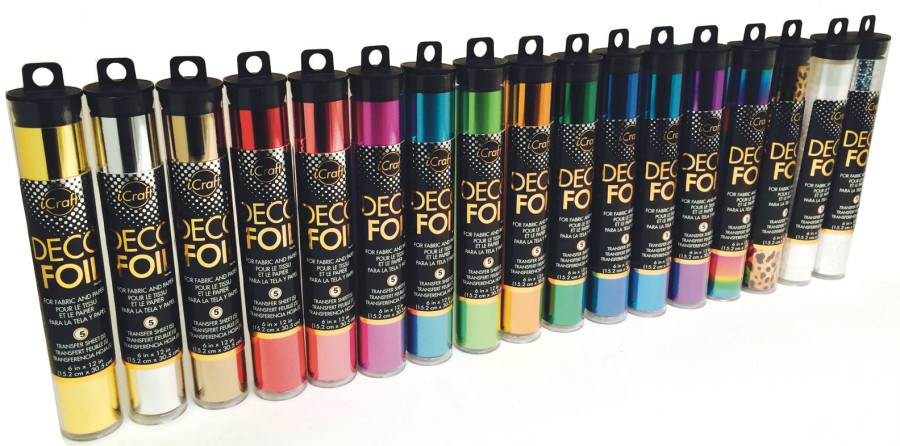
But I think the iCraft DECO Foil from Therm O Web delivers a better and consistent finish without leaving traces of foil. (I’m finding when my MINC applicator gets too hot, it will leave traces of Heidi Swapp foil on parts of my card that I don’t want foiled.) I have tried both brands in different colors and every single time I use the iCraft foil I get a consist finish.
I think the thickness of the iCraft foil allows for the smoother finish. So takeaway #3: Use a HEAVY AND HIGH-QUALITY brand of foil.
MINC Foil Takeaways
So that’s it. To ensure a consistent output with your MINC foil applicator (1) use a monochrome laser printer, preferably Canon, (2) use a smooth paper, preferably coated, and (3) use a high-quality foil, preferably iCraft.
And last, the bonus takeaway is this: this is not a professional grade machine so chill out. If you’re an OCD creative like me you have to calm down when the output isn’t perfect. It’s handmade and should look like love and personal creativity went into it, and that makes it beautiful.
Let me know if this post helps you. Please share your thoughts and any other tips that have worked for you. Let’s help each other make classy, pretty things.
*** December 30, 2016 UPDATE***
So I’ve received a few comments about my notes about using coated paper. I apologize for any confusion. The coated paper that comes with the HS MINC Kit is like a glossy paper. So I should say “glossy” and not coated when referring to that type of paper. It’s similar to laser jet paper you can buy in-store. The paper that seems to get the best consistency that I like isn’t so much “coated” but is ACID-FREE. I find that acid-free paper works the best. Now I know I talk about The Paper Source paper being my favorite paper, but it doesn’t give allow for consistent coverage with the MINC. On their site, they say their paper is Acid-Free as well so I’m not sure why it doesn’t work, but I will keep digging into this and will share what paper works the best. Stay tuned and thanks for your questions. I hope this clears a few things up!
Get The Goods & Get Crafting!
- Canon LBP6030w Wireless Laser Printer
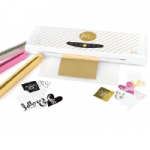
- Heidi Swapp Minc Foil Applicator
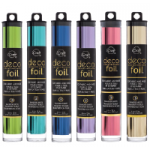
- Therm O Web Deco Foil
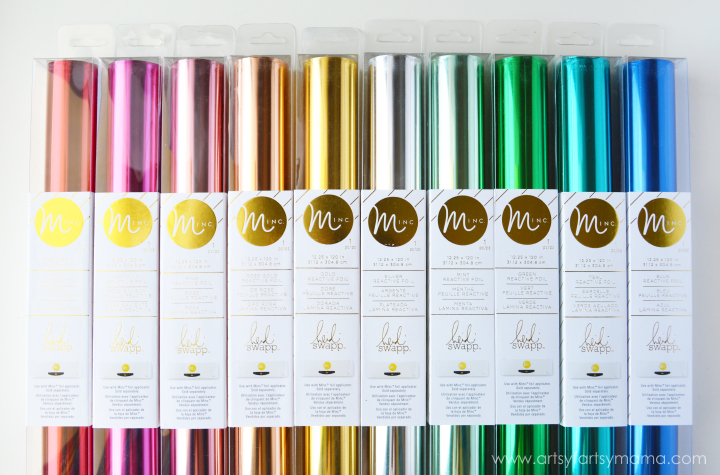
- Heidi Swapp Minc Reactive Foil
