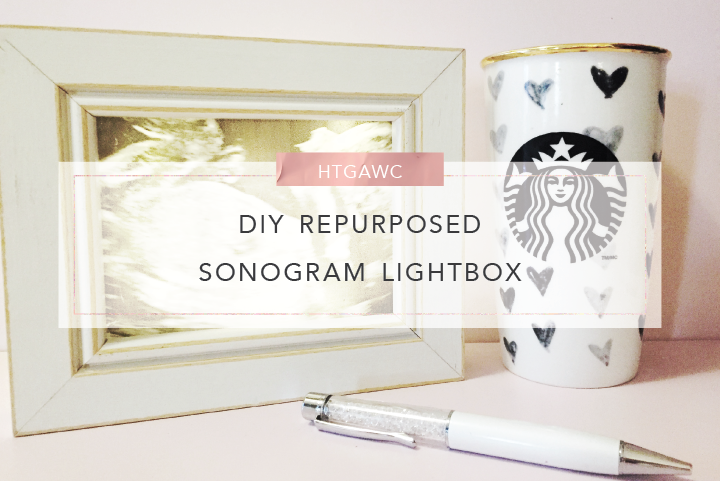
 So we just hit 25 weeks this past week. It’s part of the reason I’ve been late the past few days posting. Baby Girl Finch has decided that Korean food is a no-go for me and kept me up late the other night. But I’m okay with it, I love her so much already! She’s actually the inspiration for tonight’s htgawcrafting project.
Like I did with my son, Westley, I carry one of our 20-week sonogram photos with me wherever I go. It’s either in my planner or on my phone. I did have one clipped to my memo board, but I just repurposed that into an inspiration board. Check out my post on that project. So now my little pumpkin’s photo isn’t visible anywhere in my office. Well, I saw a craft project on Craftgawker a few days ago for a lightbox frame with a quote. Here’s the original post. It was such a cute idea. I tucked it away on my DIY Christmas gift ideas list. It didn’t stay tucked away for too long. I realized I could use this project for my sonogram versus a quote.
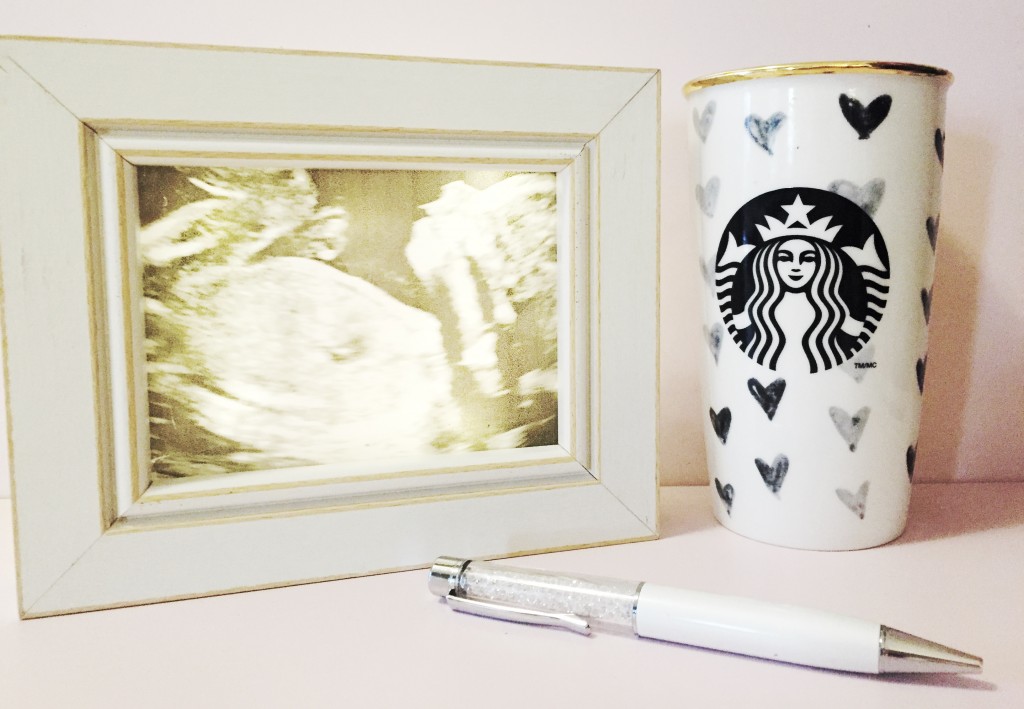
So tonight’s project is a sonogram lightbox made from frames and lights. Let’s get going!
Supplies for A Repurposed Lightbox Frame for A Sonogram
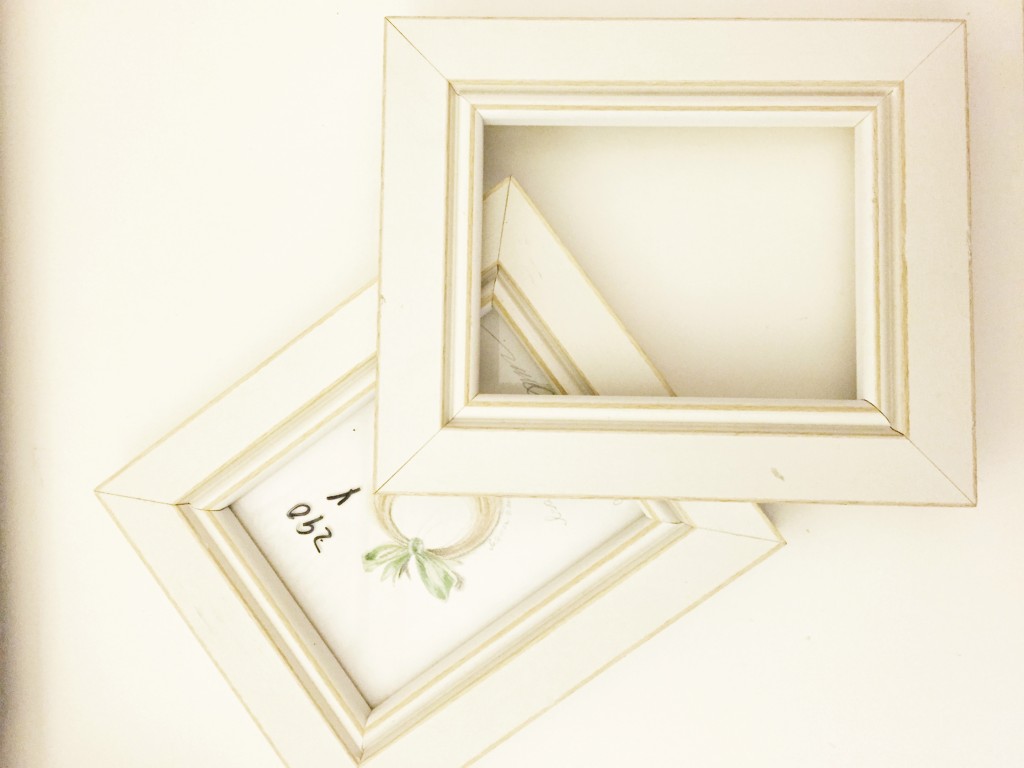
- Two thick frames (I got mine from a thrift shop)
- Needle nose pliers
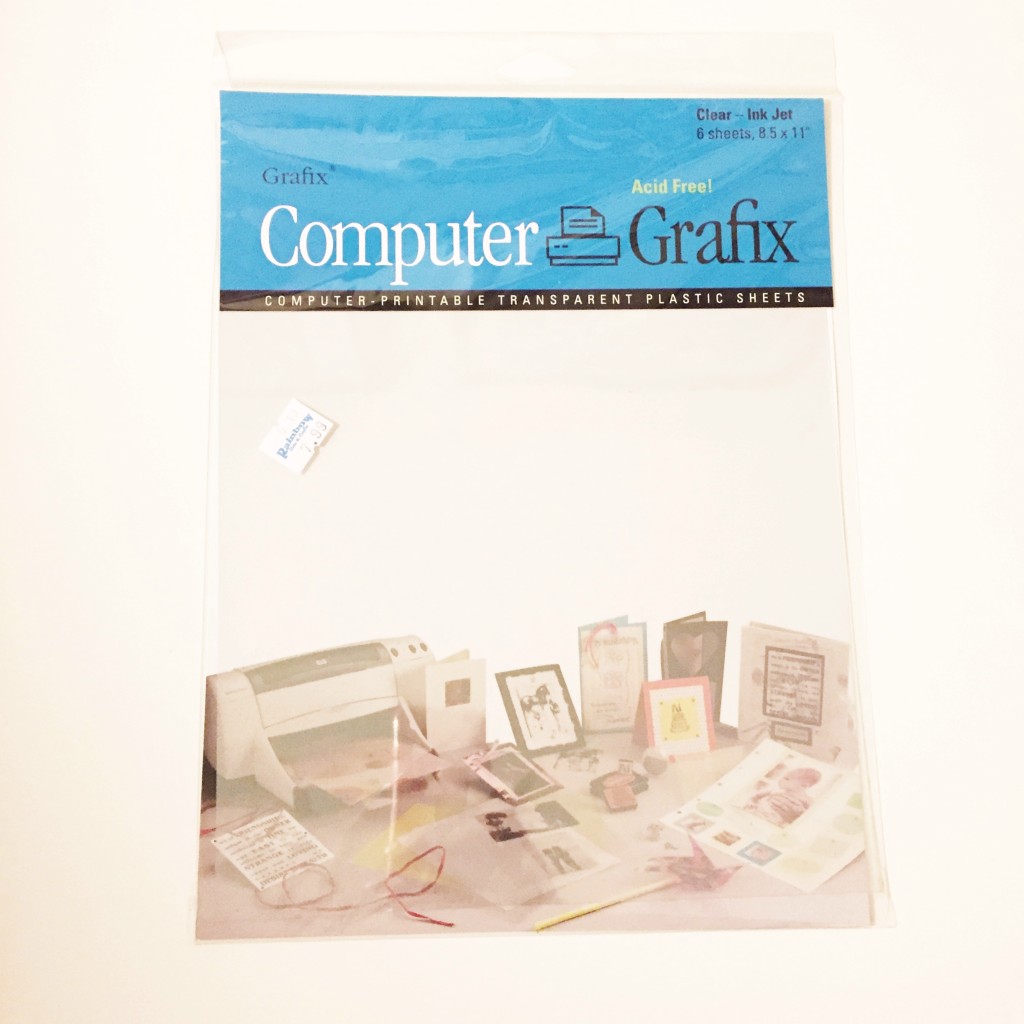
- Printable transparent sheet or overhead paper
- Matt paper (Japanese paper, parchment paper, or the like)
- A strong adhesive, tape runner or staple gun
- Lightchain
- Hot glue gun and glue
Steps
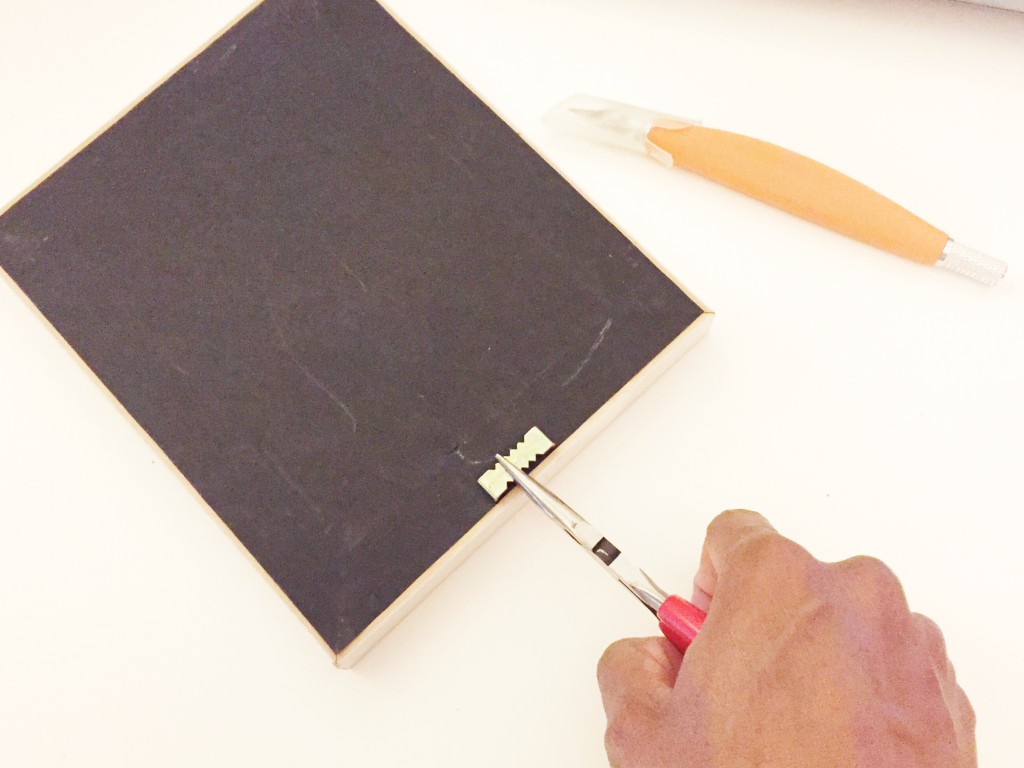
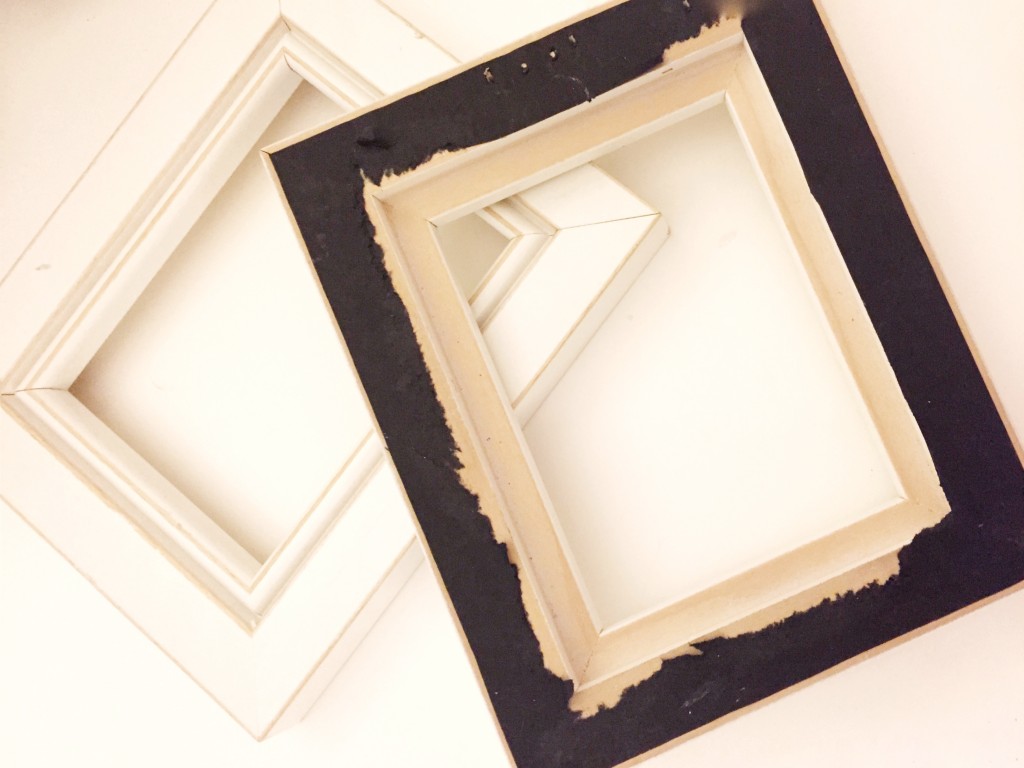
Step 1: Remove all the photos, glass and any hardware from your picture frames. Pull off the tabs that help to hold your picture in the frame. Remove any hooks.
Optional step: The tutorial suggest painting your frames in any color if you wish. I liked the distressed of my white frames so I didn’t do anything extra. (Plus there’s only an hour to this challenge.)
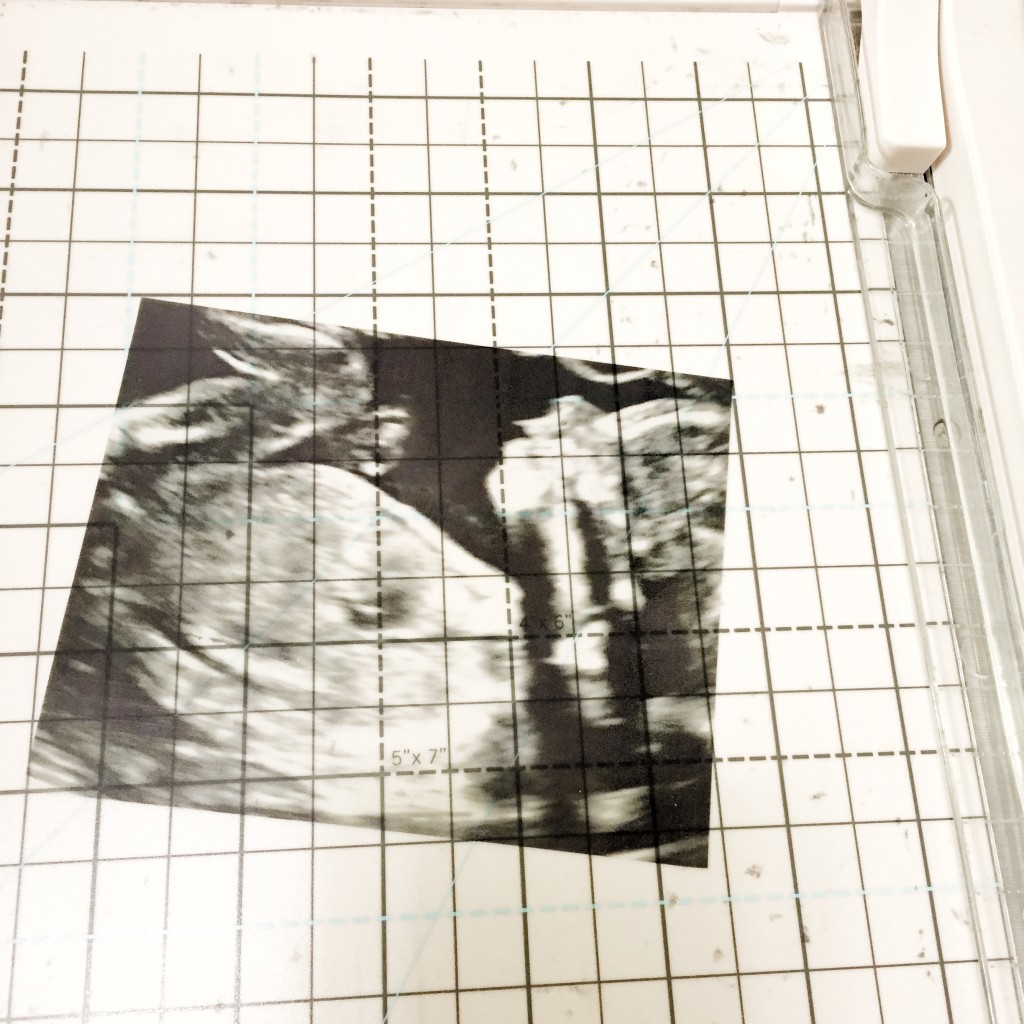
Step 2: If you have a hard copy of your sonogram, like I did, scan it into your computer.
Step 3: Use whatever graphic design program you prefer to crop your scanned sonogram to the dimensions of your frame.
Step 4: Print your image onto your transparent or overhead paper. I used Grafix Transparent paper in my ink jet printer. I really liked how this turned out. If you use this brand, follow their printing directions, especially if you use an ink jet printer.
Step 5: Cut your paper to fit your frame.
Step 6: Do the same with your matter or rice paper.
Step 7: Adhere both pieces of paper together with your printed sonogram first and your matter/parchment paper second.
Step 8: Adhere the pieces to your frame. The tutorial suggested going this with a staple gun. Well, I didn’t have one so I had to get creative. I used my tape runner and Zots to secure the papers tot he back of the frame.
Step 9: Line up your frames, back to back and glue them together with hot glue.
Step 10: Attach your battery operated light chain to the back of your frame.Again, I didn’t have a staple gun, so I just used Washi tape. Worked for me.
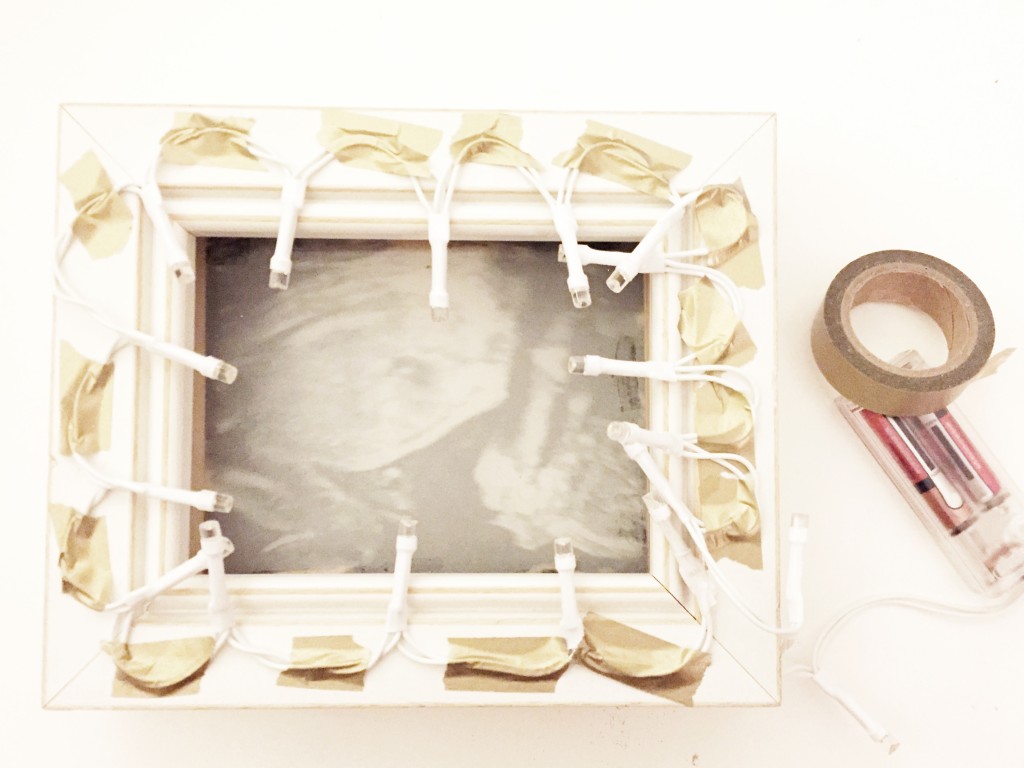 (Note: Sticking to the theme of repurposing, I used my lights from my Heidi Swapp Marquee Love Letter Ampersand Kit. I’m not going to lie, my Marquee project did not turn out too cute.
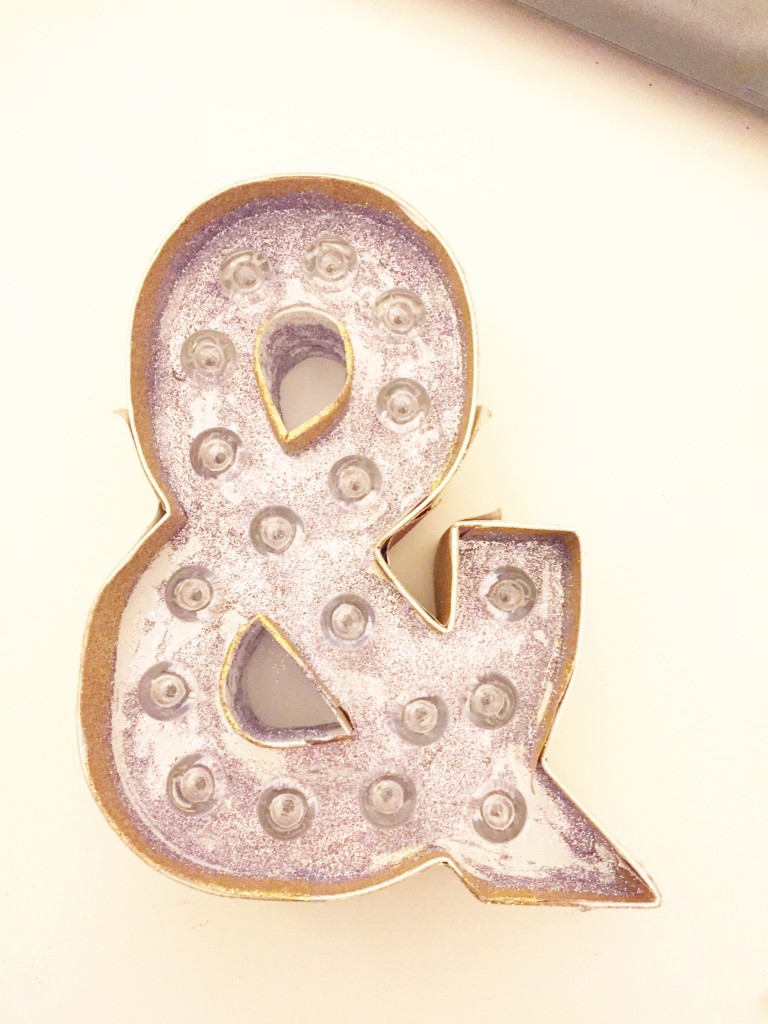 I actually let my Westley pull it down from our bookshelf and pay with it after I took the lights out. I was thrilled to find a way to re-use them for this project.)
Ahhhh! Insert a ridiculous squeal here! Seriously, I tuned the lights down in my living room and screamed for my husband to come downstairs. I was like “Ahhh, I just love her. Isn’t Baby Girl Finch’s Name (shhh, I’m not disclosing her name yet) super cute!!??”
And of course he agreed and laughed at my ridiculous excitement. I really am pleased with how tonight’s craft turned out. I definitely will make more of these for my family this Christmas (with a different photo of course.) I think it’s a great way to make a personal and unique gift, while upcycling and being crafty! Plus whenever I feel her kick (and she’s kicking) I can smile at that little lightbox frame. Awww, I think I need to make one for Westley. I can hang these in the nursery when Baby Girl Finch gets here!
Let me know how your lightbox frame turned out. You can make these for yourself or give them as a sweet and personal gift to a mom and dad-to-be! Post you pics on Instagram with the hashtag #htgawcrafting! Can’t wait to see what inspires you!
