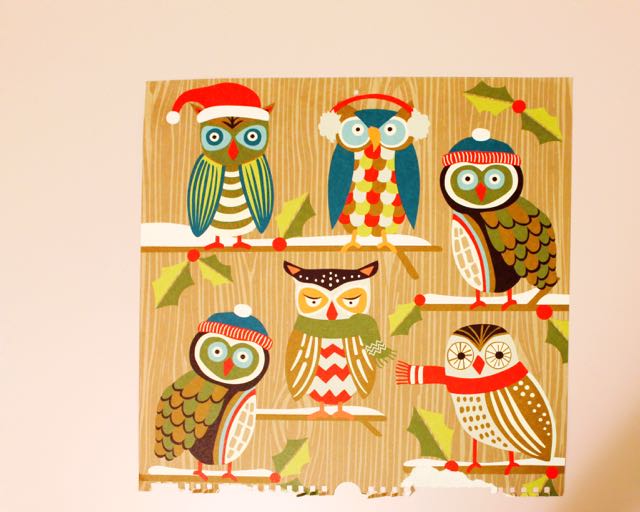
 With the year ending, I’m in cleaning mode. I try to do a version of “spring cleaning” every quarter. Today I was cleaning out some old crafting supplies when I came across several saved pages from old calendars from The Paper Source. I looooove The Paper Source. Their calendar artwork is gorgeous. Hence I hang onto old calendars for potential projects. Well, craft magic hit me while I was cleaning and I have a cute project for today’s htgawcrafting challenge.
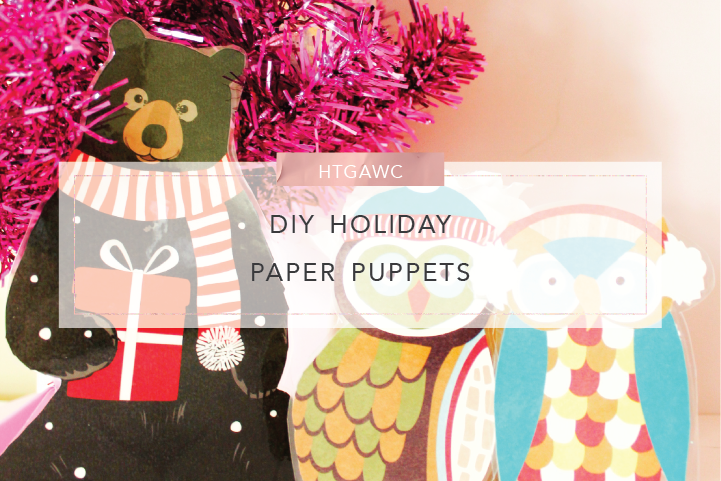
The December pages were my inspiration. I am going to make winter-themed finger paper puppets for Westley from the images on the December spreads. I realized you can also do this project with old holiday cards or any gorgeous image. The artwork from The Paper Source Calendars can work all year-long. And depending on the age of your child, this can be a fun project to do together on any day when you have some downtime.
So enough chit-chat, let’s get started.
Supplies for Holiday Paper Puppets
- Old winter themed calendar spreads or cards with large images(here’s a link to 2016’s Paper Source Calendar)
- Scissors
- Laminate pouches
- Laminator
- Cardstock scraps
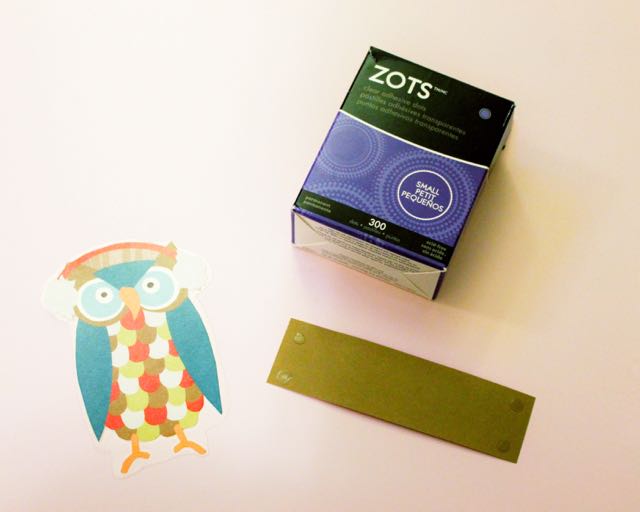
- Themoweb Zots Glue Dots
Steps
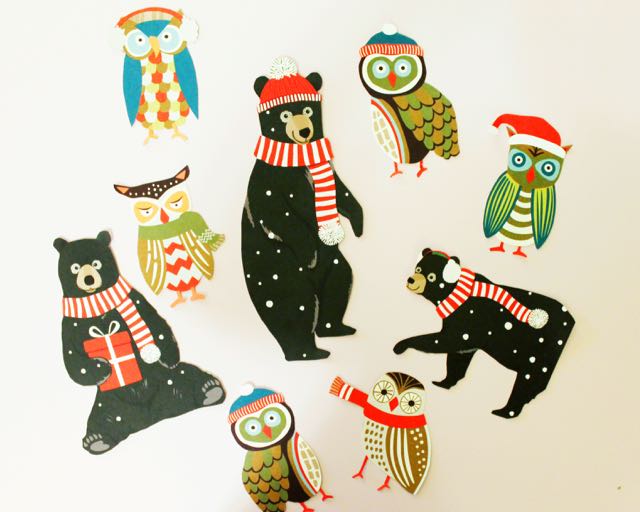
Step 1: Cut your paper puppet images out of your old calendars or holiday cards.
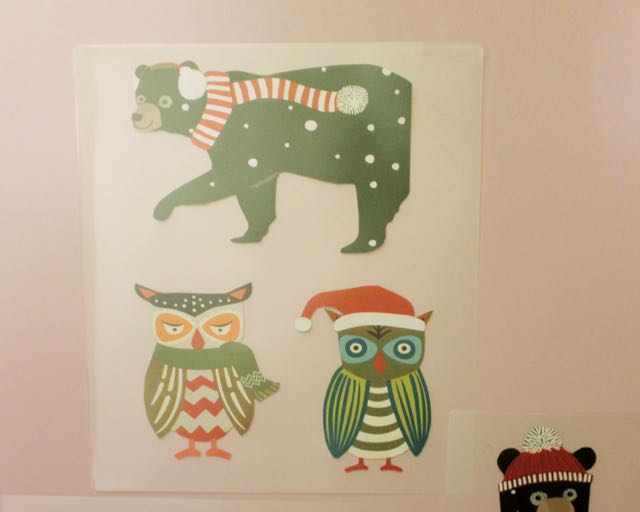
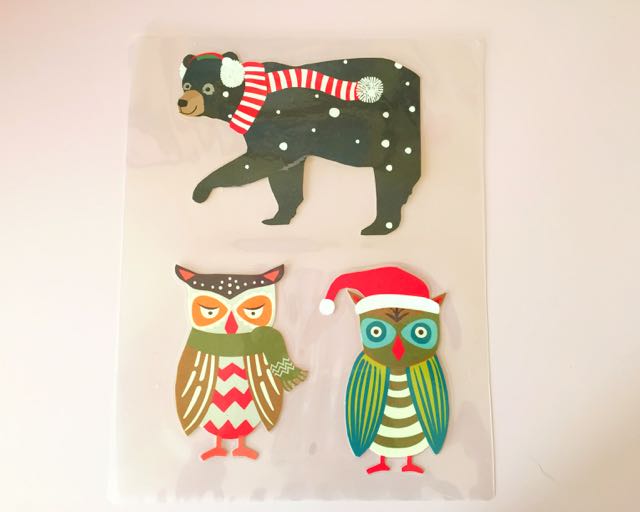
Step 2: Place your cutouts in your laminate pouches and send them through your laminator. Wait for the sheets to cool before cutting.
Step 3: Cut out your laminated puppets. (Try to cut as close as possible without breaking the seal around your puppets.) Keep the edges as smooth as possible.
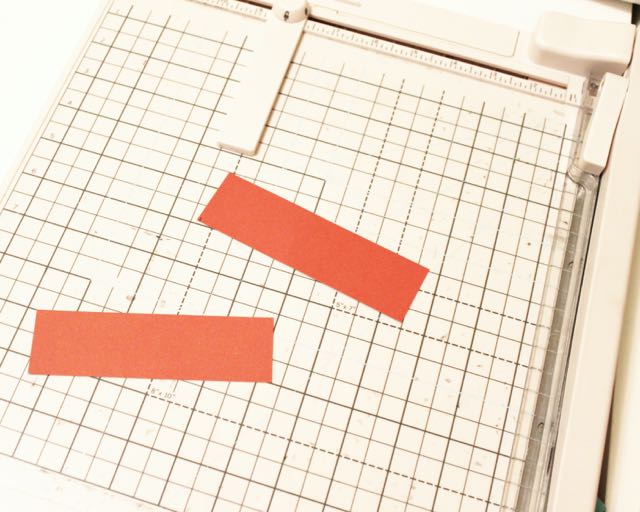
Step 4: Cut 2 6 x 1.5″ strips of paper for each paper puppet you’re making.
Step 5: Place a glue dot on each corner of your paper strips.
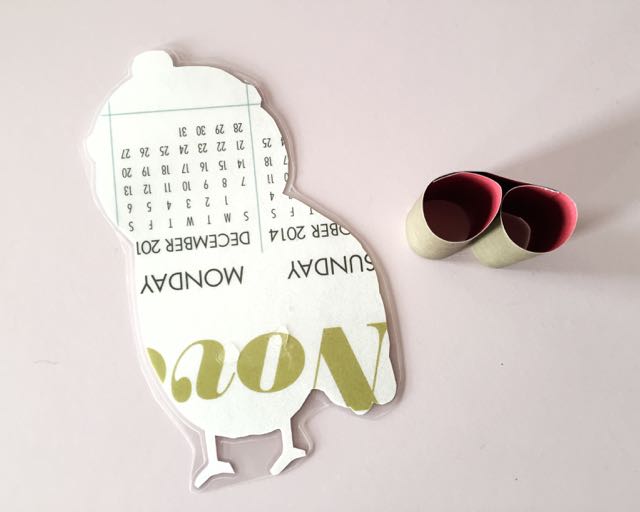
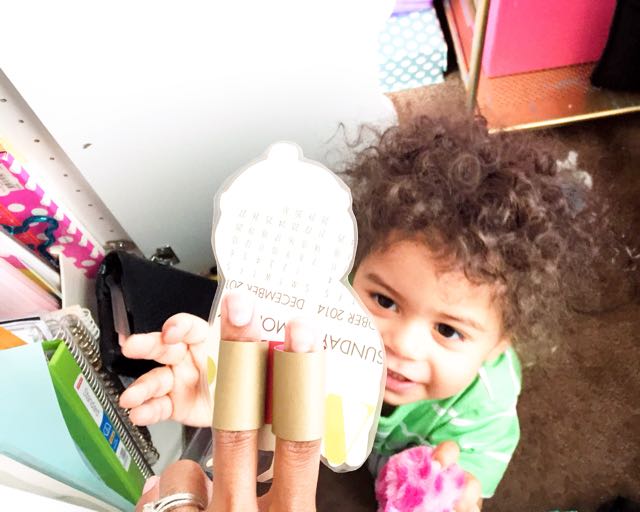
Step 6: Carefully curl the edges of your strips around two of your fingers. Size them appropriately and secure the ends with your glue dots. It’s almost like you’re creating paper binoculars for your fingers.
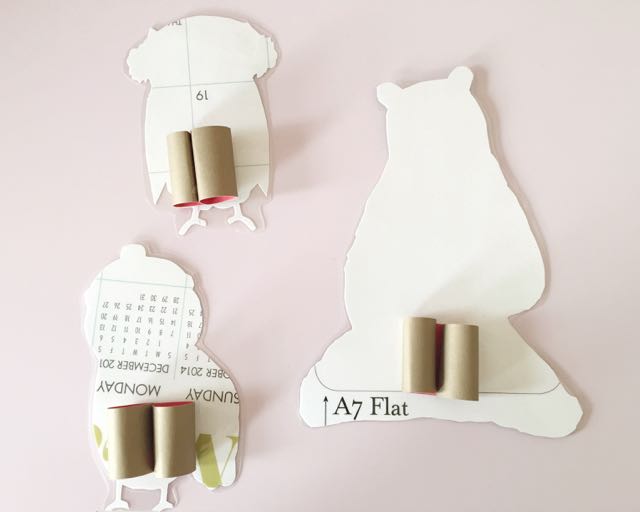
Step 7: Use two more glue dots to adhere your finger strips to the back of your paper puppet. Place them on your fingers to make sure everything is secure. You may want to use hot glue for extra support. (I realized after doing this, if I had more time, I would glue my puppets to a solid piece of paper before cutting them out. This way you can’t see the calendar on the back of the puppets. Next time.)
Step 8: Get your little ones together for a winter-themed puppet show.
Westley LOVED these puppets. He took the large bear puppet away from me and started playing with it. My husband actually wanted in on the fun, but he quickly let me know that our fingers are NOT the same size. So now I need to make sure I size a few puppets to his hands as well.
So did you try this simple project? If so, show me what you made. This would be so fun with Nutcracker and Frozen holidays cards and calendars. Post you pics on Instagram with the hashtag #htgawcrafting! Can’t wait to see your paper puppets.
