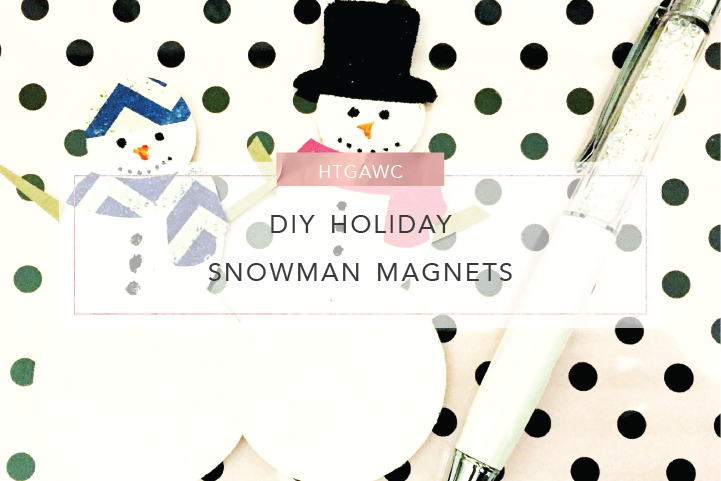
 Last year I made these adorable, little, snowman-themed Holiday cards.
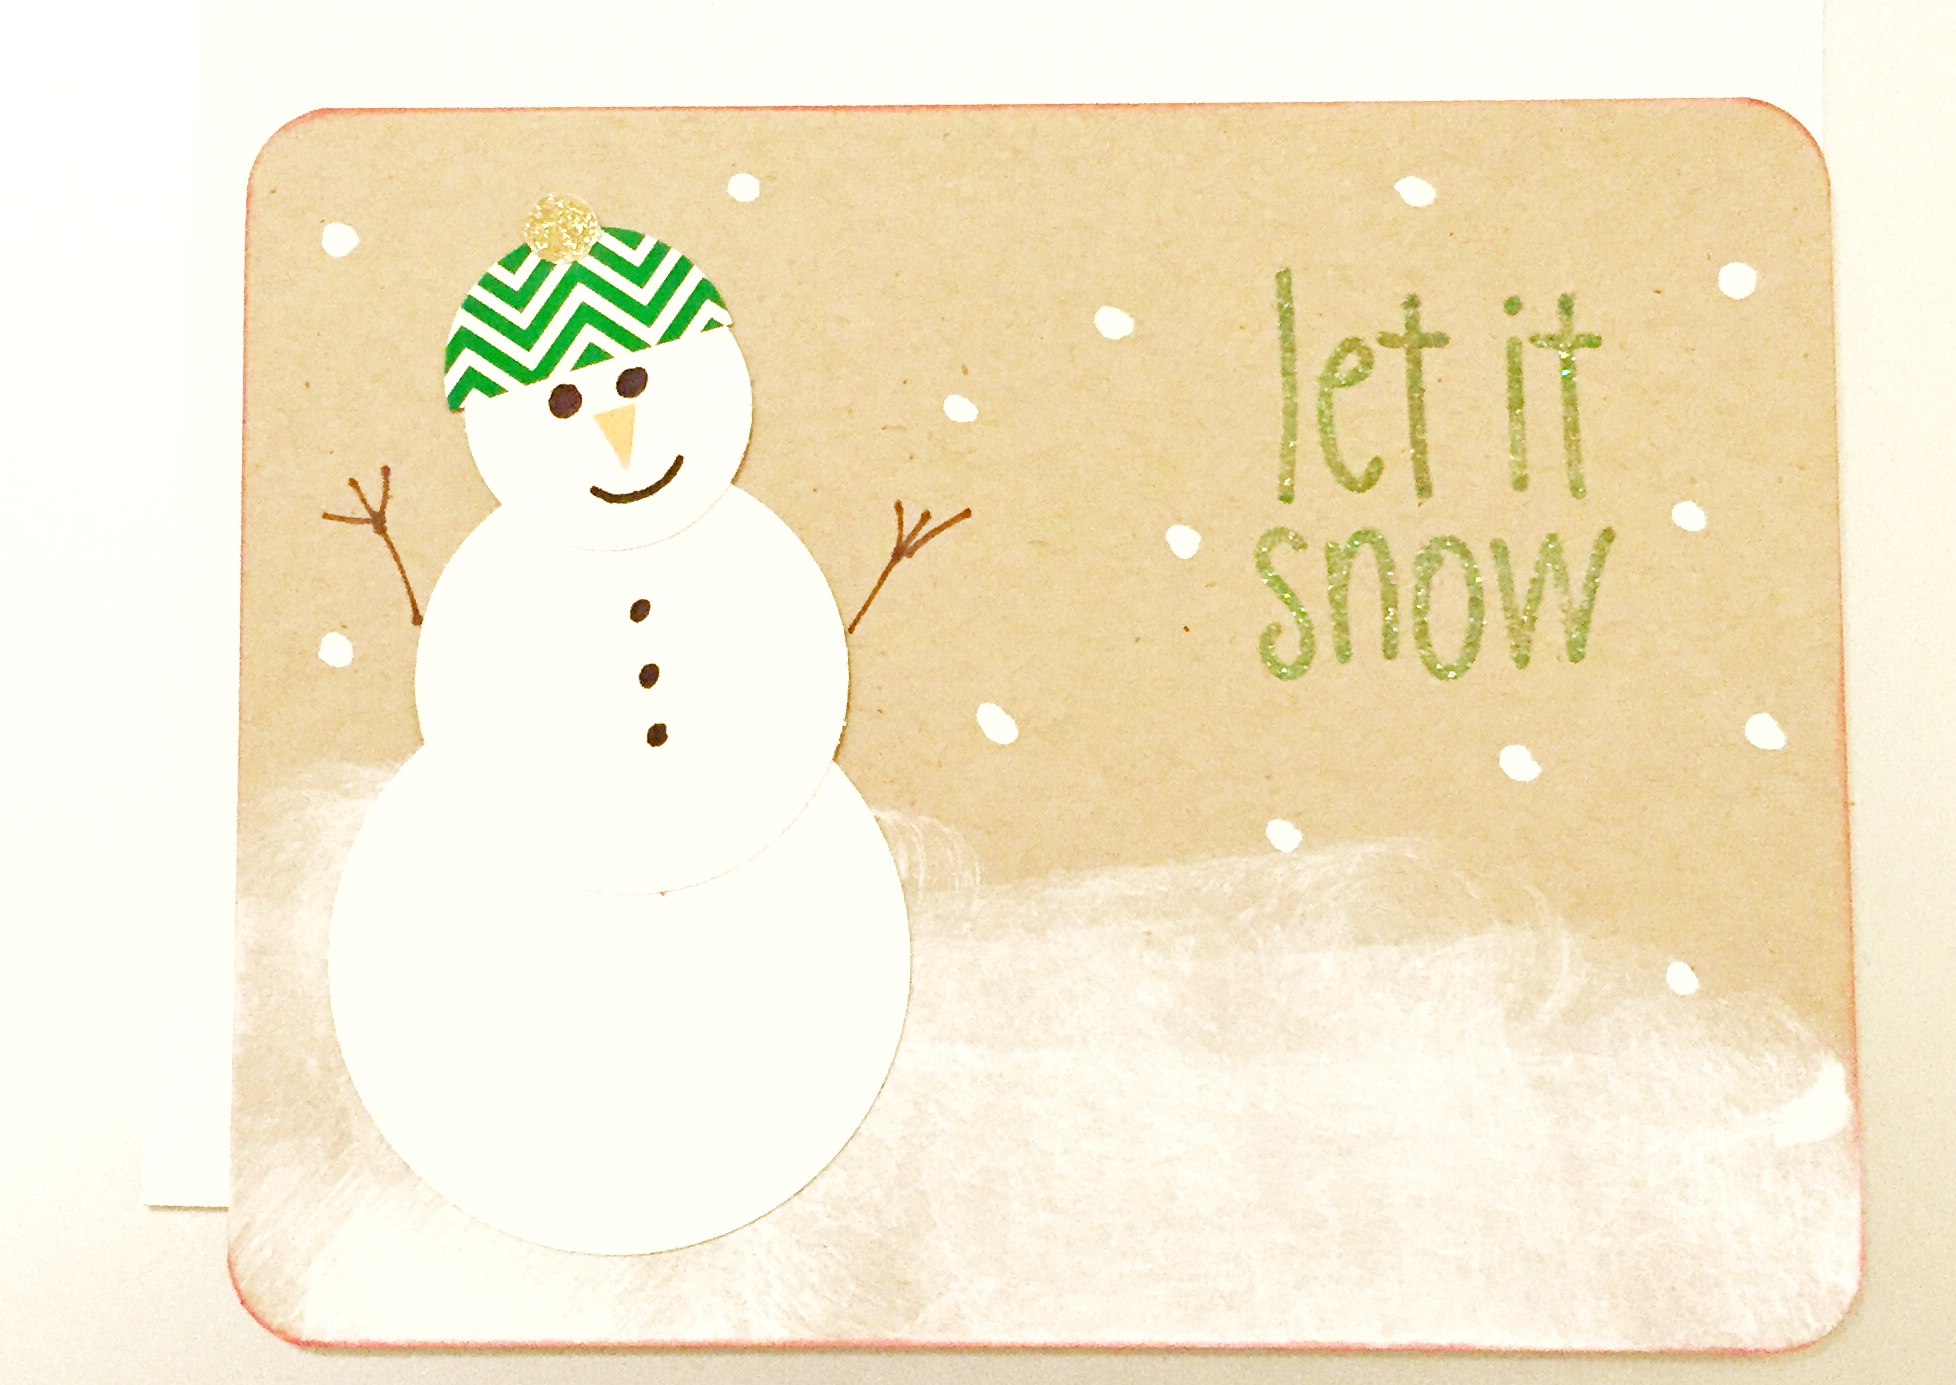 I decided I wanted to share a quick DIY on making a sparkly version of this snowman for tonight’s #htgawcrafting challenge. And since my oh so wonderful son recently destroyed a huge magnet that I’ve had since college, I thought why not use that too and make snowmen magnets? I like to say, “When God gives you lemons, mix in Bacardi Limon.” (Currently, I’m not mixing a thing with Baby Girl Finch on the way, but you get my point.)
So do you wanna build a snowman? (Sorry I couldn’t help myself.) Let’s go!
Supplies for A Snowman Magnet
- White cardstock
- Black cardstock
- Brown cardstock
- Old magnet that you can cut and repurpose or buy a sticky magnet strip
- Holiday colored or themed scrapbook paper
- Black and orange thin tipped markers
- Xyron sticker maker
- Tape runner
- Scissors
- Pencil
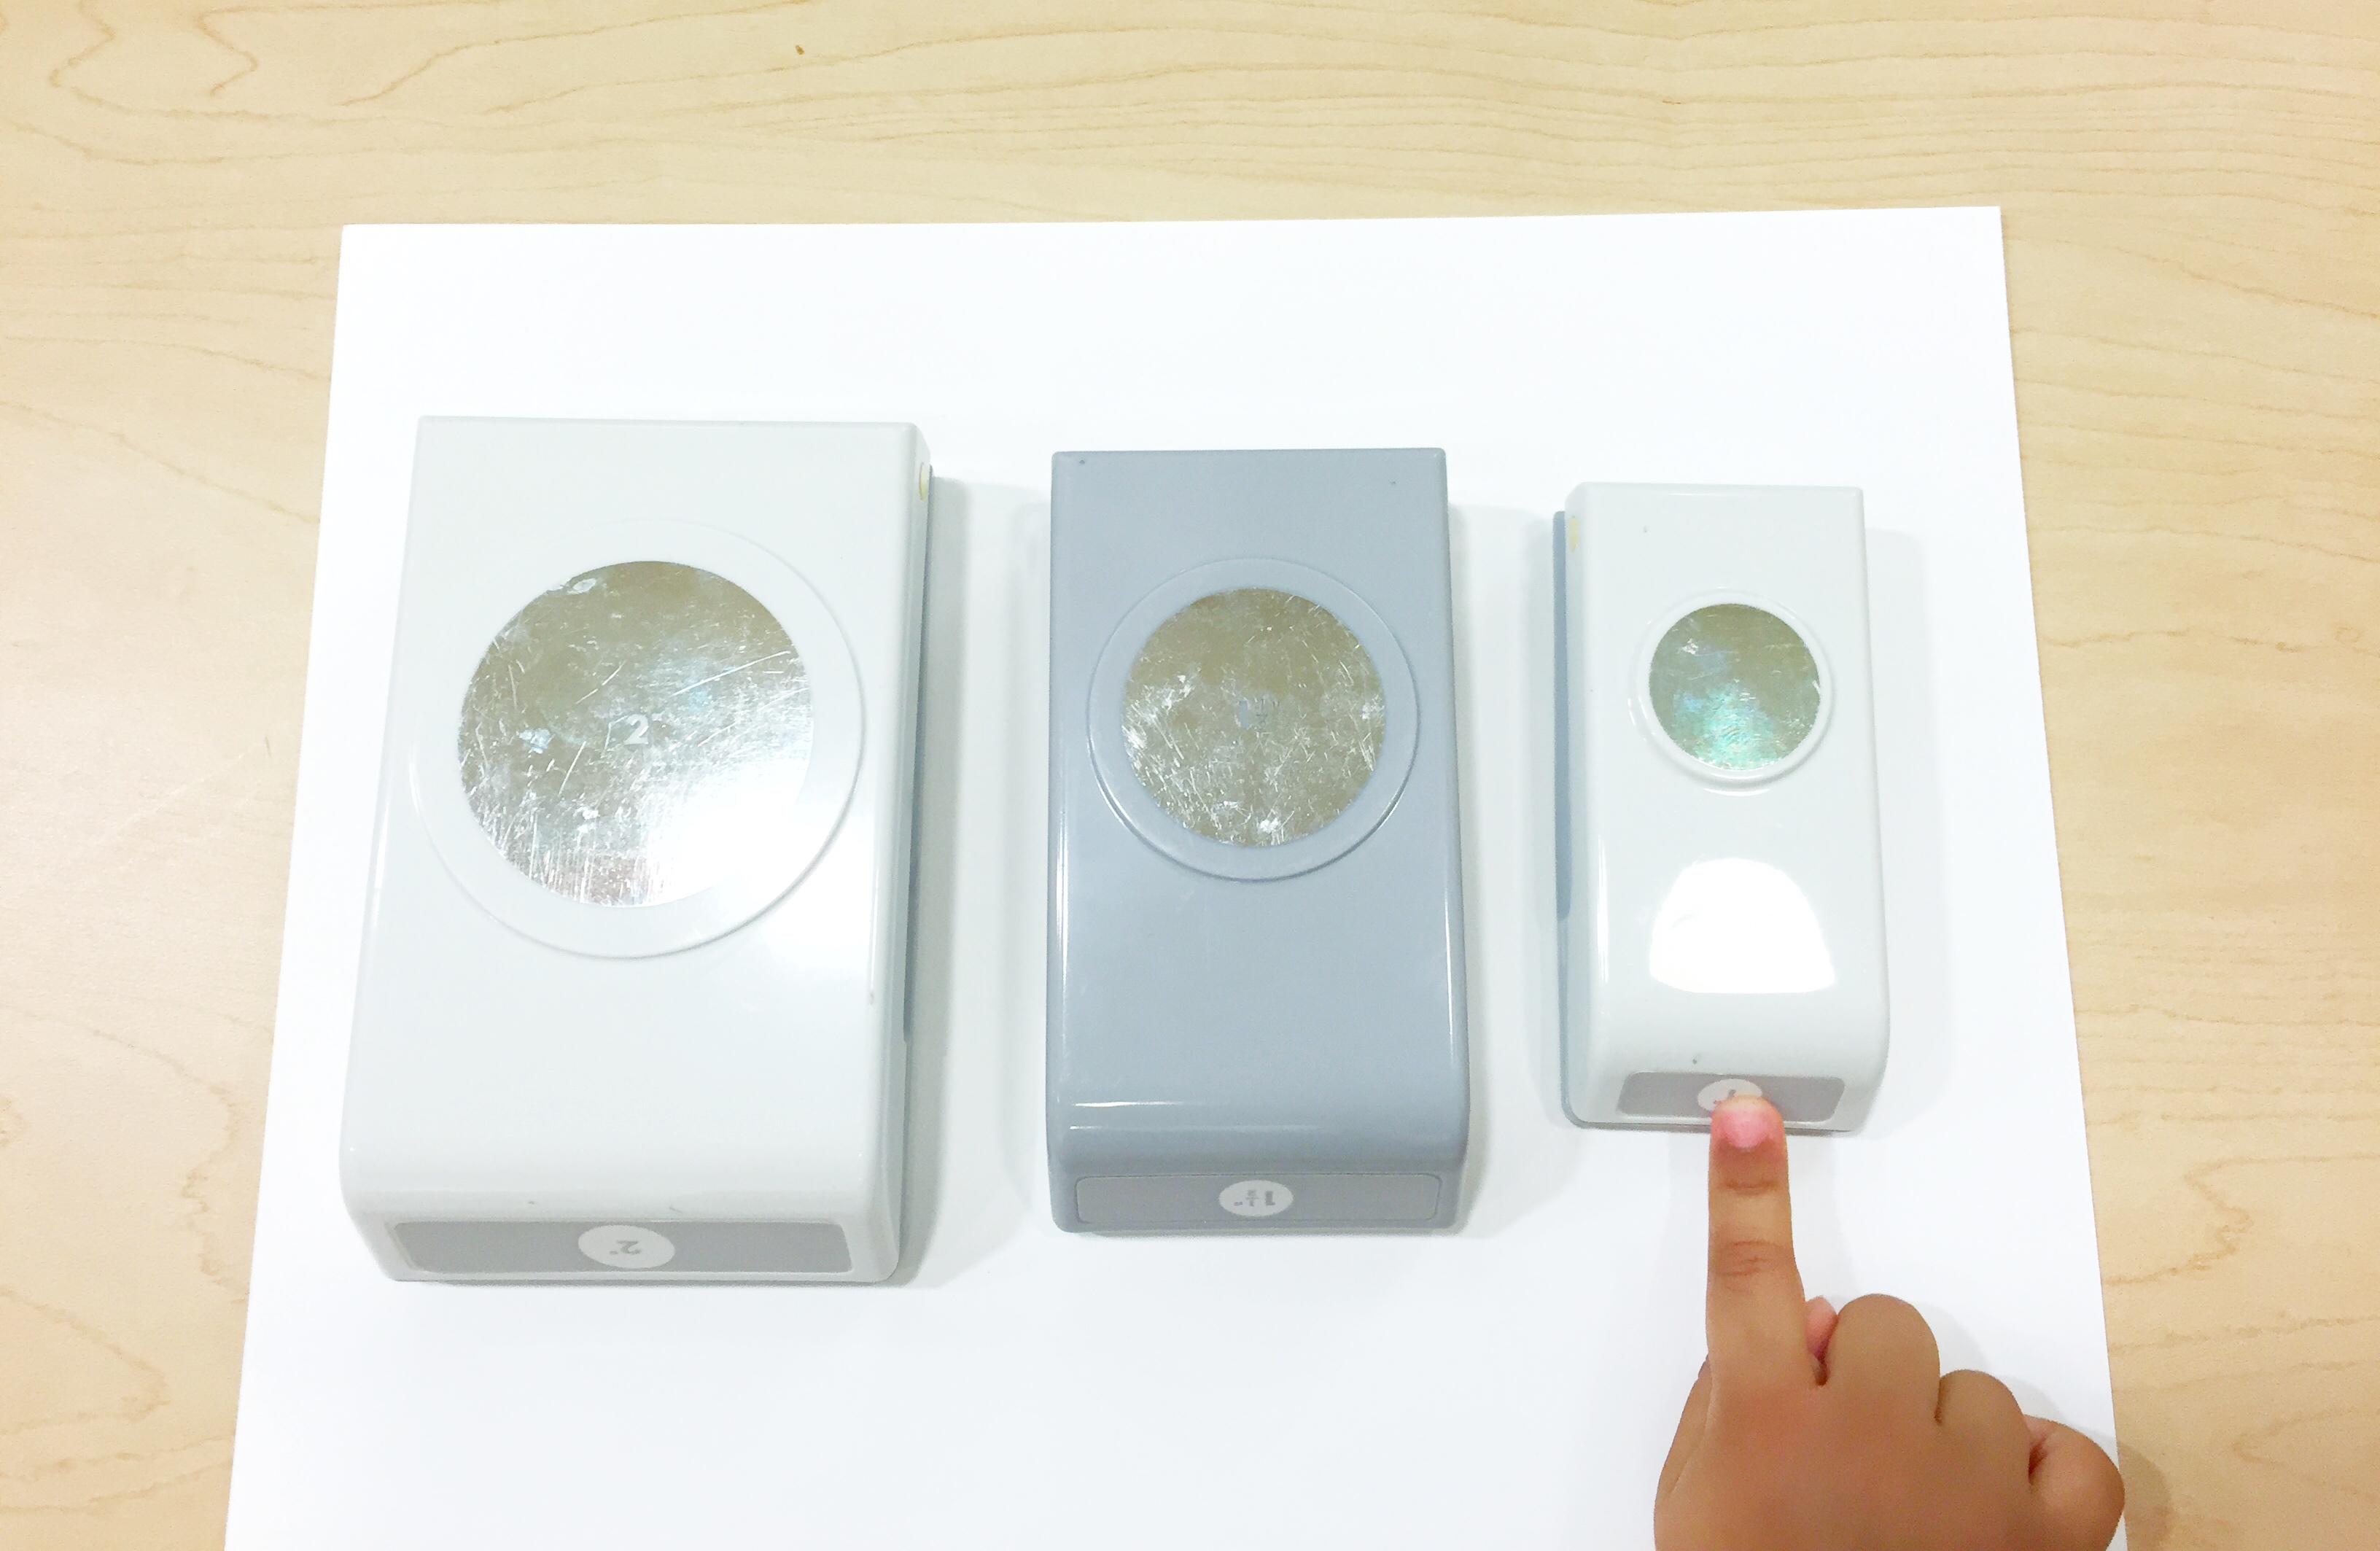
- EK Tools 1 Inch Circle Punch
- EK Tools 1 1/2 Inch Circle Punch
- EK Tools 2 Inch Circle Punch
- White glitter
- Black glitter
Steps
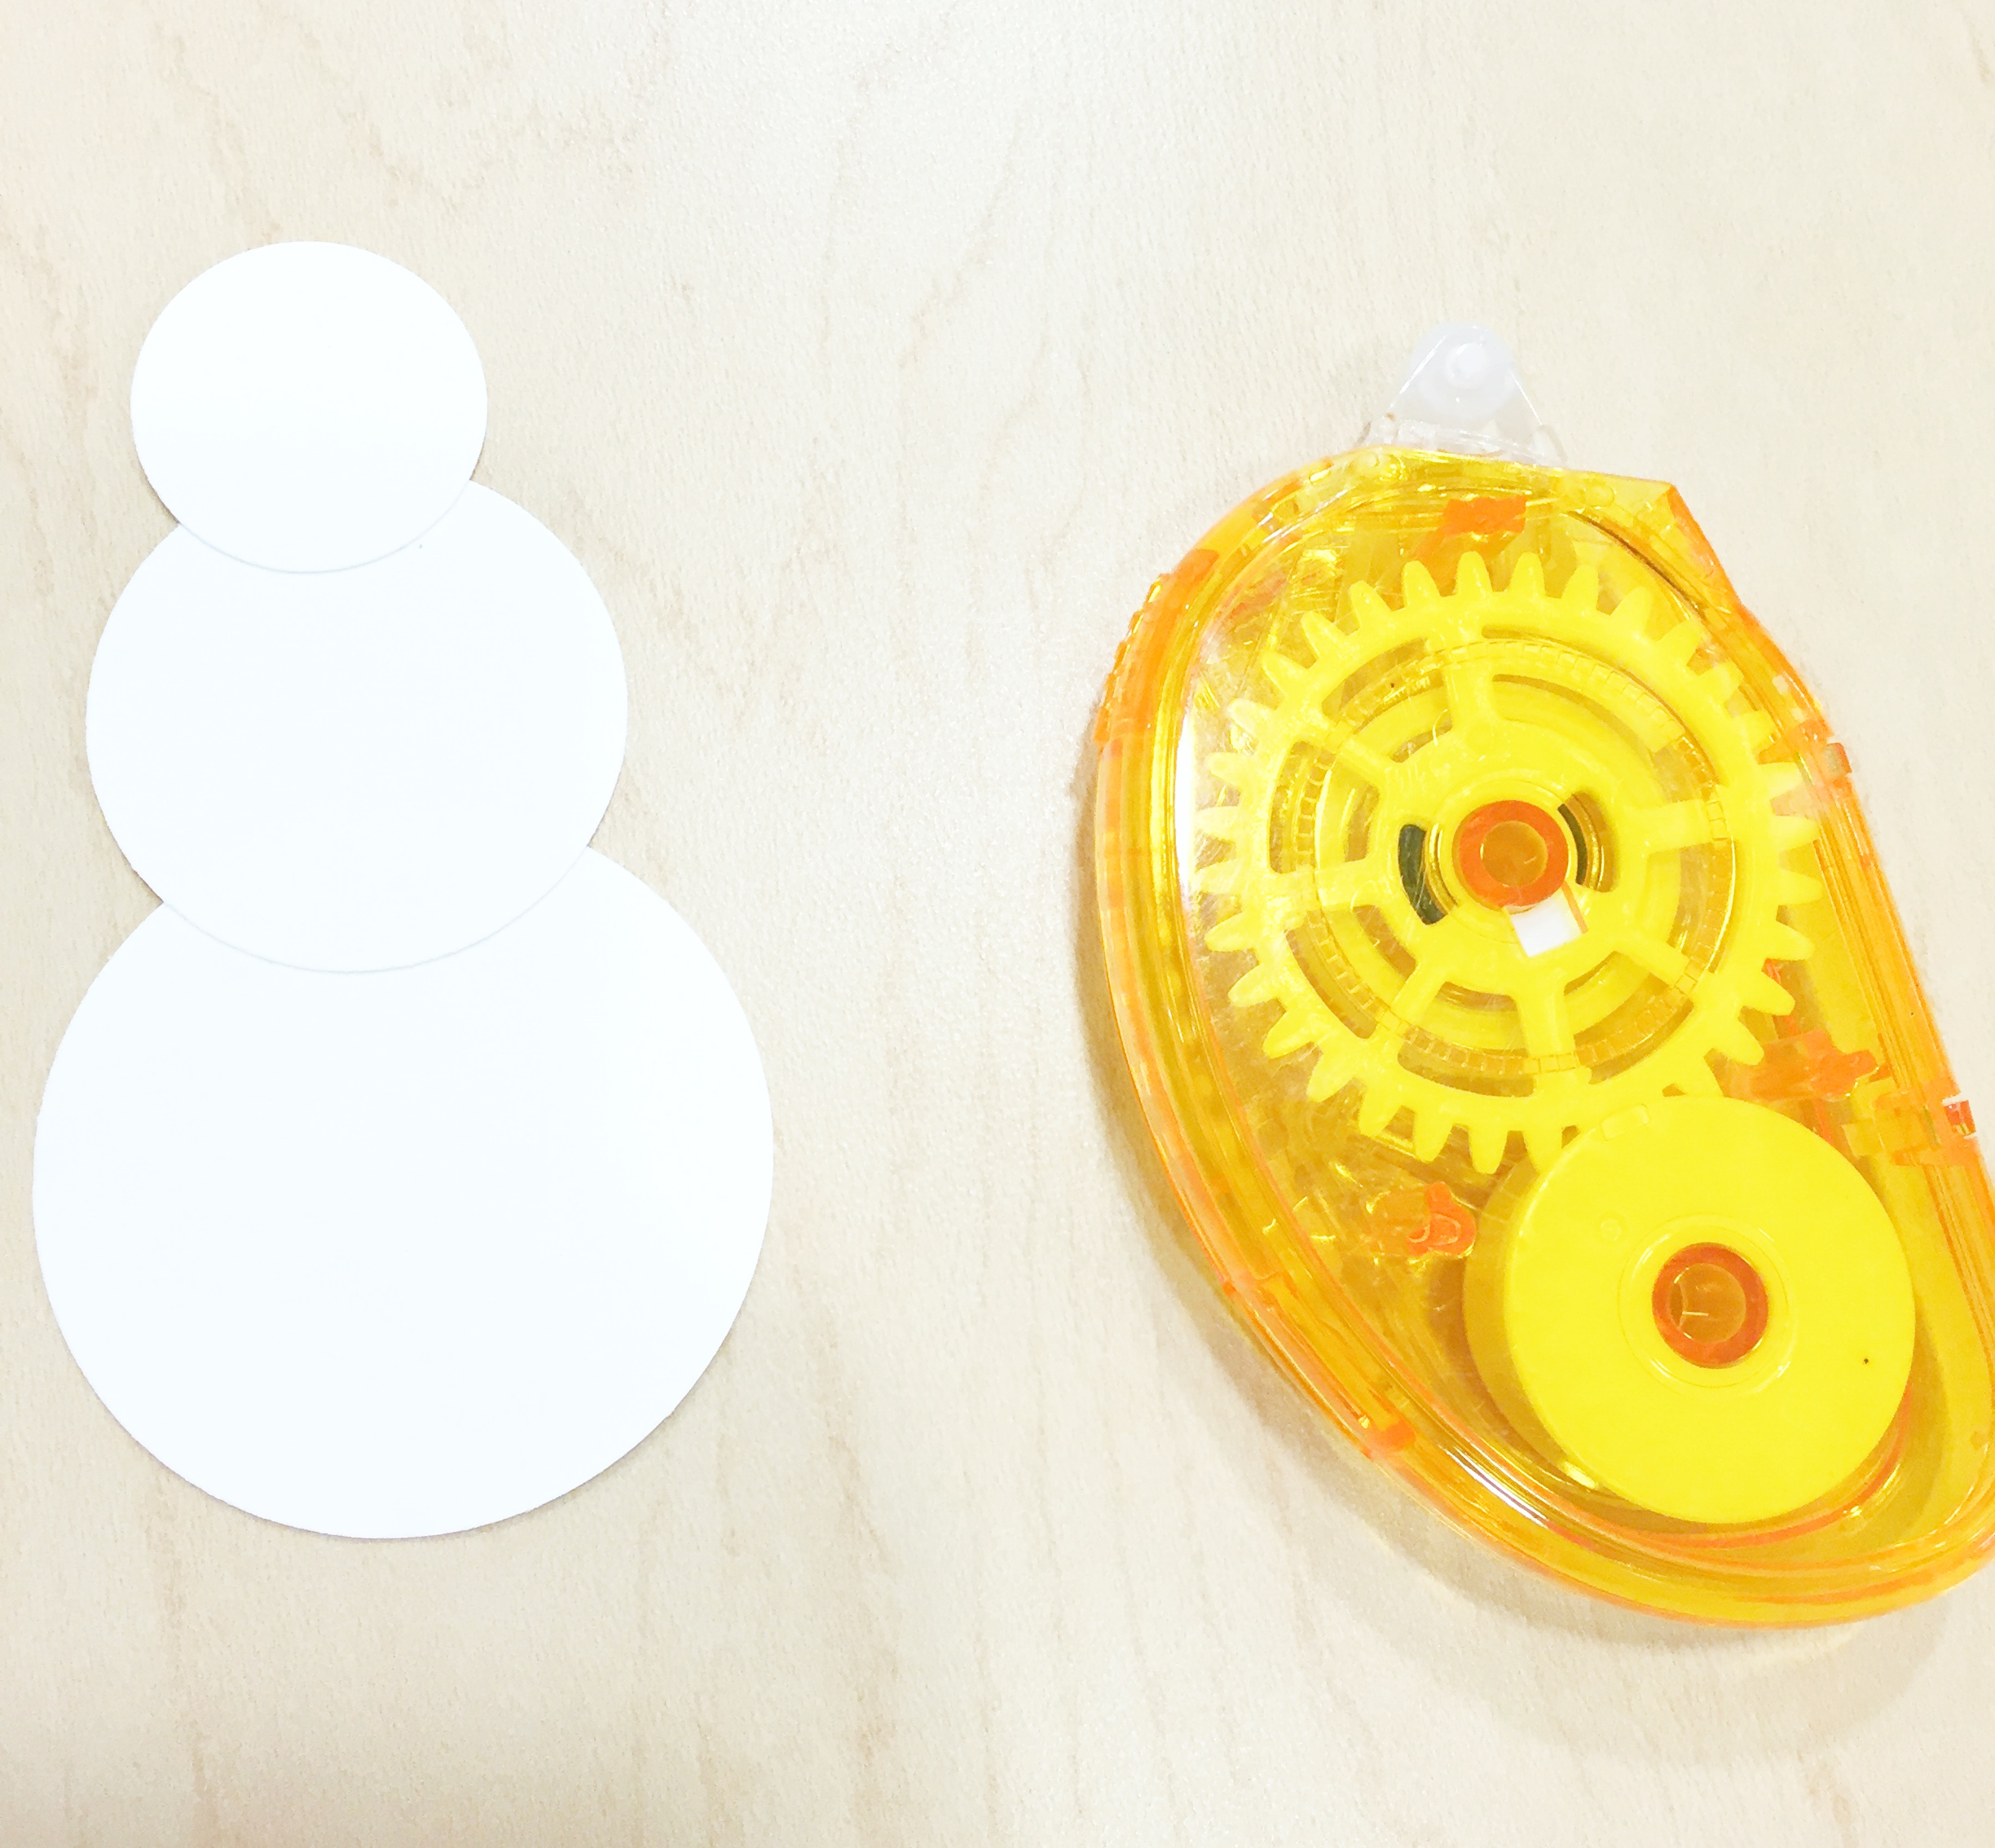
Step 1: Take your white cardstock and punch 1 circle each from your three punches – (1) 1″ circle, (1) 1.5″ circle and (1) 2″ circle. Do this for as many snowmen as you like. I made 4 snowmen. Westley, my 14-month-old helped as you can see from the photo.
Step 2: Use your tape runner to build your snowman. I love it. I can make a snowman without being in the cold. Yay!
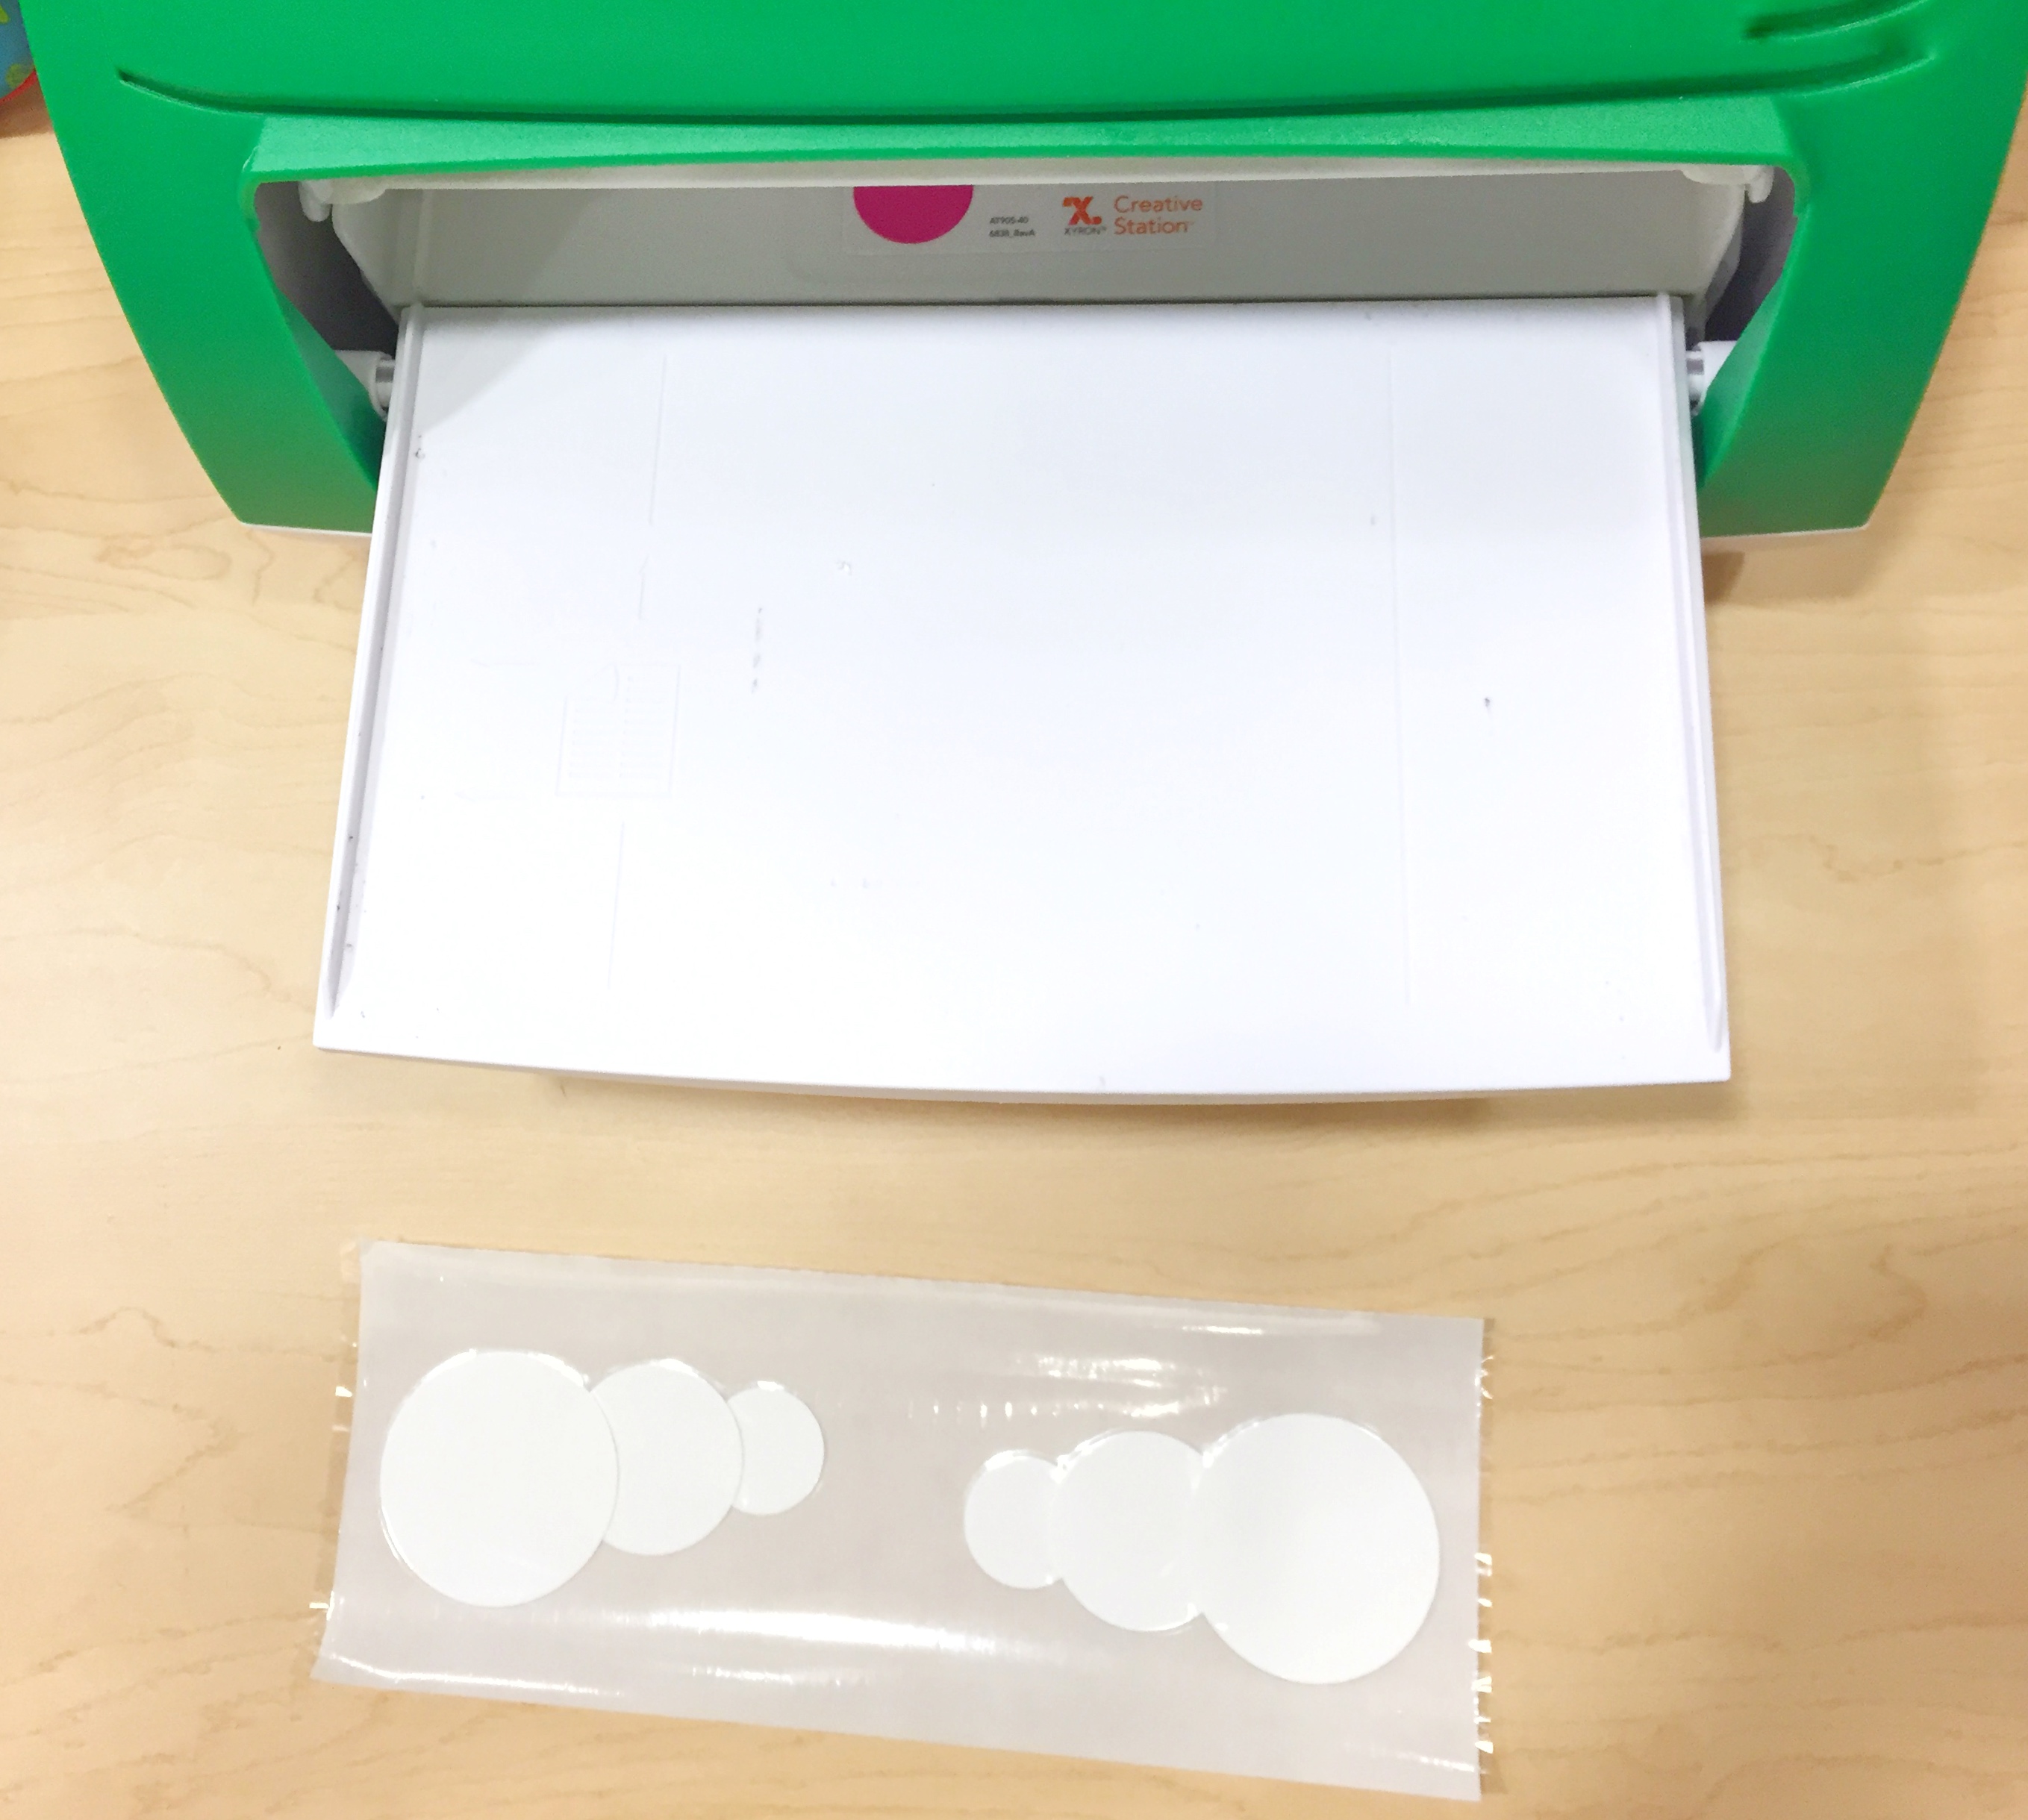
Step 3: Place your snowman in your sticker maker. Make sure you place it so the sticky part adheres to the FRONT of your snowman.
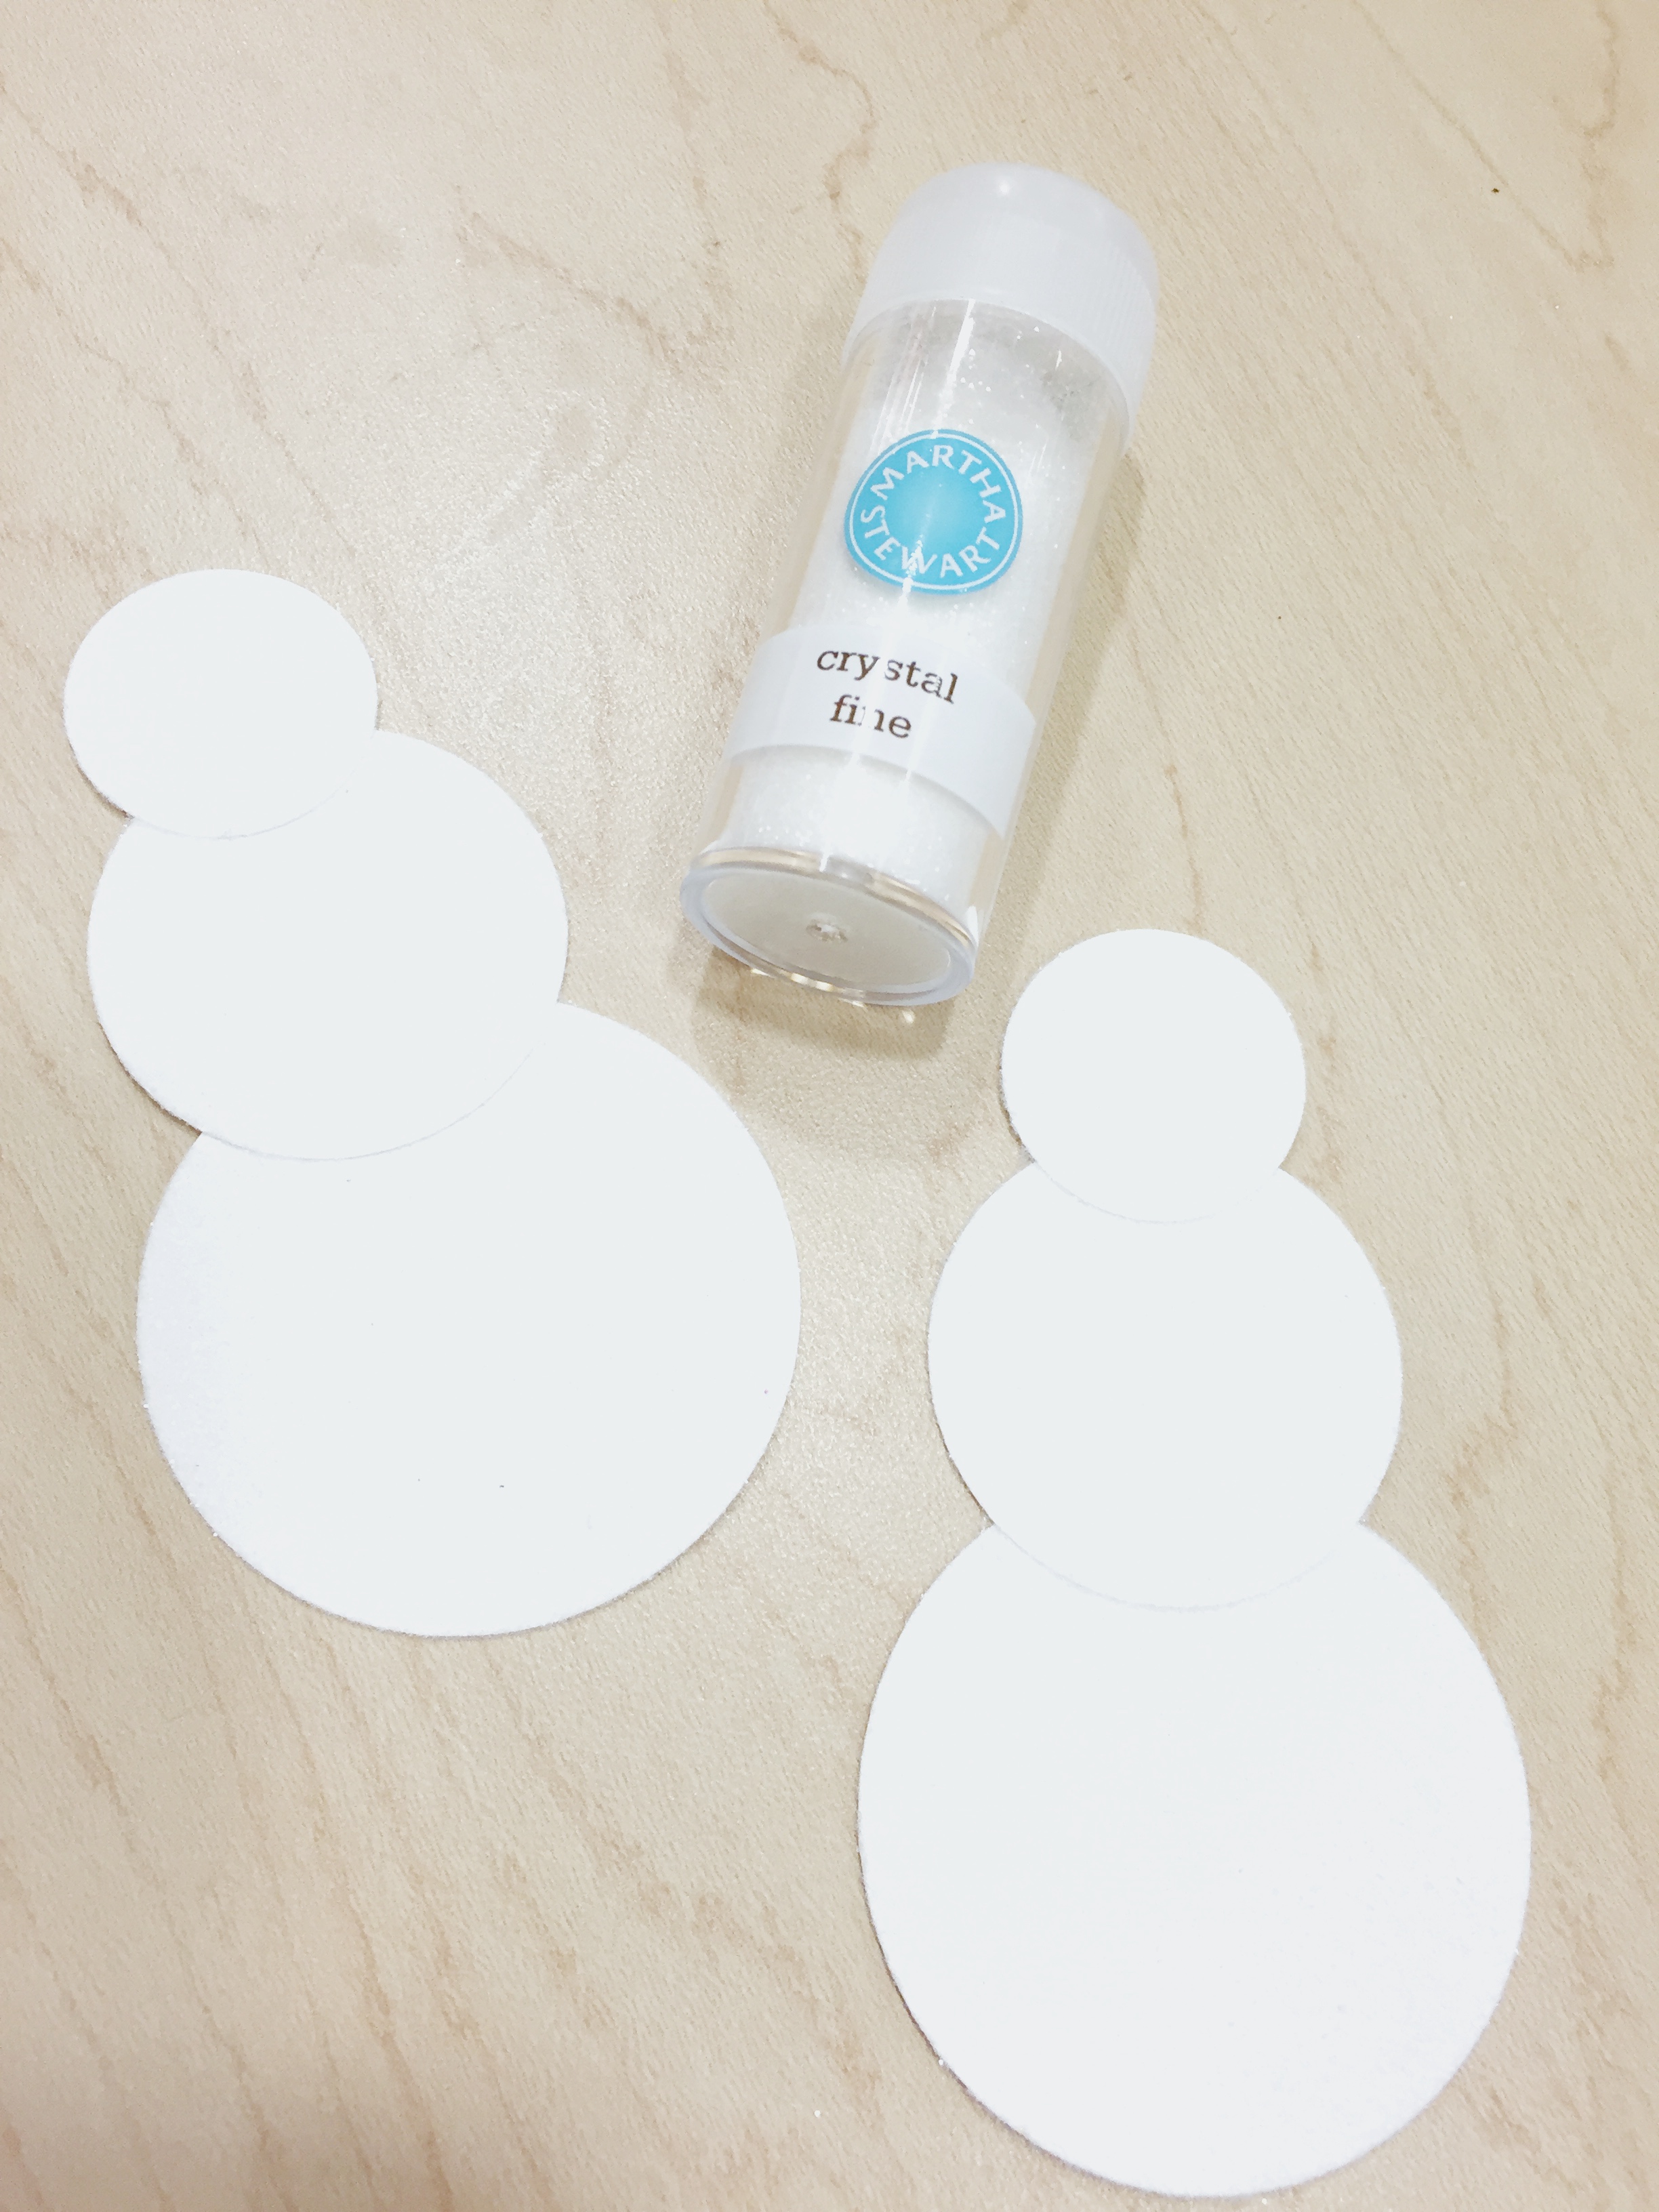
Step 4: Remove the paper from your snowman so the sticky side is exposed. Grab your white glitter and cover your snowman so it sparkles. I used Martha Stewart’s Fine Glitter in Crystal. I love Martha Stewart Fine Glitters. They go on so smooth and they don’t flake all over the place.
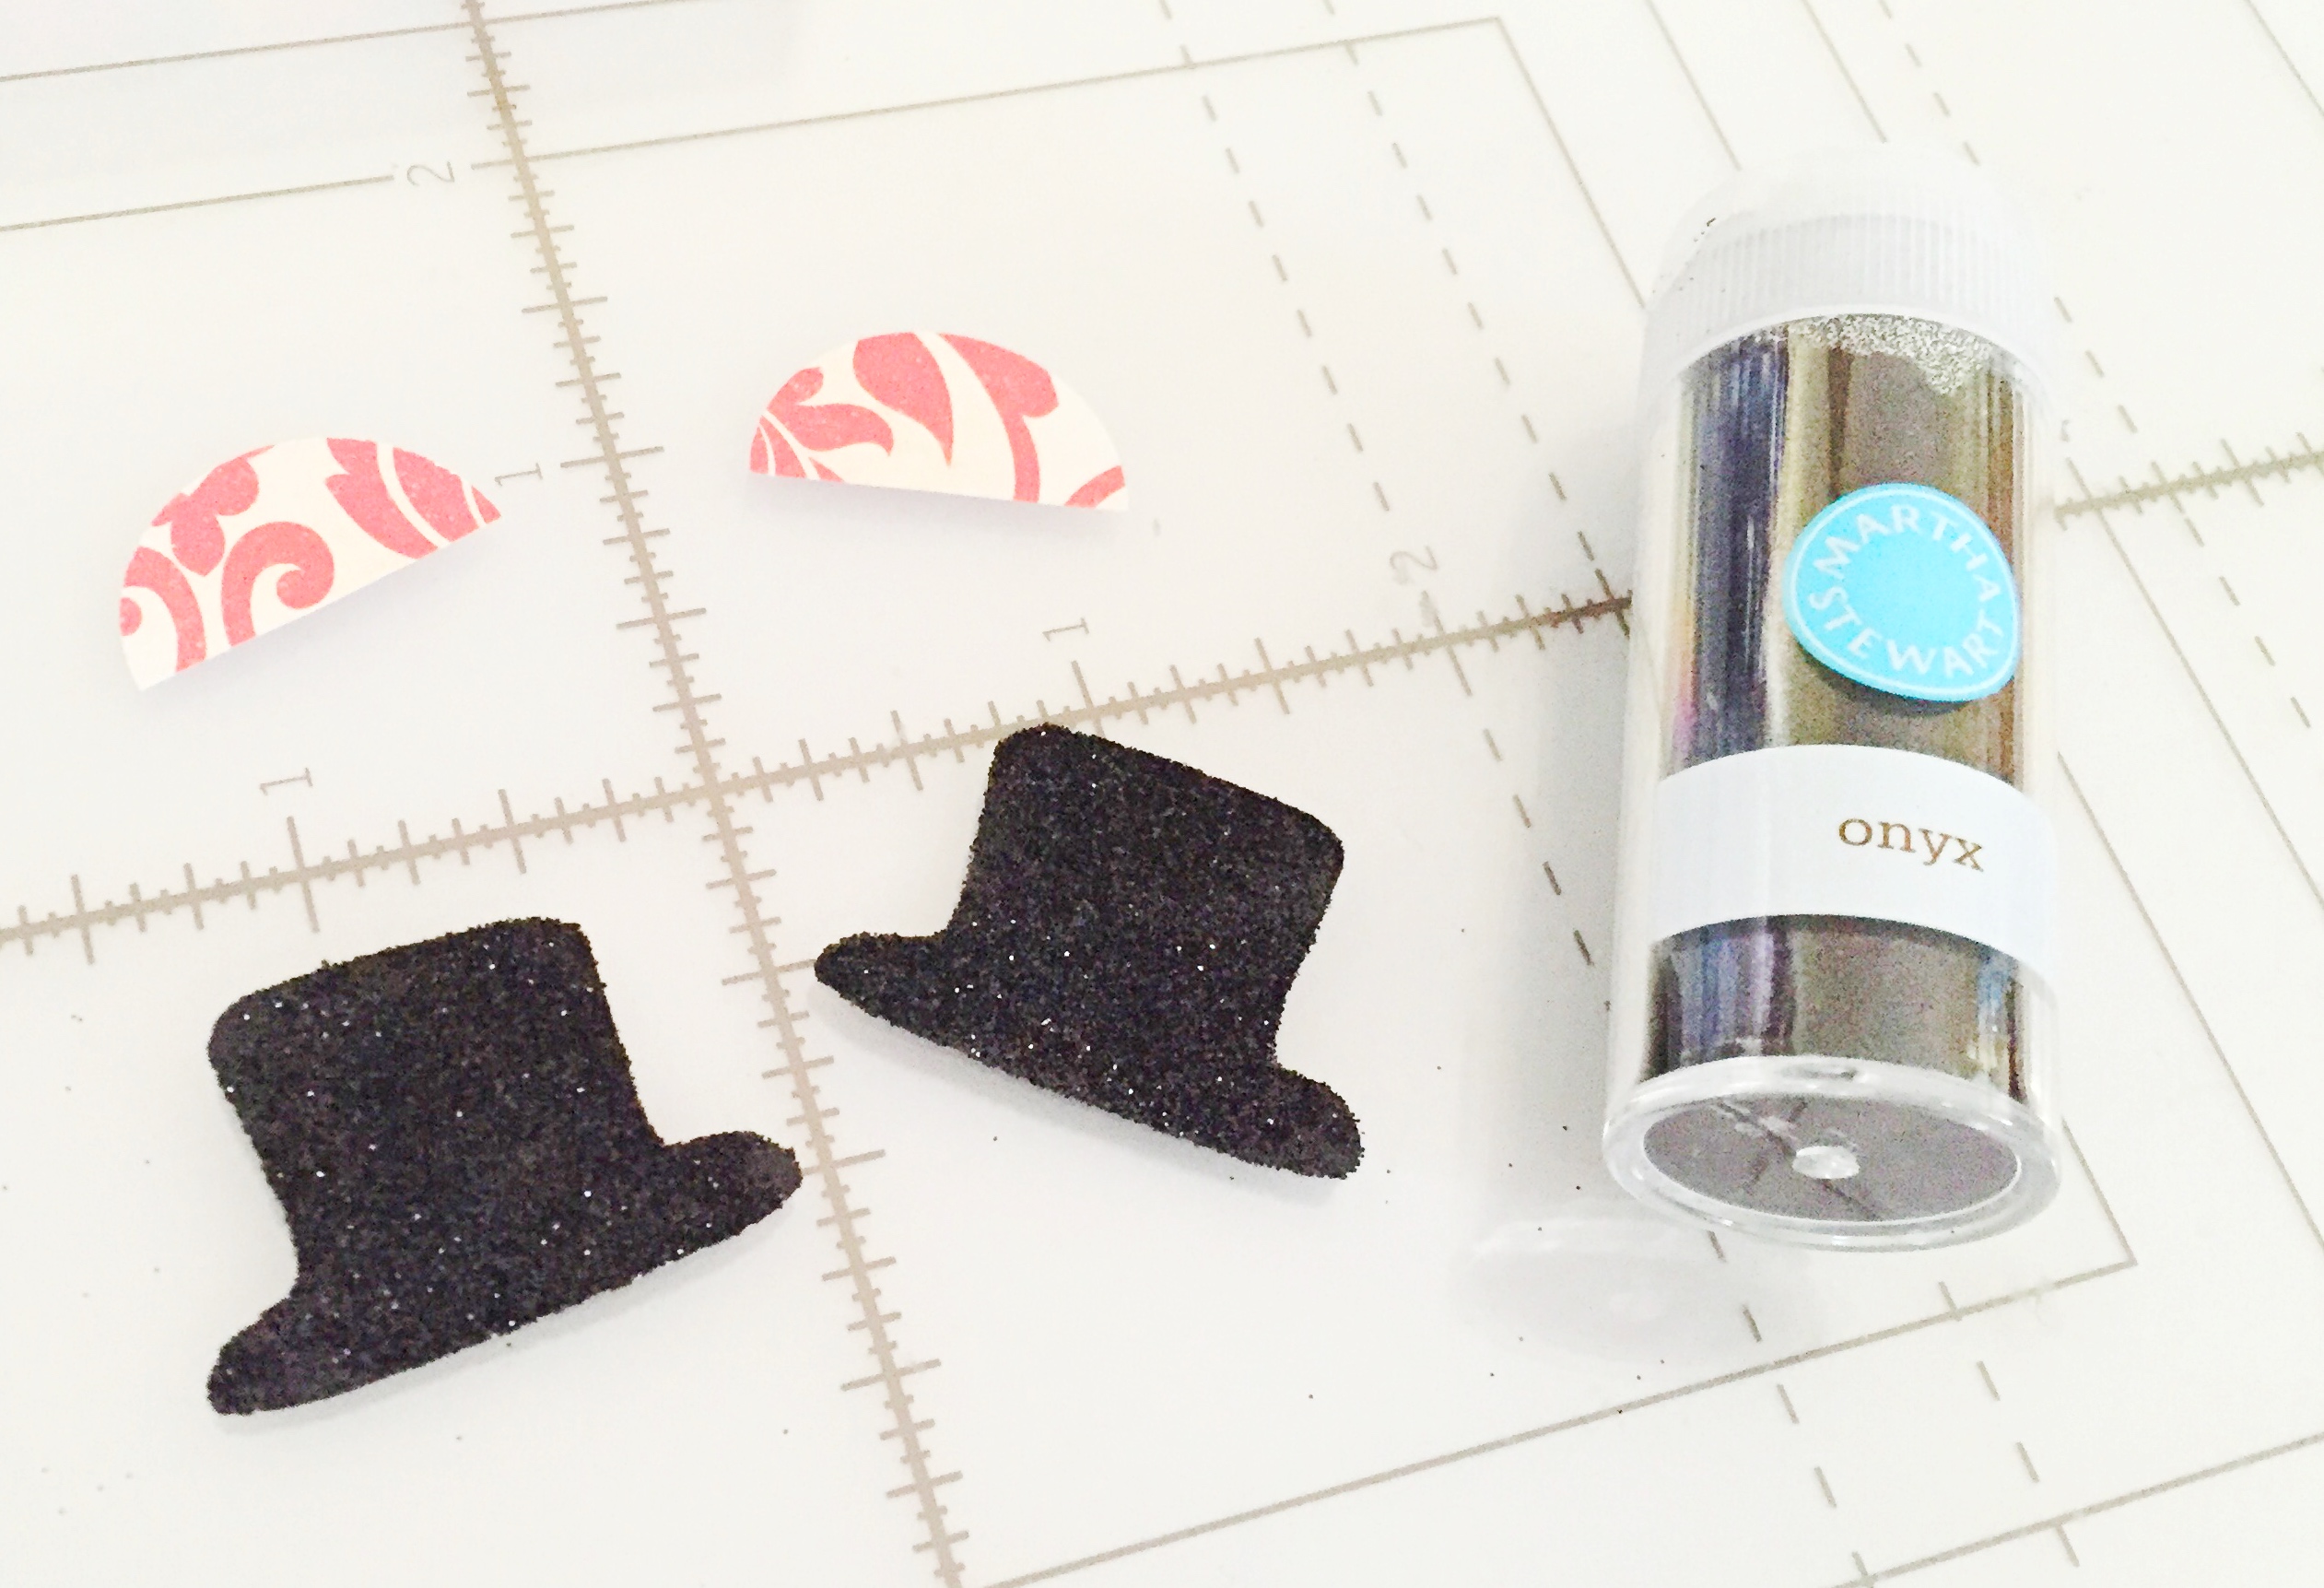
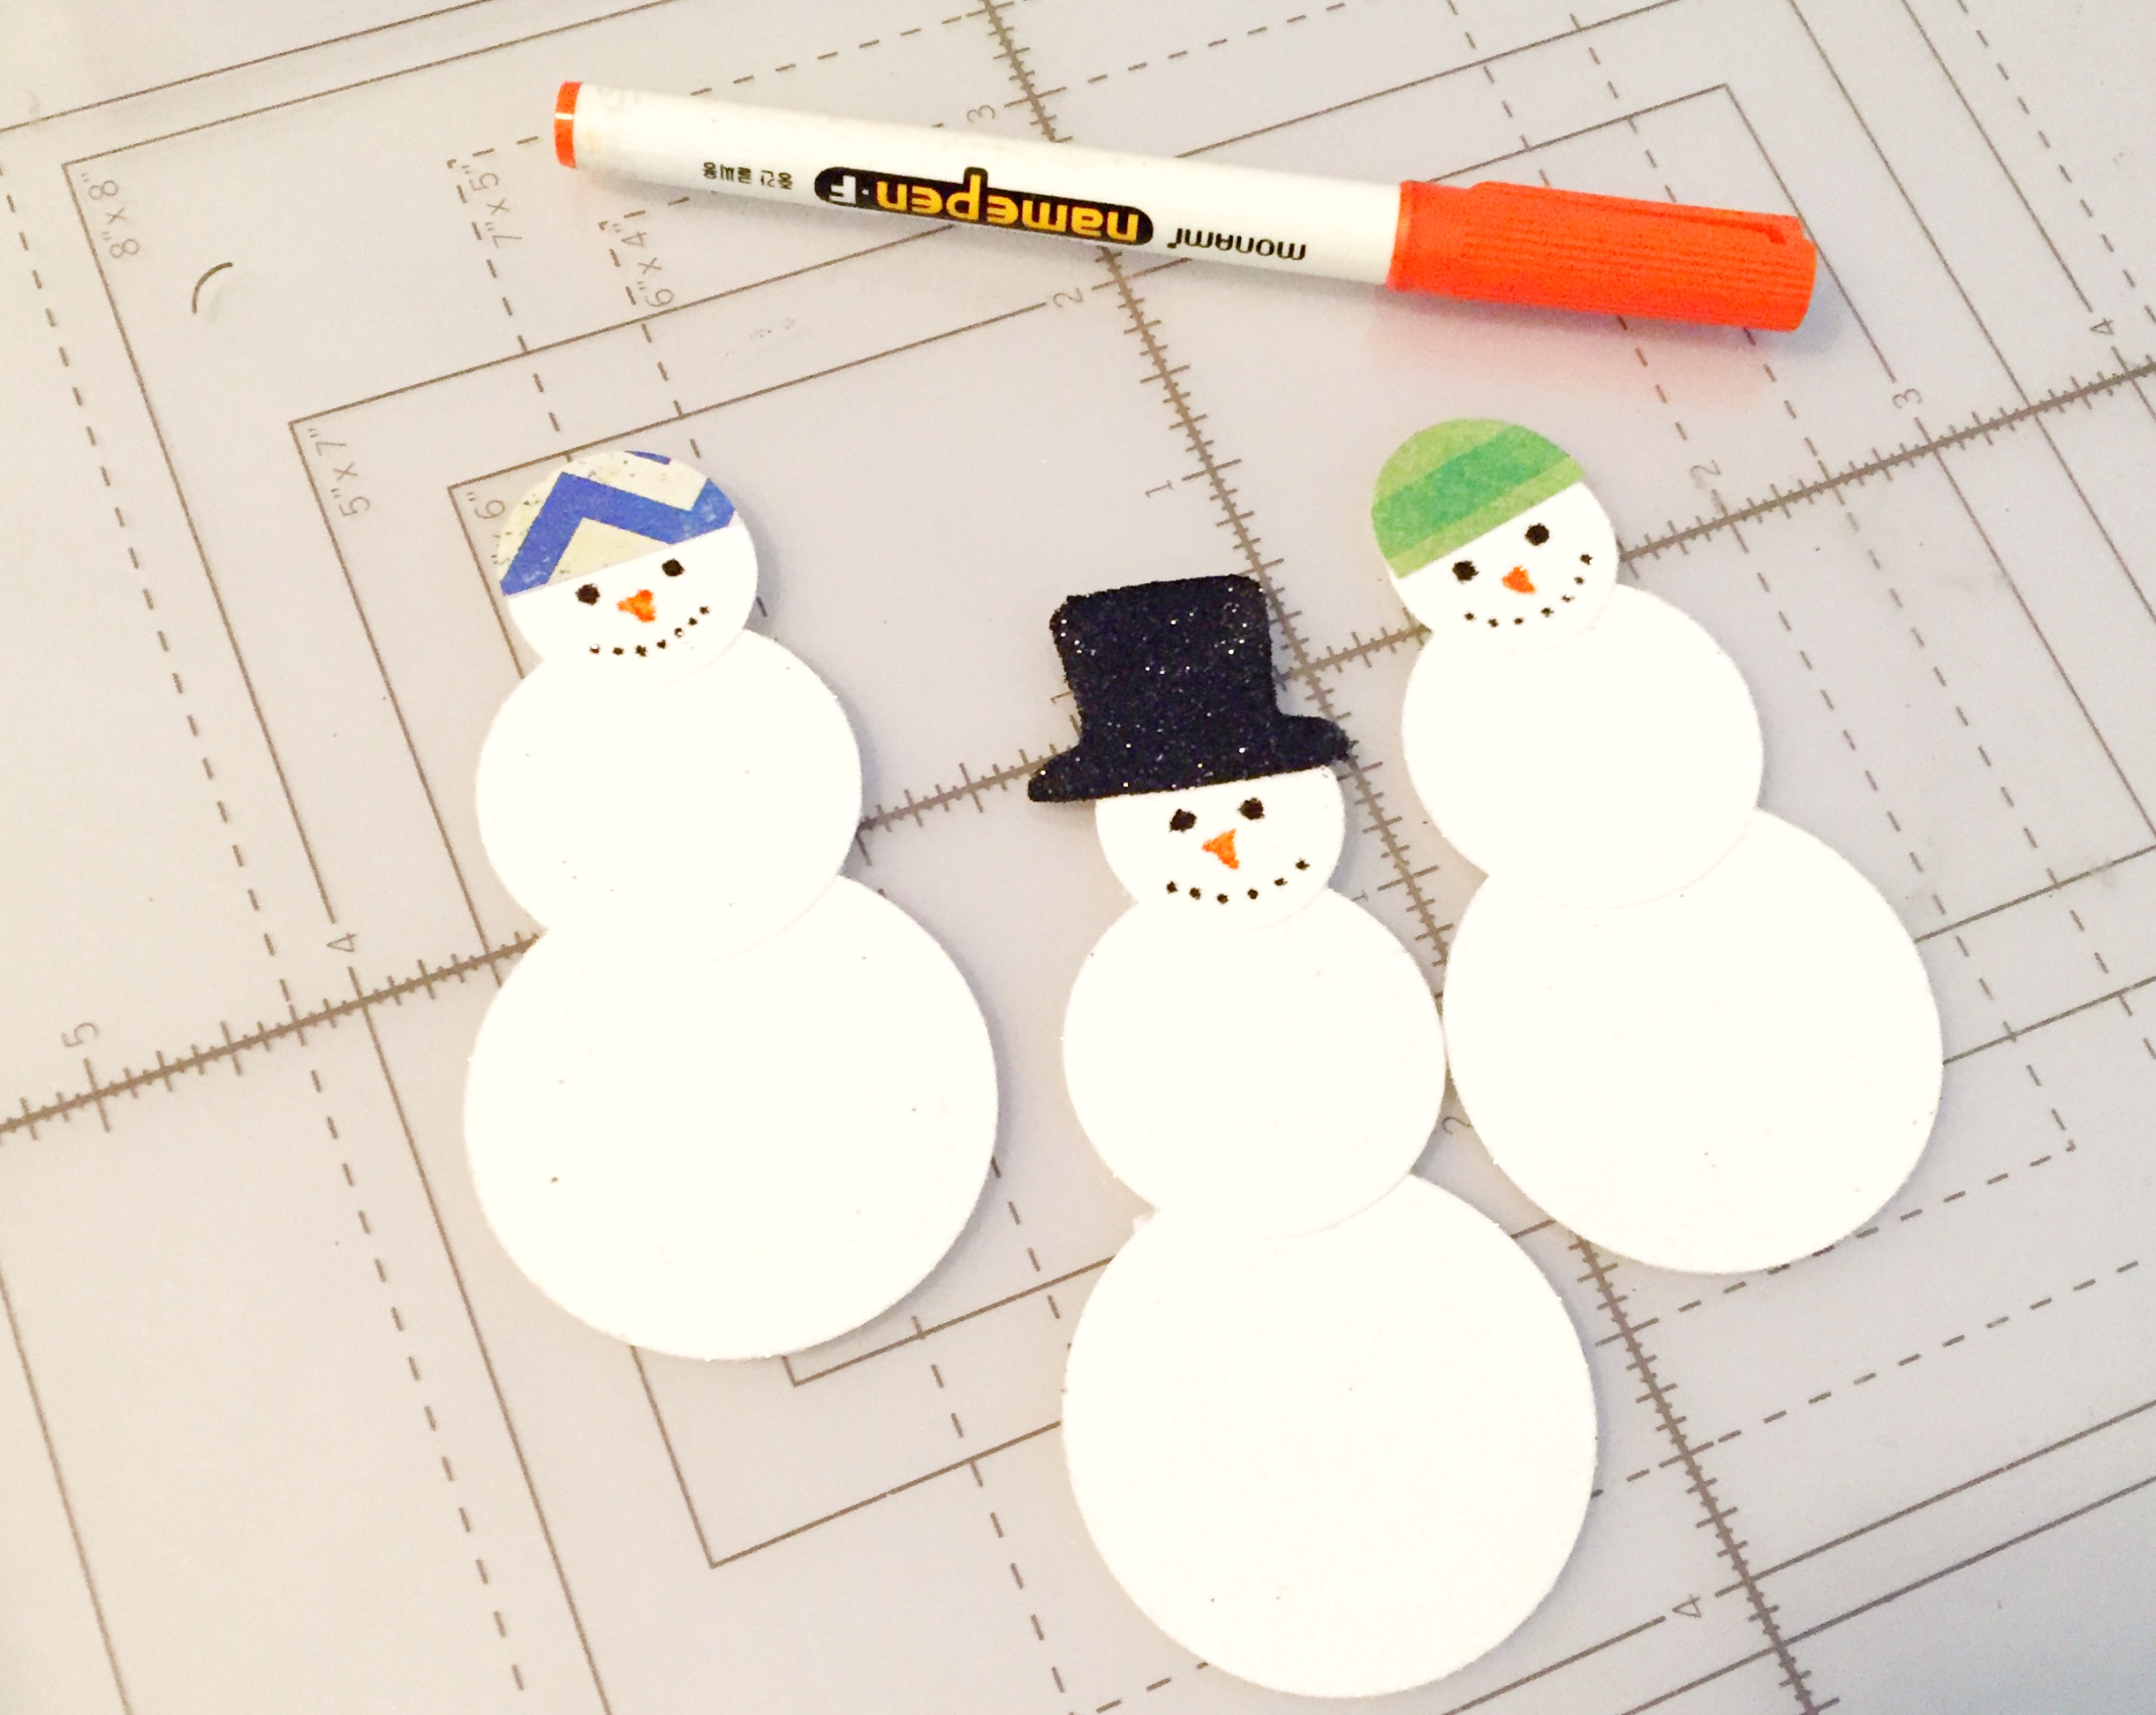
Step 5: Get ready to become a snowman milliner. Use your 1″ circle punch and punch out enough 1″ circles from your scrapbook papers to cover the some of the heads of your snowmen. Afterward, cut them in half. Don’t these make adorable beanies? Grab your black cardstock and draw enough top hats for the rest of your snowmen. Like your snowmen, run your top hats through your sticker maker. Remove the paper and add black glitter to the hats. I used Martha Stewart’s Onyx. Use your tape runner to adhere your hats to your snowmen’s heads.
Step 6: Use your black thin-tipped marker and draw little eyes and mouths on your snowmen. Hmmm, this part is a little creepy looking, no?

Step 7: Use your orange thin-tipped marker to draw carrot noses on your snowmen. Getting cuter, right?
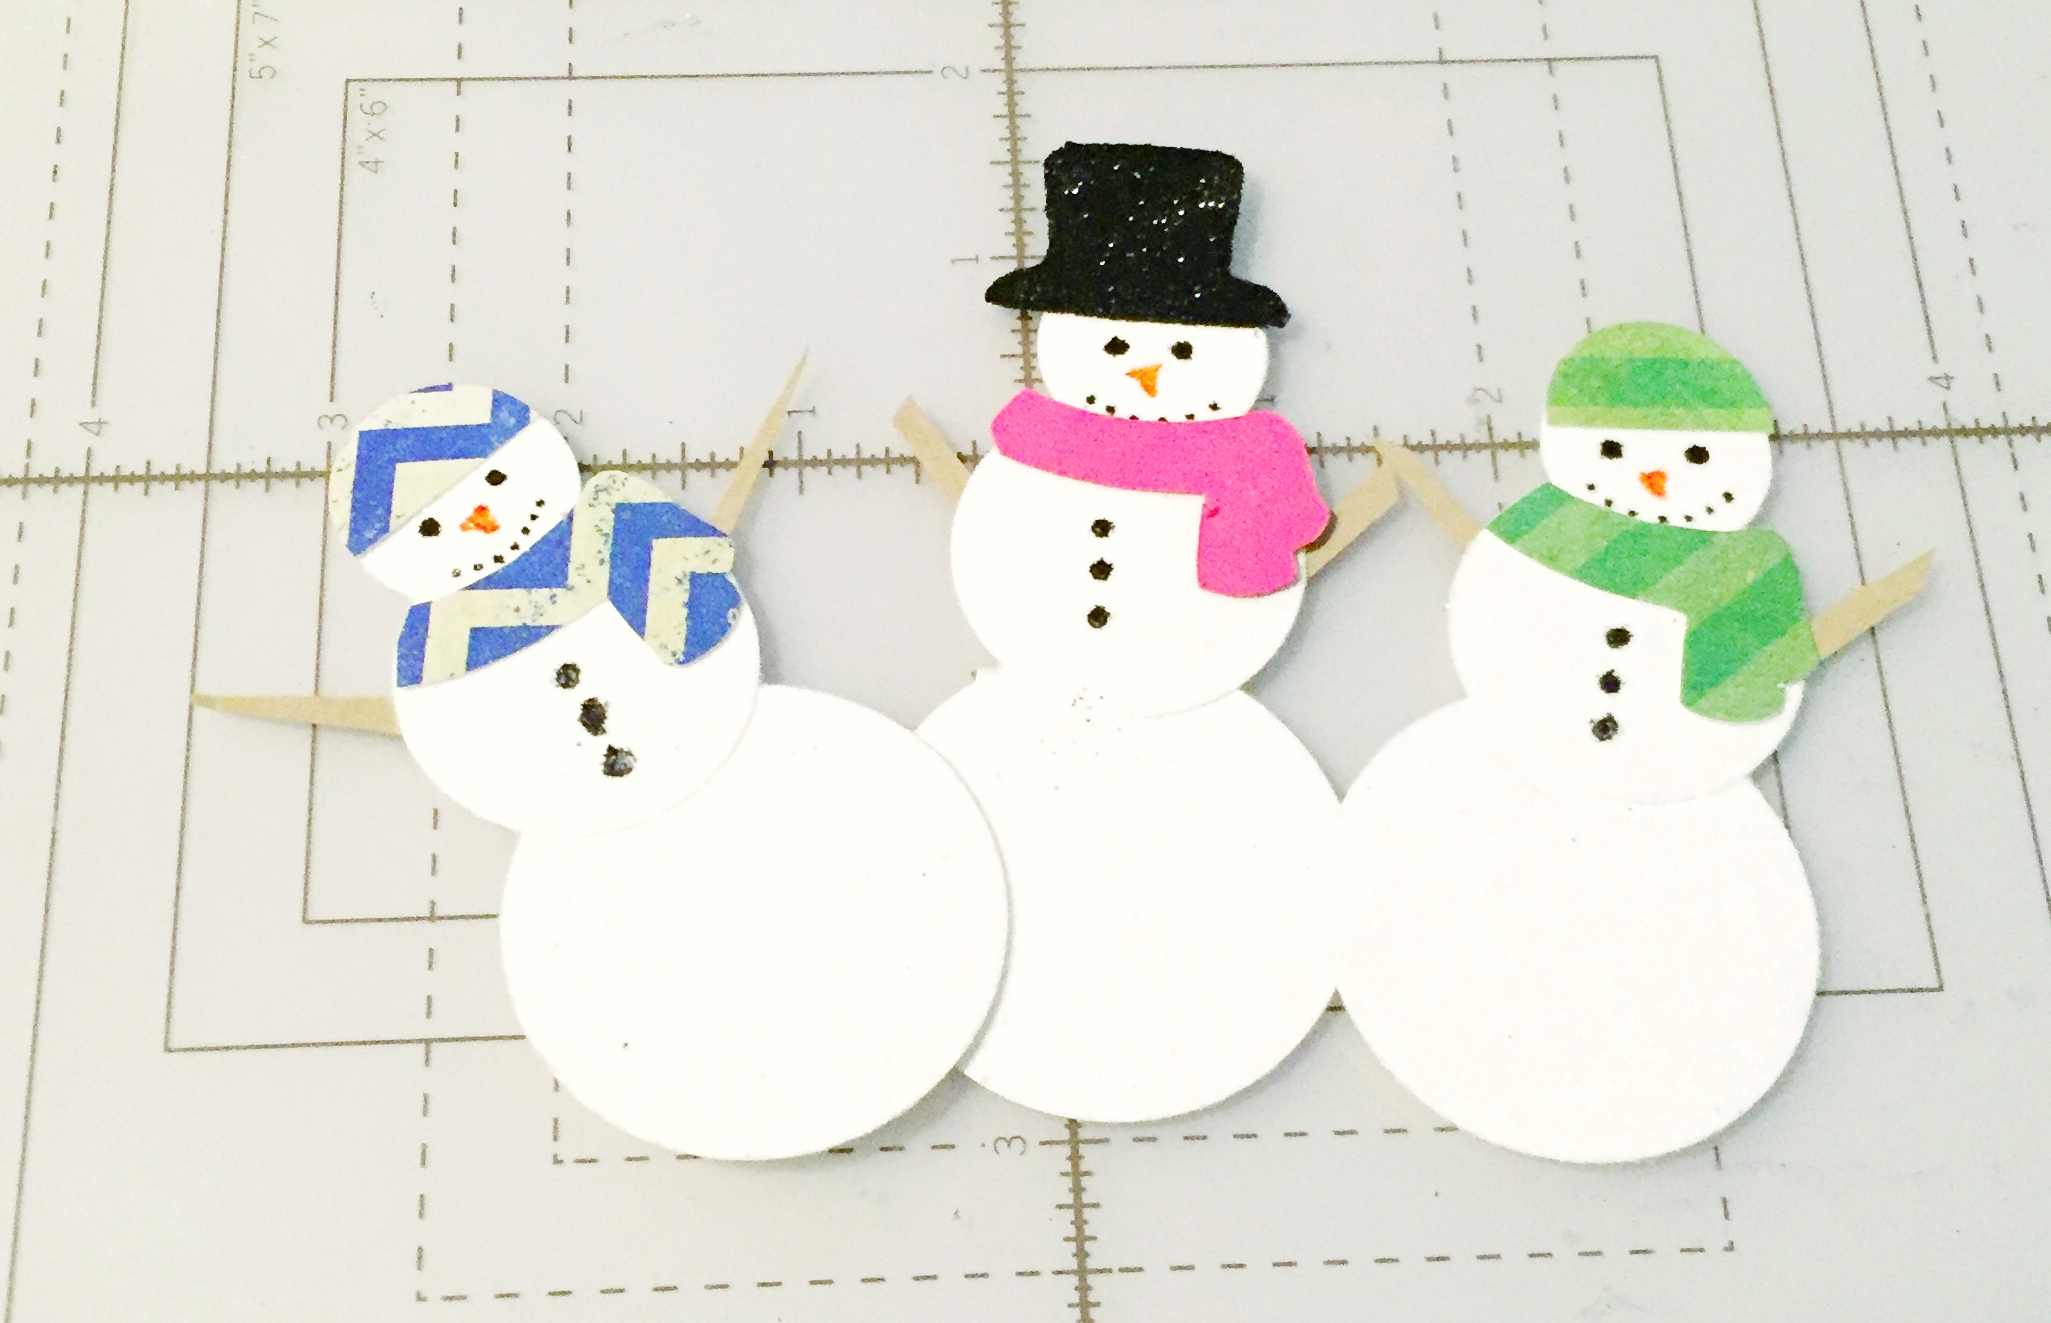
Step 8: Draw scarves on the corresponding scrapbook paper and cut them out. Use your tape runner to add them to your snowmen.
Step 9: Cut thin, short pieces from the brown paper. These are your arms. Add them to the back of your snowmen. If you want, you can add mittens to these little guys if you have time.
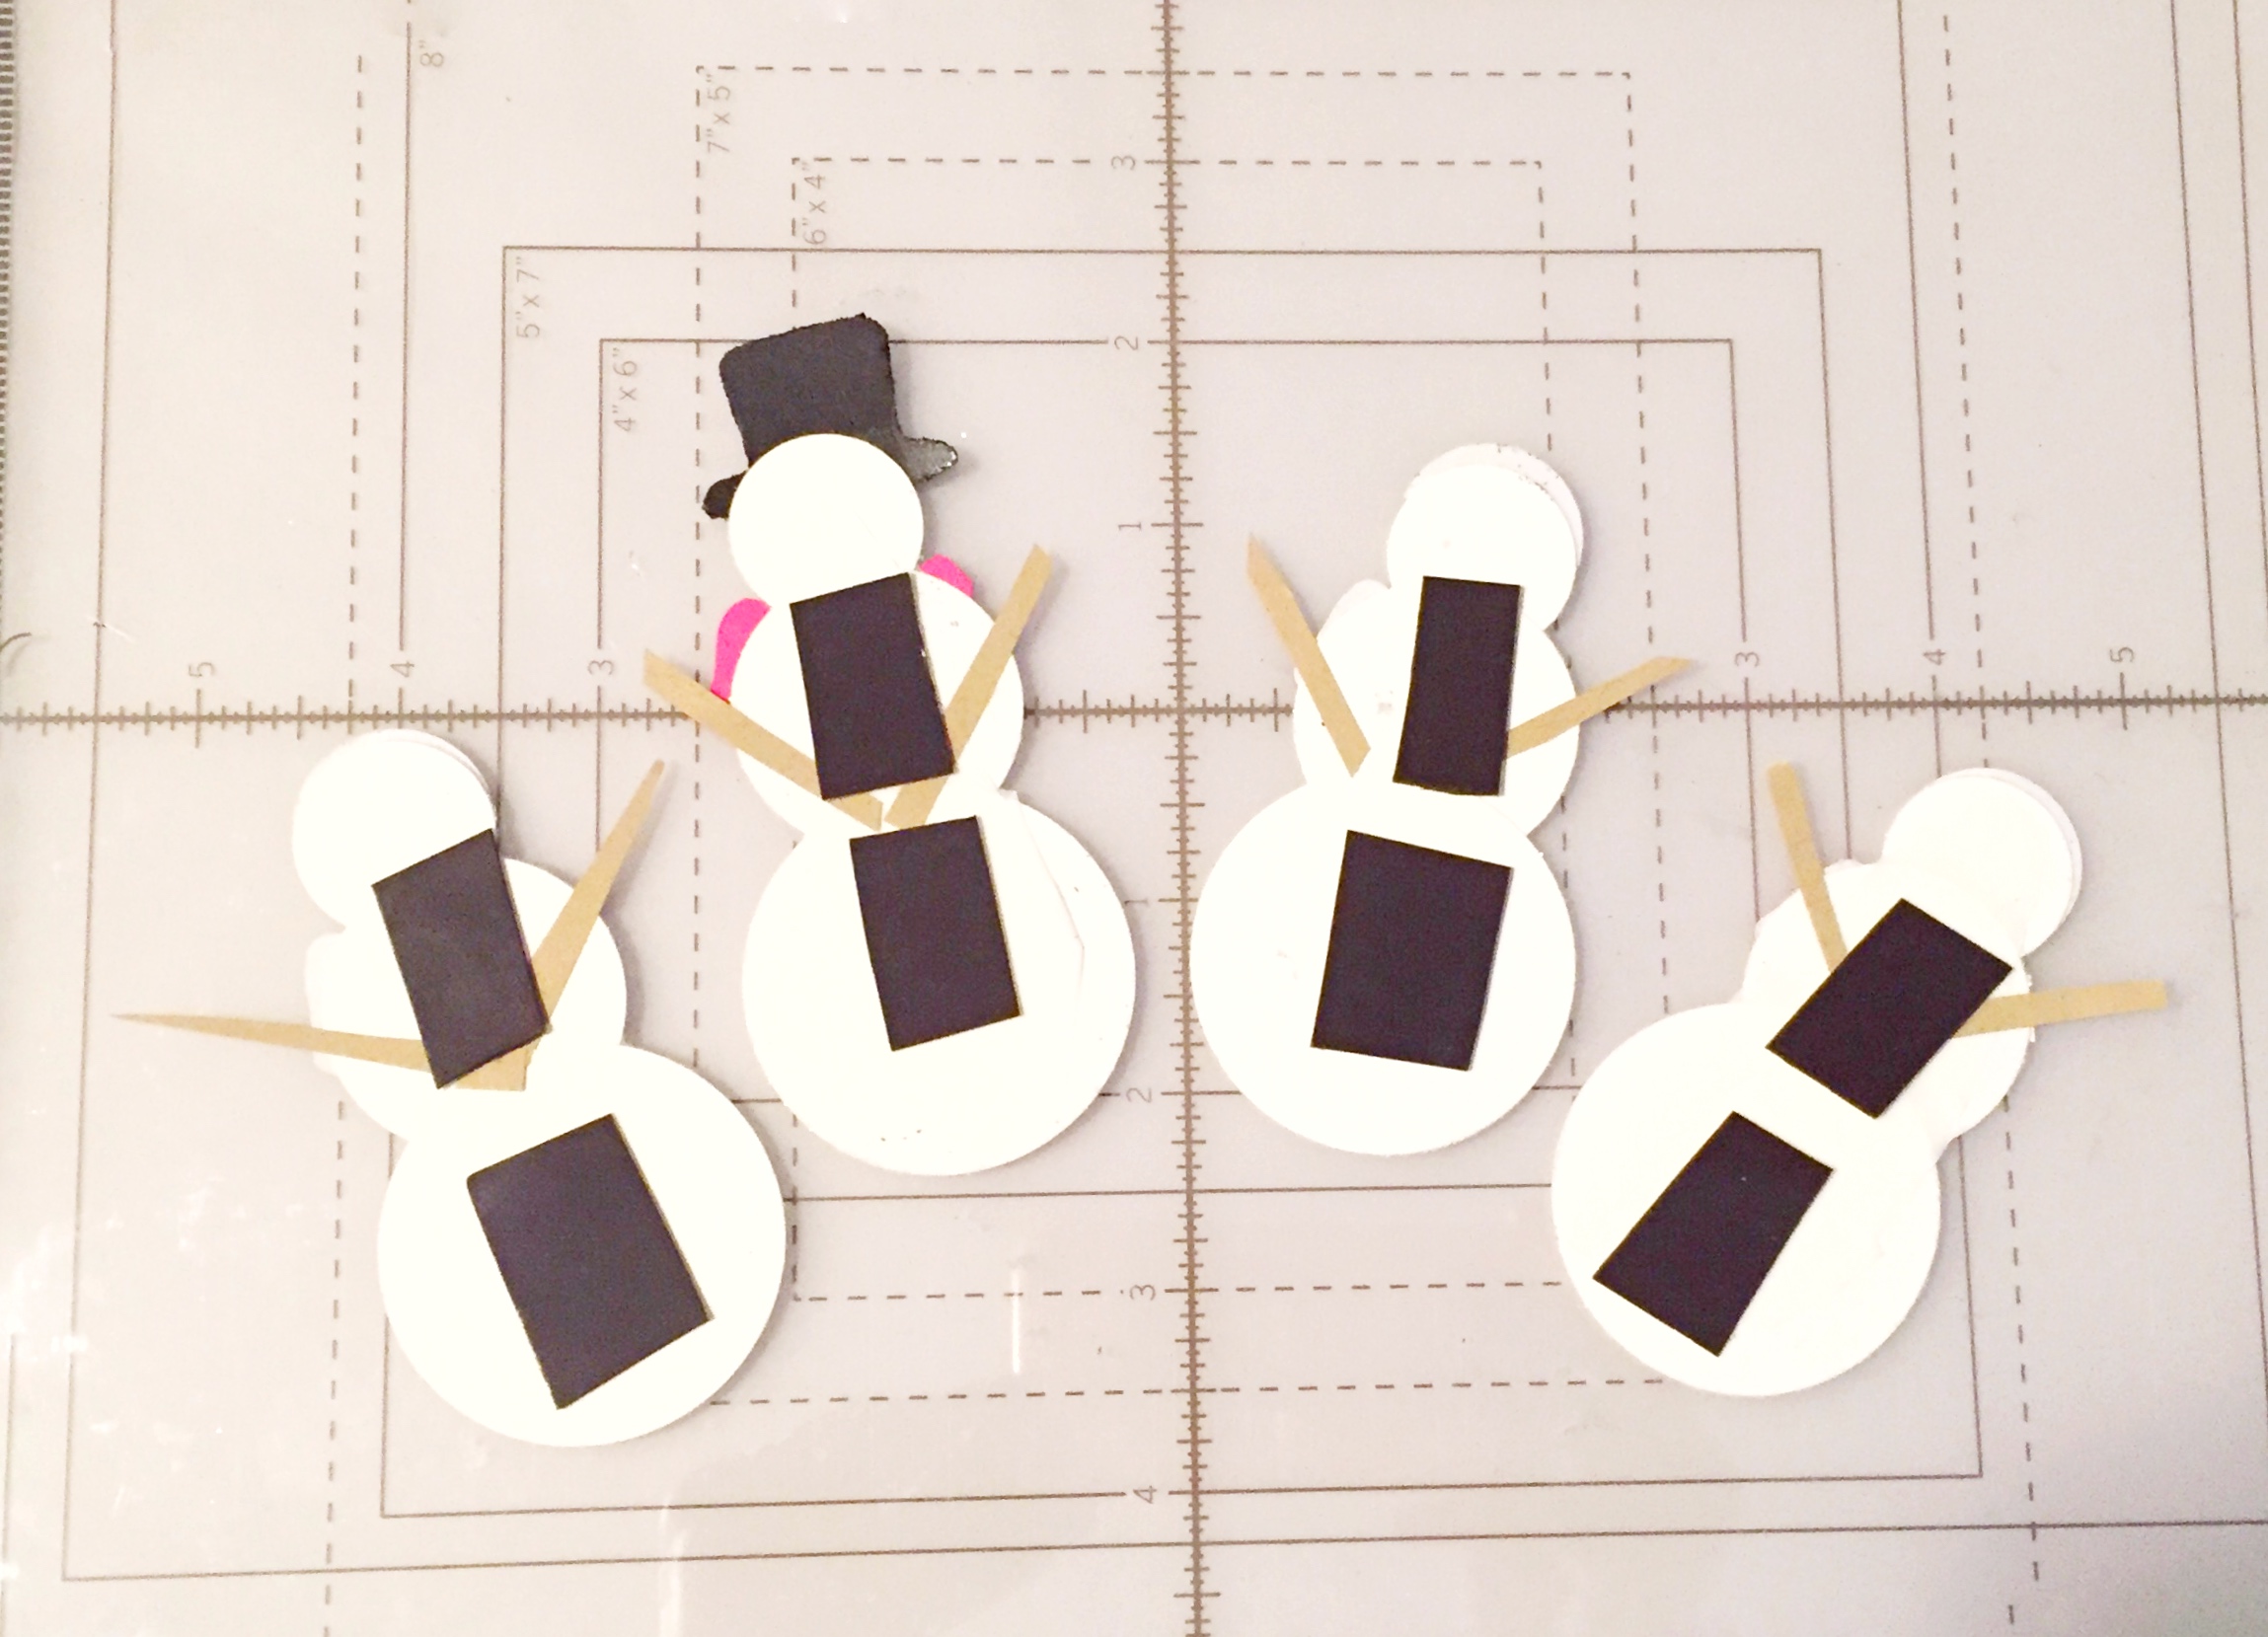
Step 10: Add your magnet pieces to the back of your card. Depending on how strong your tape is, you may need to use a little hot glue.
That’s it. Now you have adorable snowmen to add a little winter fun to your fridge. You can also use these to hold up your holiday cards.
Let me know how your snowman turned out. Post you pics on Instagram with the hashtag #htgawcrafting! Can’t wait to see them!