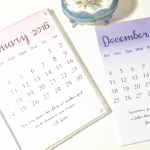
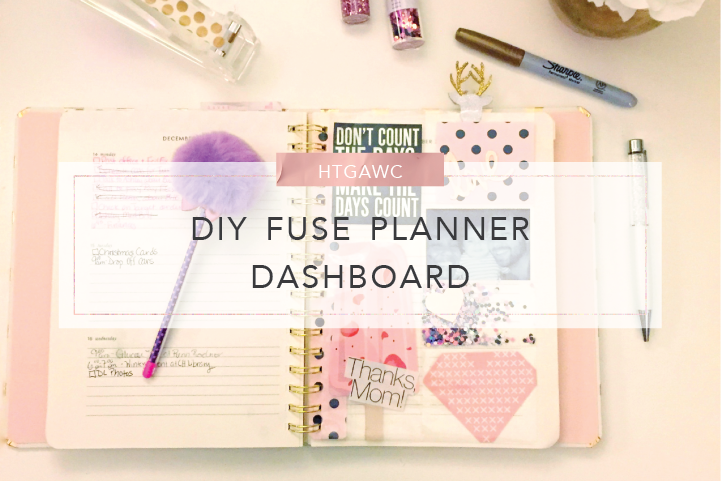
 So I’m a planner addict like many moms and crafters. I’ve had a number of different planners, again, like many moms and crafters. Right now I’m loving my Kate Spade New York Gold Dot 2015-2016 planner that I got from The Paper Source. I love the cream, gold, black and pink colors. However, I will admit that it is a bit toned down compared to my Erin Condren & Limelife planners. And that’s fine, I wanted something a little more subtle this year. However, I’m finding subtle can also mean a little dry, week after week. So I going to spruce up my days with an adorable dashboard using my new Becky Higgins FUSE tool.
In searching for tips on using this tool, I came across a perfect tutorial on creating planner dashboards with your FUSE from Sprinkled With Glitter. Here’s the link to her video for more details. The thing is, she created her dashboard for a planner that uses the ARC system. Well, my planner is bound by twin loops or Owires. But that’s okay because today’s project will help planner gals like me with a Kate Spade or comparable planner with this type of binding. Tonight’s #htgawcrafting project is creating gorgeous, dashboards for twin loop bound planners.
Ready? Let’s go.
Supplies for FUSE Inspired Planner Dashboard for Twin Loop Binding
- Kate Spade Planner 7″ x 9″ or something comparable with twin loop binding
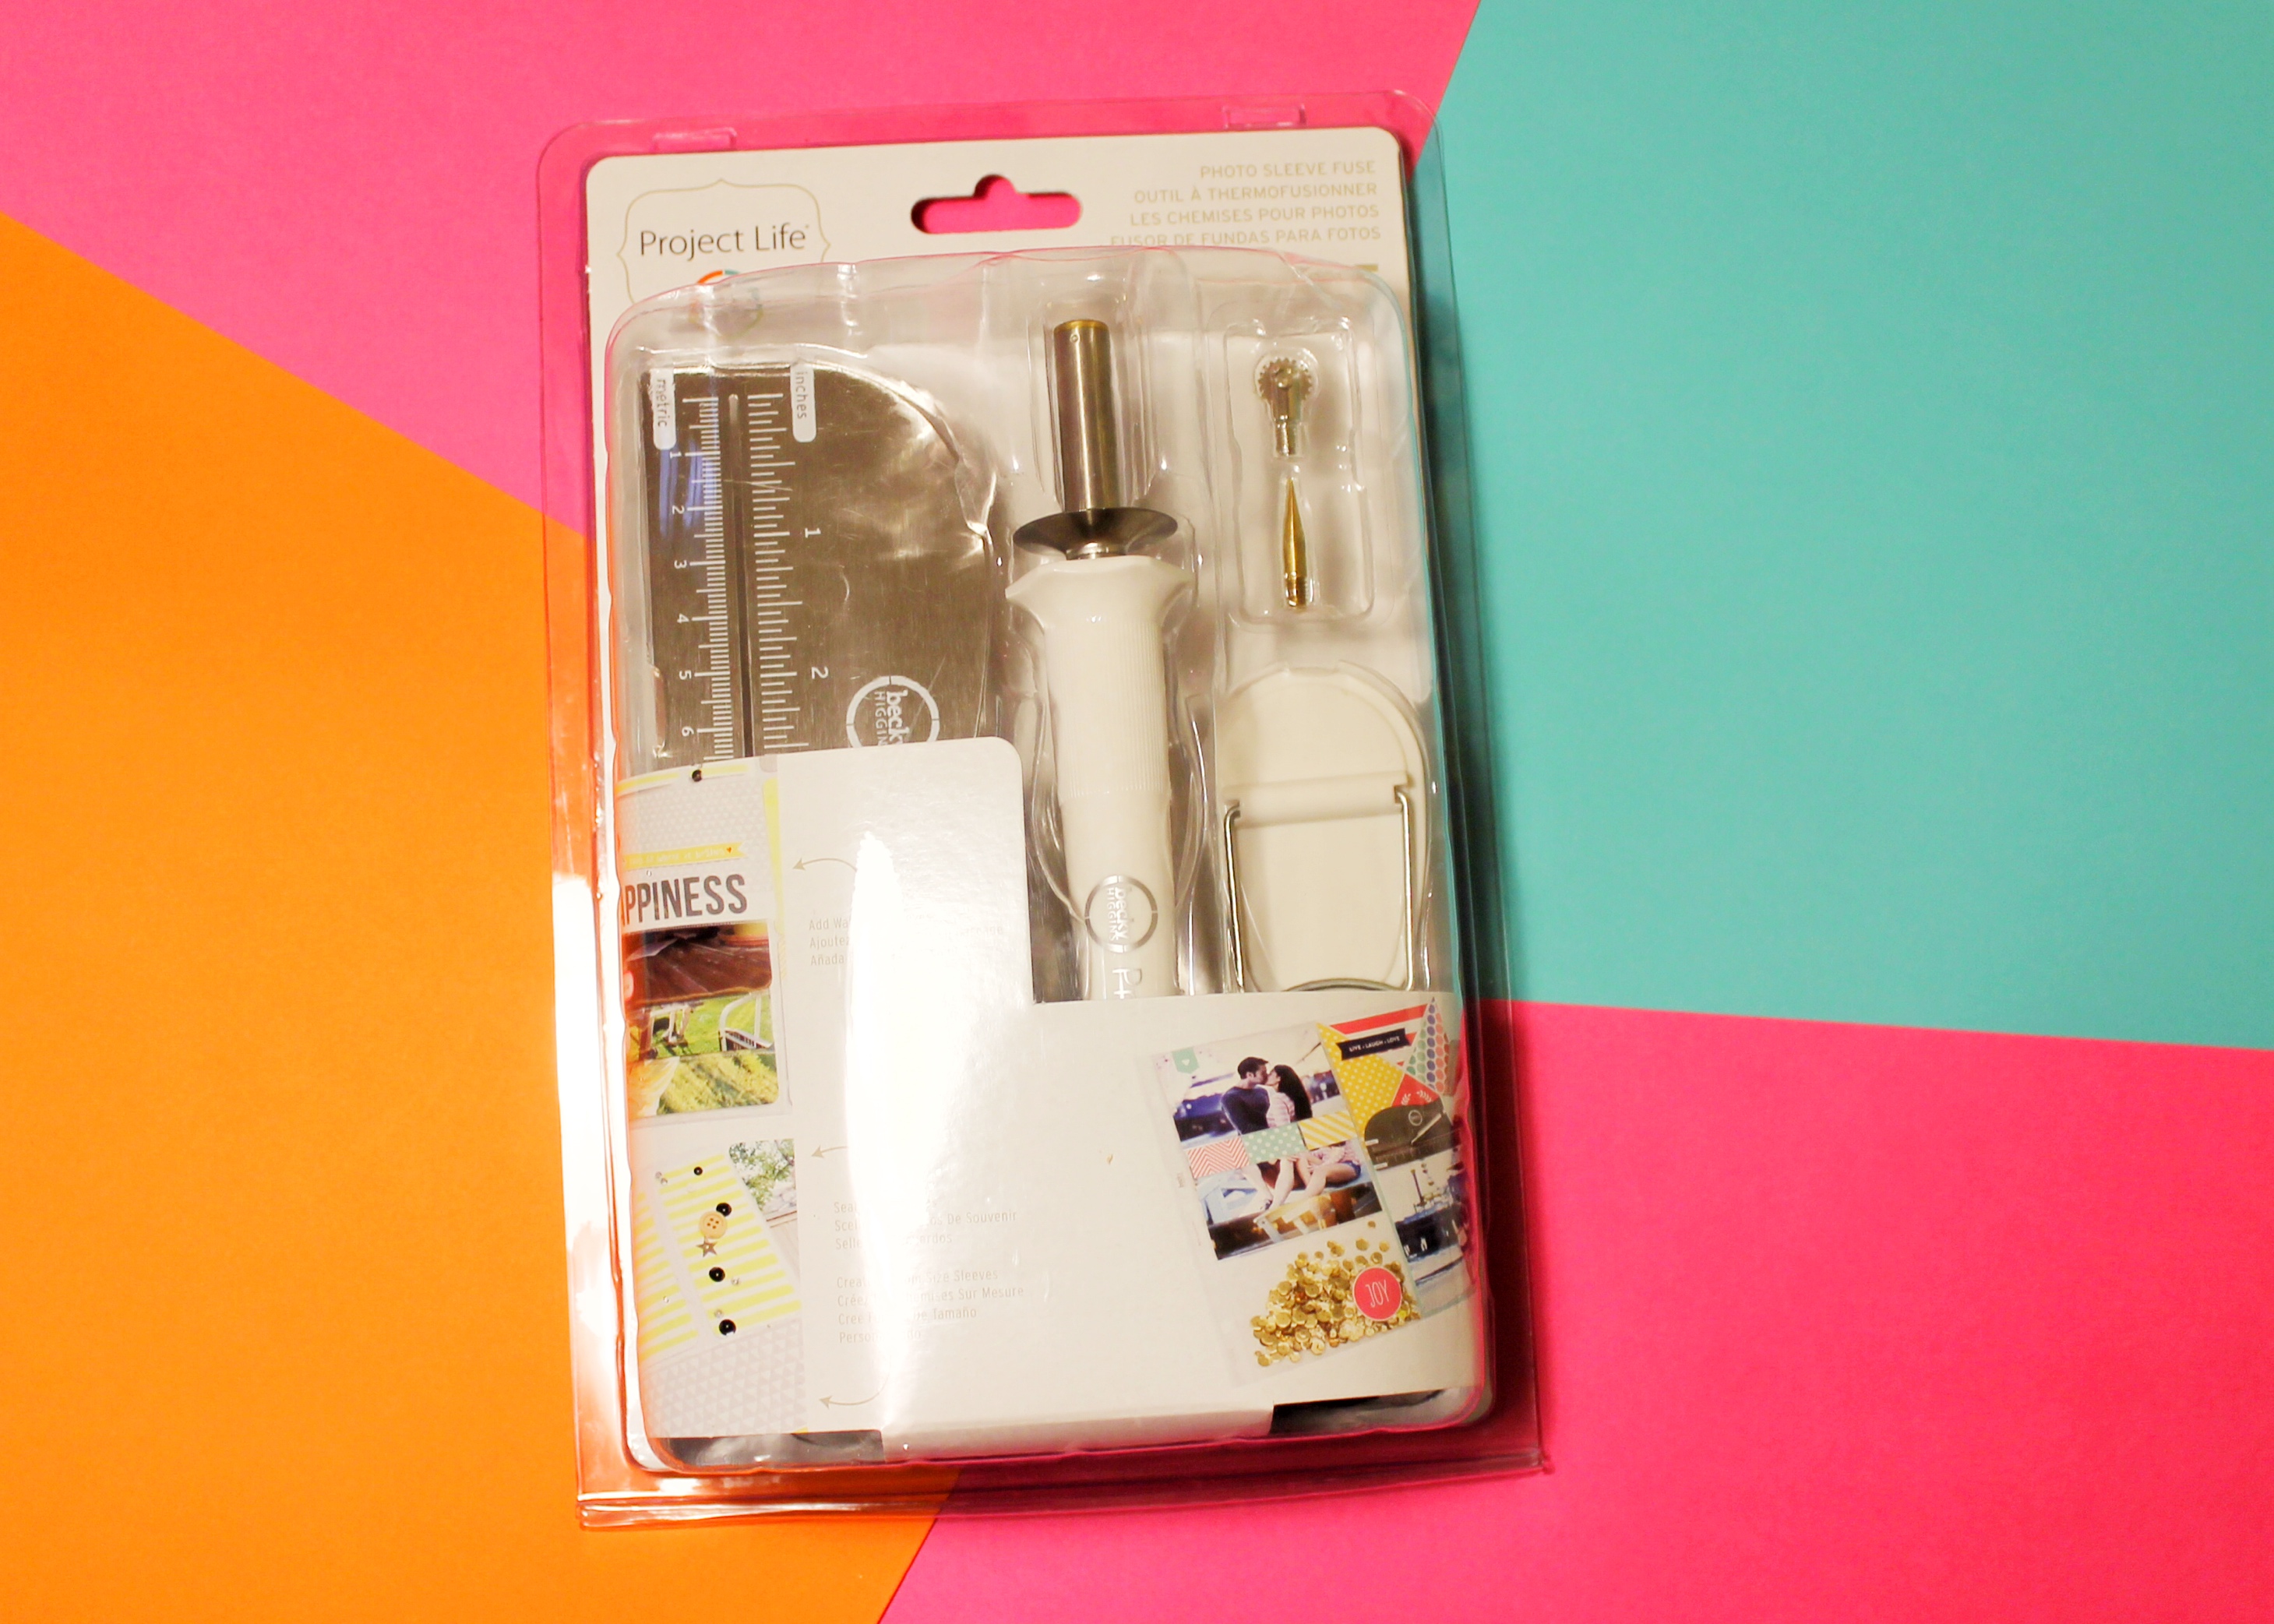
- Becky Higgins Photo FUSE Tool
- Photo or Scrapbook page protectors
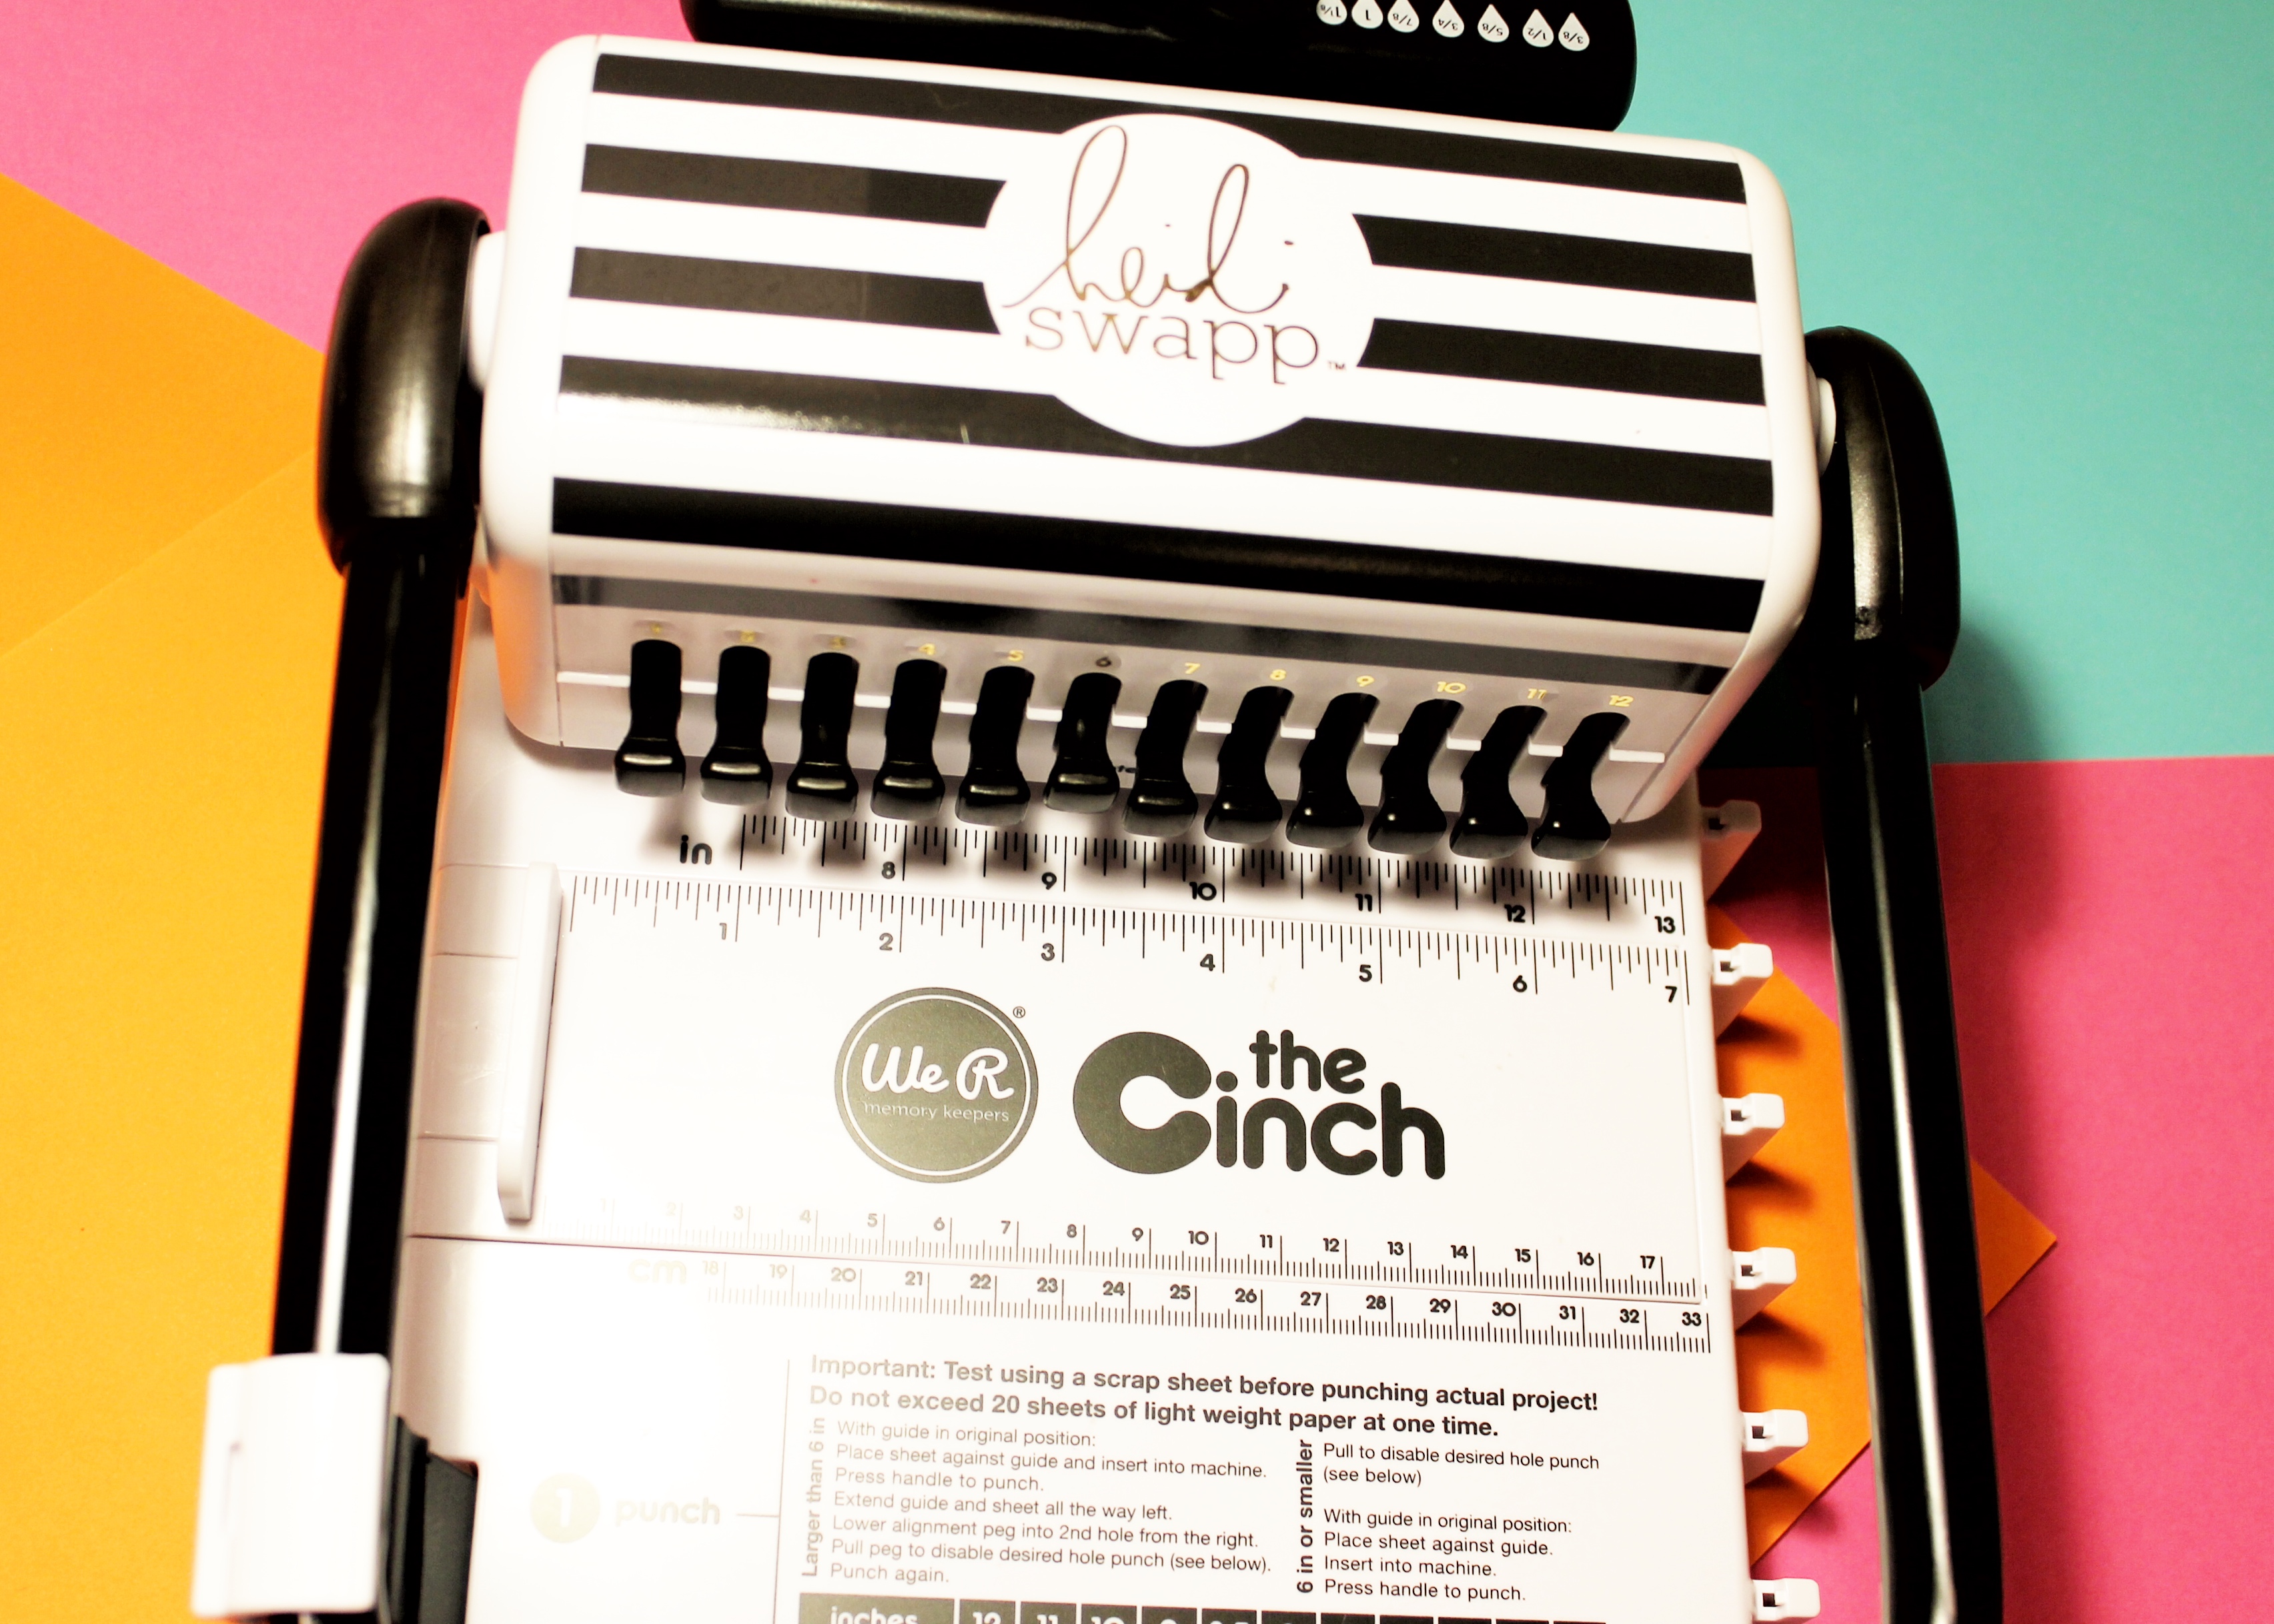
- Cinch Book Binding Tool
- Decorative embellishments (Wrapping paper, Glitter, Project Life Cards, etc)
- Laminate pouch and laminator
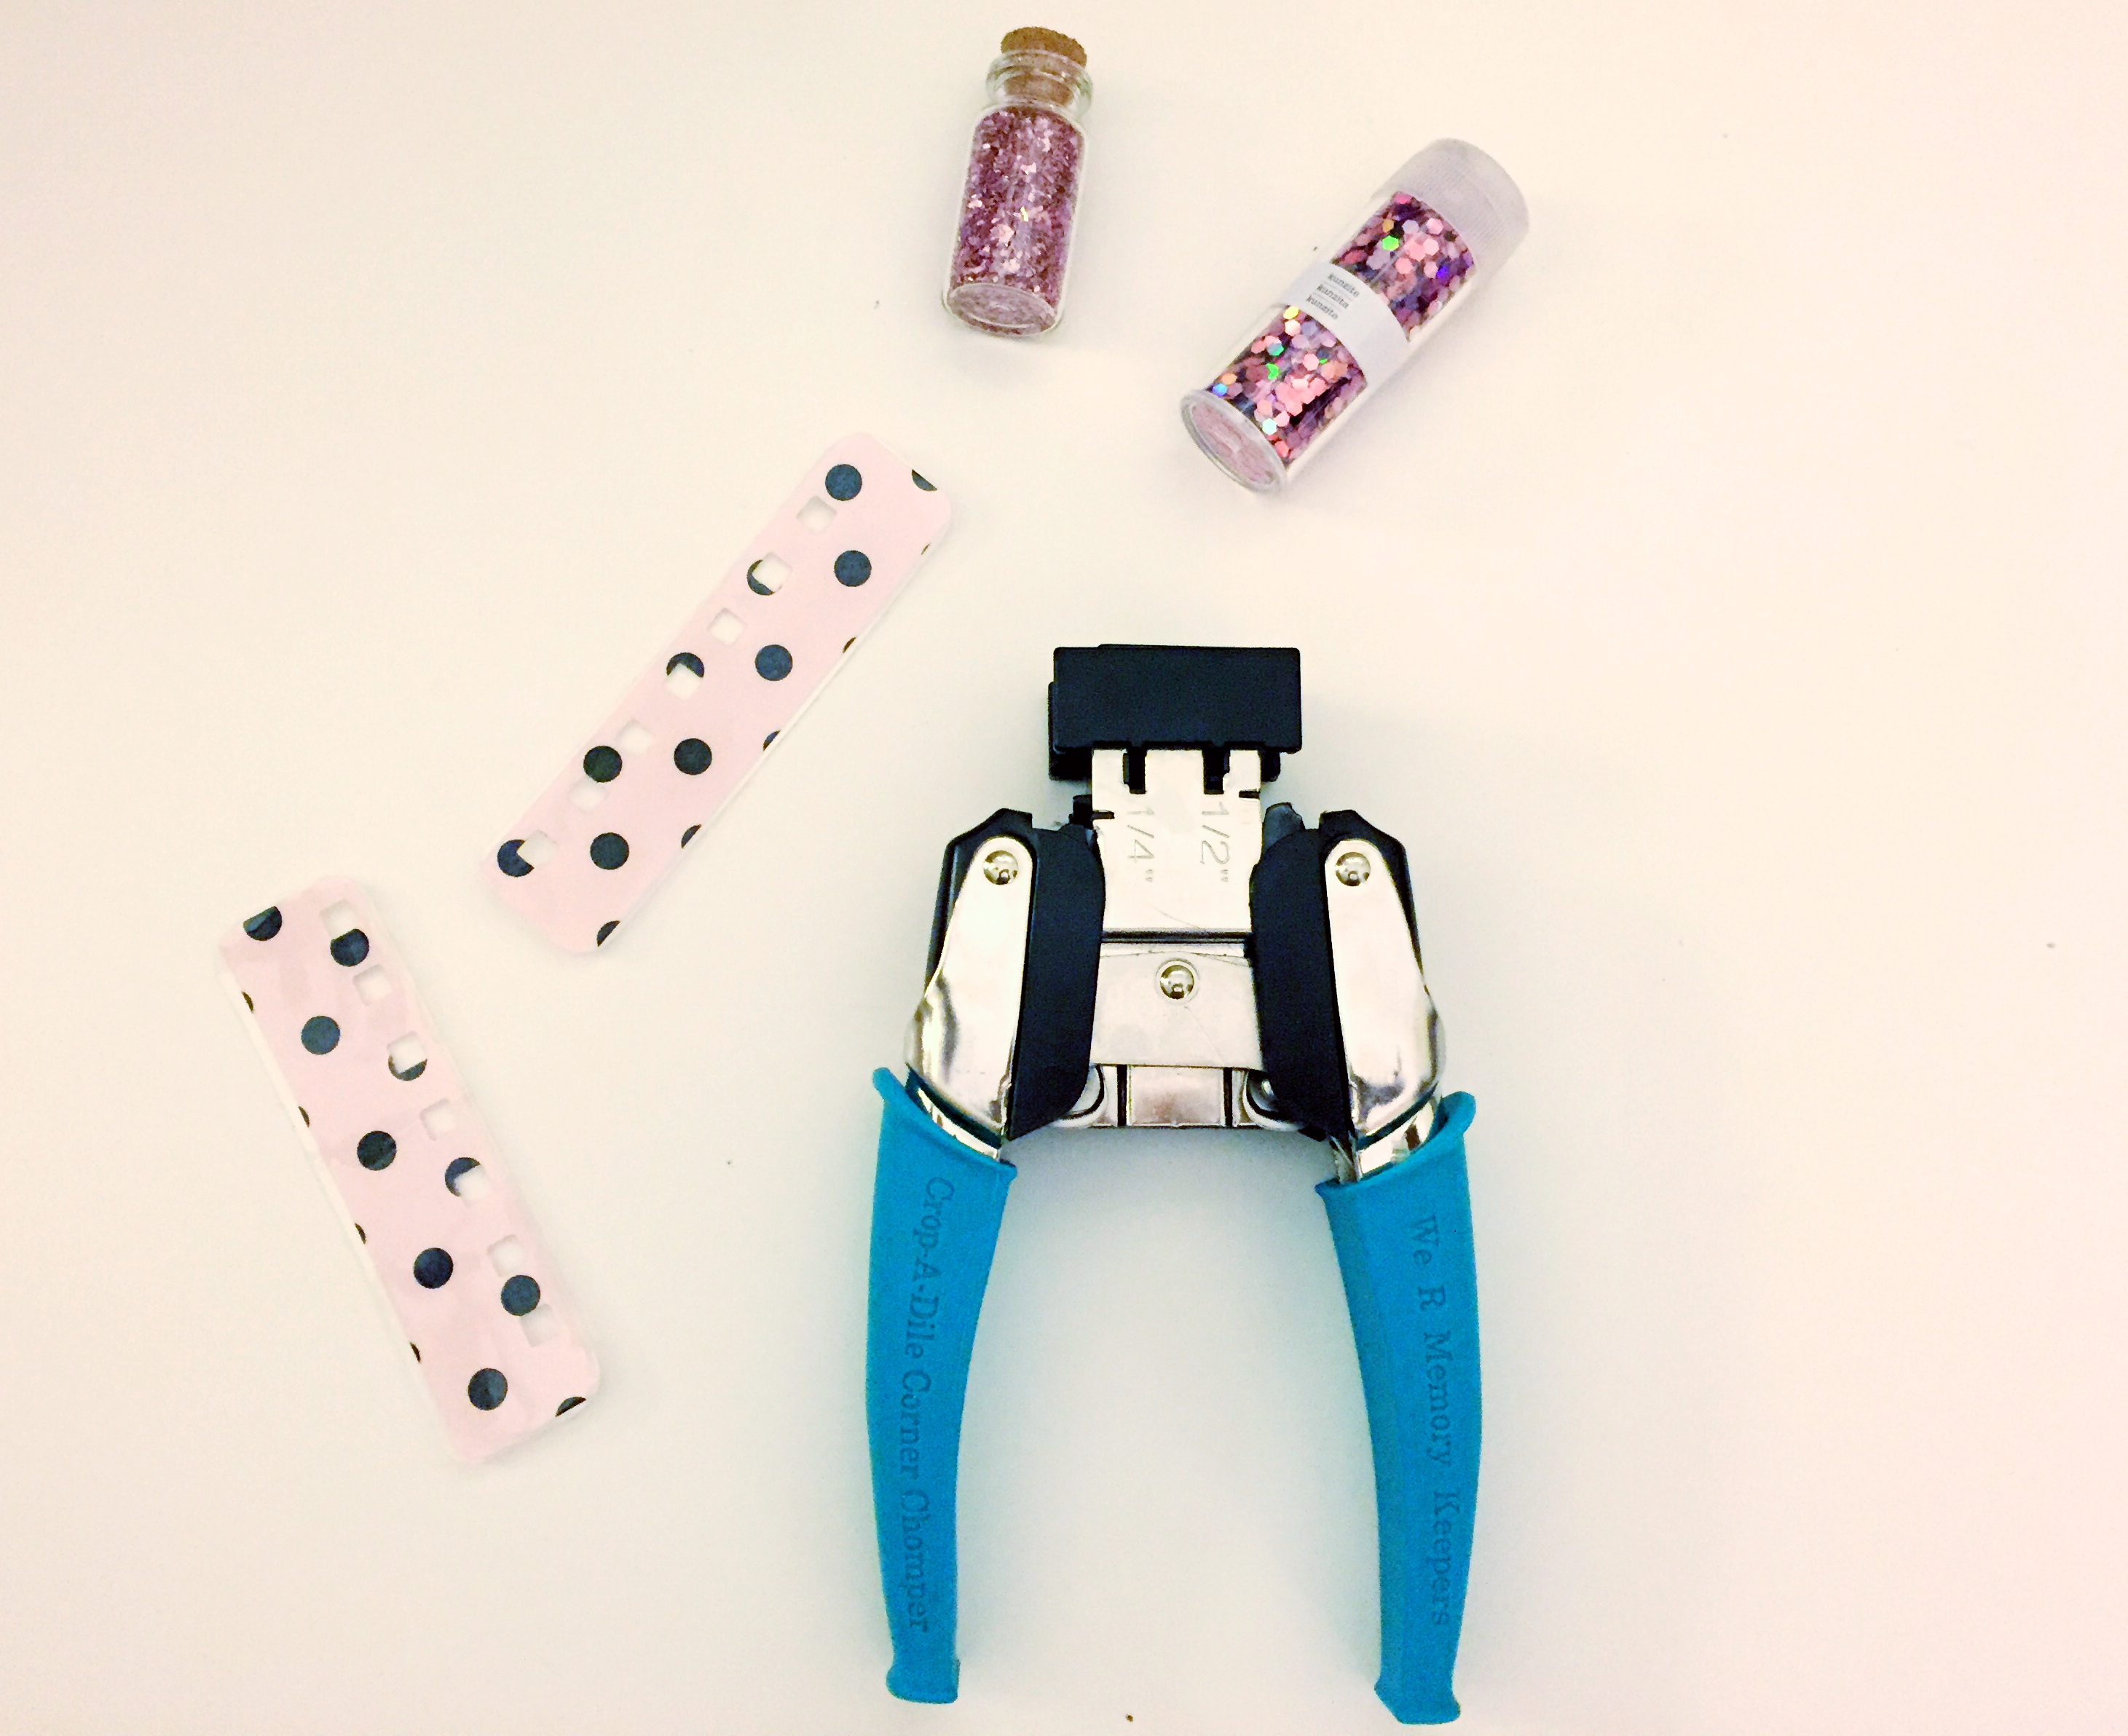
- Crop-A-Dile Corner Chomper
- Needle nose pliers
Steps
Step 1: Unbox your Becky Higgins FUSE and squeal with joy. Okay, that’s not an actual step, but you can do that. Seriously, step 1, is to plug in your FUSE tool. By the time you go through the next four steps, it should be hot and ready.
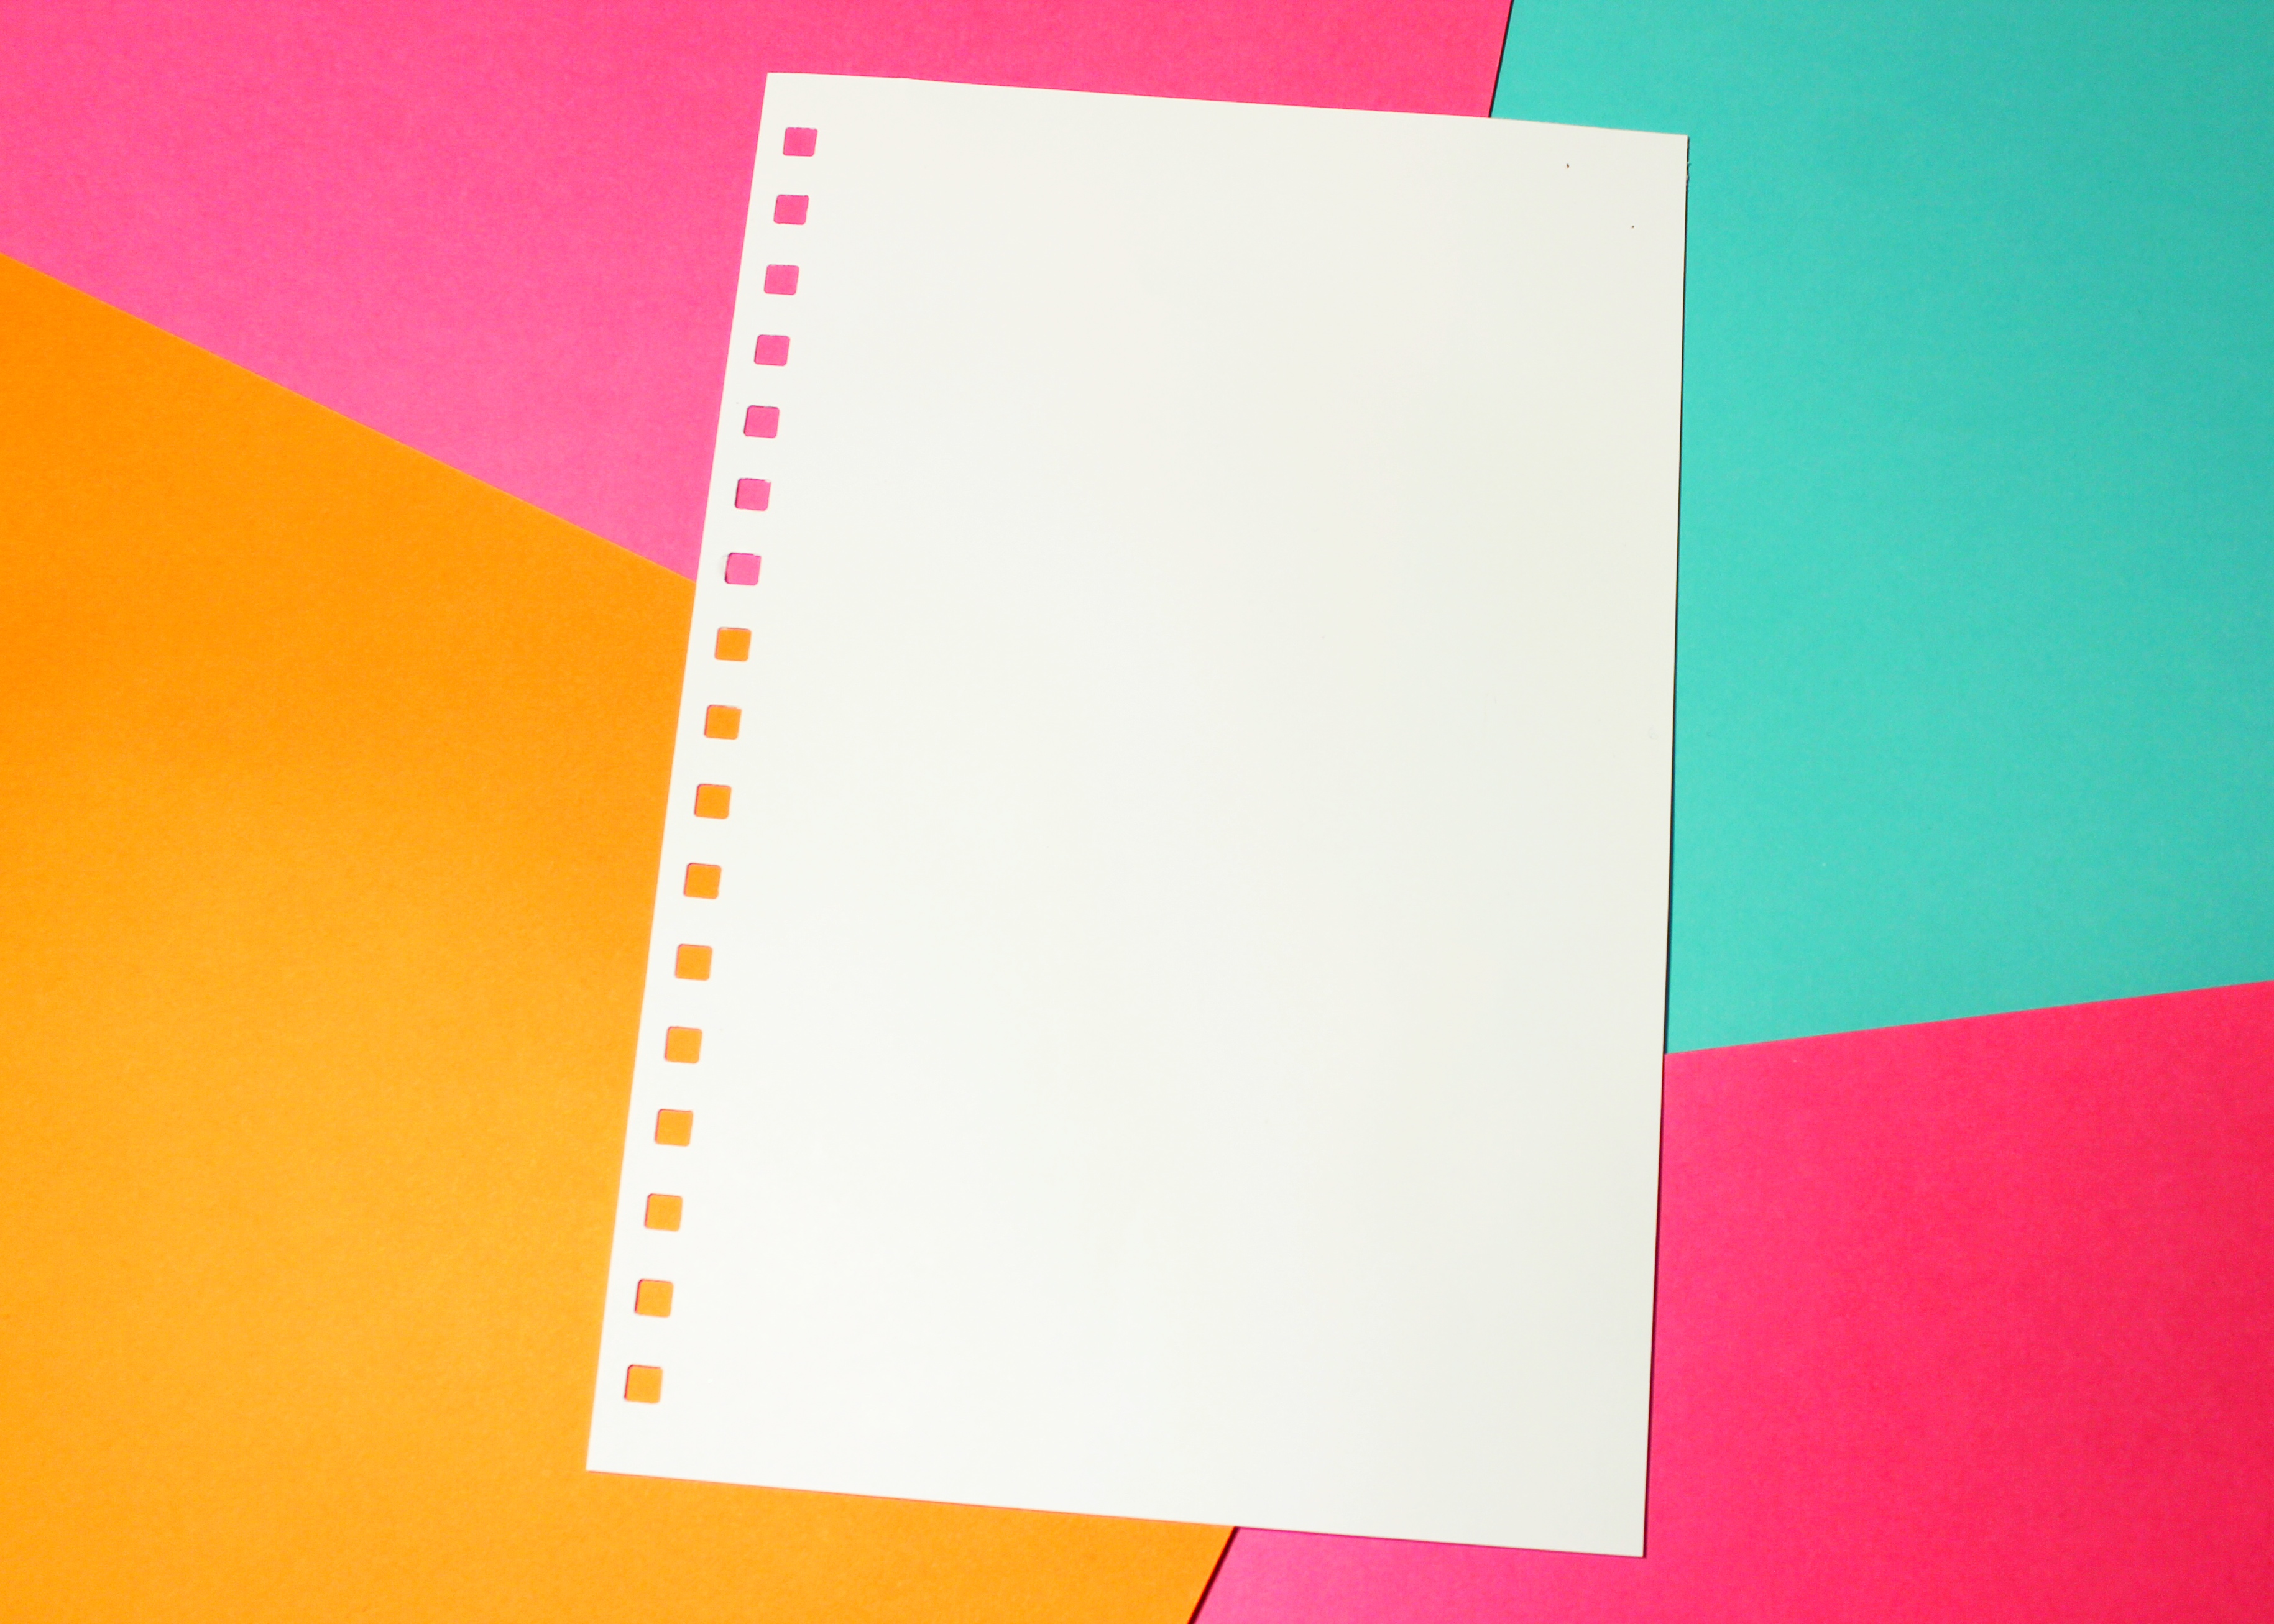
Step 2: Cut a piece of paper down to fit your Kate Spade planner – 6″ x 9″. If you want, take the extra step and punch the paper with the Cinch Book Binding Tool. So now it looks like an actual piece of paper from your planner. I did this so it would be easier to know how much room I have to for my embellishments given the binding.
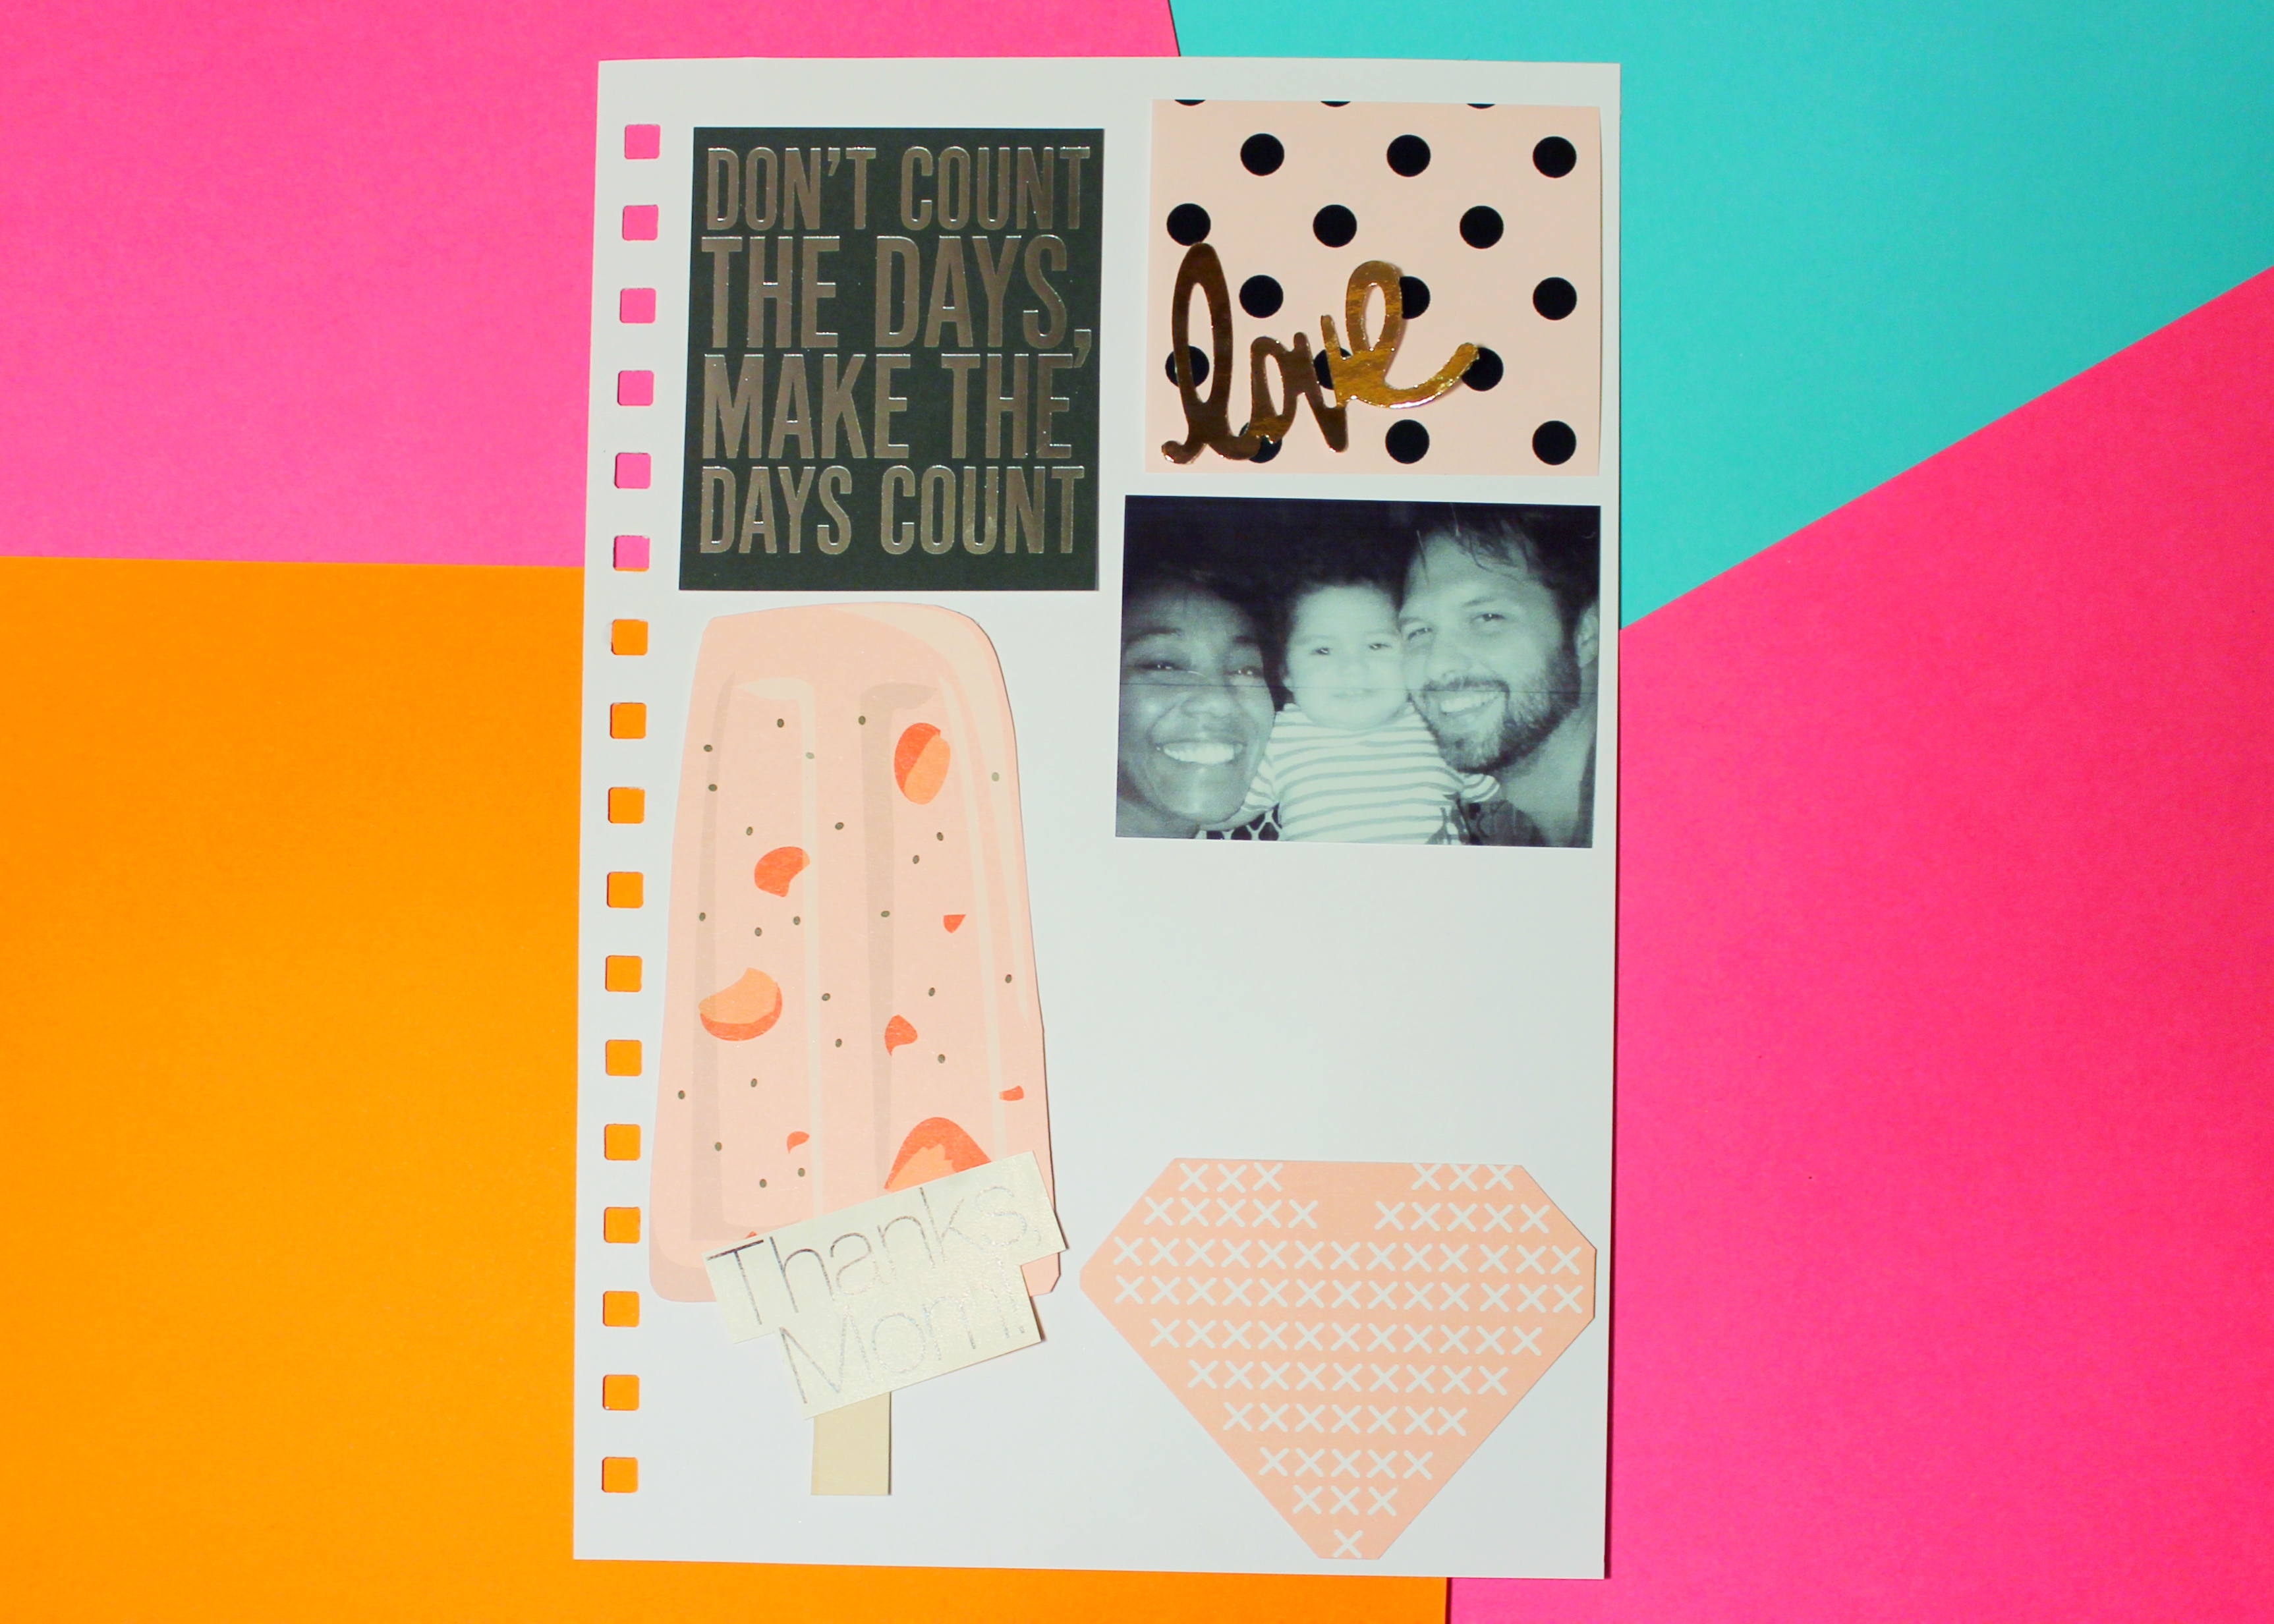
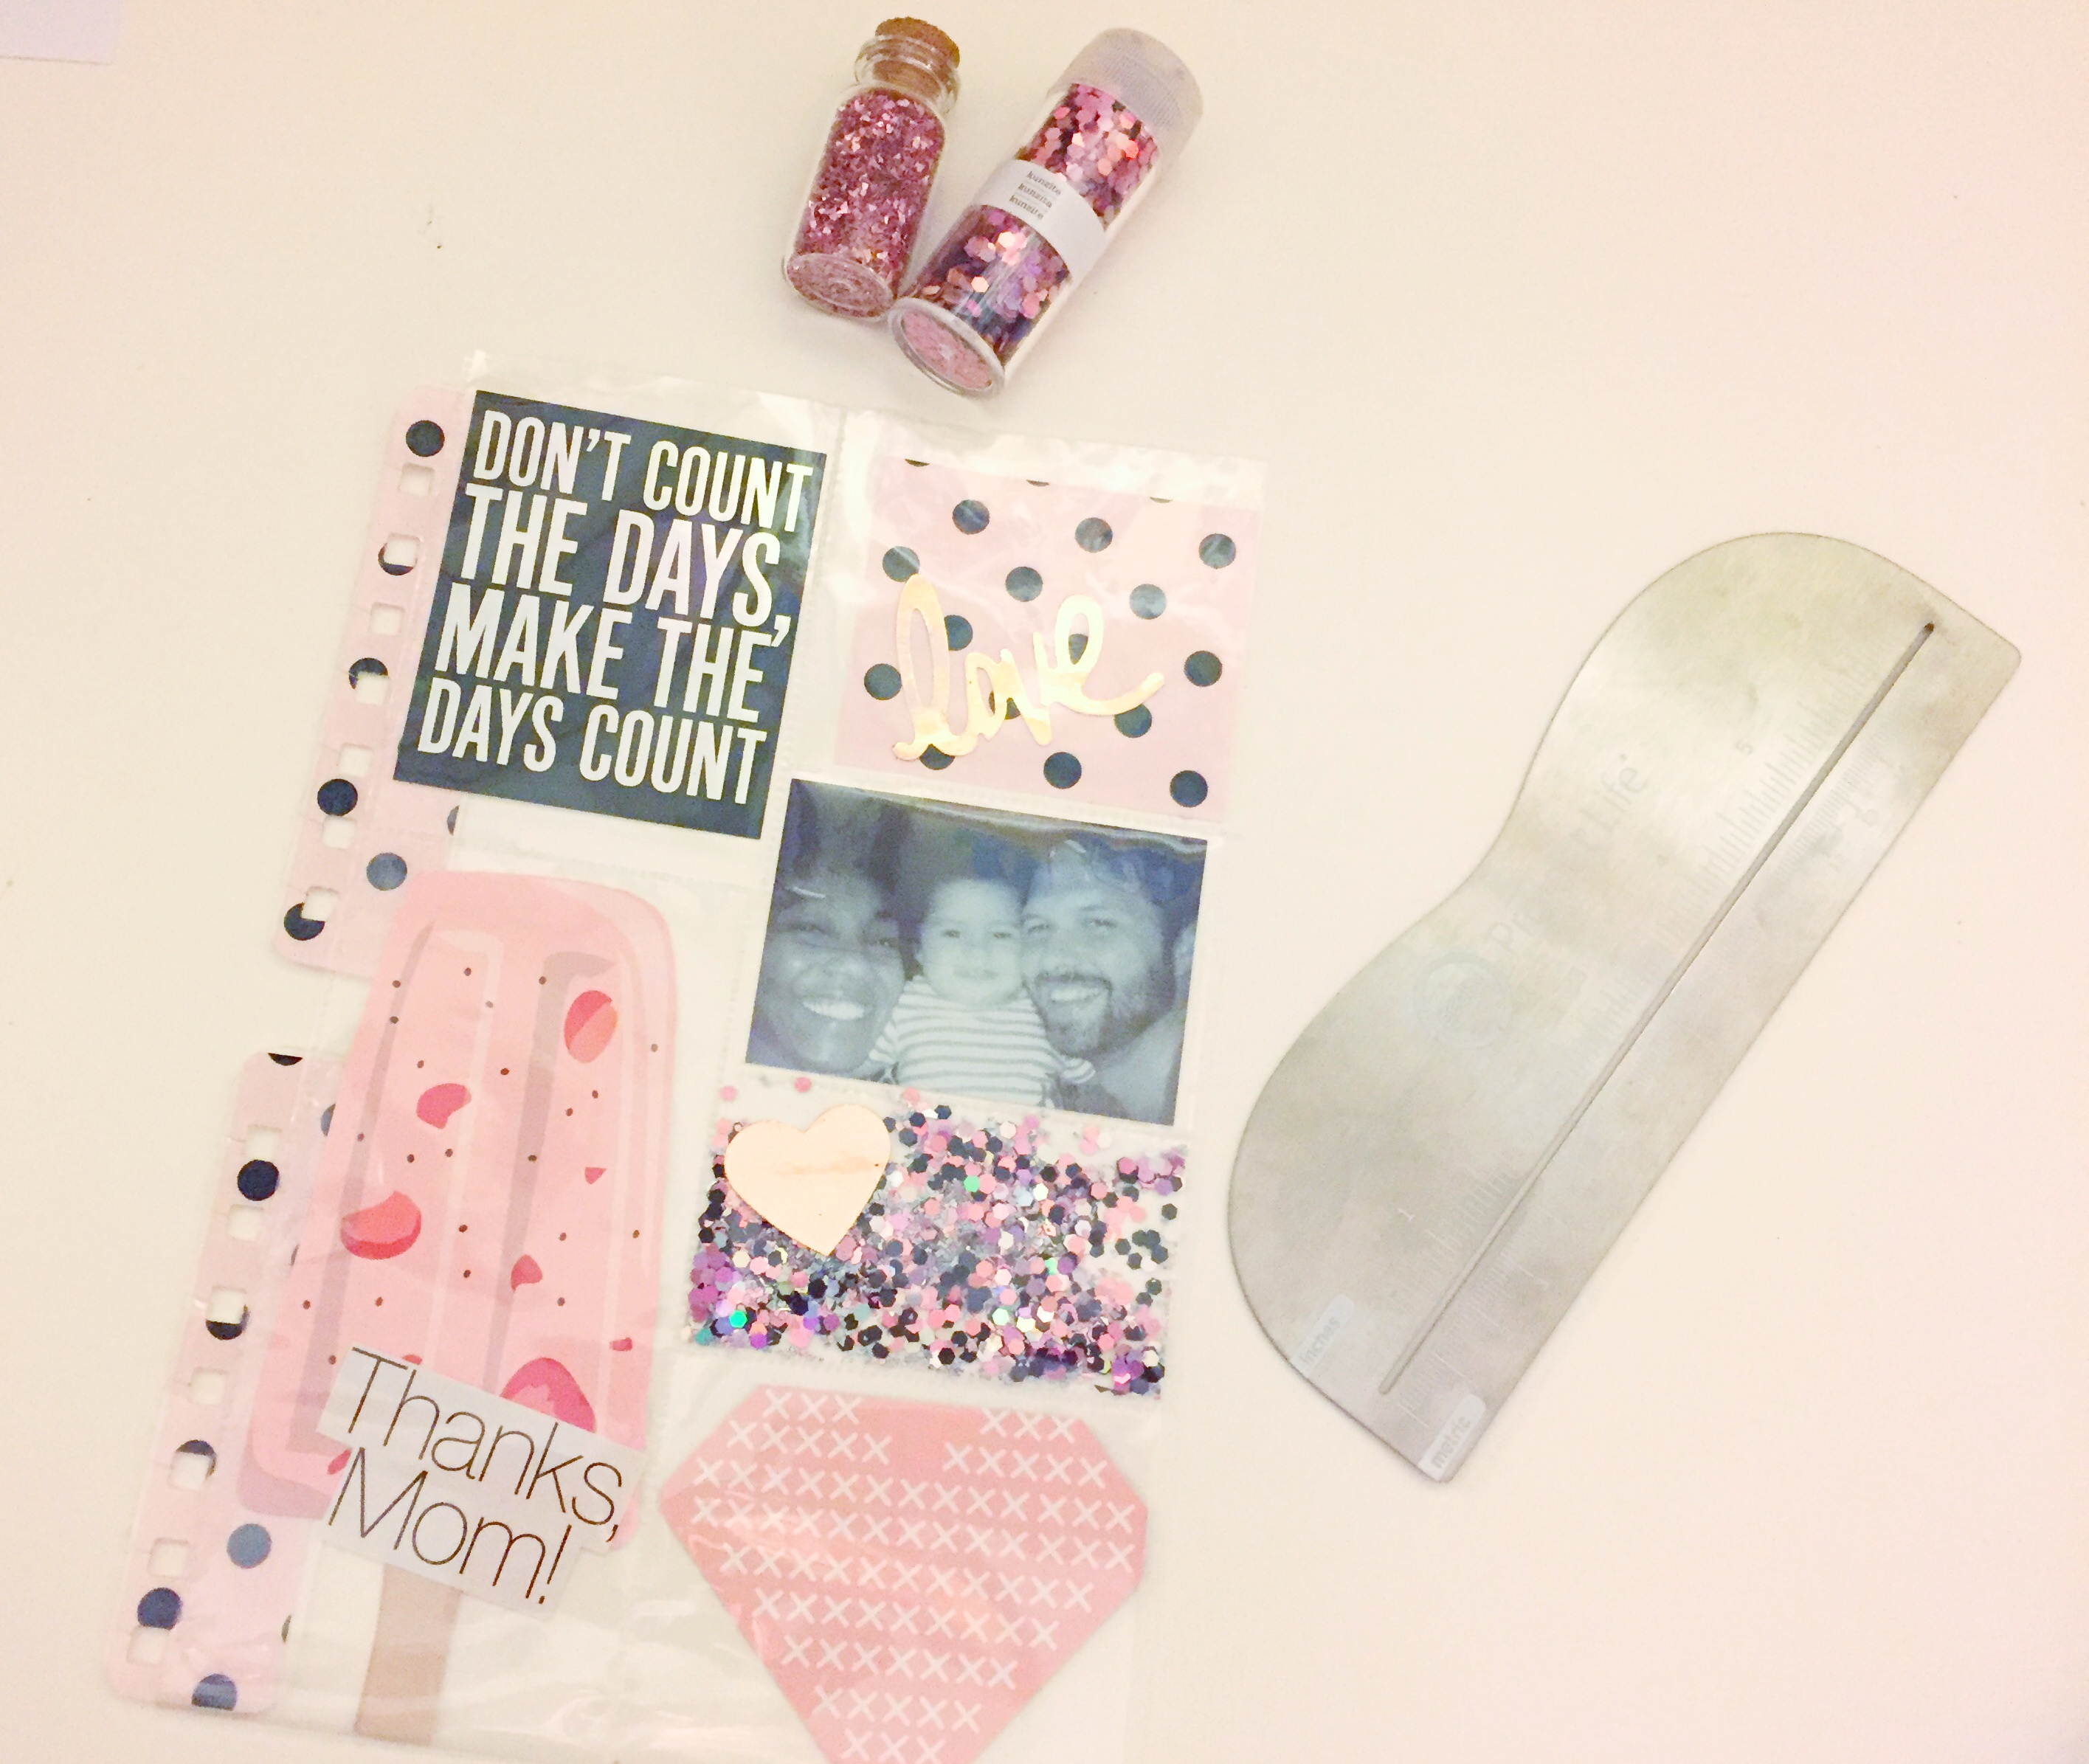
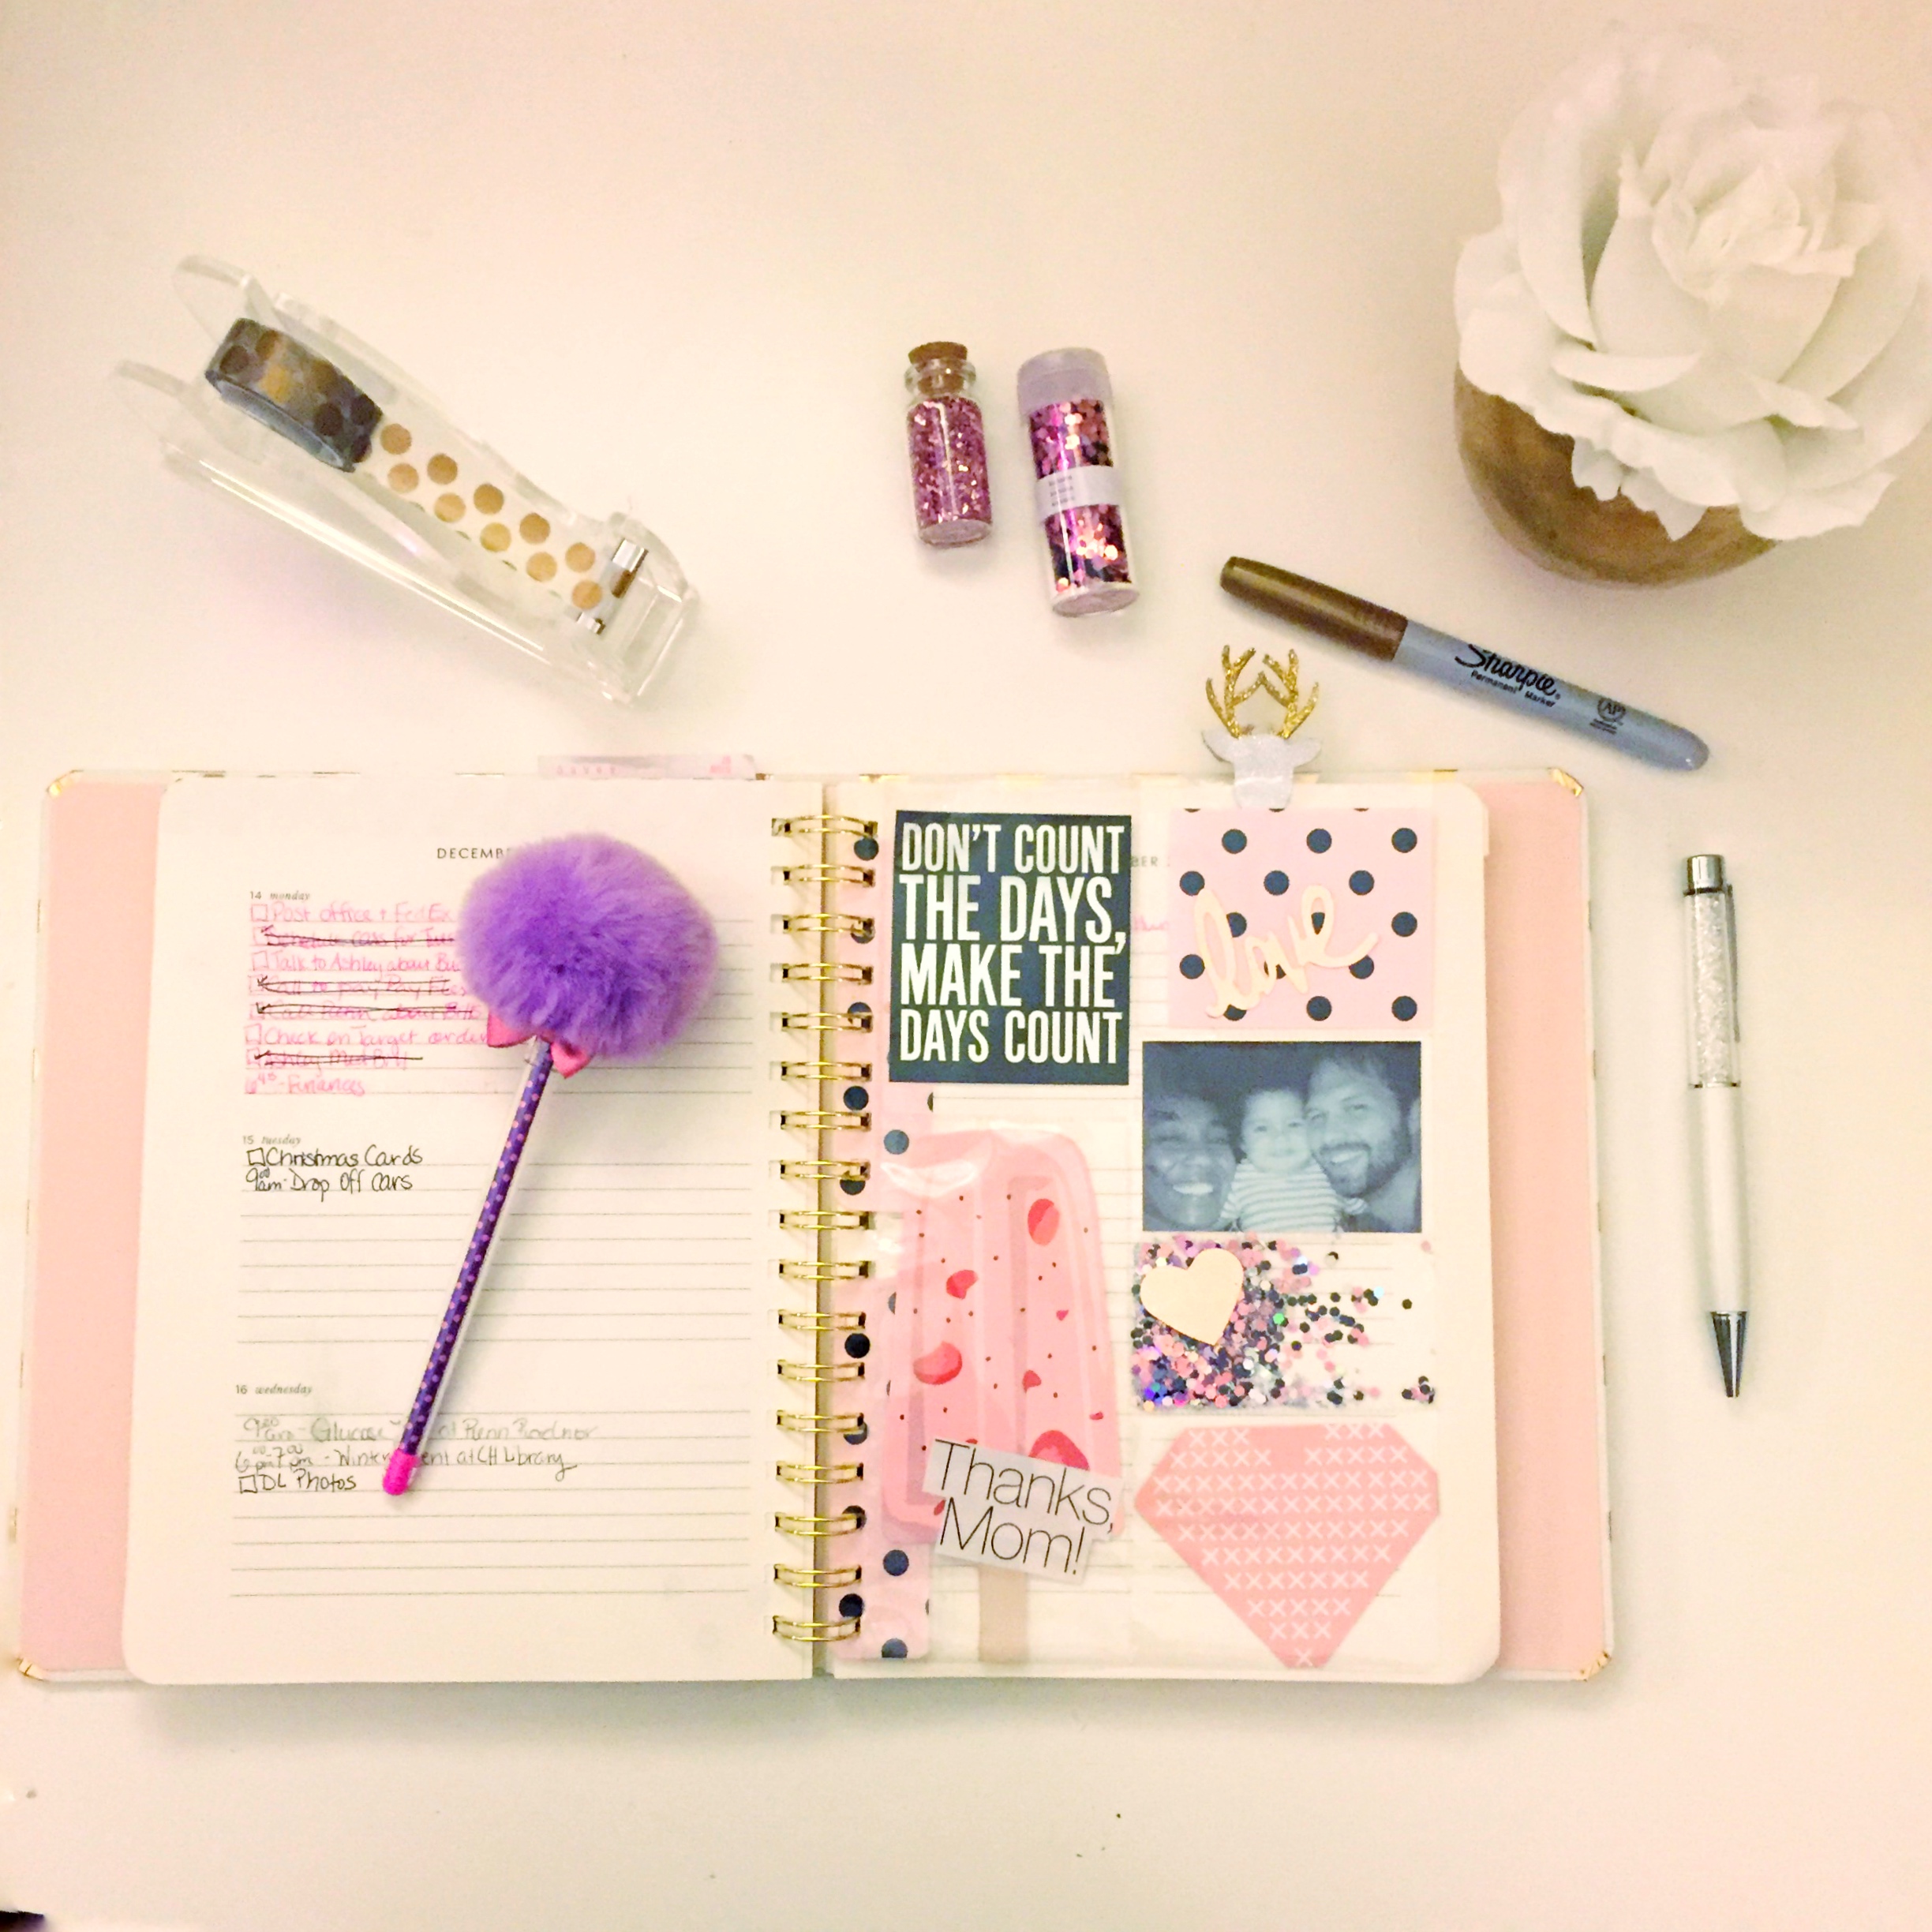
Step 3: Collect your embellishments – photos, scrap paper, Project Life cards, glitter etc. I didn’t want to create an overly distracting dashboard for my planner, so I stuck to a focused color palette of pinks, black/grey, and metallics. These match my planner. Here’s what I used:
- Pink popsicle cut-out from an old Paper Source calendar
- Magazine clipping
- Teresa Collins Love Punch
- Martha Stewart Crafts Heart Punch
- Foiled paper using my Heidi Swapp MINC Foil Applicator and Therm-O-Web iCraft DECO Foil
- Martha Stewart Crafts® Hexagonal Glitter in Kunzite, Onyx & Sterling
- Recollection Vintage Romance Glass Glitter
- Black & white family photo
- Store brand journaling cards
- Wrapping paper
Step 4: Use that piece of paper to create your layout with your embellishments. You may need to cut down your embellishments to fit. If you plan on making a glitter pocket like I did, leave a blank space on your paper. Using the paper as a guide helps you to be more exact in your placement. This way you don’t have to guess when you’re using your FUSE.
Step 5: Slide your embellishments into the page protector based on the layout. To make sure everything is exactly where it should be, place the paper guide behind the page protector. If anything is out of alignment, make the necessary adjustments.
Step 6: Now the fun begins. Your FUSE tool should be ready to go. Use your metal ruler stencil and FUSE tool head to create sealed pockets around your embellishments. Work from the bottom of the sheet to the top. You’ll want to work this way so you can add sequins and glitter if they are in the middle of your dashboard. I labeled the photo below with the order of how I sealed my embellishments. I started with the bottom left corner. Area #4 on my layout, is where I planned for my glitter pocket.
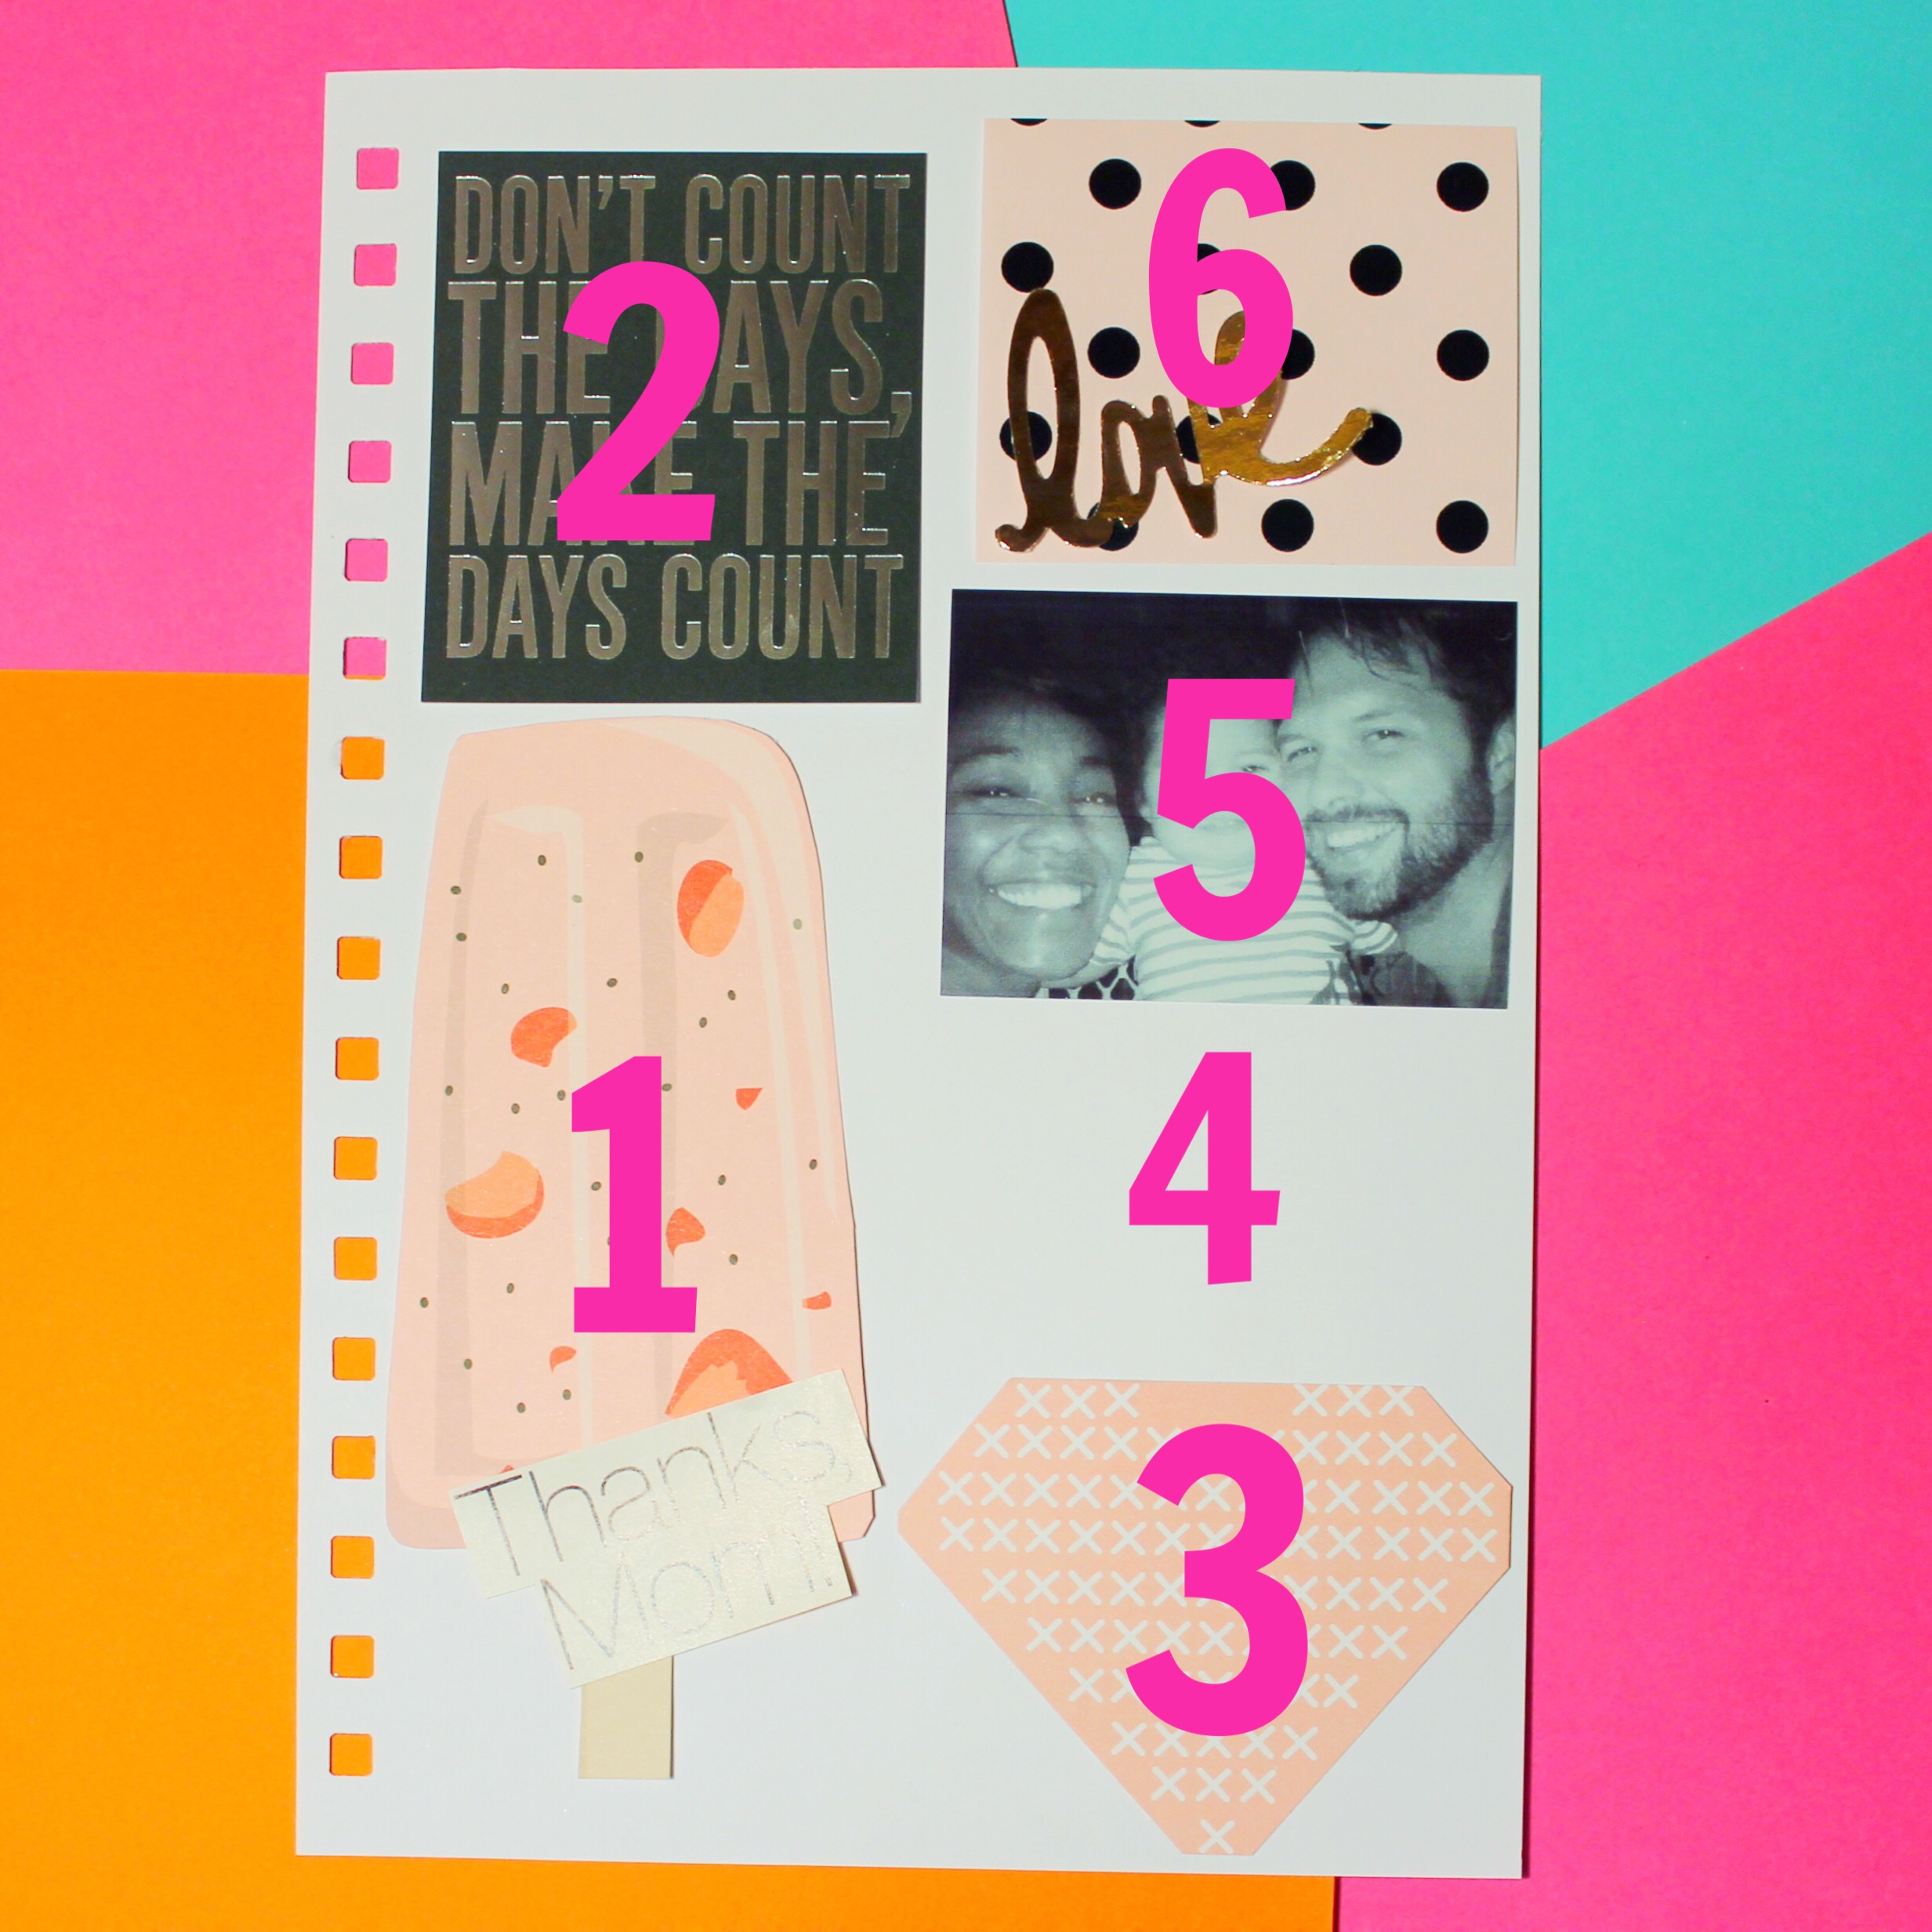
Shake some glitter or sequins into pocket #4 (for my spread.) Finish using the FUSE tool head to seal your remaining embellishments. Note: When searching for directions on how to use this tool, it was highly recommended to place something underneath your work so you don’t ruin your workspace/table. I used my FUSE on my Martha Stewart Crafts Craft Station and I didn’t have any issues.
Step 7: Carefully remove and replace the fuse tool head with the cutting tool head using needle nose pliers or a similar tool. JUST DON’T SWITCH THE HEADS WITH YOUR HANDS! (Ouch!) Give the new head time to heat up.
Step 8: Using the cutting tool head, seal the top of your dashboard and to remove any other extraneous plastic. I removed the extra pieces on the left side of the punched square binding.

Now it’s time to create the clips that will allow you to add your dashboard (or anything else) to your twin loop bound planner.
Step 9: Send a laminate pouch through your laminator. You can actually laminate a piece of decorative paper or leave it as-is so the clip is clear.
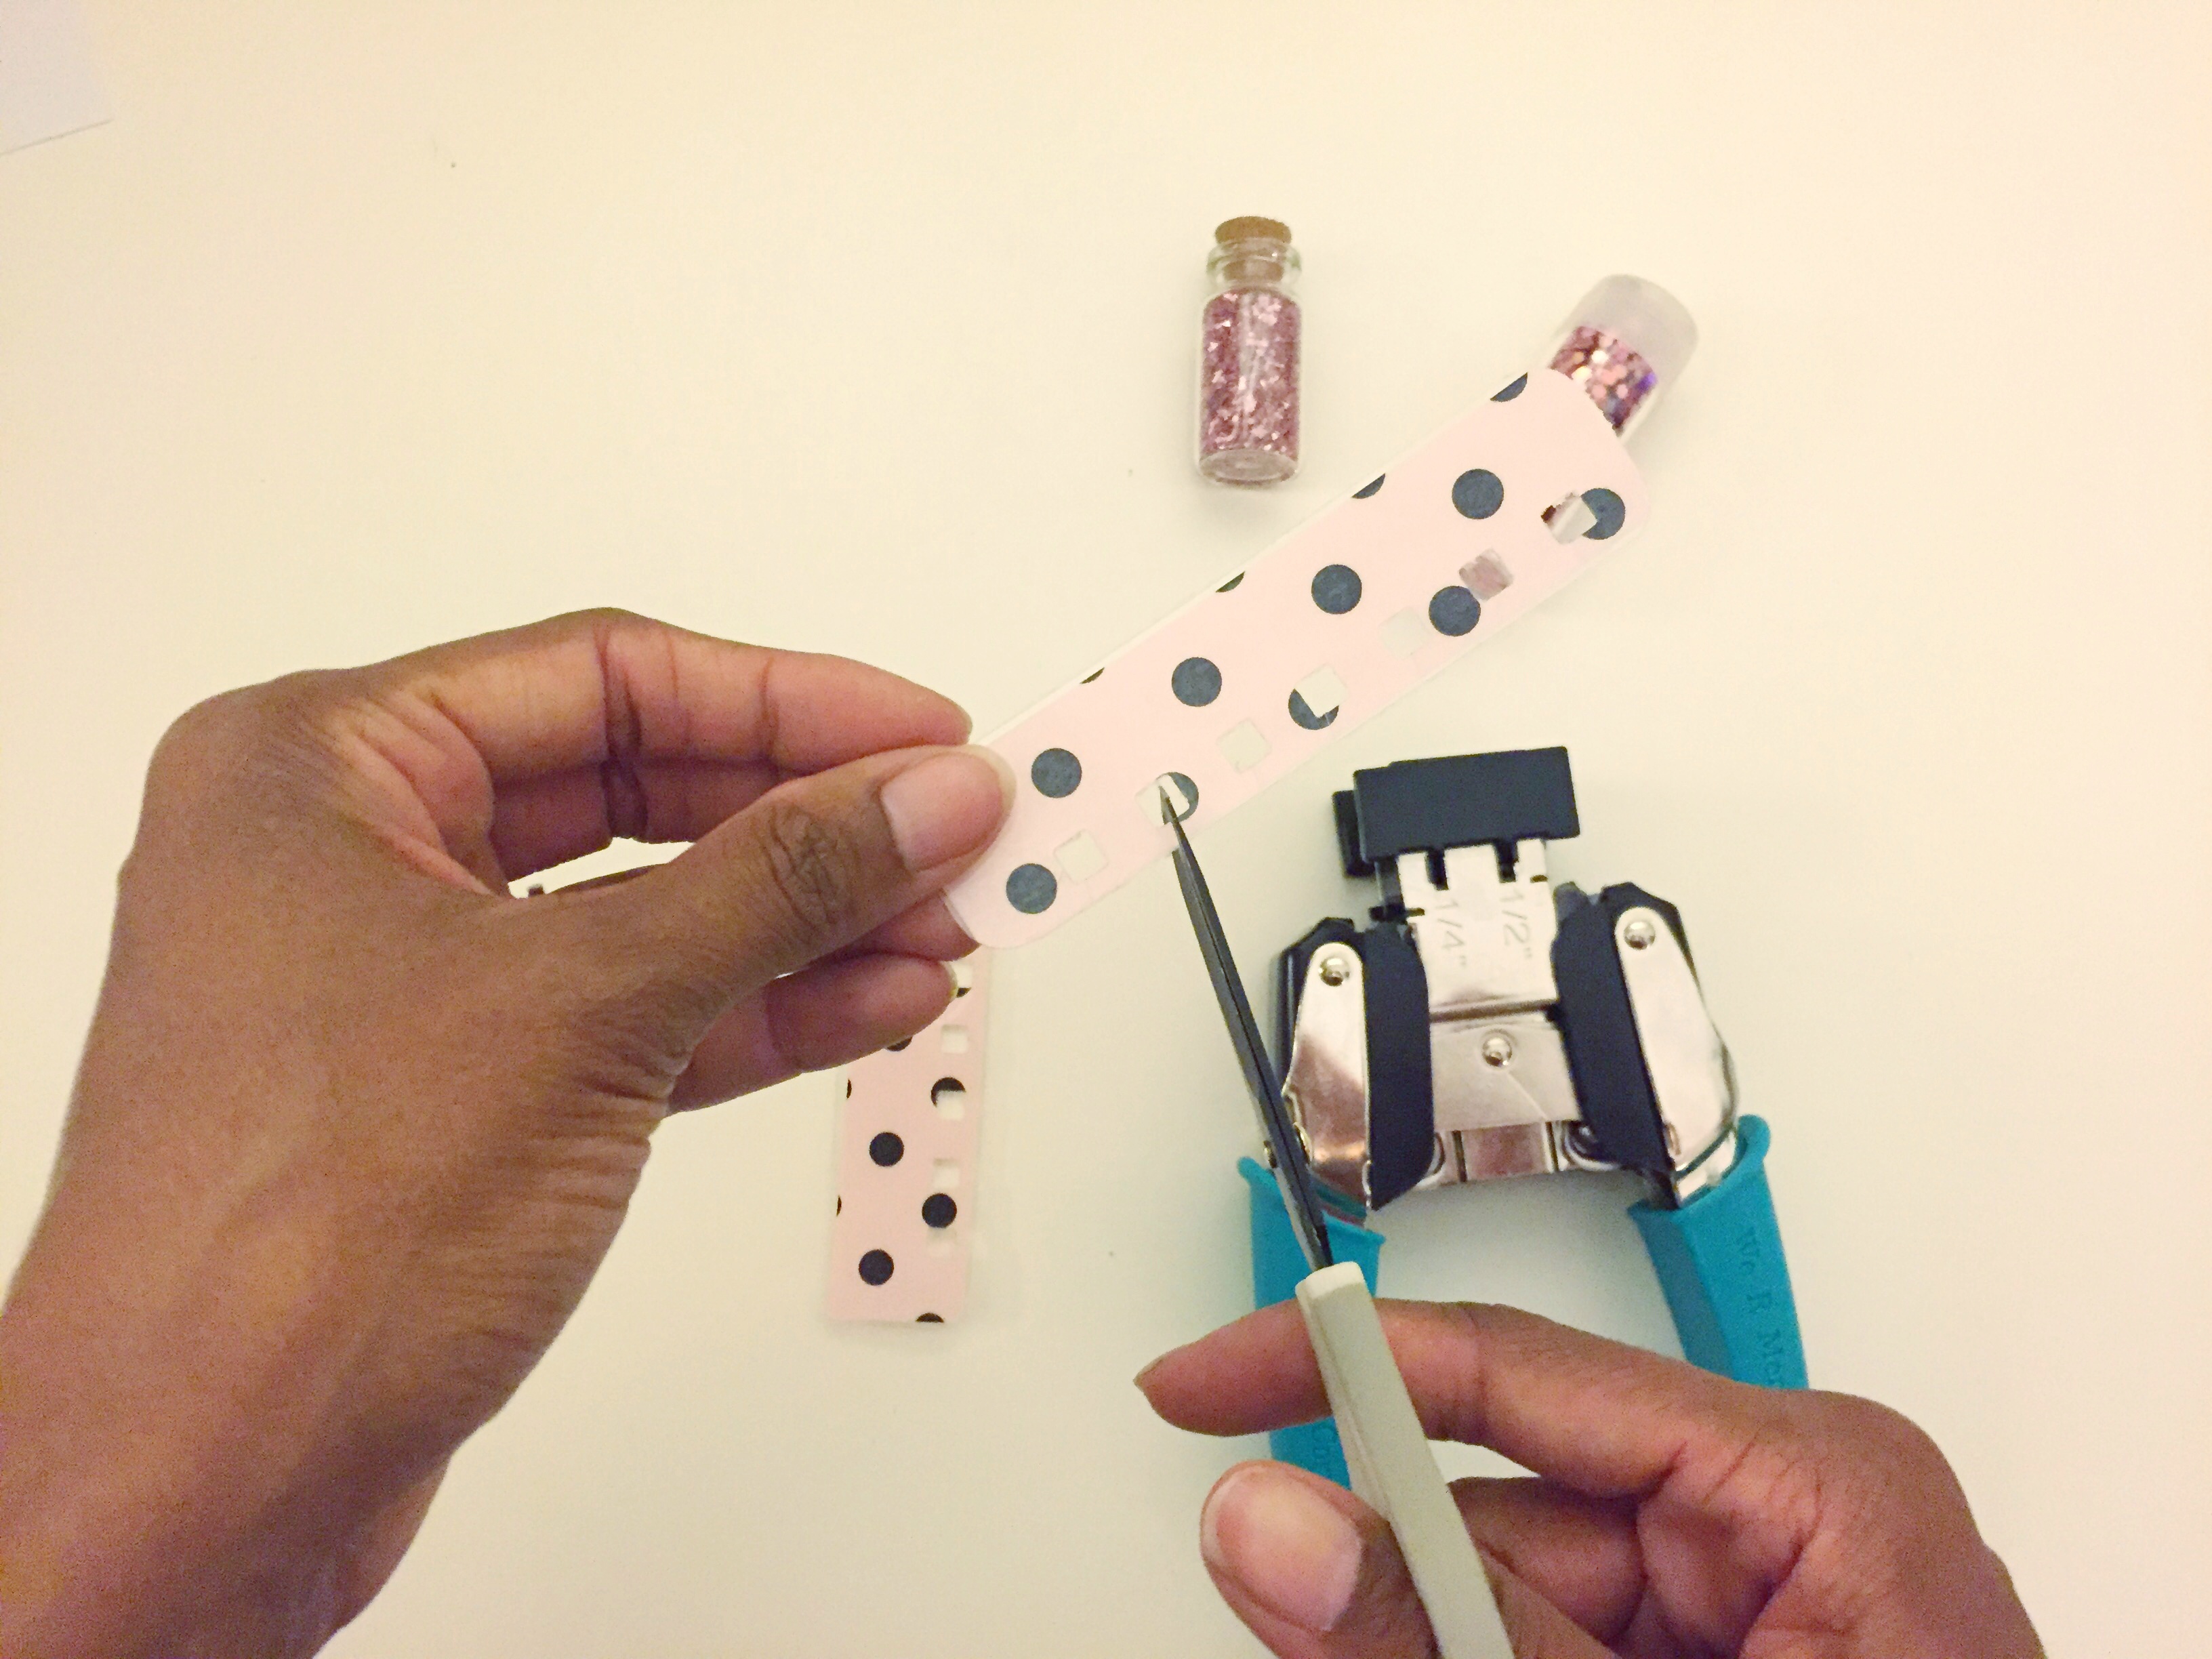
Step 10: Use your Cinch to punch your laminated sheet.
 Then cut your clips out of the laminated sheet. They should be about 1 x 3.75 inches. To be exact, I would line up your punched laminate to your planner to make sure you cut your clips so they fit around the binding nicely. If you want to go the extra mile, use a Crop-A-Dile Corner Chomper on the 1/4″ setting to round the corners of your clips.
Step 11: On the left side of your clip (the punched side) cut a slit into each square. This will allow you to pop the clips in and out of your planner.
Step 12: On the right side of the clips use your tape runner to make it sticky. This is where you’ll place your dashboard.
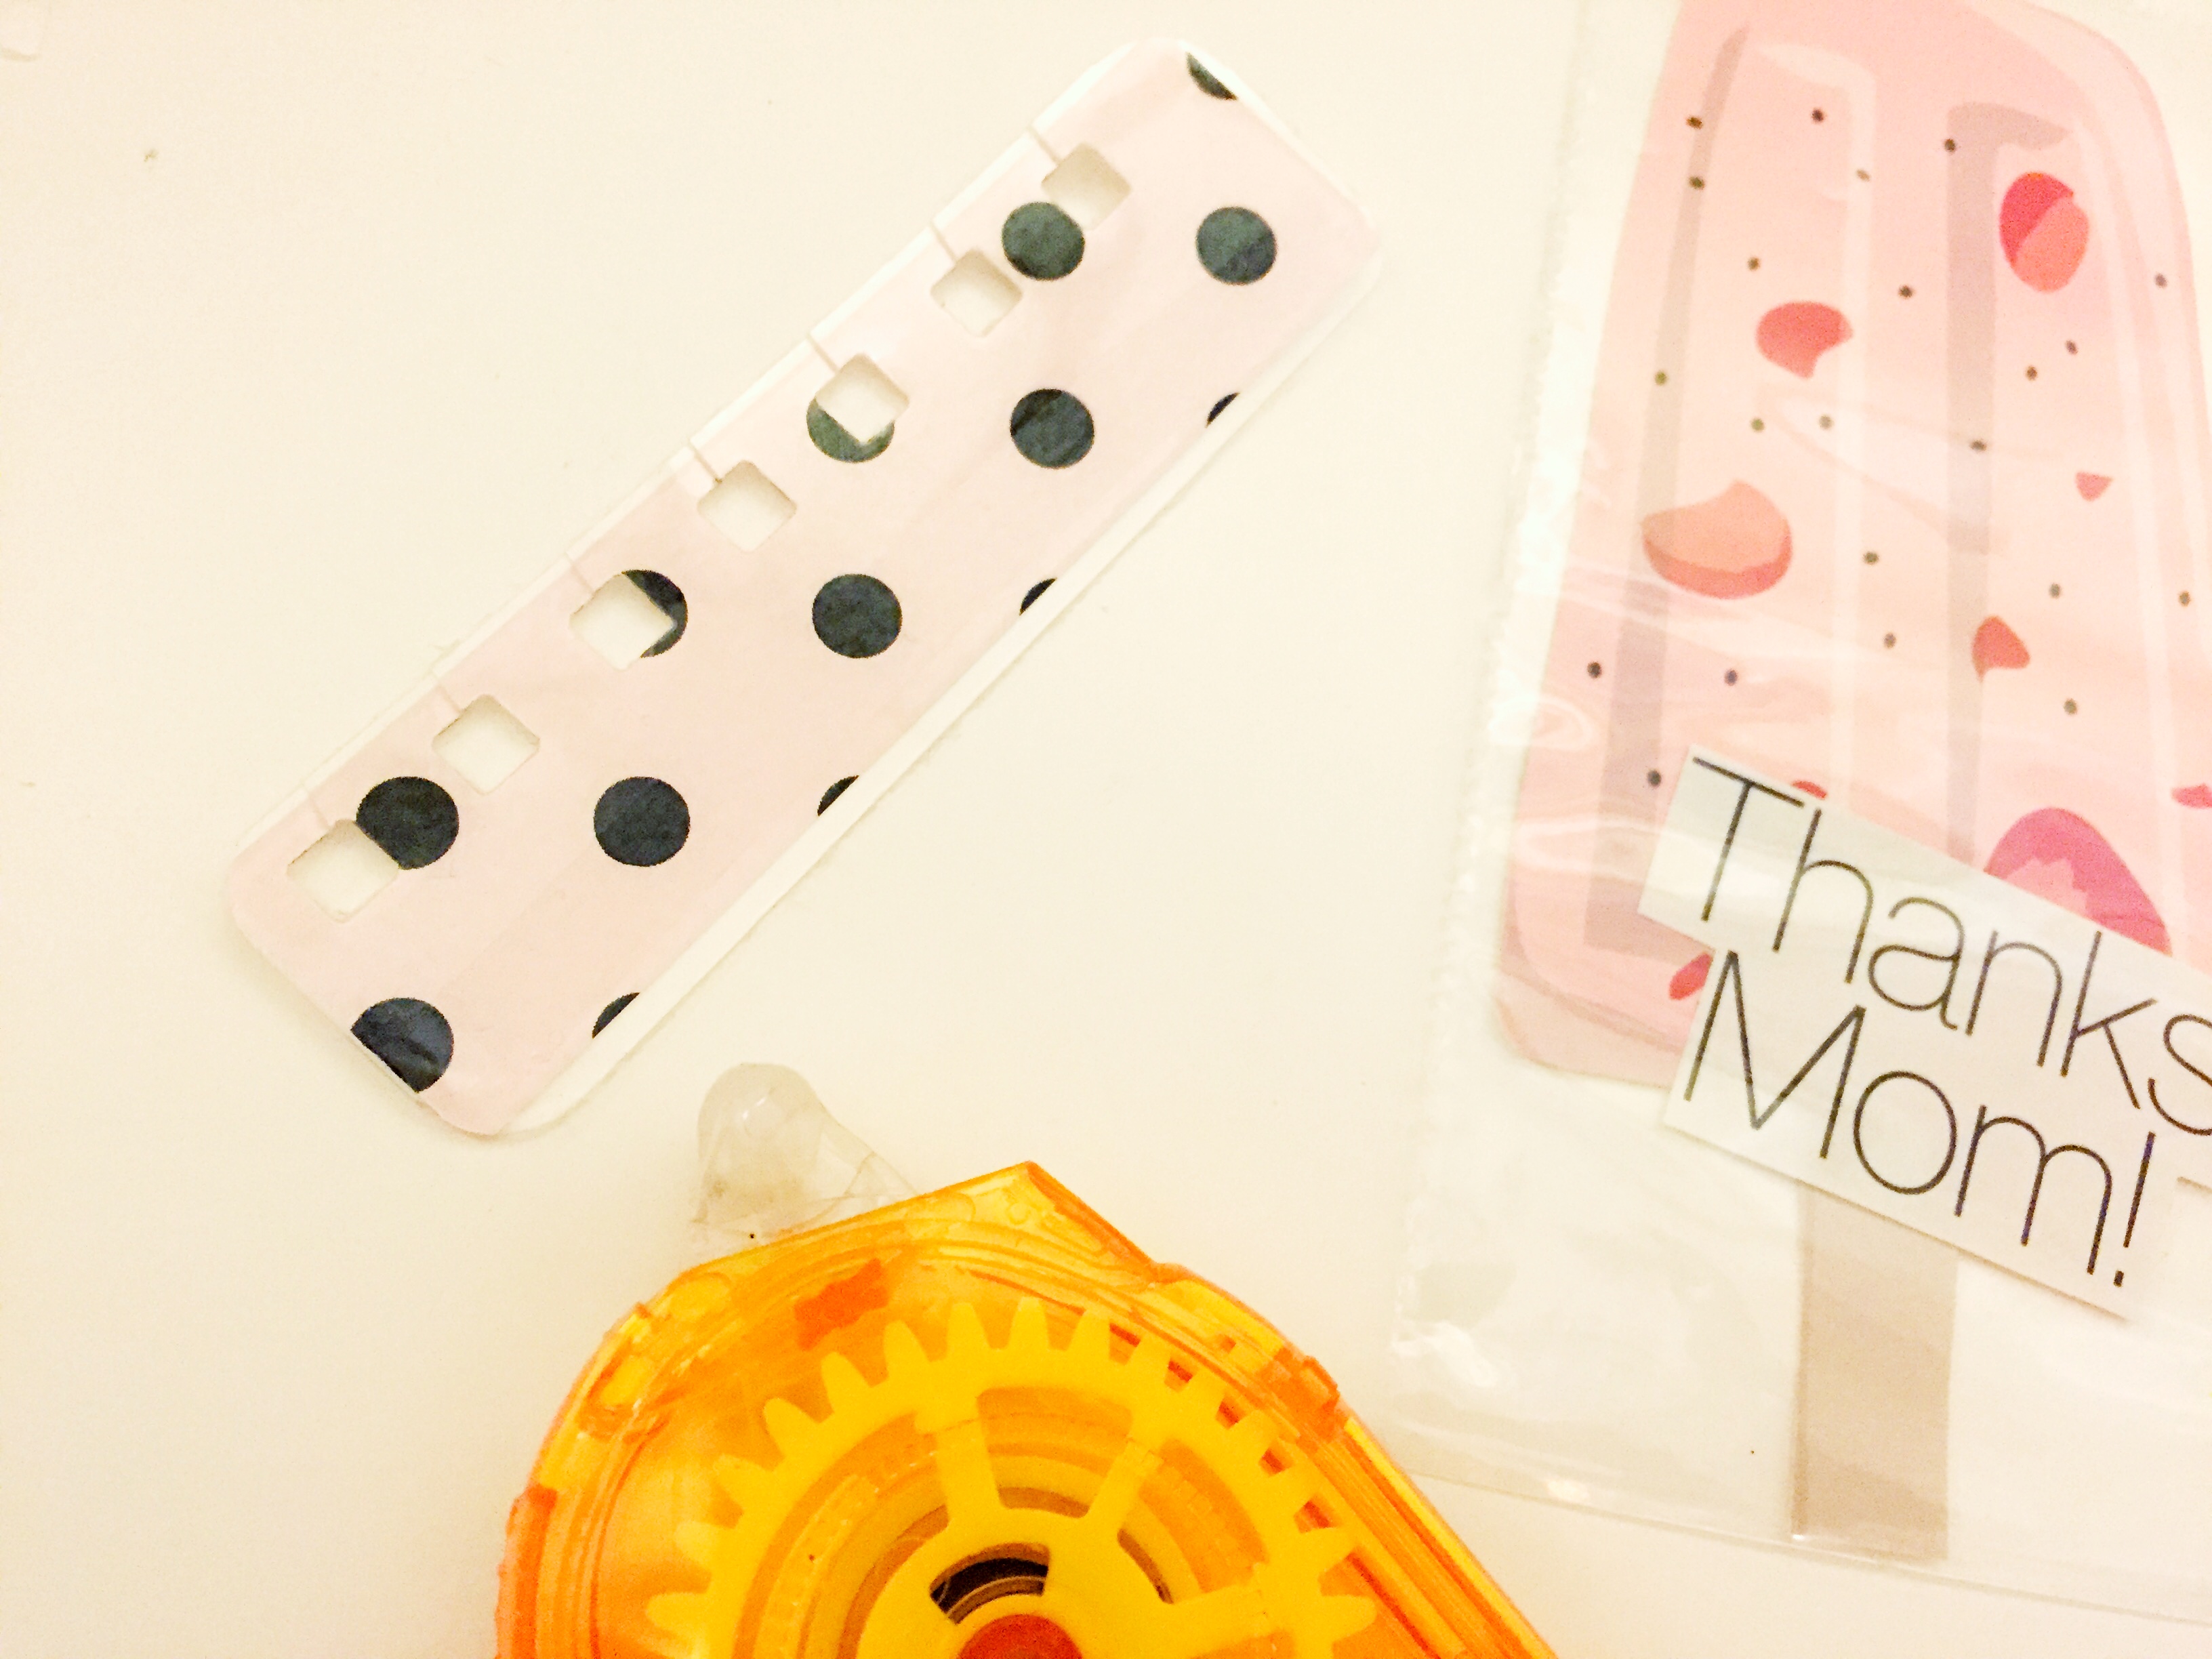
Step 13. Adhere your dashboard to the clips. I placed one towards the top and one towards the bottom of the dashboard.
Step 14: Carefully, pop your dashboard into your weekly spread. And that’s it.
Note: You’ll see that I have a sticker on the outside of my dashboard on my glitter pouch. It looks like I let my FUSE touch a part of my dashboard with the glitter pocket which caused some holes. Yikes! So I punched a heart out of a left over foiled piece of paper with my Martha Stewart heart punch, rolled it through my sticker maker and smacked that baby over the holes. Now my glitter won’t leak out.
So I have to tell you I totally channeled my inner George Jefferson and danced around my house after this project was done. Seriously, I was thrilled. I loved how it turned out and I can’t wait to do this one again. (I’ll have to create a new dashboard in March when baby Girl Finch arrives.)
Let me know what you ended up placing in your dashboard. Or let me know what else you use your FUSE tool for other than its intended use. Post your pics on Instagram with the hashtag #htgawcrafting! Can’t wait to see them!