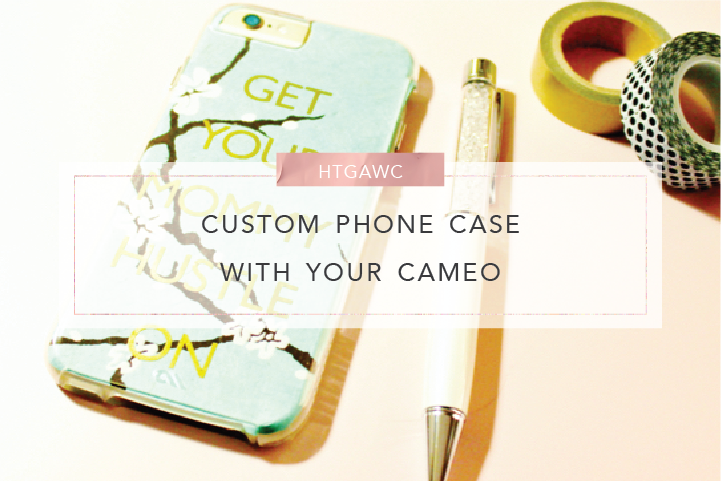
So with a new year comes a new look. I’ve already changed up the look of my planner, my desk accessories and my baby bump definitely is giving me a new look in the new year! I also want a new look for my phone. So I thought, my buy one when I can DIY it for tonight’s #htgawcrafting challenge. So I decided on a custom iPhone case. Now don’t be shocked when you see the pictures. You’ll notice my design is NOT PINK! It’s teal. It’s okay. My sister claims I have a secret love affair with teal. She’s right. Seriously though. I’ve been looking for a project to use this gorgeous Japanese-themed paper from The Paper Source and I found one.
Okay, enough of me going on about my love of teal. Let’s get started on changing things up for 2016!
Supplies for A Custom Phone Case
- Fine paper from The Paper Source – I used the Sea Green Lokta Paper pack
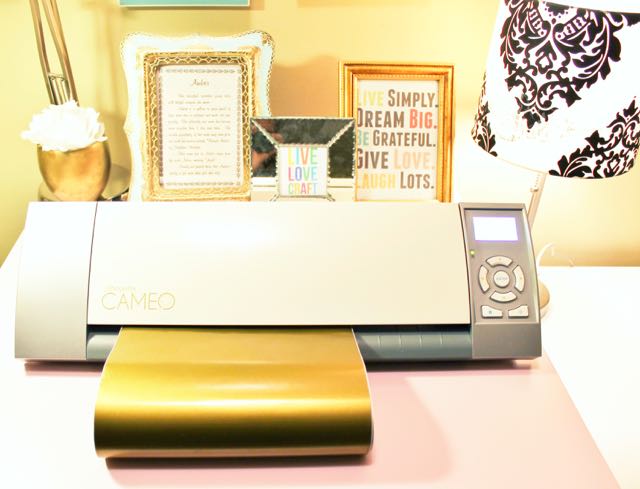
- Silhouette Cameo machine
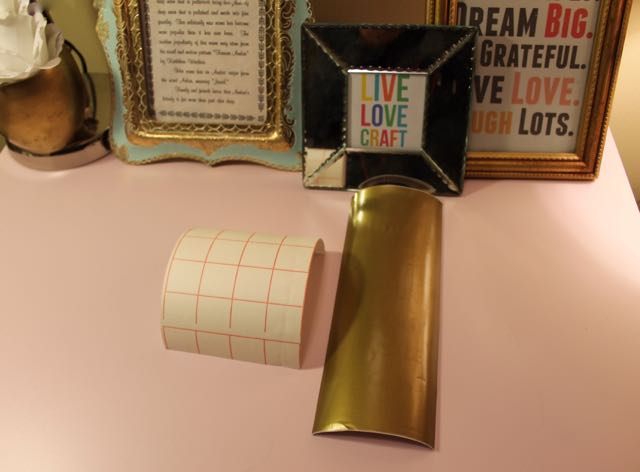
- Silhouette Adhesive Vinyl in gold – I just saw they have Glow In The Dark vinyl! Eeek!
- Silhouette transfer paper
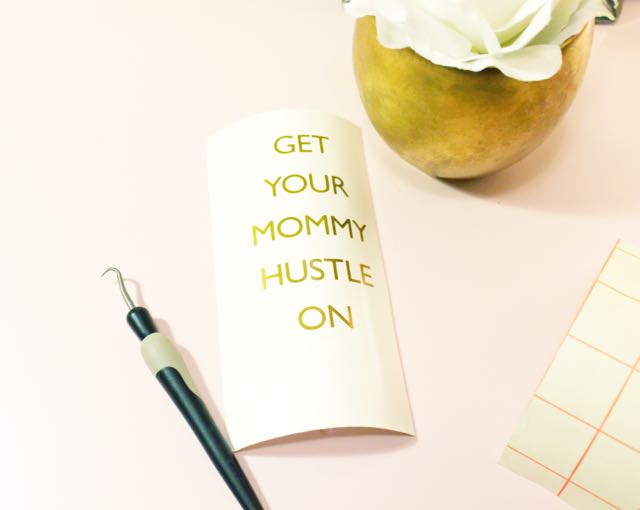
- Silhouette hook
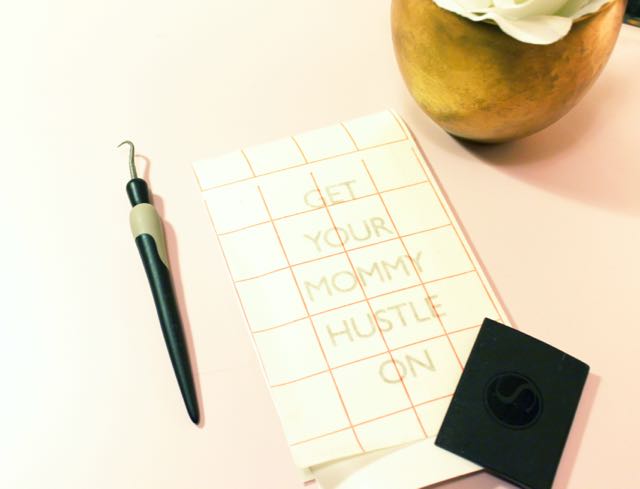
- Silhouette scraper
- Clear phone case – I have an iPhone 6 and I got the Naked Tough Case from Casemate
- Scissors
- Pencil
Steps
Step 1: Decide on what expression you want to add to your custom phone case. I went with “Get your mommy hustle on” cause that’s what I needed to do. I use my phone for EVERYTHING so it made sense to have a motivational quote like this to keep me going.
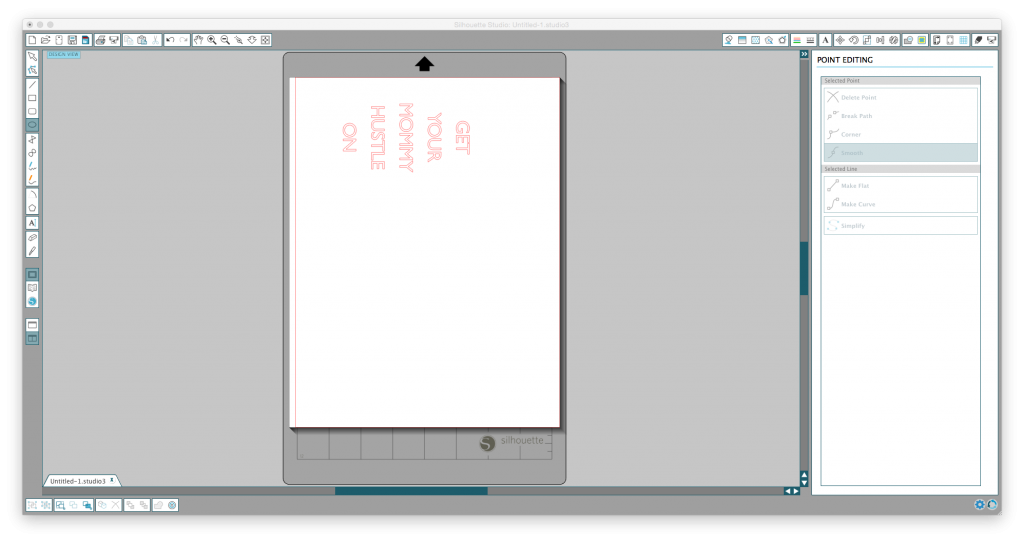
Step 2: Open your Silhouette Studio on your computer. Create whatever expression you would like for your phone and size it to its dimensions. (Make sure you account for your camera phone lens.) Select a font that you like that complements the pattern you plan on using for your case. Also, I recommend drawing a model of your phone as well – a simple rectangle – based on its size position your expression in it. Then you can delete the rectangle once you like your positioning.
Step 3: Set your cut settings for Silhouette Vinyl – your blade should be set to one. Here’s a video from Silhouette on loading and cutting with your adhesive vinyl. Pretty much, after adjusting your cut settings on your computer and on your machine, load your vinyl roll without the cutting mat into the machine. It should still be rolled up. Make sure you load your vinyl with the “Load Media” function on your Cameo. Now send that vinyl through the machine. (I actually find it easier to cut vinyl than some papers I use on the cutting mat!)
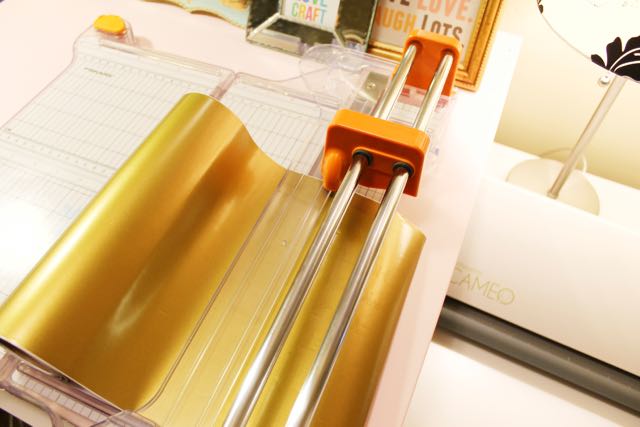
Step 4: Cut your remaining vinyl roll and store it.
Step 5: Cut a piece of transfer paper to fit your design.
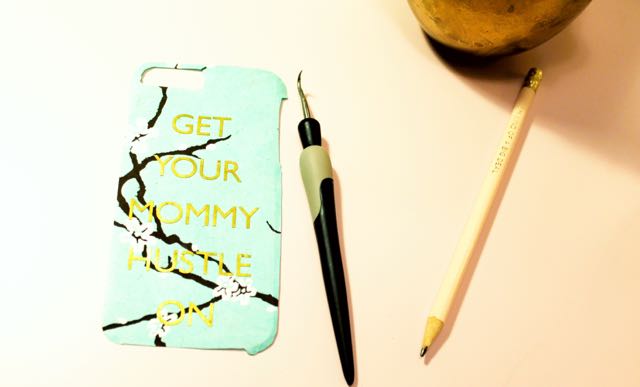
Step 6: Remove the extra vinyl around your expression. You may need to use your hook for the tiny details.
Step 7: Carefully roll your transfer paper over your expression. Use your scraper to make sure it’s really on there.
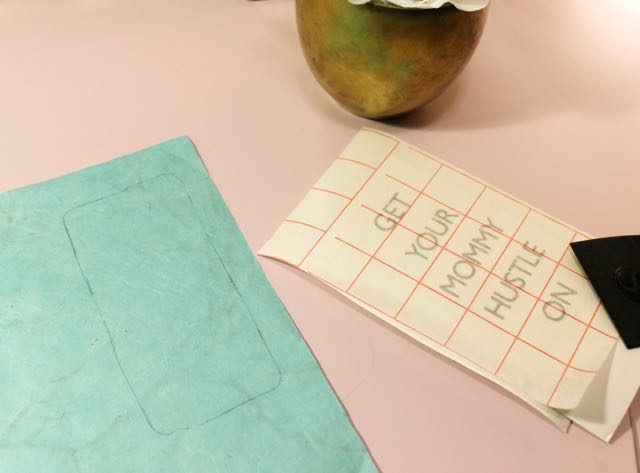
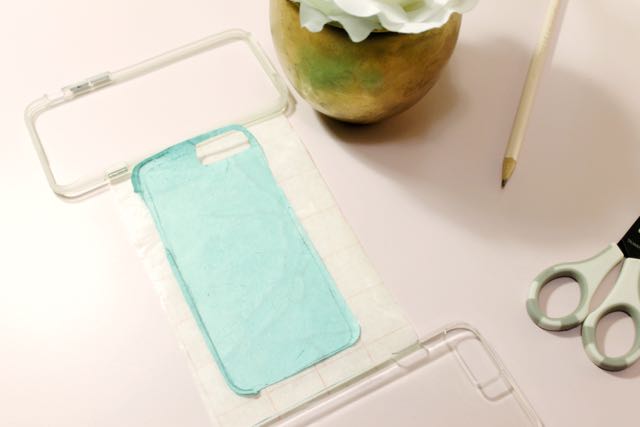
Step 8: On the back of your patterned paper, trace your phone. Cut it out. Make sure it fits inside your case. I know I needed to cut mine down a bit to fit.
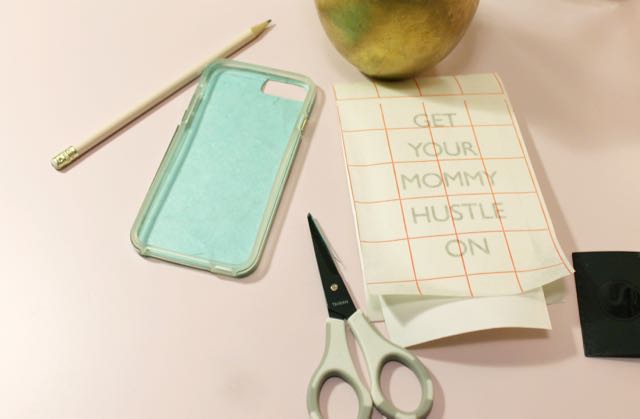 Step 9: Carefully remove your transfer paper with the expression stuck to it. Then line up your patterned paper to you transfer sheet with the expression. Press them together so the expression sticks to your paper, but not too hard that the stickiness of the transfer paper rips your pattern. (I did this earlier when I was working on a different project and was heart broken because the transfer paper ripped up my patterned paper.)
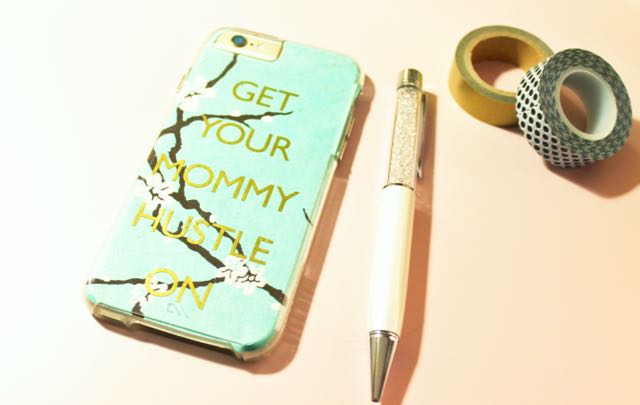
Step 10: Place your new cover into your case.
Ta da! I love how this project turned out. It’s inspired me to use vinyl in future projects. Maybe for an iPad case. What do you think? Let me know how your cases turned out. Post your pics on Instagram with the hashtag #htgawcrafting! Can’t wait to see! Now go someplace where people can admire your pretty phone while your blow through your minutes and data cause you look super cute with your custom phone case!
