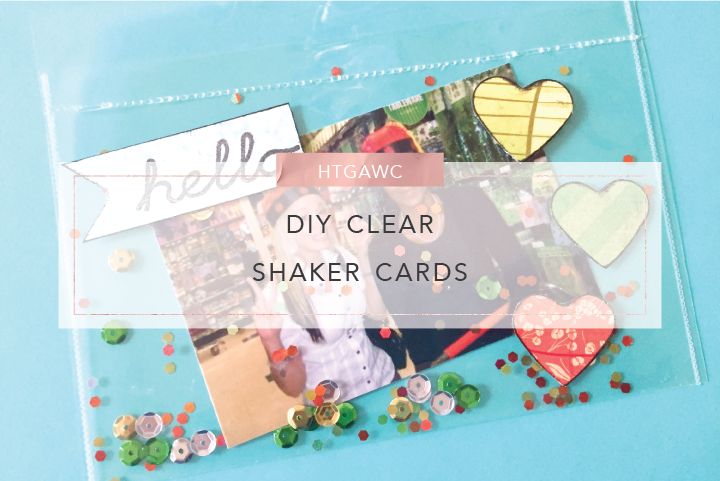
So we start to miss of friends and family around this time of the year – especially people who are so far away. Right now my sister is living in South Korea and I miss her terribly. I also miss one of my good friends from SoCal. So tonight’s challenge is going to be about doing something, not because of the holidays, but because I miss them. I’m going to use that wonderful FUSE tool again and make some clear shaker cards with photos. It’ll be a nice little add-on to the Christmas cards I’m sending.
I want to give credit to Jennifer McGuire of JenniferMcGuireInk.com. I saw her video on how to create a pocket for gift cards which inspired me to do the same with a photo. This is a fun project especially if you have Copic Markers like her. For this one, we’ll use some black ink and old Paper Source Scraps. I think it still gets the job done. Let’s get started.
Supplies for Clear Shake Cards
- Becky Higgins FUSE Tool
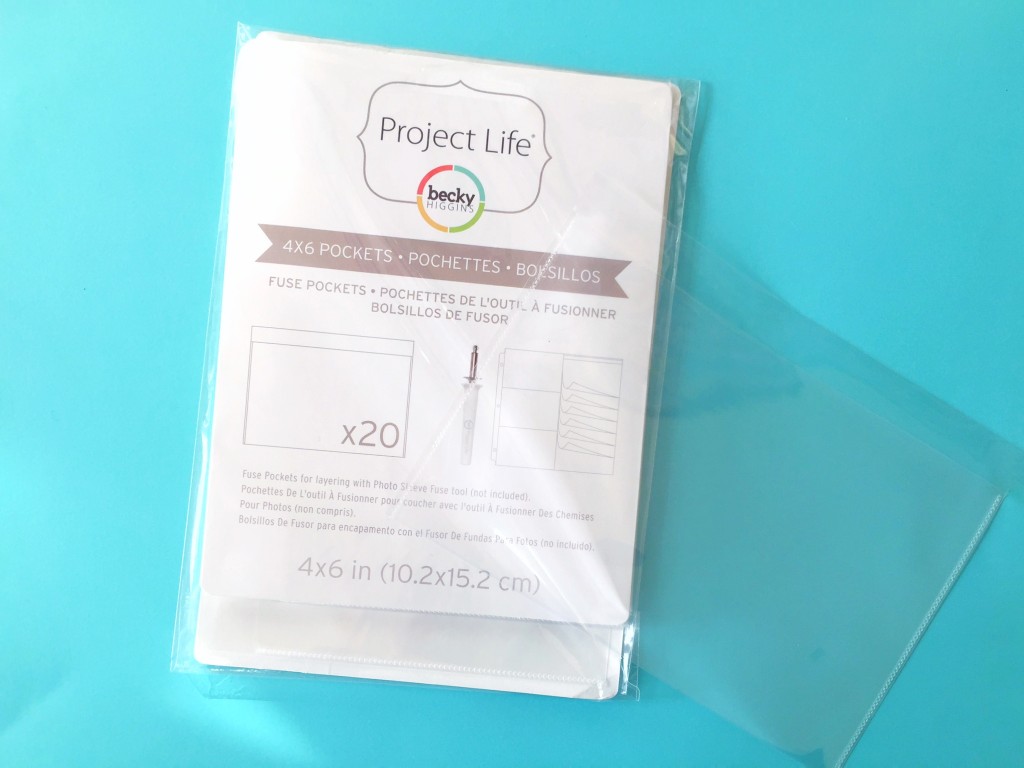
- Becky Higgins Project Life 4 x 6 Fuse Sleeves
- Martha Stewart Crafts Hexagon Glitter
- Martha Stewart Crafts Black Ink
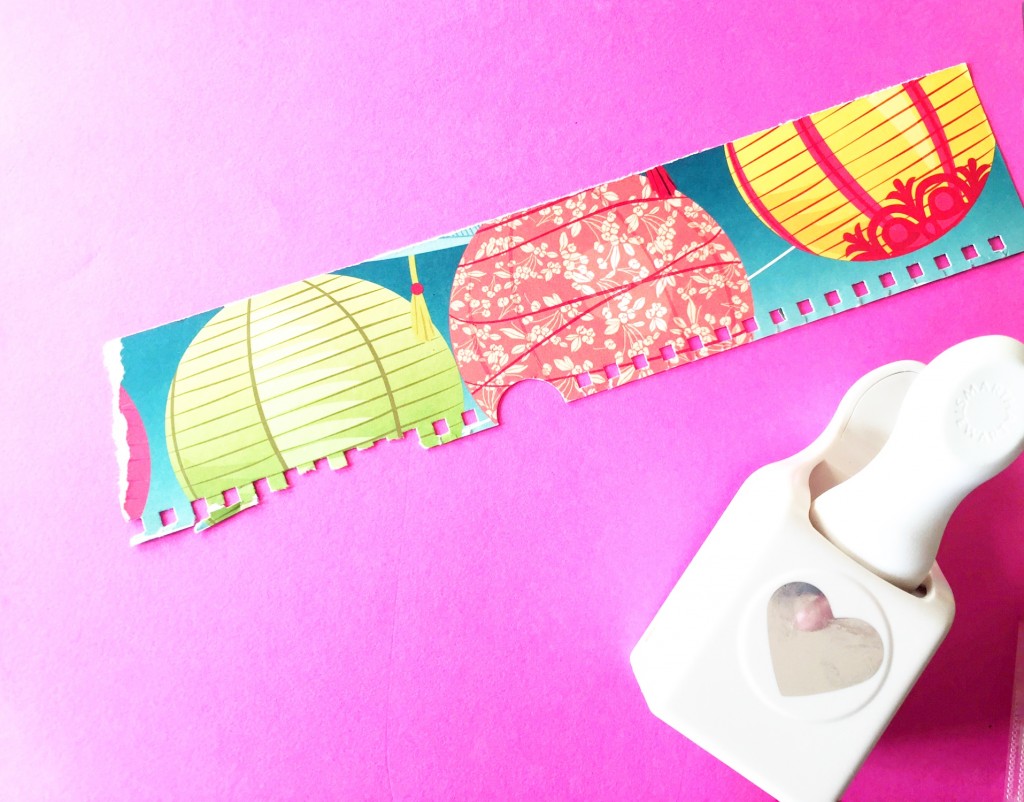
- Martha Stewart Crafts Heart Punch
- Patterned paper/scraps
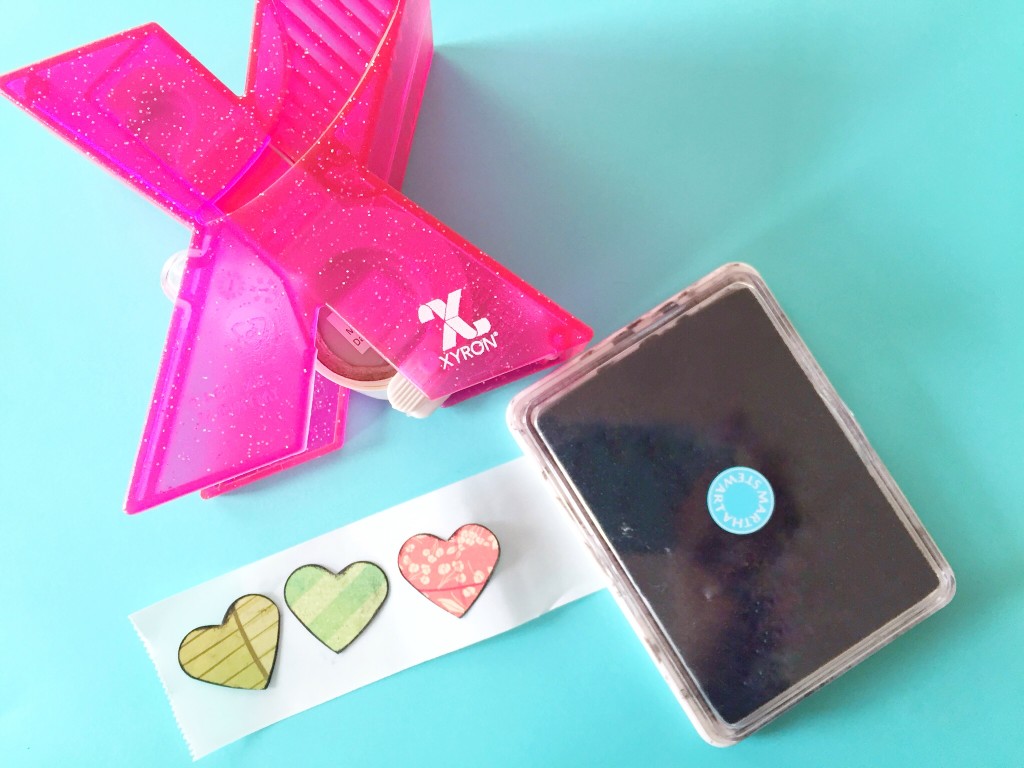
- Xyron Sticker Maker
- Scissors
- Sequins
Steps
Pre-Step: Plug in your FUSE tool. (Might as well do this before Step 9 so it is ready to go.)
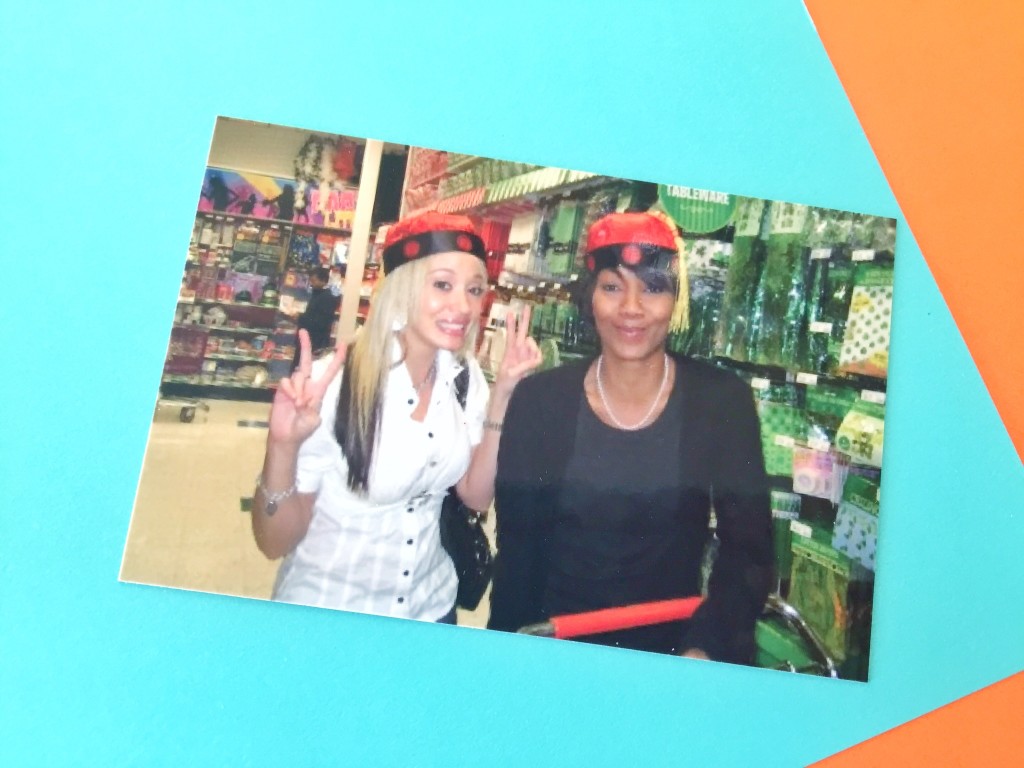
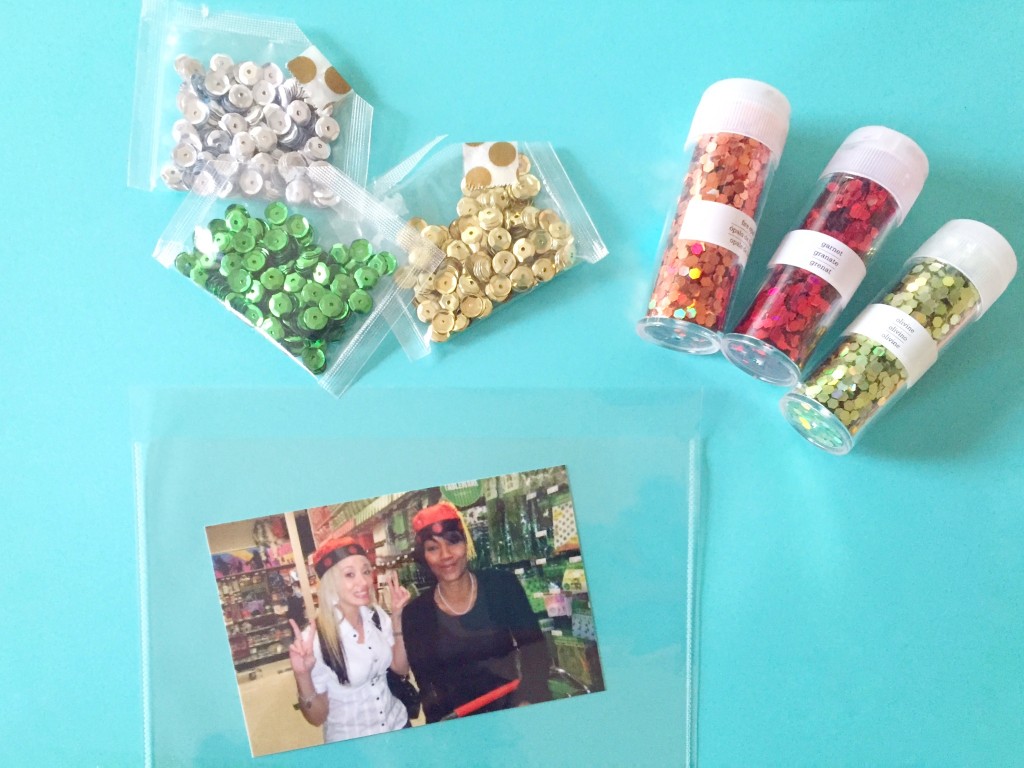
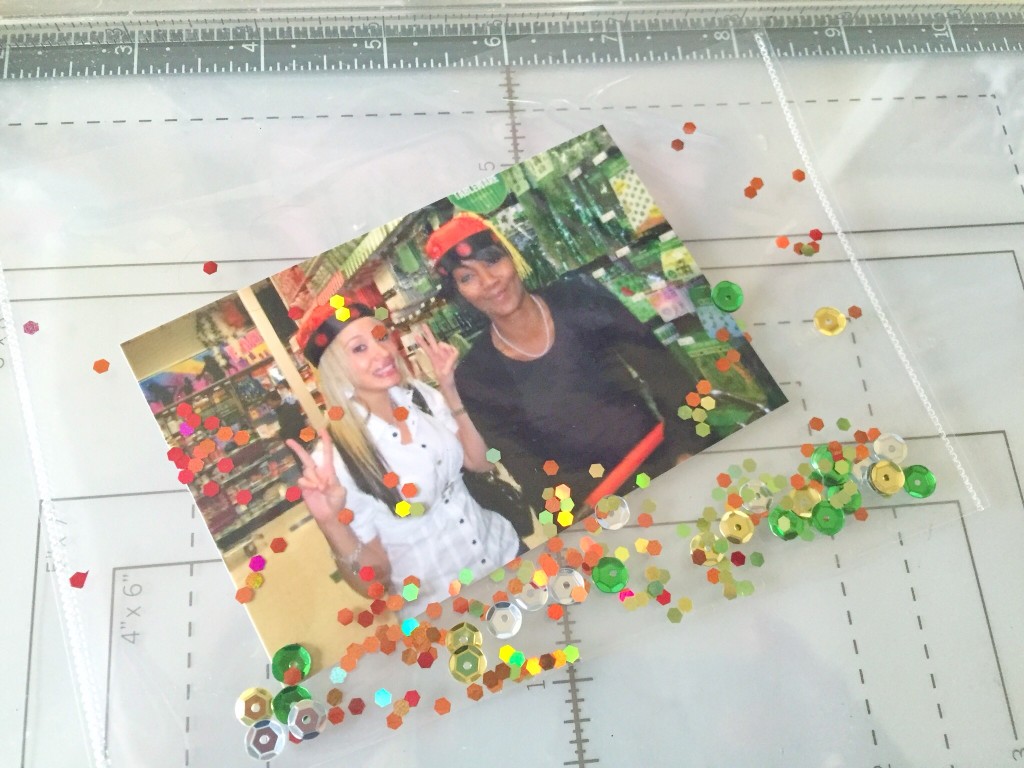
Step 1: Find a photo of you and your friend. This one is a fave of mine – me looking bitter while my SoCal chica is just as happy as a clam. Insert it into a Project Life sleeves. I used the 4 x 6 sleeves.
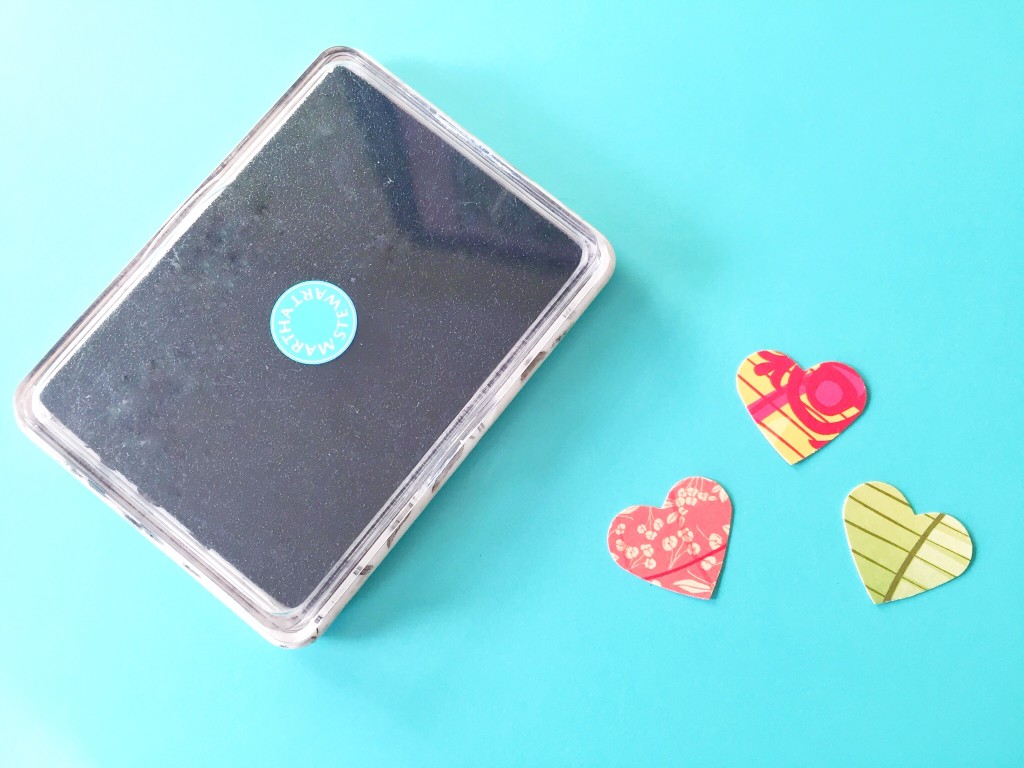
Step 2: Grab your favorite small punch – I love the Martha Stewart Crafts Small Heart Punch – and punch out three shapes from patterned paper. I used some scraps from an old Paper Source calendar. (I try to reuse items as much as I can.) I liked this pattern because I thought the colors picked up on the colors in the photo.
Step 3: Using some black ink, outline your punches. I just bumped the edges of my hearts along the black ink. This way they stand out.
Step 4: Run your edged hearts through your sticker maker.
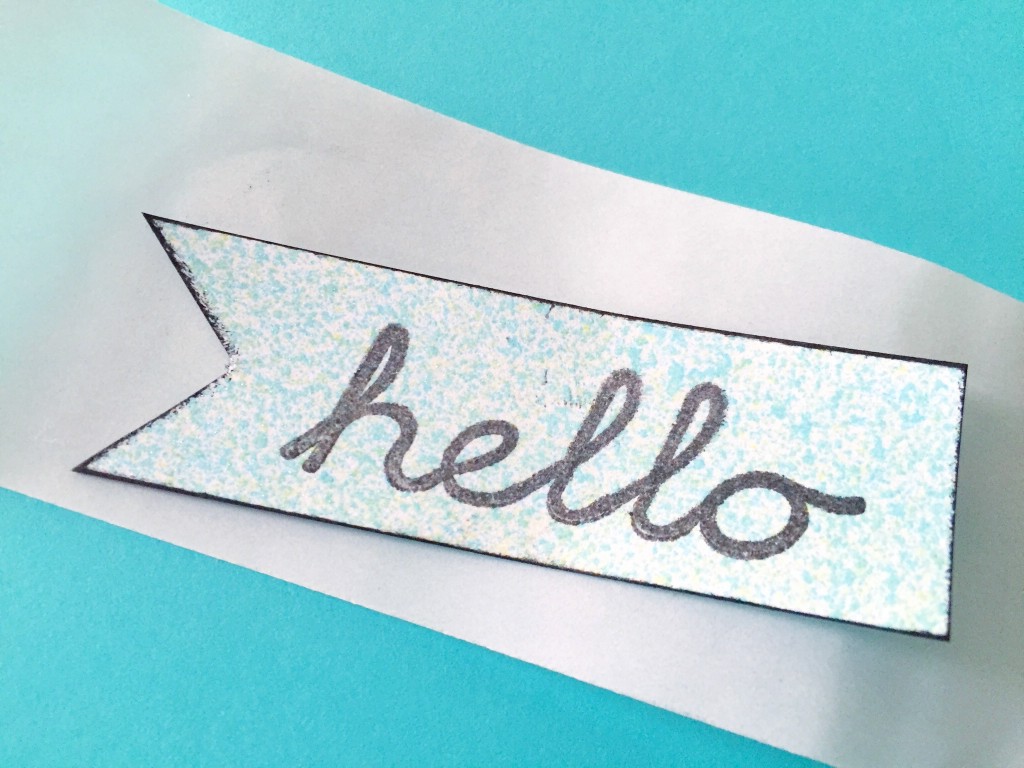
Step 5: To make your “Hello” flag, use complementary colors of Heidi Swapp Color Shine. Spray a piece of cardstock with your colors. I used Citron & Teal. Here’s a video on how to use Color Shine if you’re not familiar with it.
Step 6: Ink up your favorite “Hello” stamp with black ink and stamp your paper. Cut our your flag and drag the edges through the ink so you’re outlining it. Then run it through the sticker maker.
Step 7: Add sequins and or glitter to your pouch. Heck, use both! I used Martha Stewart Hexagon glitter in Fire Opal, Garnet, and Citrine. I also used some gold, green and silver sequins.
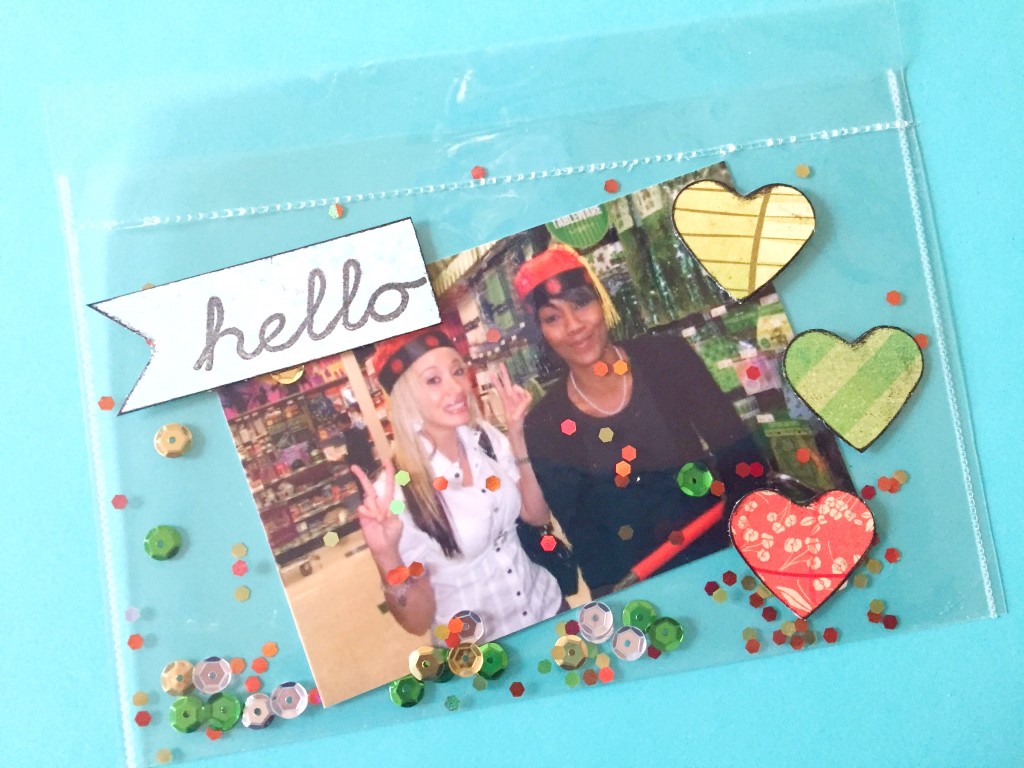
Step 8: Add your punch outs and “Hello” flag stickers to the outside of your card.
Step 9: Use your FUSE tool fusing tip to seal the top of your card. Then carefully switch to the cutting tip with a pair of needle nose pliers. About an 1/8 of an inch from the seal you just created, cut the remaining extra sleeve.
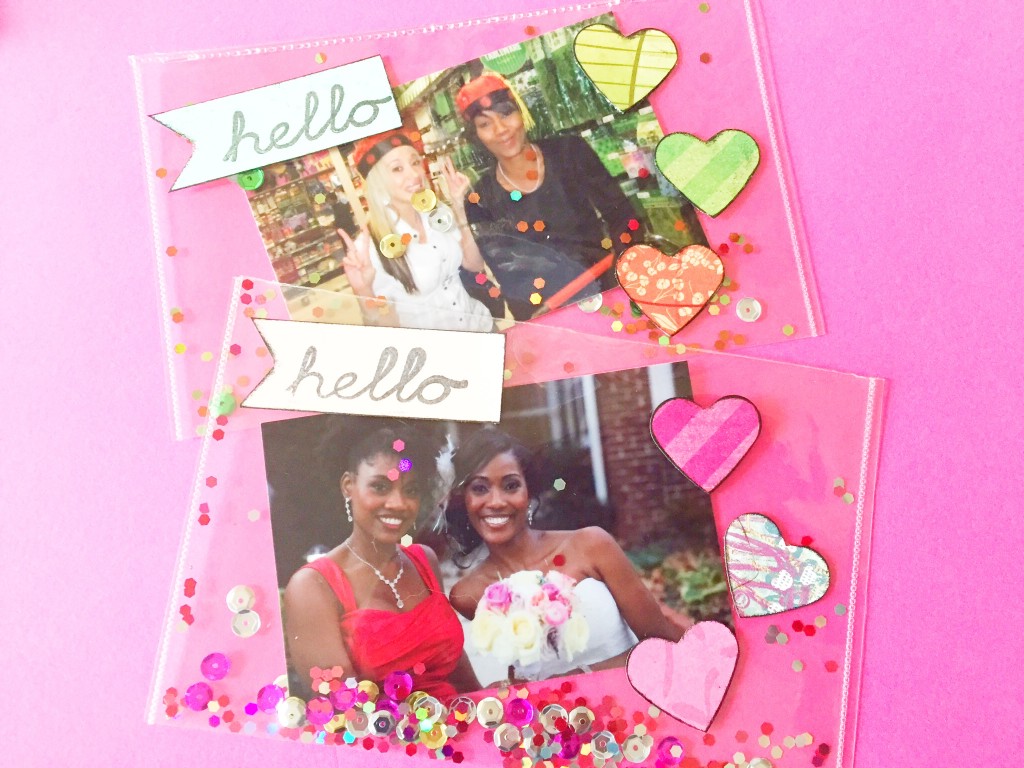
Step 10: Admire your clear shaker cards and get ready to send them!
A few notes. These cards are clear, so you may want to add colorful backings to your photo and your punch outs. Also, you could include a little note or even use an “I miss you” stamp in place of “Hello.” Whatever you decide, just have fun making these. I think I’m going to make more after I score some iridescent sequins and star shaped ones.
Let me know what you think and how your cards turned out. Post your pics on Instagram, Twitter or Facebook with the hashtag #htgawcrafting! Can’t wait to see! Now go hurry to the post office with your cute cards!
