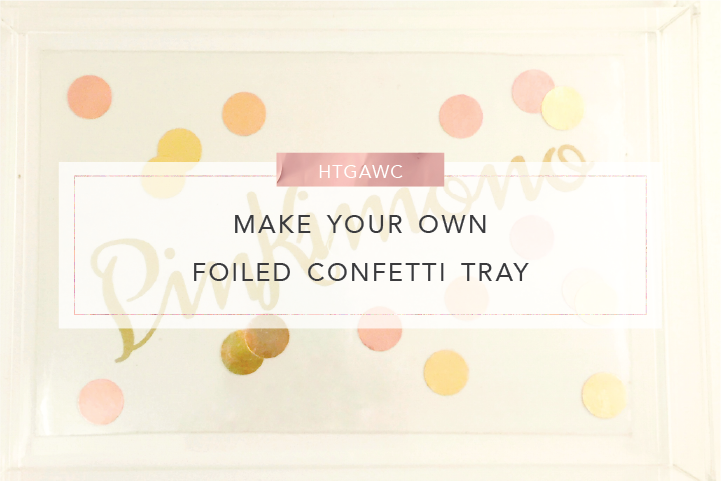
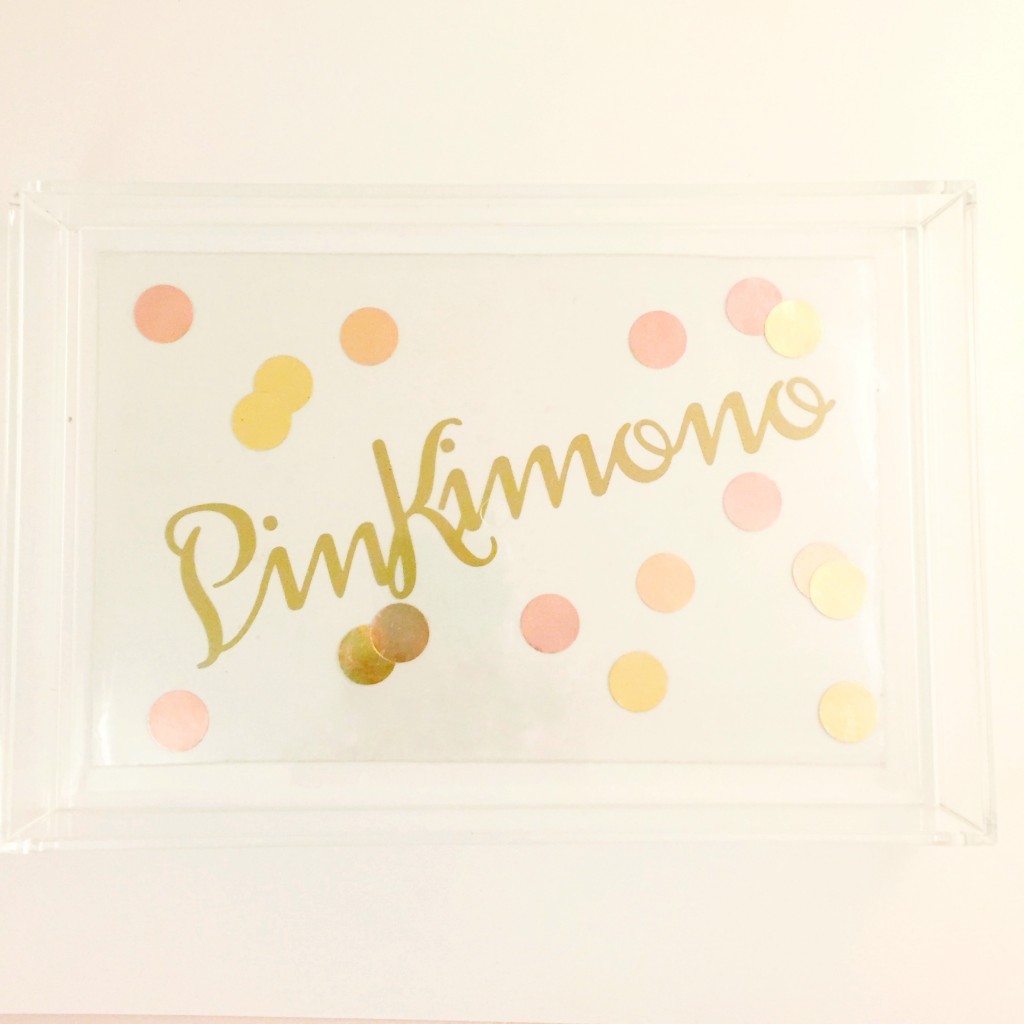
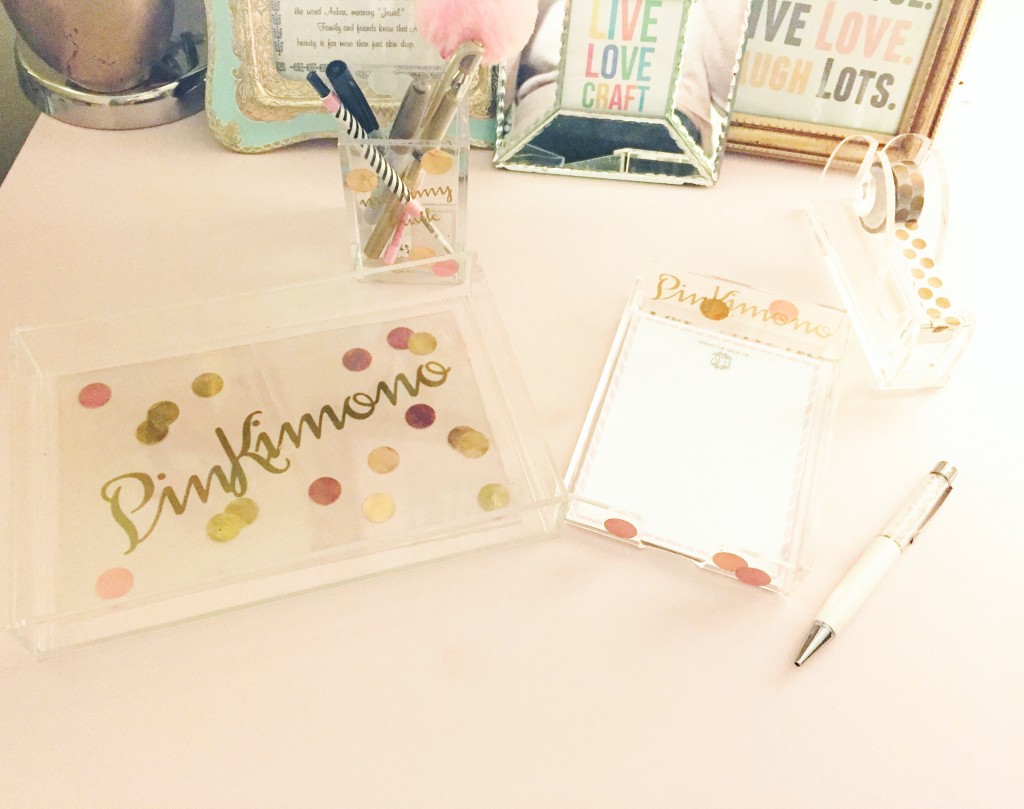
With 2016 right around the corner, I’m all about sprucing up my office with a new look. I decided to look for some inspiration on Instagram and I wasn’t disappointed. Here’s is the pretty Instagram pic from Brit+ Co that sparked my creativity. I loved the idea of using pretty confetti to decorate my desk accessories especially to ring in the new year. After reading the tutorial I realized I could do the same, but with a foiled twist, because after all FOIL makes everything classy and pretty! I ended up making my own Foiled Confetti Tray!
Here are a few things I did differently. Because I like to change out the design on my tray, I didn’t adhere my confetti to the actual tray. Instead I decorated a clear pocket sleeve with the confetti and then adhered it to the underside of the tray. I did this for 2 reasons: 1) I can resuse the tray without it being destroyed and 2) placing it on the underside helps to protect the design from whatever I place in the tray.
With that being said, let’s get started with my twist on the fun DIY craft!
Supplies for A Foiled Confetti Tray
- Thermoweb iCraft DECO Foil in gold
- Heidi Swapp MINC Foiler Applicator
- Heidi Swapp Reactive Foil in rose gold & light pink
- 1 piece of MINC toner sheet
- Silhouette Cameo machine
- Silhouette Adhesive Vinyl in gold
- Silhouette transfer paper
- Silhouette hook
- Silhouette scraper
- Fiskars Small Circle punch
- Large Acrylic Tray from The Container Store
- Russell + Hazel Clear Mini Sheet Protectors
- Becky Higgins FUSE Tool
- Xyron Sticker Maker
- Paper Trimmer
Steps
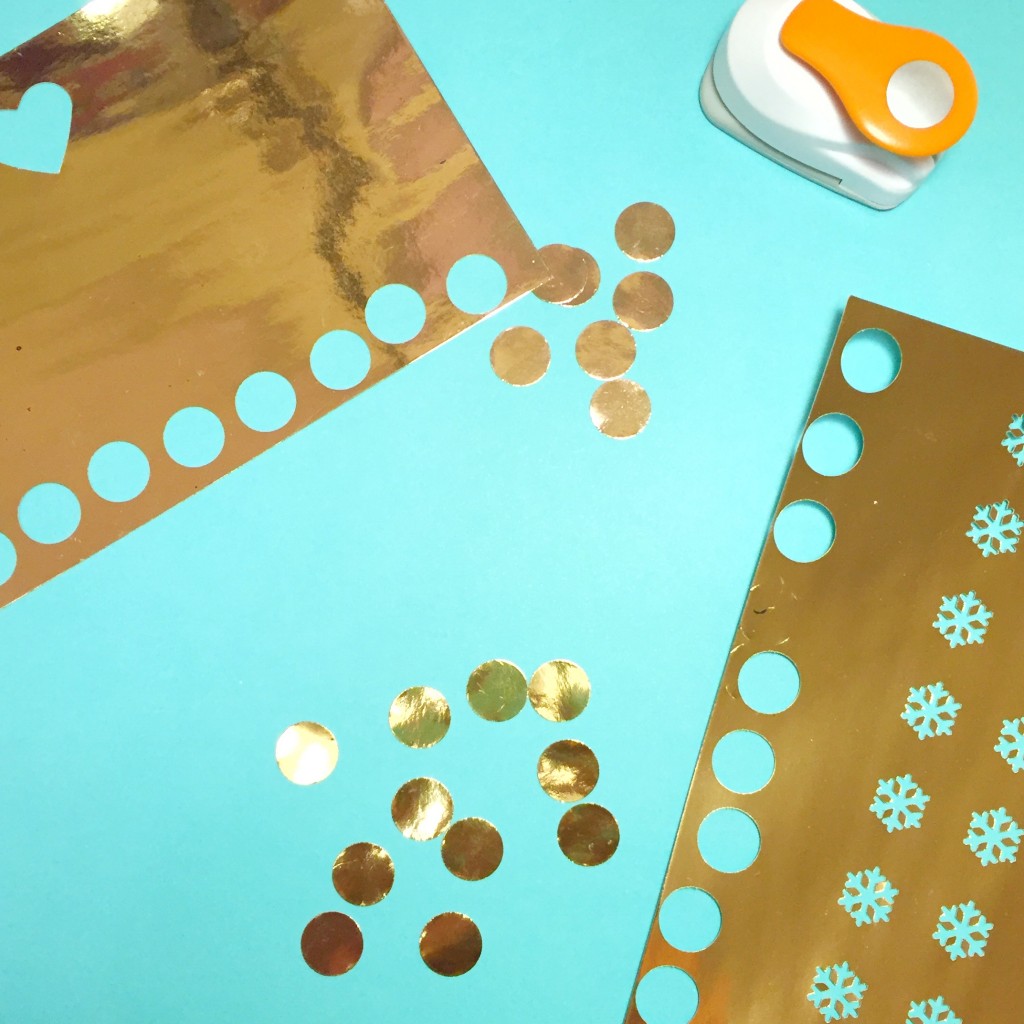
Step 1: Use your MINC Foil Applicator to foil your toner sheets with different color foil. I actually had some rose gold and gold foiled toner sheets left over from a previous project so I only needed to use the applicator for the light pink foil.
Step 2: Take your circle punch and punch out your “confetti.” Run them through your sticker maker and place them to the side.
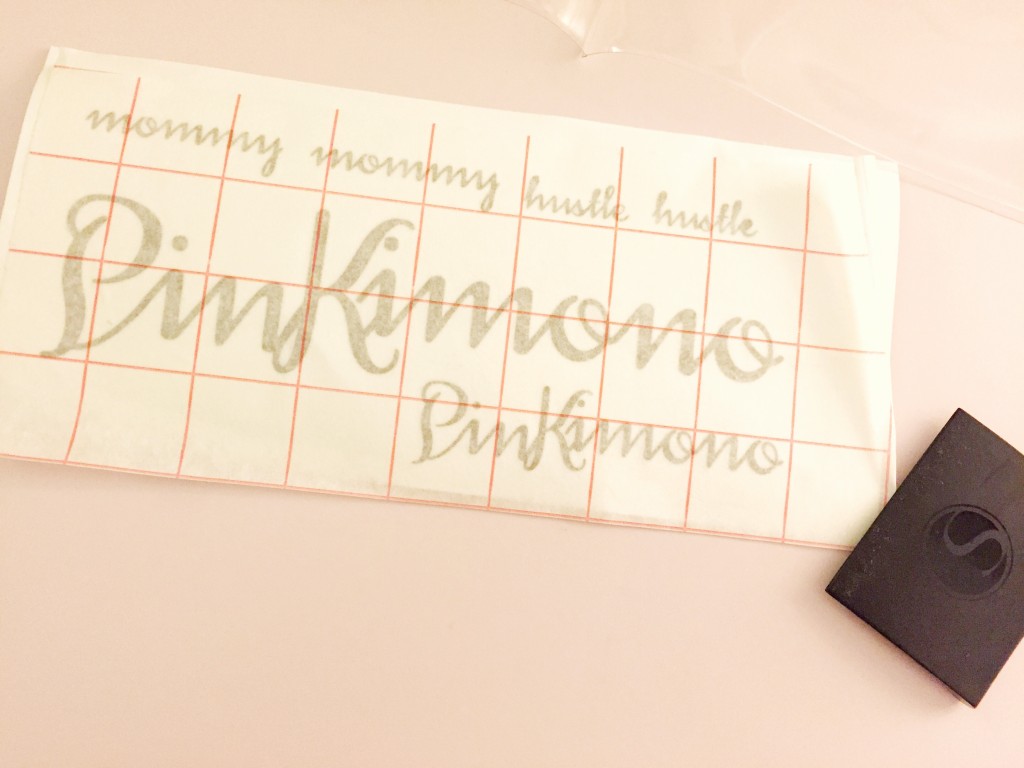
Step 3: Open your Silhouette Studio on your computer. Either upload your own logo, expression or whatever design you like into the studio or create it within the program. I uploaded my logo “Pinkimono” and “mommy hustle.” (Cause I gott aget my “mommy hustle” on.)
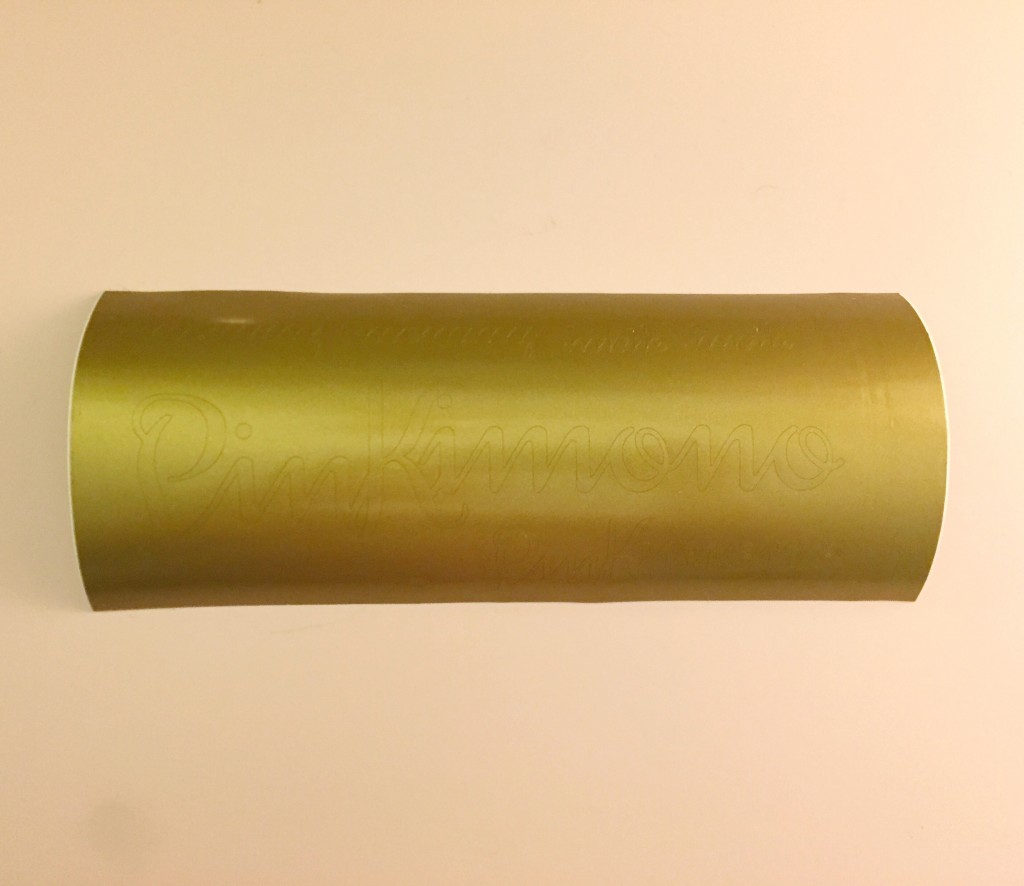
Step 4: Set your cut settings for Silhouette Vinyl – your blade should be set to one. Here’s a video from Silhouette on loading and cutting with your adhesive vinyl. Load your vinyl with the “Load Media” function on your Cameo. Now send that vinyl through the machine.
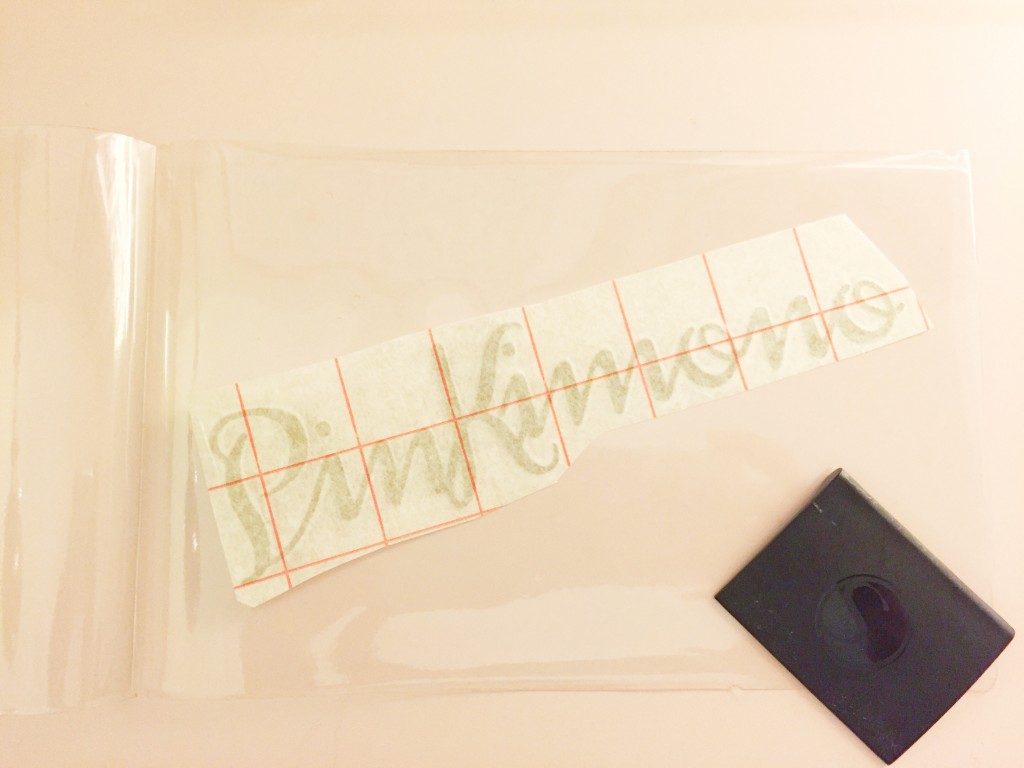
Step 5: Cut away your remaining vinyl roll and store it. Then cut a piece of transfer paper to fit your design. (Remove the extra vinyl around your expression. You may need to use your hook for the tiny details.)
Step 6: Carefully roll your transfer paper over your expression. Use your scraper to make sure it’s really on there.
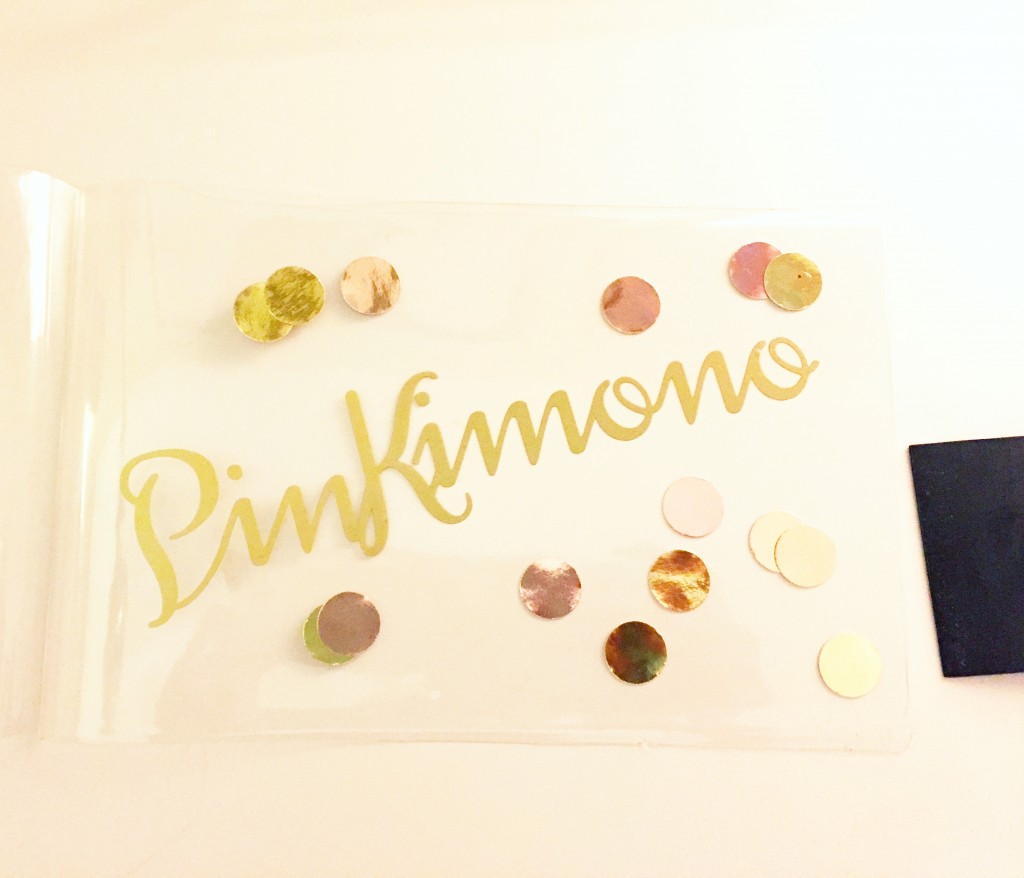
Step 7: Cut open your plastic sleeve. Don’t worry, you’ll re-seal it with the FUSE tool. Carefully remove your transfer paper with the expression stuck to it. Then line place it where you would like on the plastic sleeve.
Step 8: Grab your sticker confetti. Peel your stickers off the paper and place them where you would like on the plastic sleeve.
Step 9: Close your sleeve. Use your FUSE tool with the cutting tip to seal and cut all of the remaining open sides.
Step 10: Use a tape runner on the corners of your sleeve. Then place it on the underside of your tray.
So how did your desk tray turn out? Did you go nuts like me and update more of your office accessories? I added dots and “mommy hustle’ to my pencil cup and note pad holder.
Show me how your desk accessories turned out by posting to Facebook, Instagram or Twitter with #htgawcrafting. Can’t wait to be inspired by what you come up with for this project!
