Today Scarlett is one month old and it has been an amazing 30 days. Now that we have a little girl and a little boy, there are so many changes in our house. One thing that hasn’t changed though is their wardrobe. That’s right. This pink loving mama saves her pennies by dressing her little girl in her son’s old onesies. I know that seems 100% out of character for me, but I CAN be practical sometimes. Still, I do wish she had a “girlier” attire. So, to solve that problem I got crafty with my MINC Foil Applicator and Silhouette Cameo. Tonight’s htgawcrafting challenge is all about adding some baby girl flair via a DIY baby headband.
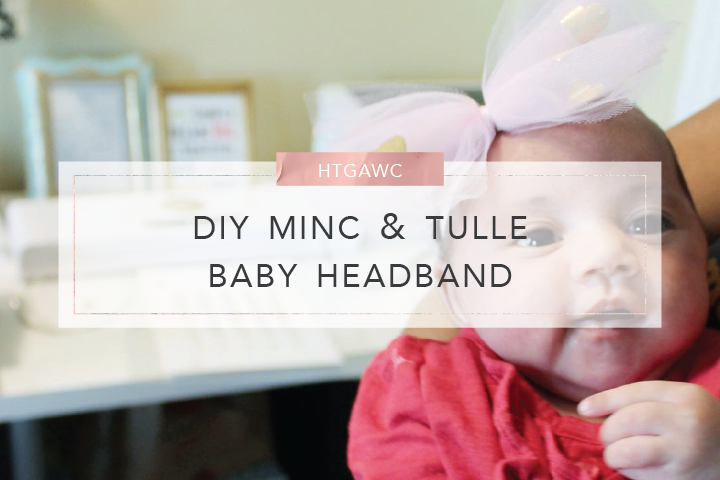
When I was in grade school I used to make paper bows with a napkin and a straw wrapper at snack time with my girl friends. We didn’t wear them, but they were fun to make. I started thinking about how we made them and thought, I could do the same thing to make bows for Scarlett. All I had to do was to switch out the napkin and wrapper for tulle and baker’s twine and voila! Later I saw this gorgeous IG post on how to add texture to a tulle skirt from @tomkatstudio and I was inspired to add sparkly foil with the MINC. So tonight we’re going to learn to make a headband bow AND BONUS – how to add foil to tulle! Let’s get started!
Supplies for A DIY Baby Headband With MINC Foil & A Tulle Bow
- Silhouette Cameo Machine
- Silhouette Printable Heat Transfer Material For Dark Fabrics
- Laser Printer
- Martha Stewart Rotary Cutter or Scissors
- Tulle
- MINC Foil Applicator
- Foil
- Parchmemt Paper
- Baker’s Twine
- 1/4″ Skinny Elastic
- Iron
- Piece of cloth
- Piece of felt
- Fabric glue, hot glue or thread & needle
Steps
To Create The Foil Design For Your Bow
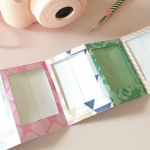
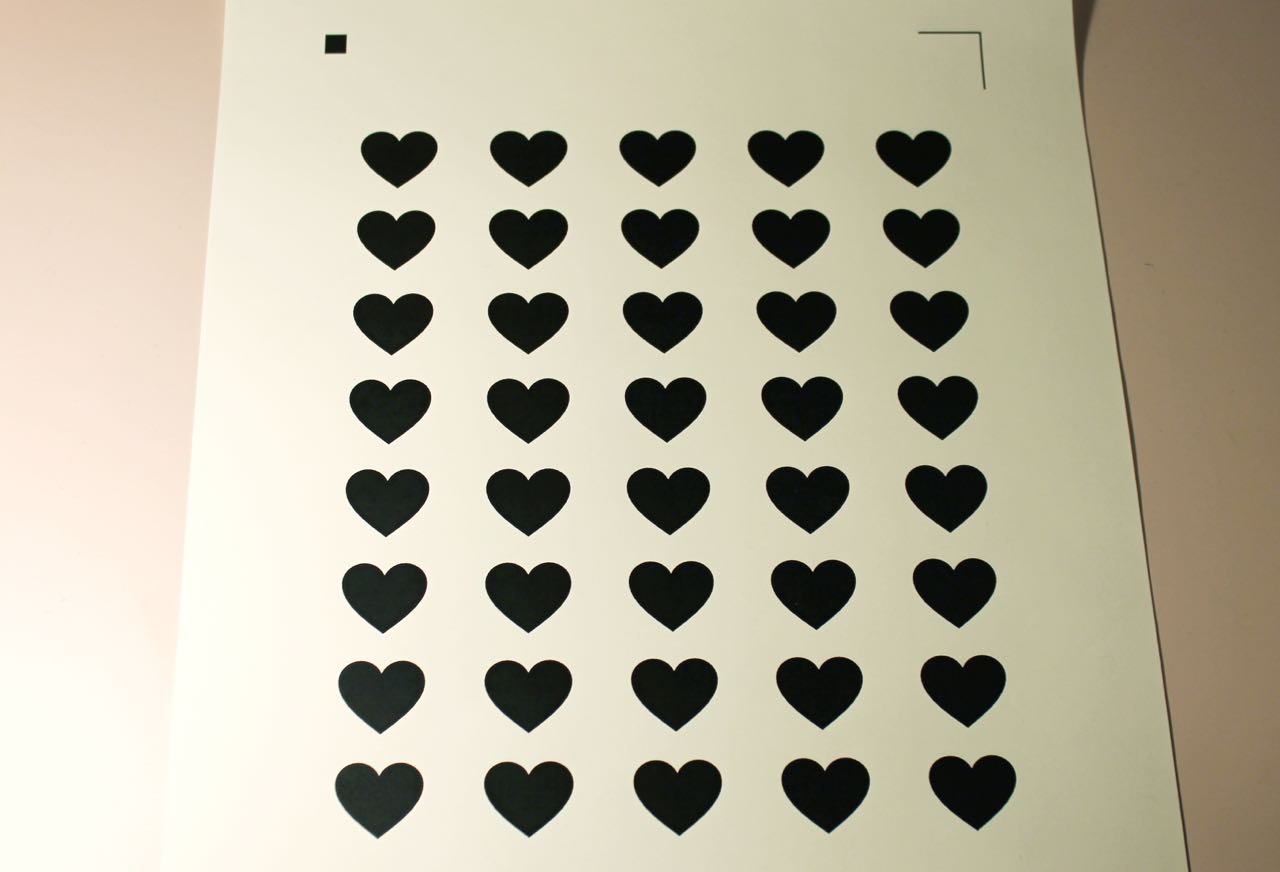
Step 1: Open Silhouette Studio on your computer. Choose a simple shape to foil for your bows. I chose a heart from the Silhouette Design Store. Size your image to be smaller than .75 x .75 inches. Make multiple copies of your design. Turn on the registration marks.

Step 2: Print your designs using a laser printer on a piece of Printable Heat Transfer Material (I know the directions say ink jet, but for this project, you’ll need to use a laser printer so the foil reacts to the toner).
Step 3: Open your cut settings. Under Cut Conditions set your Material Type to “Printable Heat Transfer Material” and make sure the blade is set to 1.
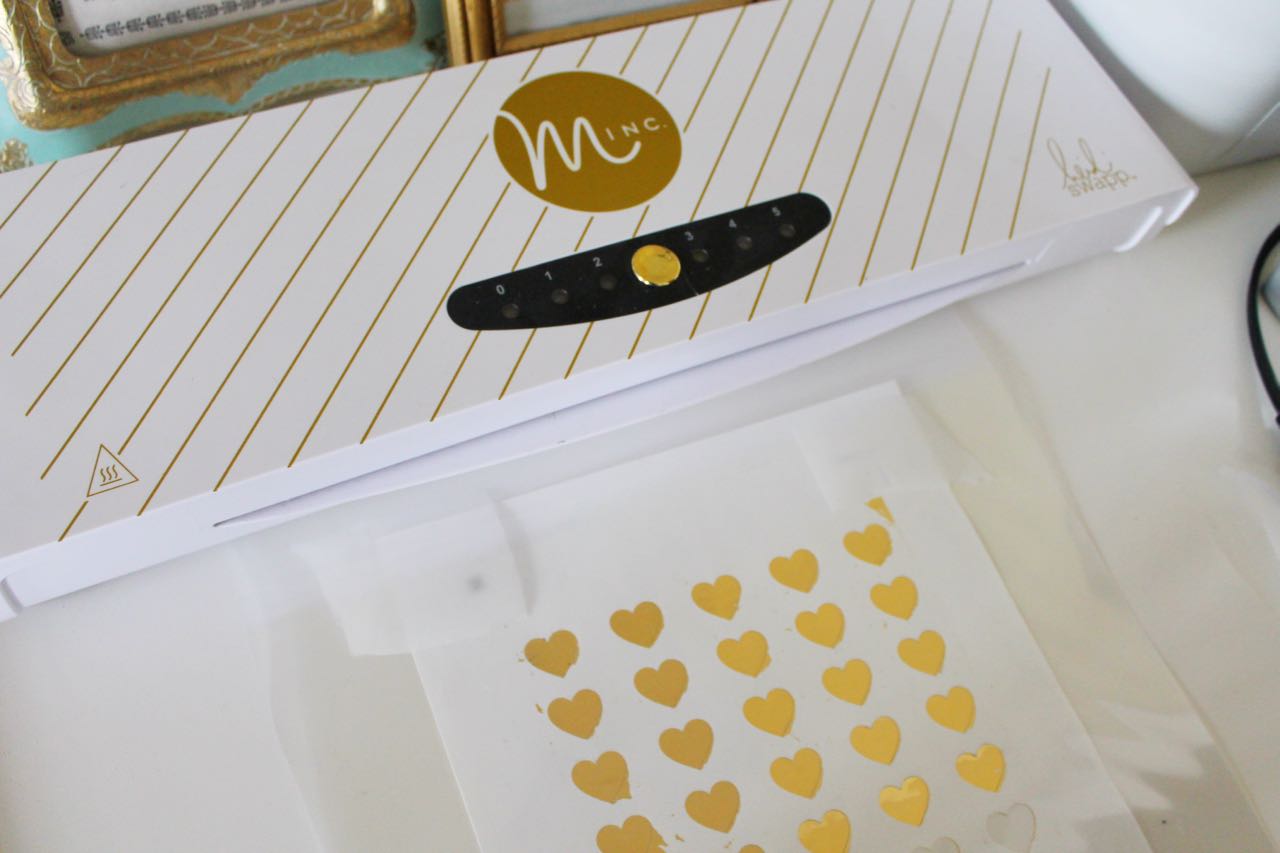
Step 4: Turn on your MINC Foil Applicator and set the heat level to 2. Cover your design with a piece of foil (I went with gold) on your transfer sheet. Place it inside your MINC sleeve and send it through the applicator. Here’s a little tip: You’re not going to foil your registration marks, but you still want to cover them so they don’t leave traces of toner on your MINC sleeve. To do this, I like to use pieces of parchment paper. For more tips on ways to lengthen the life of you MINC sleeve, check out this post.
 Once it’s ready, place your printout on your cutting mat. Set your blade to 1 and send your design through the Cameo. Remove your sheet of cut hearts and set to the side.
To Assemble The Bow
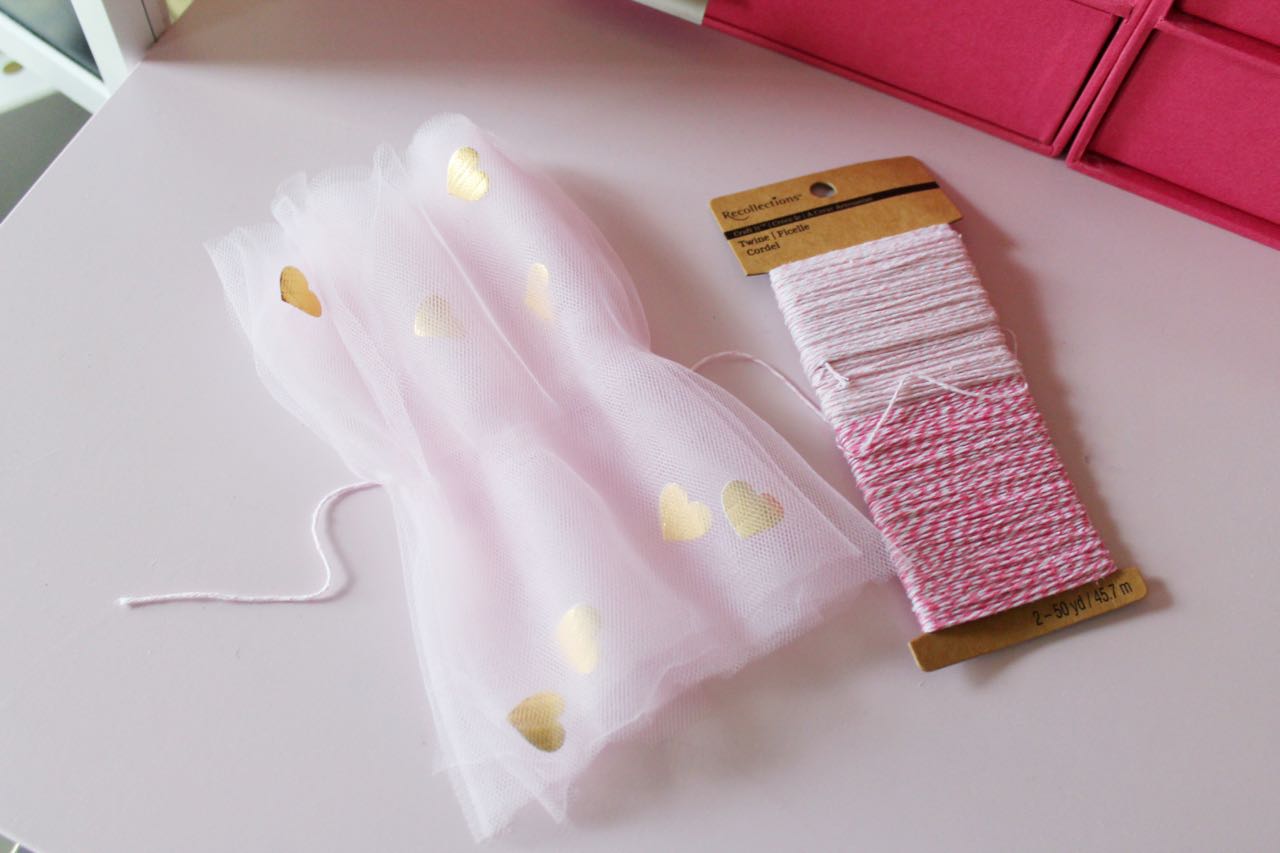
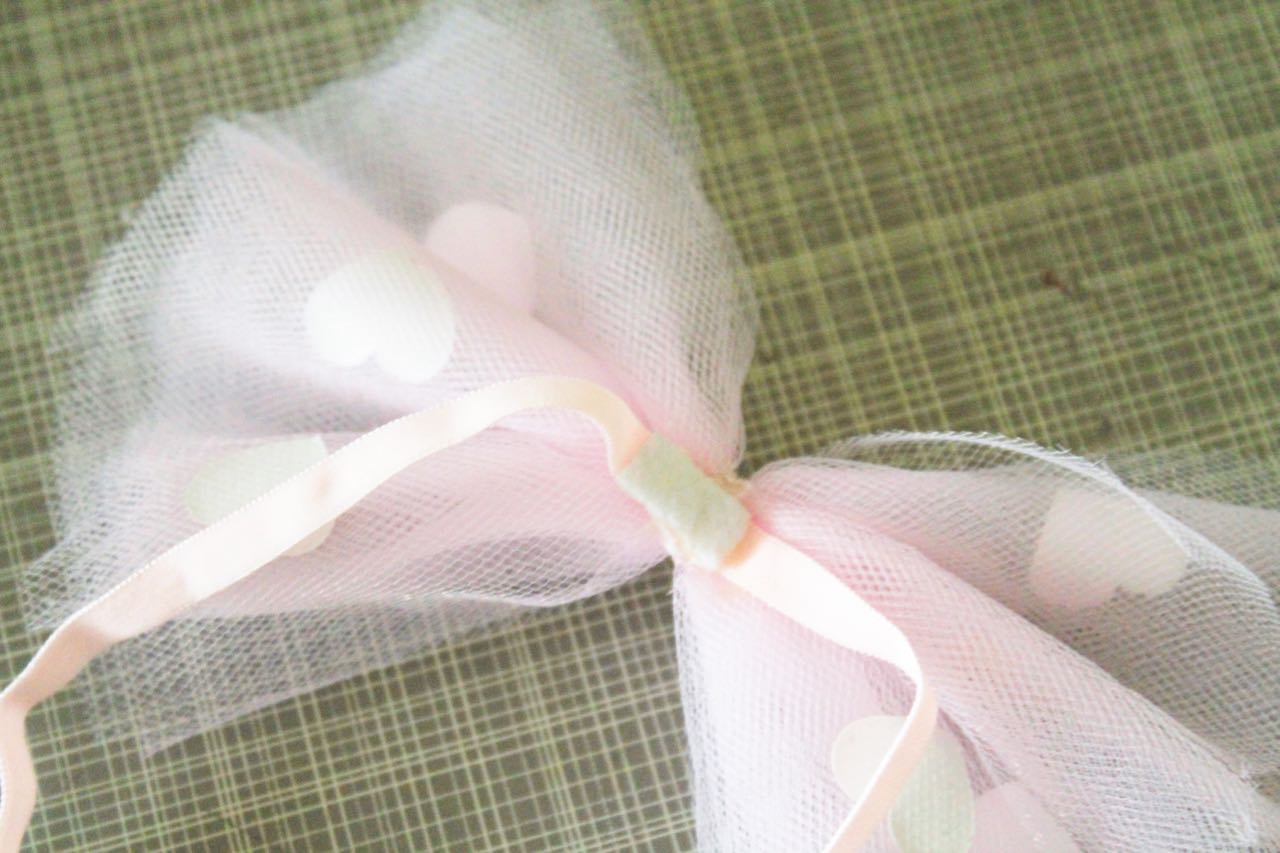
Step 5: Cut your materials: 8 – 6″x6″ pieces of tulle with your rotary cutter or scissors, cut a 12″ piece of baker’s twine and cut a piece of elastic to fit your little one’s head.

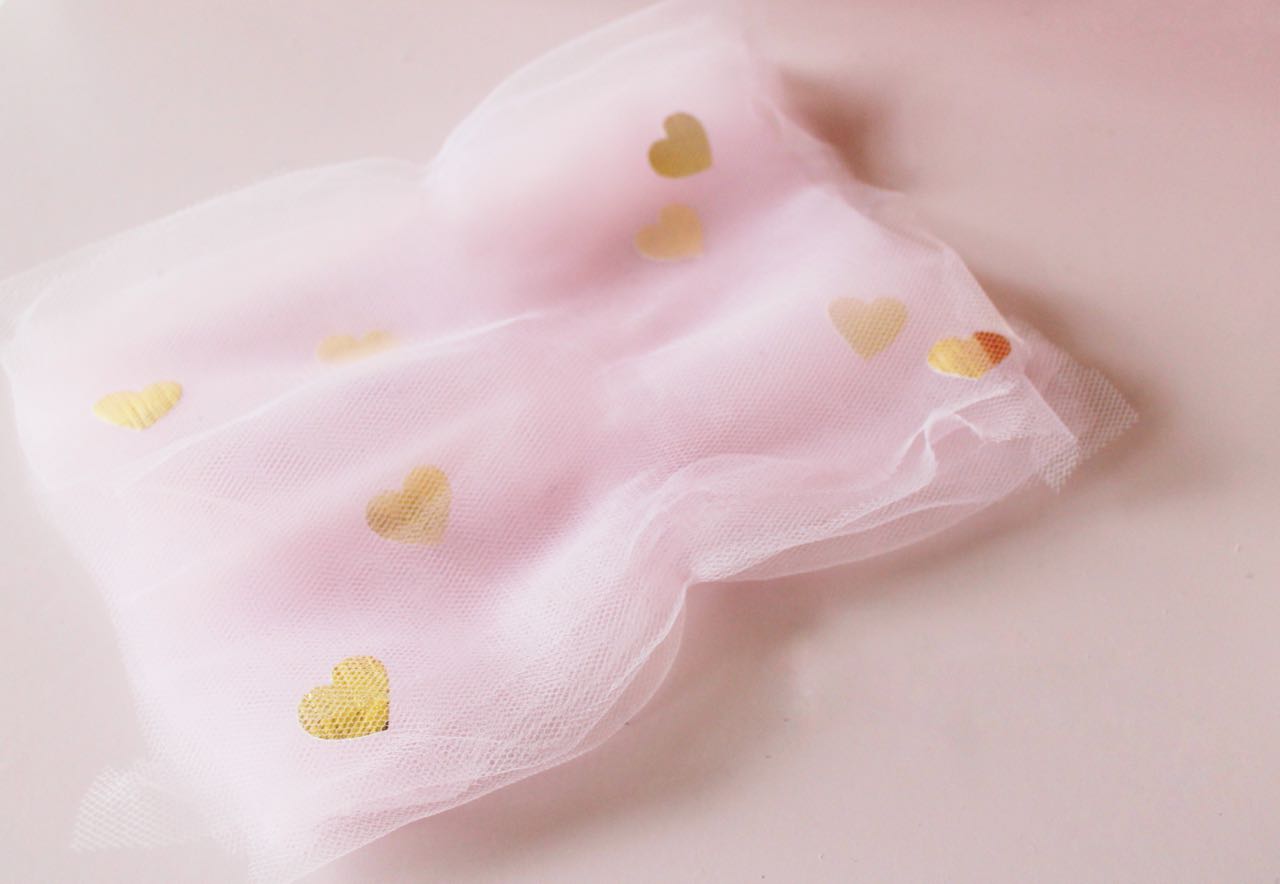
Step 6: Place one of the tulle sheets on your work space. Keep in mind that you will scrunch the tulle in the middle, peel and place a heart (your design) on each half of the sheet. Repeat this with 3 other pieces of tulle. You should have 4 pieces by the end of this step.
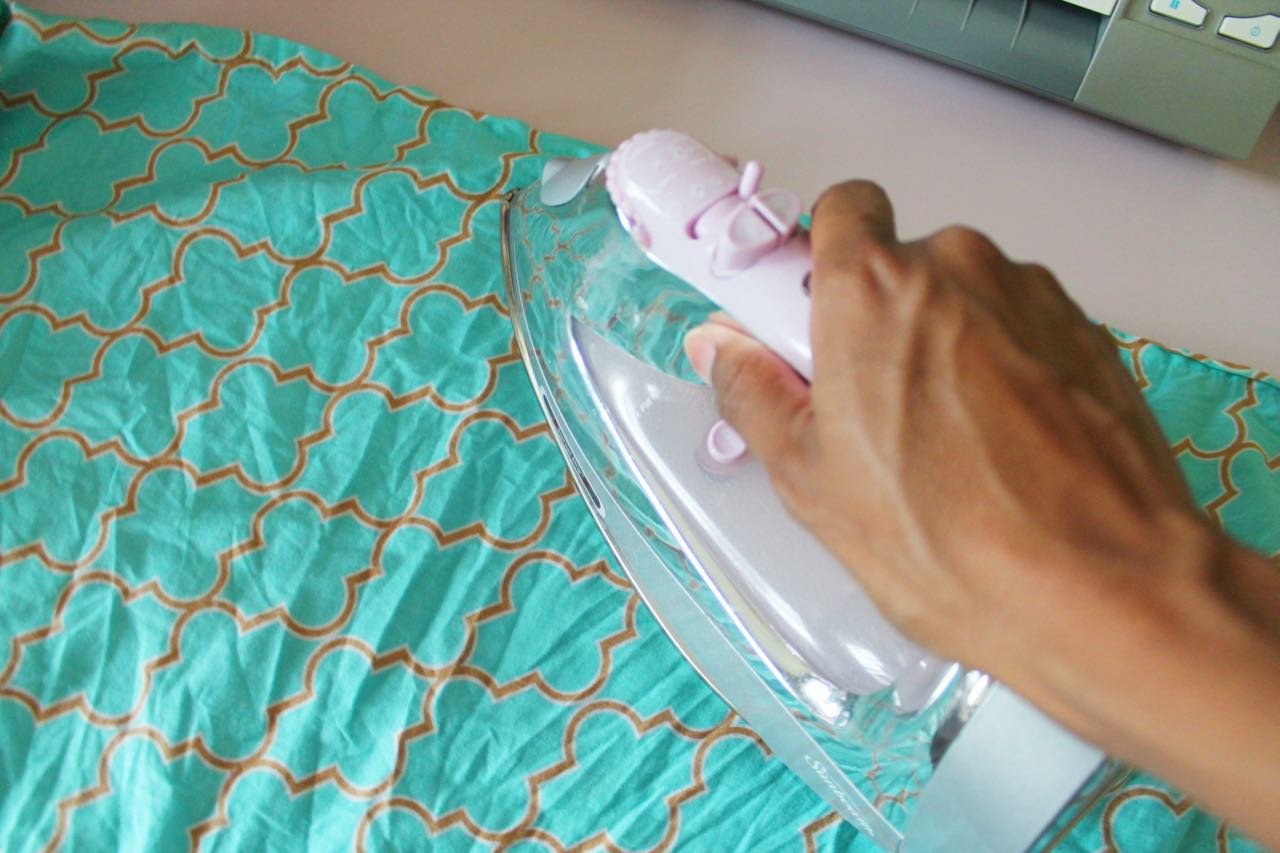
Step 7: Follow the directions to iron on your gold hearts found on the back of Silhouette Printable Heat Transfer Material packet. Once you iron on the design, set them to the side to cool.
Step 8: Stack your pieces of tulle on each other, alternating between a plain piece and a piece with the gold hearts. Start with a piece with the gold hearts so you end with a plain piece of tulle on top.
Step 9: Fold your stack of tulle accordion style.The more folds, the puffier your bow will be. I folded my tulle about 5 times.
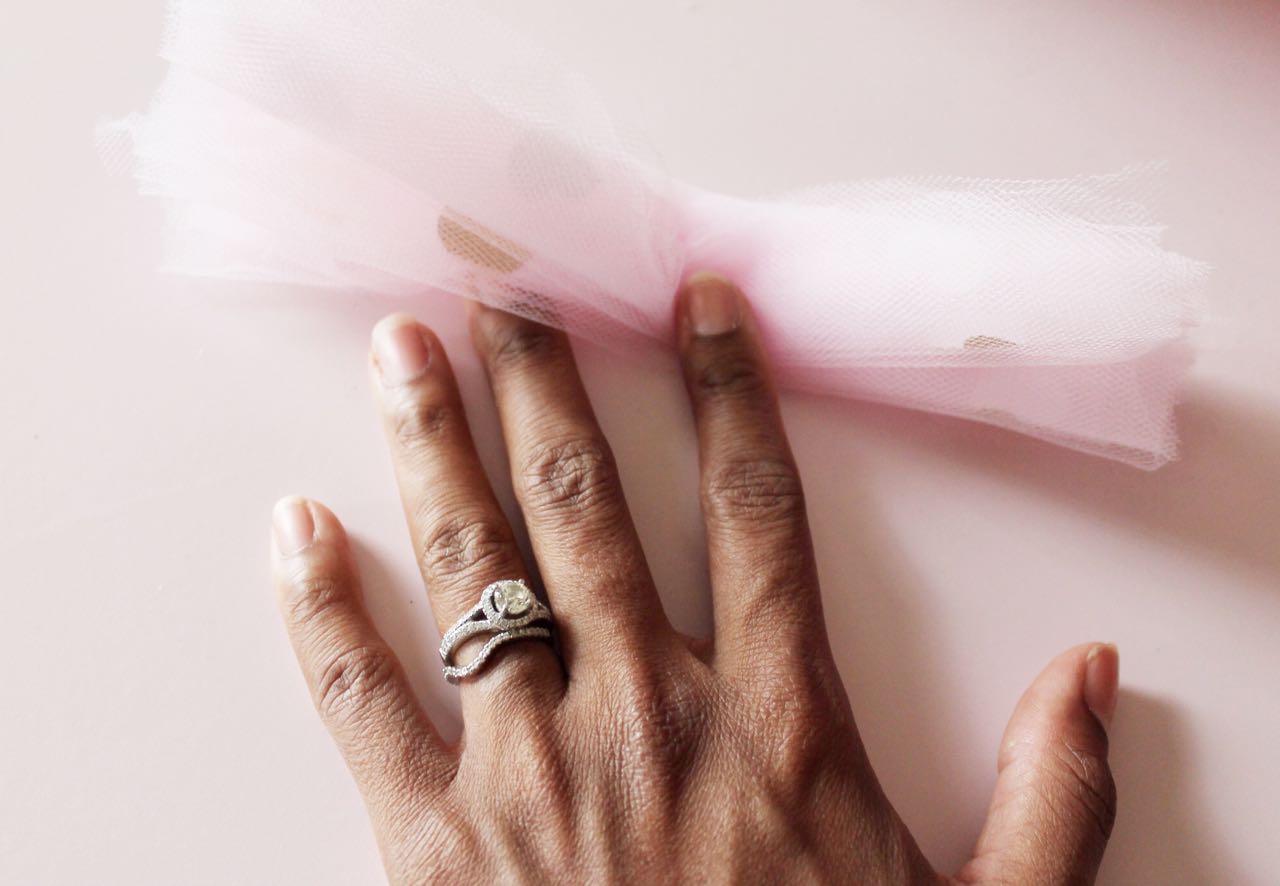
Pinch the folded stack in the middle and wrap the twine around it. Tie it off and cut the remaining string.
Step 10: Adhere your bow to your elastic band with fabric glue, hot glue or thread. For extra stability, attach a piece of fabric directly on the other side of the band.
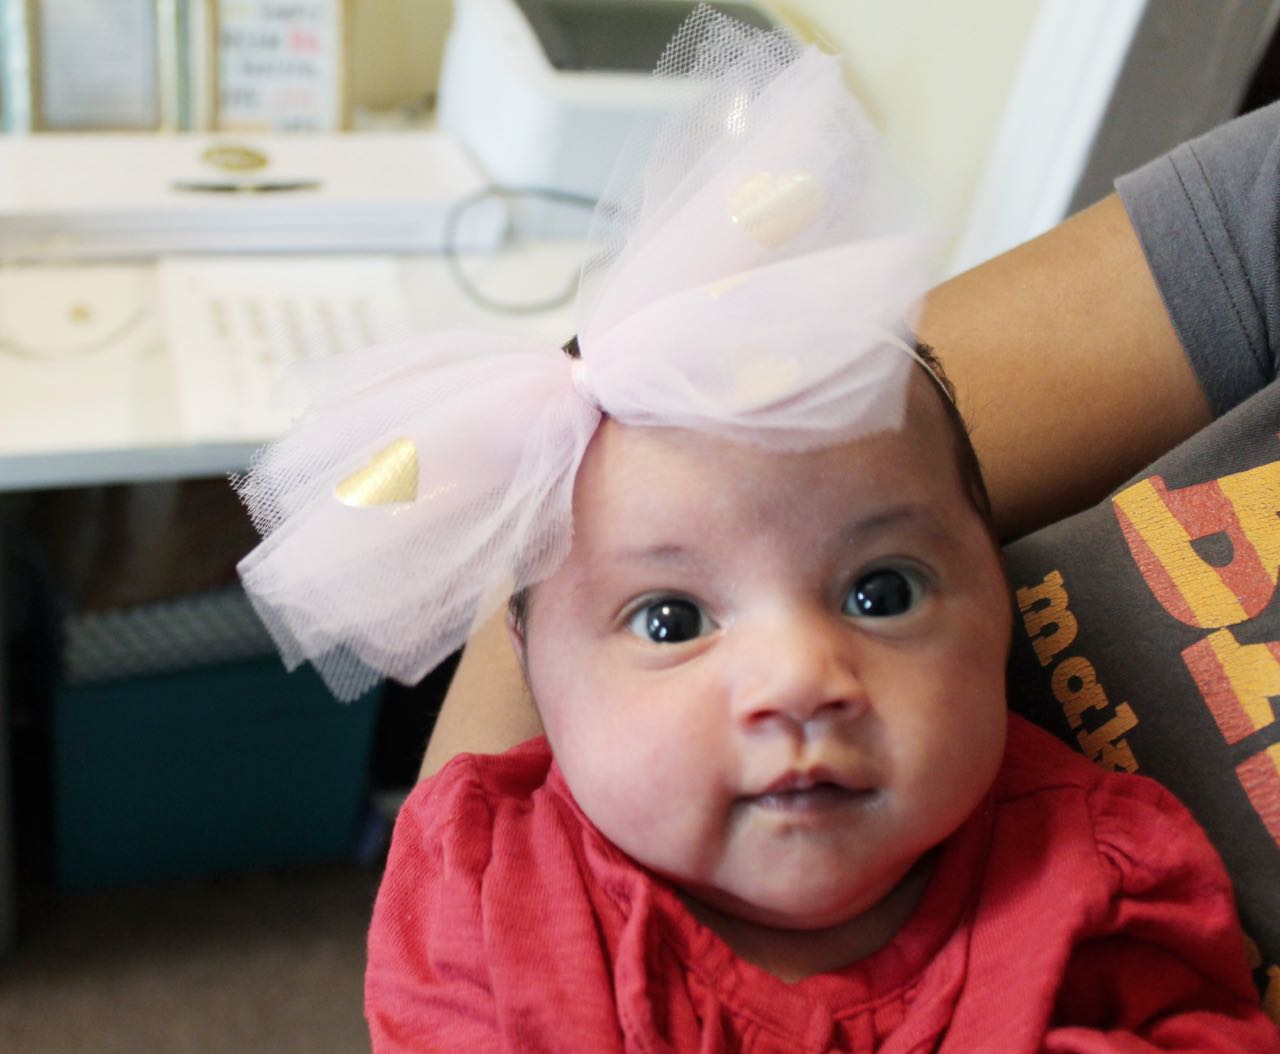
That’s it! Hello, doll face! Oh, I am so over the moon with how this came out. I know it’s a little 80’s-esque but who doesn’t love a good throwback to the 80’s?
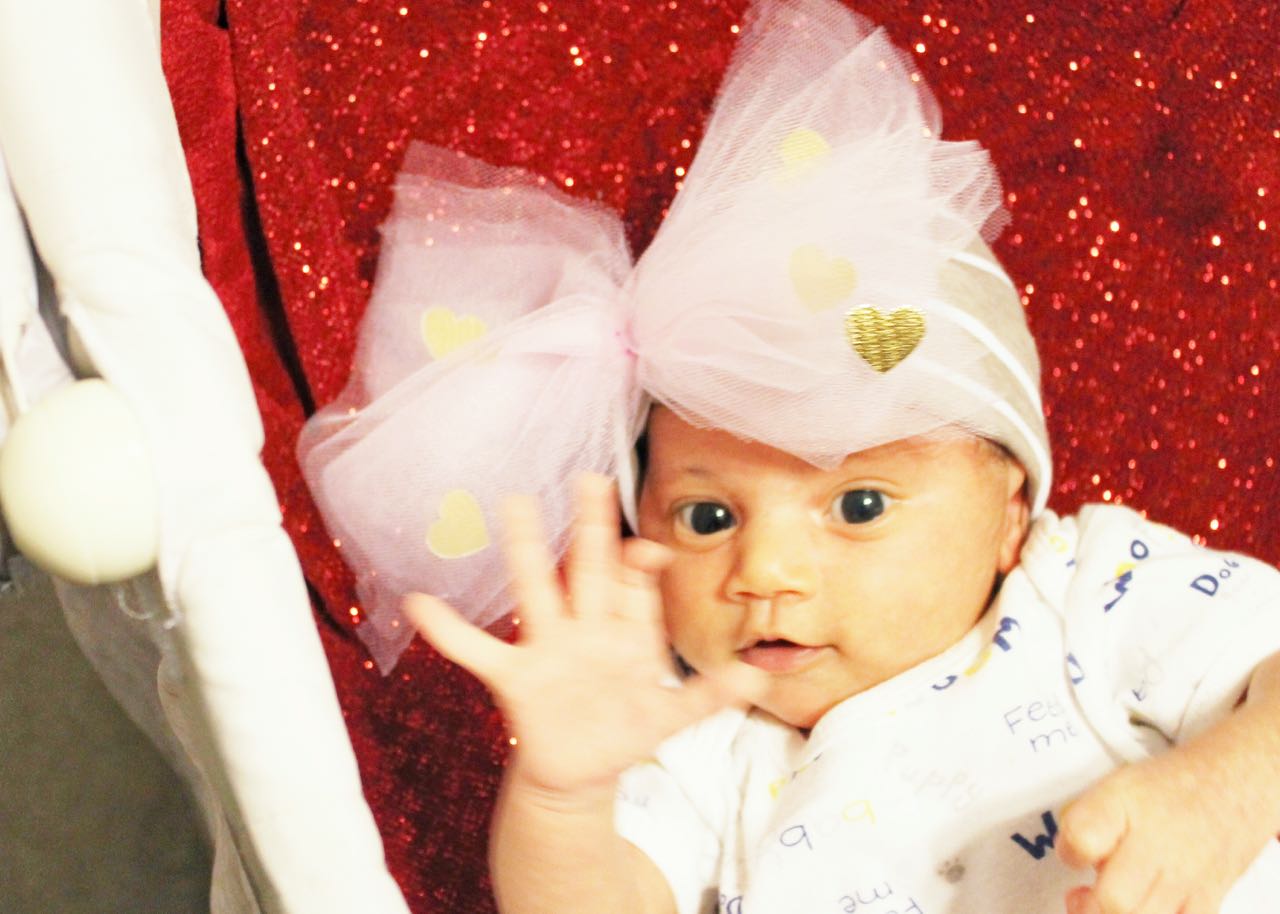
Oooh, I also found another use for these bows. If your little one’s head is too small for headbands, you can also add these bows to a hat. Again, in hopes of adding a little “girl power” to Westley’s old hats, I snipped a little hole in the hat and tied the bow to it. (The picture below is from one of the first bows I made. It’s waaaay too large, but Scarlett made the best of it for this photo.)
Well let me know how your DIY headband bows turned out. If nothing else, you found another way to use the wonderful MINC Foil Applicator for future projects that involve tulle! Let me know and don’t forget to post your pics to Facebook, Instagram or Twitter with #htgawcrafting. I can’t wait to see how your DIY Baby Headband turned out.