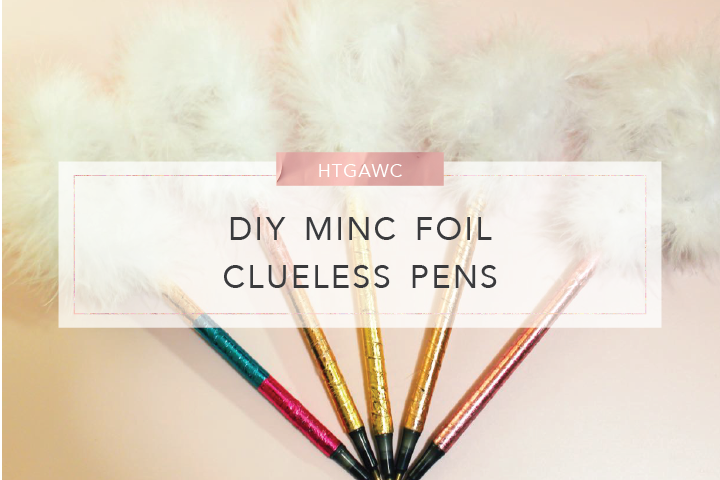
Last week the htgawcrafting challenge took us back to 80’s for a few beats. We made a baby headband with bows using the MINC Foil Applicator (my favorite crafting tool). The bows had a bit of an 80’s-esque feel. Well for our challenge this week I decided to dip back to another fun decade – the 90’s. This week’s challenge is Clueless pens.
I think my impromptu, late-night dance parties with Scarlett inspired this nostalgia. When she can’t sleep, I open up my 90’s channel on Pandora and we rock. This got me thinking about things I loved from that era. Clueless is the quintessential representation of my happiness during that time. So many wonderful things came from that movie – classic lines, Wet Seal, baby doll dresses, Alicia Silverstone and of course FUZZY Pens. I miss those pens, so I thought I would bring them back for a bit, but with a touch of MINC glam! So let’s get started on MINCing our pens! (Bonus, you don’t even need the machine for this project – just the pretty foil.)
Supplies for A DIY MINC Foil Clueless Pen
- Ballpoint Pens
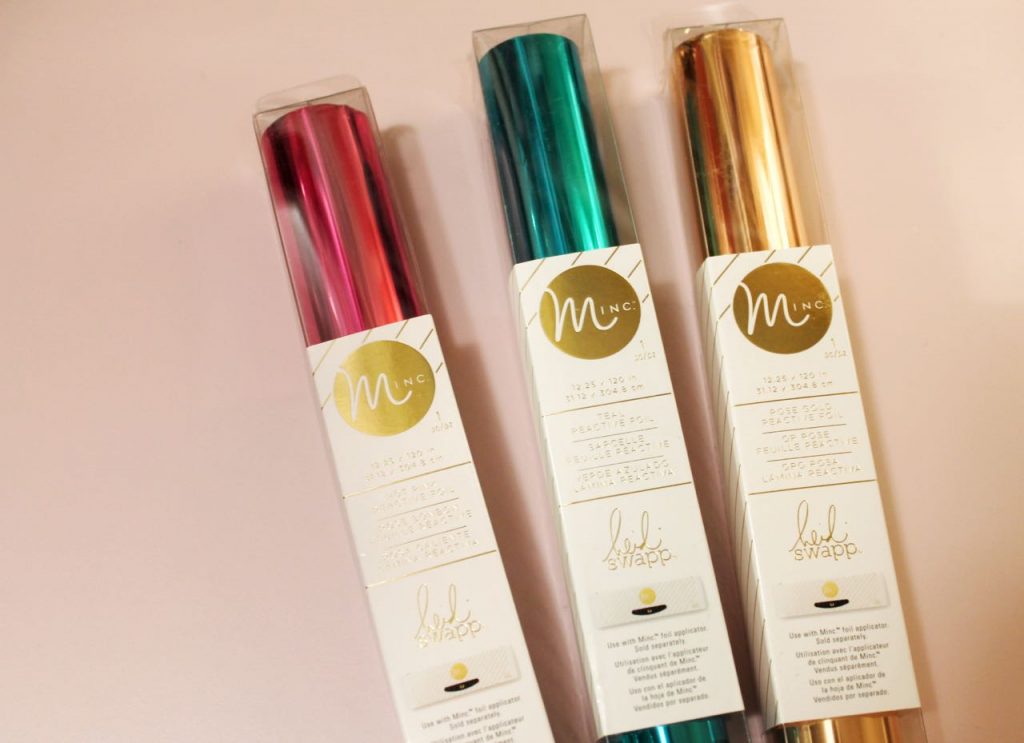
- Heidi Swapp MINC Reactive Foil in your favorite colors
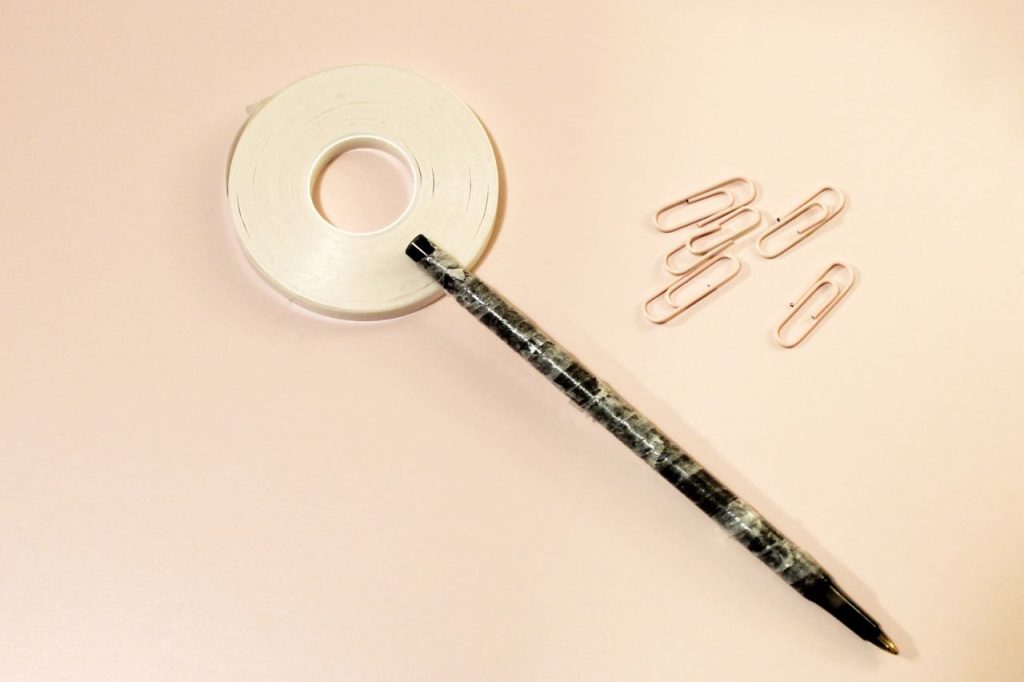
- Therm O Web Double sided tape
- Rotary Cutter
- Marabou Feather Boa
- Hot Glue and Gun
Steps
To MINC Foil The Pen
Step 1: Remove the top of your ballpoint pen. You won’t be able to use it when we’re done – it won’t fit your pen after we decorate it.
Step 2: Take your double-sided tape and wrap your pen from top to bottom. You’ll wrap it on an angle until you get the bottom. You’ll want to wrap it one or twice straight around the bottom so you cover the entire pen. Also, make sure you leave some room at the end right above the ballpoint tip. (This way you can switch out the ink if you choose to later on.)
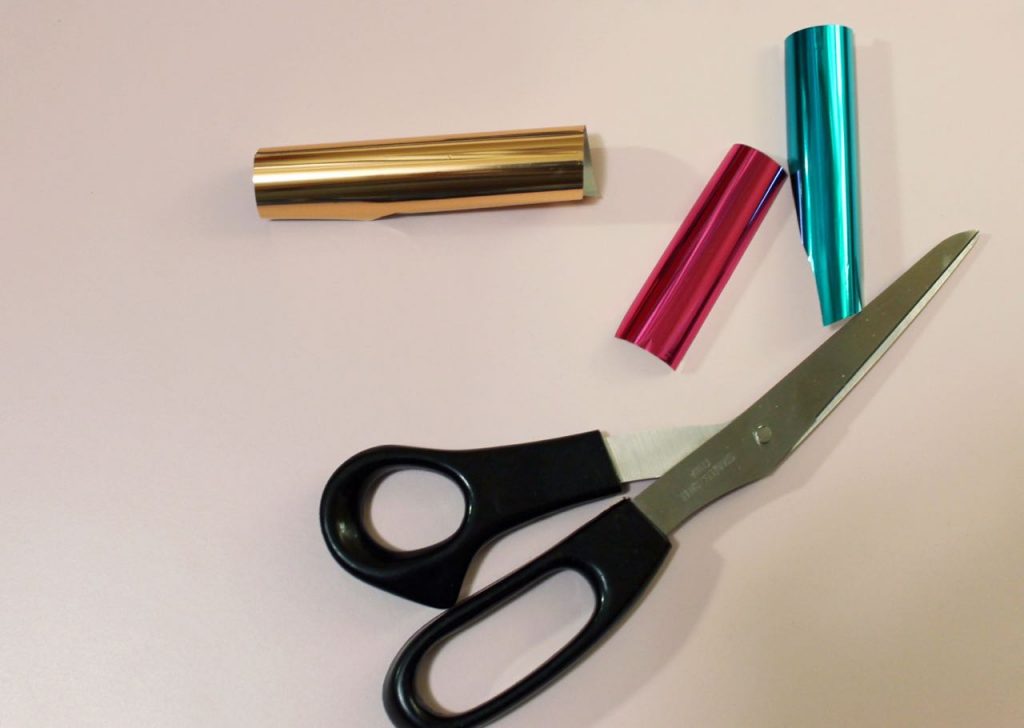
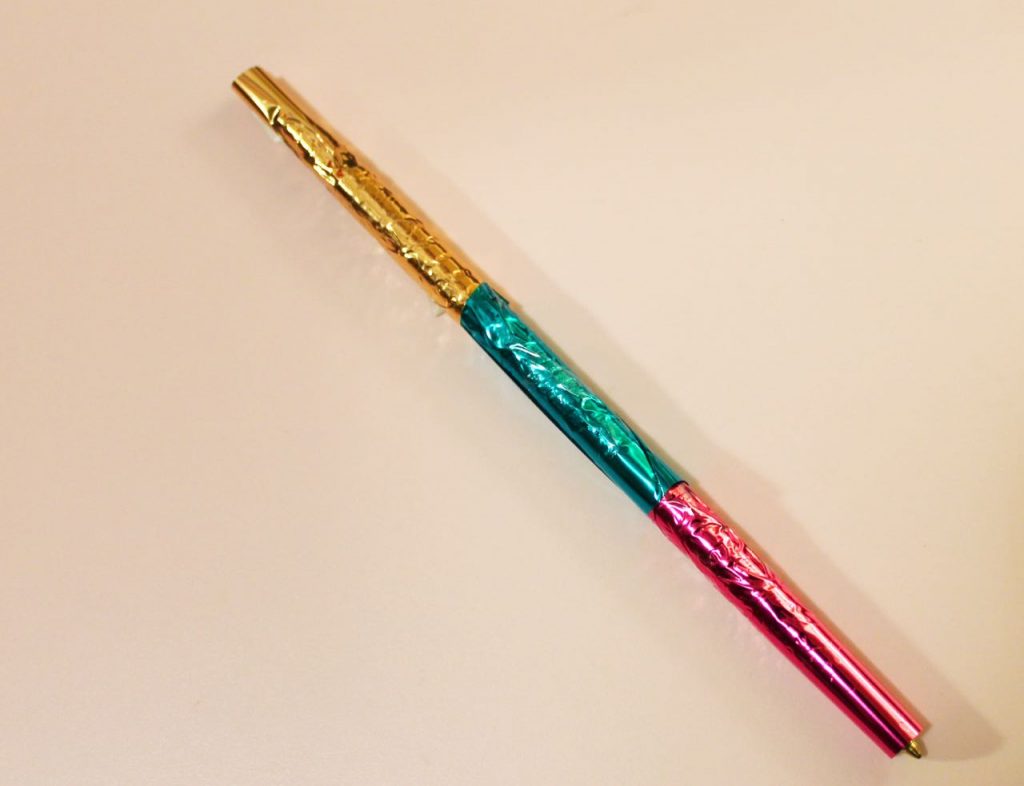
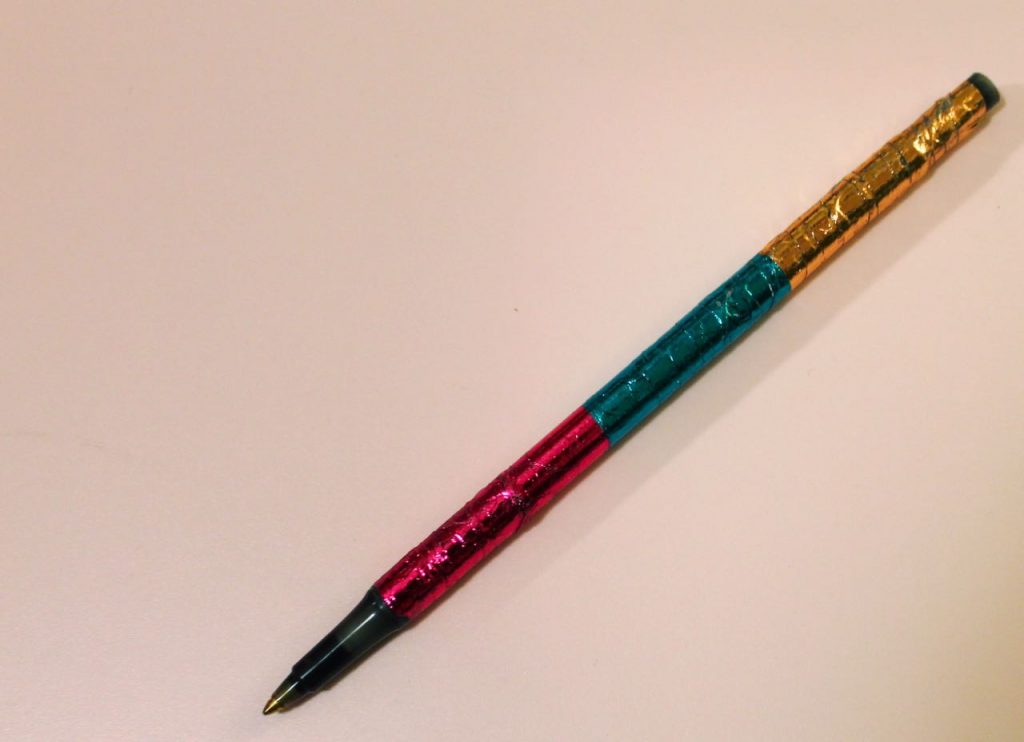
Step 3: Cut a piece of foil that’s big enough to cover your pen. In this example I used three different colors so I cut a few small pieces. (Note: Your scrap pieces of foil from other projects are ideal for this.)
Step 4: Wrap your pen in your foil on the non-color side. Rub the color side of the foil on really well.
Step 5: After rubbing the foil on really well, remove it from the pen. Check for any spots missing color on your pen and apply a different section of your foil that still has color to it. (Or cut another piece and rub it on the spot missing color.)
Now, you can totally stop here if you don’t want the “Clueless” look. It’s still super pretty and sparkly.
To Add A Touch Of Clueless To Your Pen
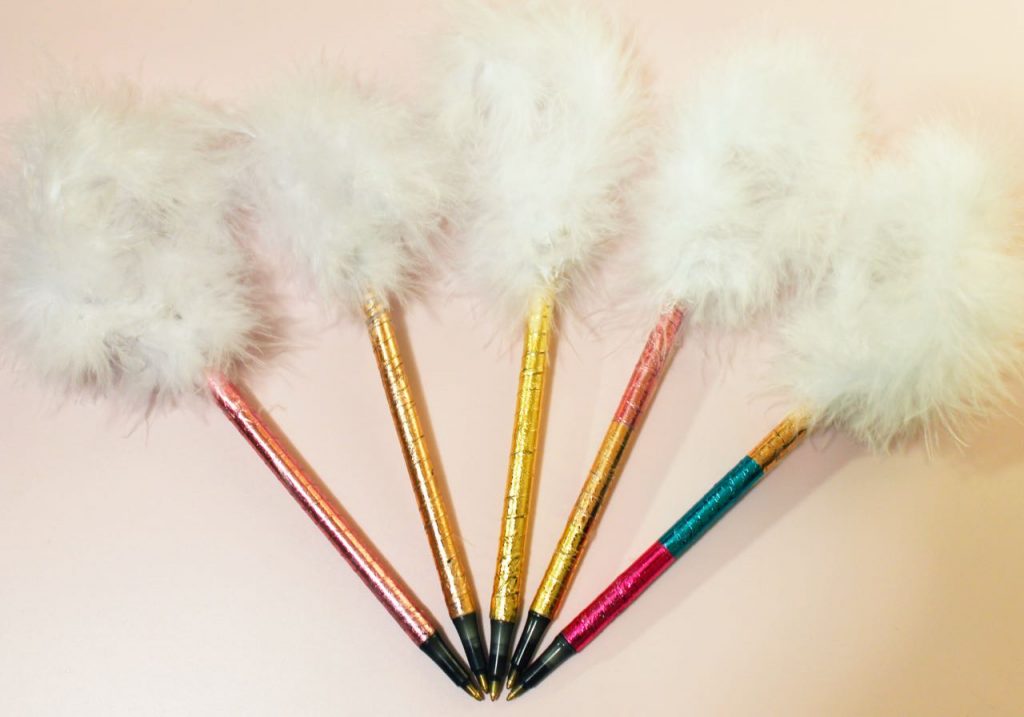
Step 6: Cut 2 pieces of your Marabou boa in 4” – 5” sections.
Step 7: Using hot glue, apply your pieces of boa to the end of your pen. Make a loop with one piece and attach the ends to the pen. Then take the second and criss cross it with the first piece, loop it and attach it with hot glue.
That’s it. How sparkly and fun, right? It’s such an easy and fun way to glam up your desk. I think I should have purchased more than 10 Paper Mate pens. I can’t wait to plan next week with these beauties. Let me know how your pretty pens turned out. Can’t wait to see. Don’t forget to post your pics to Facebook, Instagram or Twitter with #htgawcrafting.
