So if you can’t tell by now, I’m totally obsessed with my MINC Foil Applicator. I just love how I can make something simple and then GLAM it up in a few minutes with foil! It’s also a great tool to revitalizing something that’s gotten boring with a little sparkle and without spending a ton of money! Recently I’ve gotten a little bored with my Kate Spade planner. I love her shimmery, pretty cover and gold wire binding, but that’s where her bling ends. And now that I have two little ones, I’m not trying to drop $50+ to feed my planner girl habit. But it’s okay! My MINC has me covered.
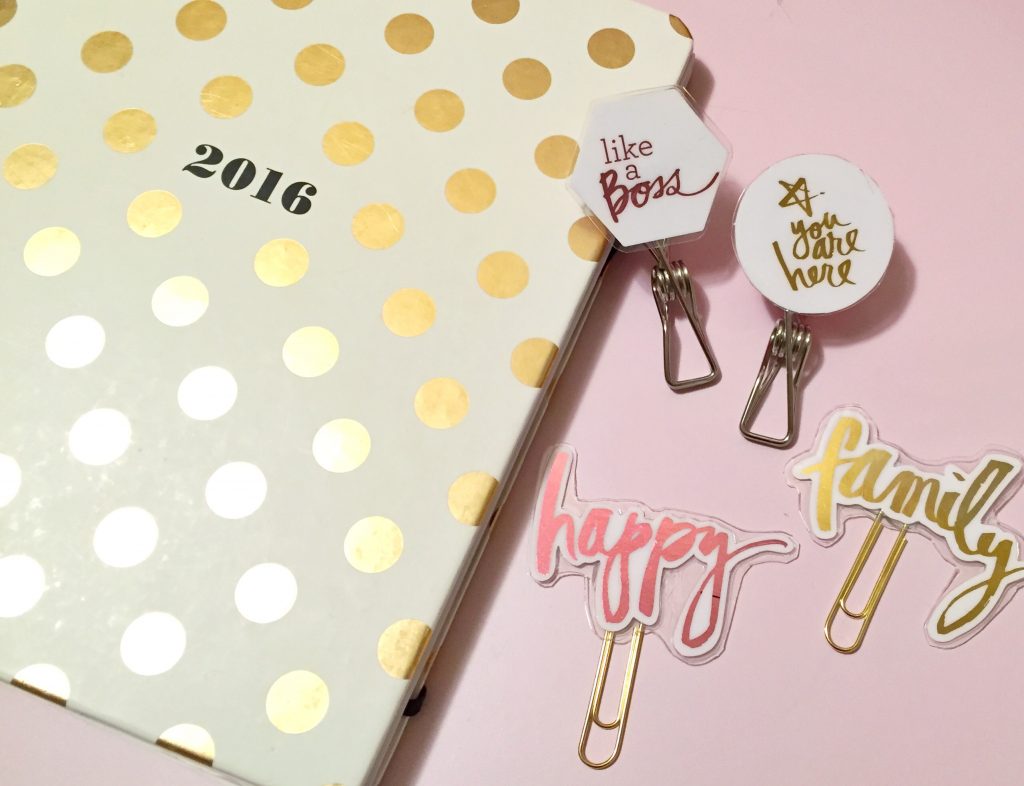
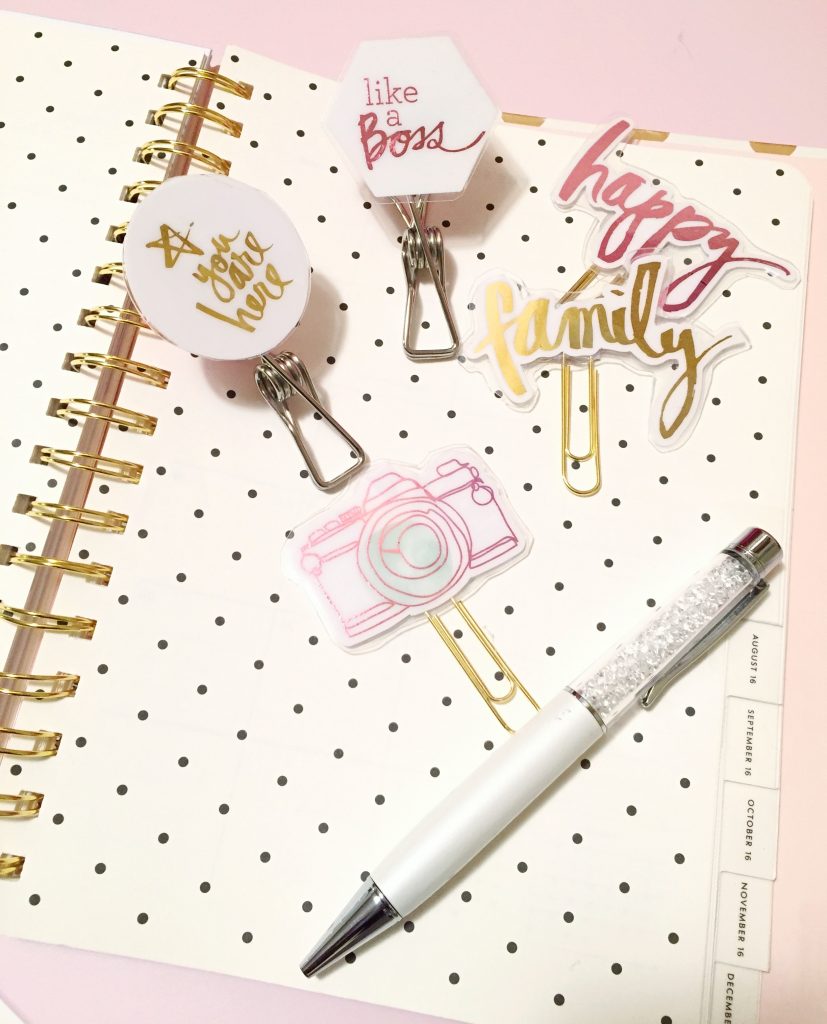
I realized I could add a little glitz to my planner with MINC Foil DIY planner clips. This turned out to be a super simple and affordable way to make my pages sparkle. So lets get started right now because you may end up being up all night like me making tons of these little cuties!
Supplies for MINC Foil DIY Planner Clips
- Paper Clips
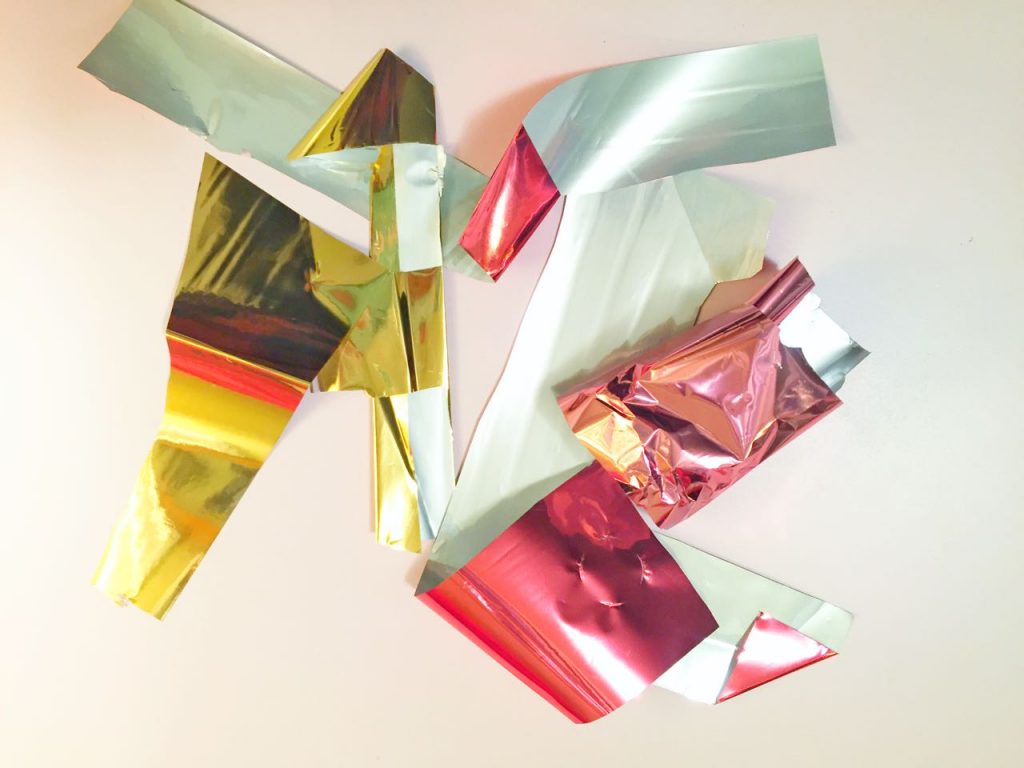
- Heidi Swapp MINC Reactive Foil in your favorite colors
-
Heidi Swapp Minc Foil Applicator
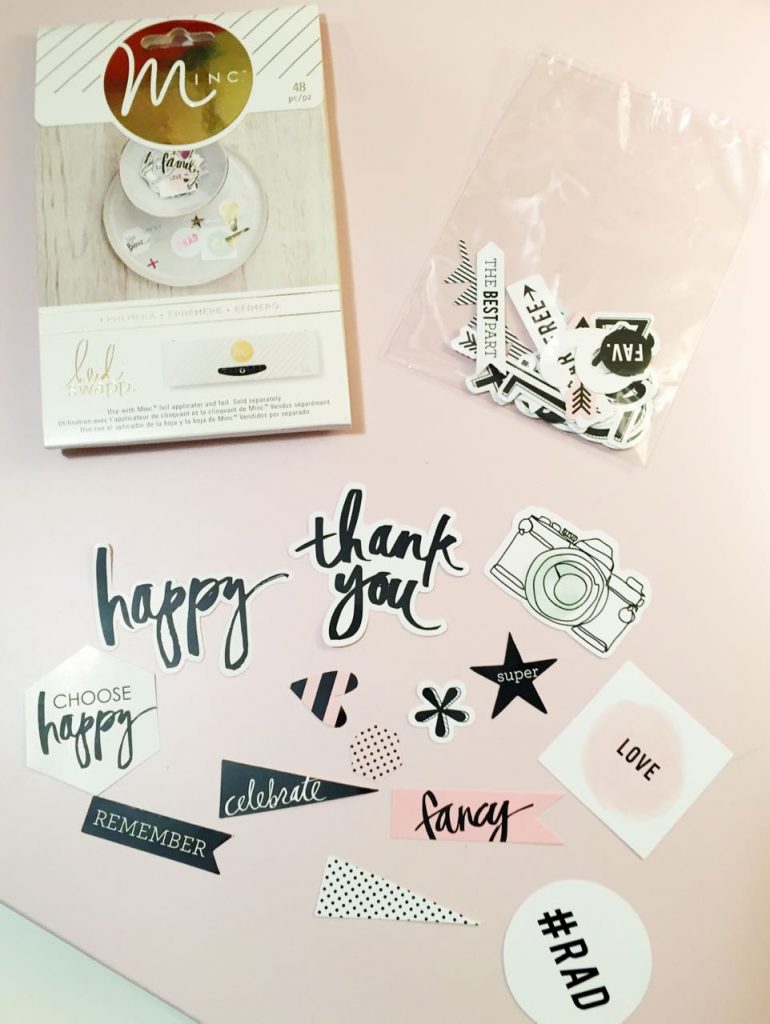
- Heidi Swapp MINC Ephemera
- Scissor
- 10 mil Laminate Pouches
- Hot Glue and Gun
Steps
To Prepare Your MINC Foil DIY Planner Pieces
Step 1: Choose 10 or more pieces from the set that you want to make into clips.
Step 2: Chose your foil and cut the appropriate sizes for your pieces. This is a great project for scrap pieces of foil by the way. That’s what I used.
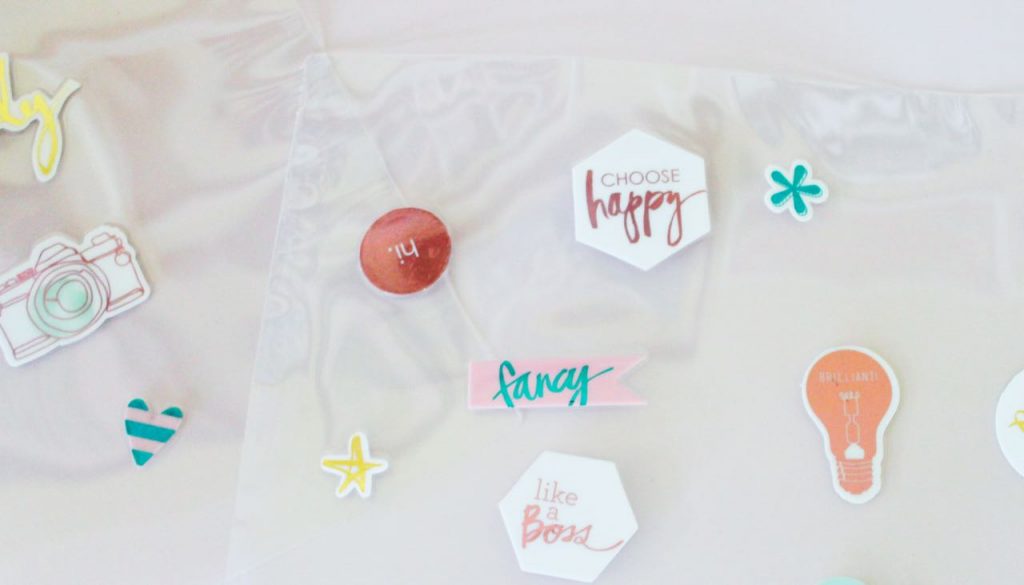
Step 3: Cover your pieces with foil and place them in the sleeve. Send them through your MINC Foil Applicator on the 3rd setting. Once they go through, remove your pretty foiled pieces and set to the side.
Step 4: Place your foiled pieces in a laminate pouch. Turn your MINC Foil Applicator up to heat setting 5. When it’s ready send the laminate pouch through the machine without the sleeve. You should have a really solid piece of laminate with all of your pieces.
Step 5: Cut your pieces out of the laminate. Try to cut as close to the piece as possible and soften the edges where you can. (10 mil laminate is SHARP!)
To Turn Your MINC Foil Pieces Into Planner Clips
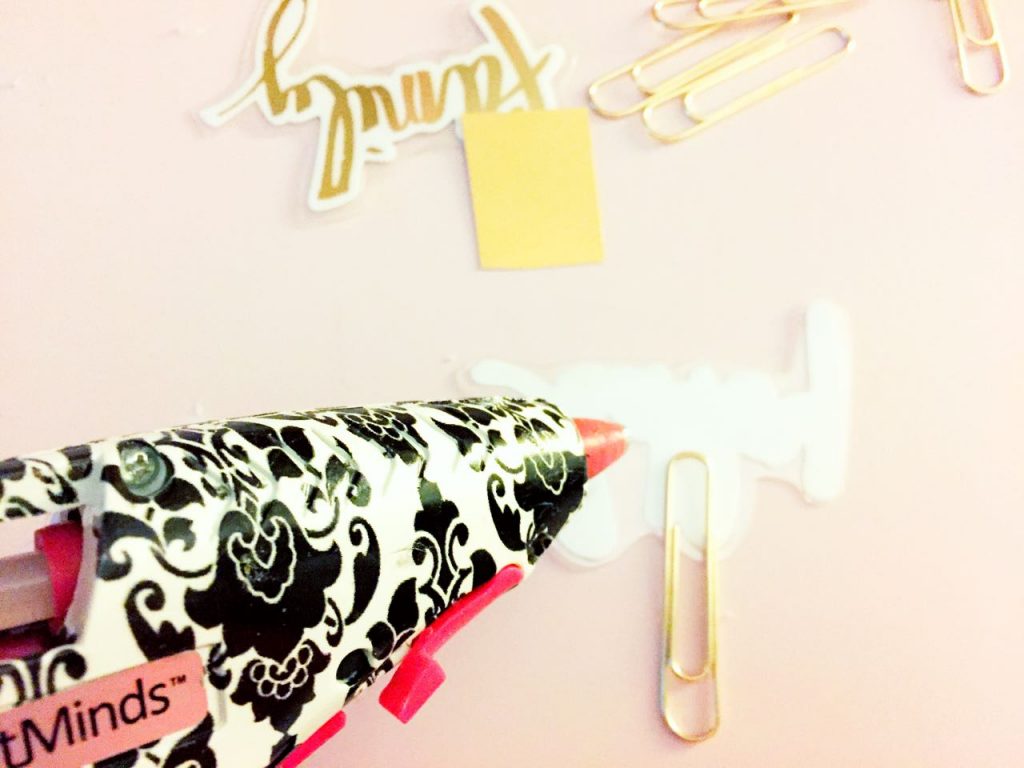
Step 6: Cut a few small pieces of cardstock or other scrap paper. These pieces should be small enough to go on the back of you planner clip without being seen.
Step 7: Fire up your hot glue gun. Sandwich a paper clip between one of your laminated pieces and a piece of scrap paper with hot glue. Set to the side to cool and repeat.
Tada! Sparkly, glam clips in a few minutes and a new reason to get back to fabulous planning.
You can really get creative with these clips. I added mine to the gold clips as well as silver wire clothespins.
 You can find them in several colors as well as silver at The Container Store.
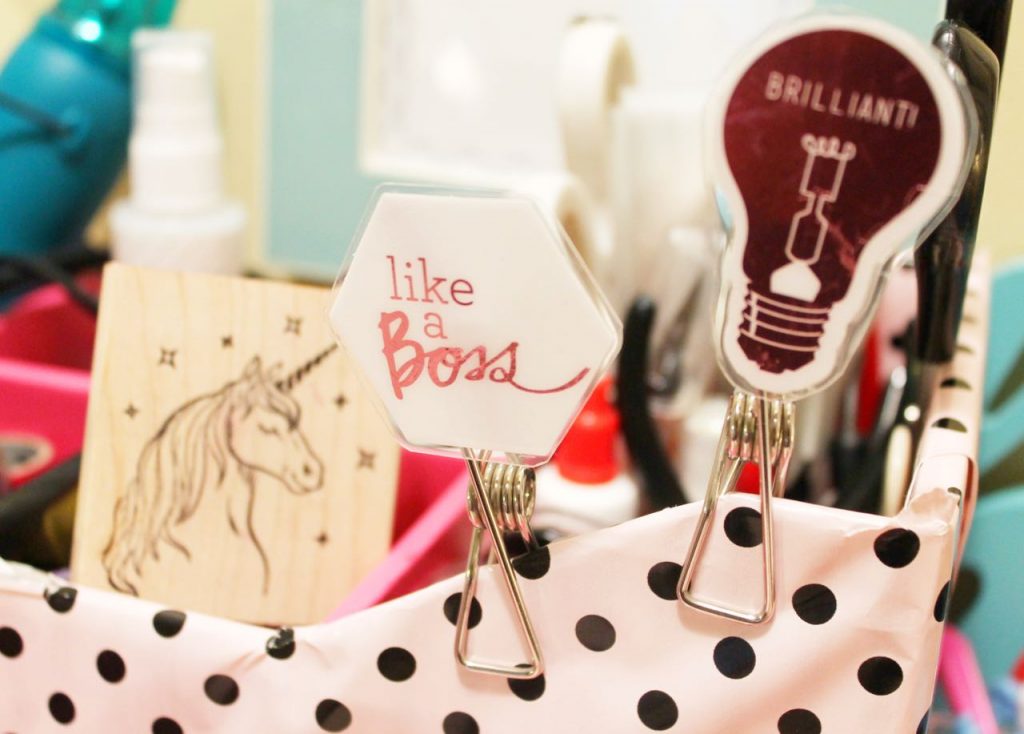 So let me know how your DIY planner clips turned out. And I apologize in advance for those who go crazy and make a million of these like I did. ( =
Don’t forget to post your pics to Facebook, Instagram or Twitter with #htgawcrafting so I can see!

