Happy National Pink Day! This is like a major holiday for Pinkimono, cause I mean…duh! It’s all about PINK! In the spirit of this colorful holiday, I thought tonight’s HTGAWC project should be all pink, but still simple. And between Target and Heidi Swapp, I have a super simple project for busy, hard working, pink-loving gals like me who adore sparkly office accessories. Tonight we’re adding some glam to a rather drab office necessity – clipboards!
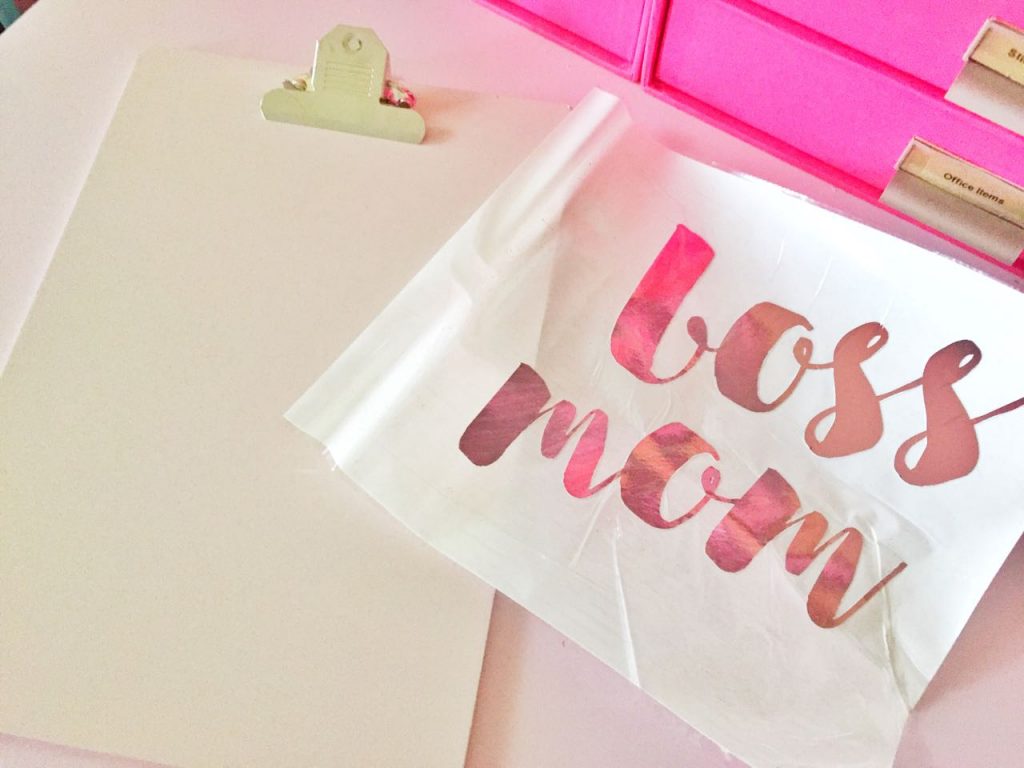
So lately I’m obsessed with the term “mom boss.” It totally describes where I am in my life. Like right now as my inner boss is getting her work done, I’m holding my youngest, Scarlett. (While the right hand types, the left hand holds.) So since I’m “mom bossing” all the time, I thought I’d add that expression to a less than fab clipboard that I scored from the Dollar Spot at Target (They still have a few left last time I checked.)
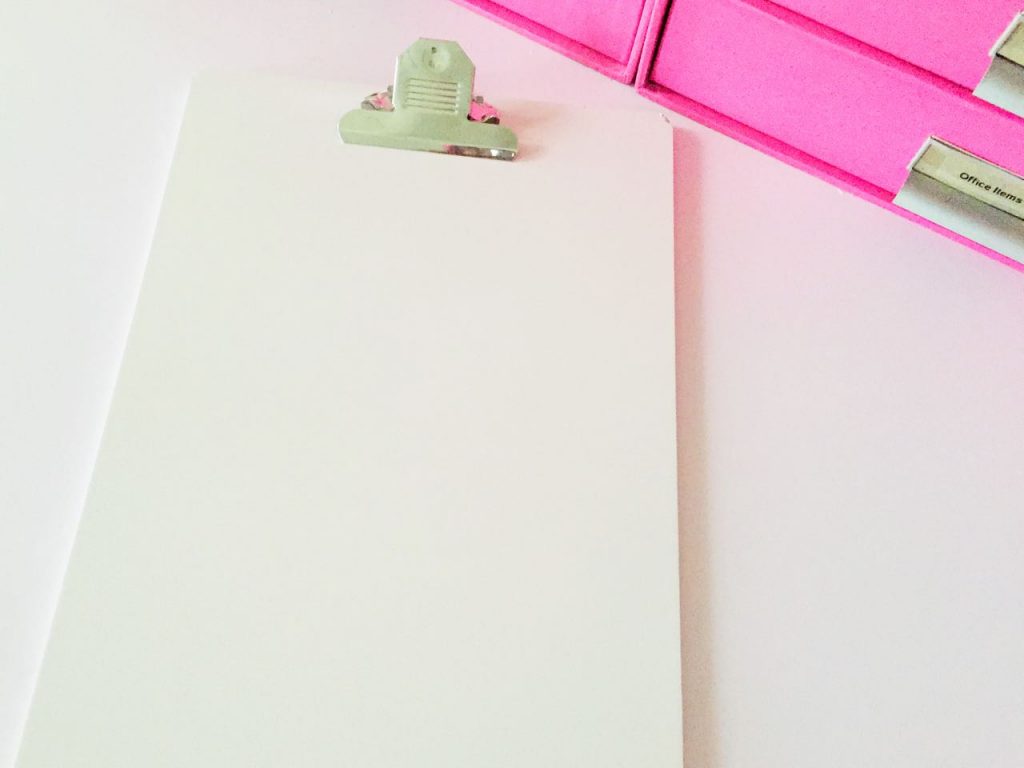 So check out how to glam up any clipboard (especially a pink one) with a little “mom boss” and MINC foil tonight.
Supplies for Up-Glamming Office Supplies
- Clipboard
- 1 piece of cardstock
- Silhouette Studio
- Silhouette Cameo machine
- Monochrome laser printer
- Heidi Swapp MINC Reactive Foil in light pink
-
Heidi Swapp Minc Foil Applicator
- Scissor or MINC Rotary Cutter
- Xyron Creative Station
Steps
To Prepare Your Mom Boss Expression
Step 1: Download the “Mom Boss” file for your Silhouette Studio.
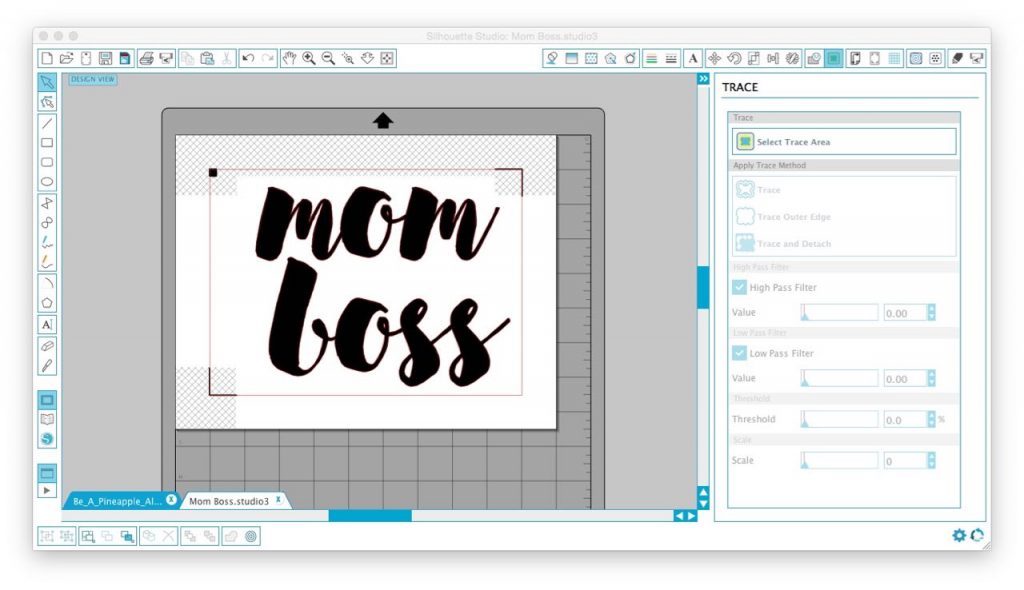
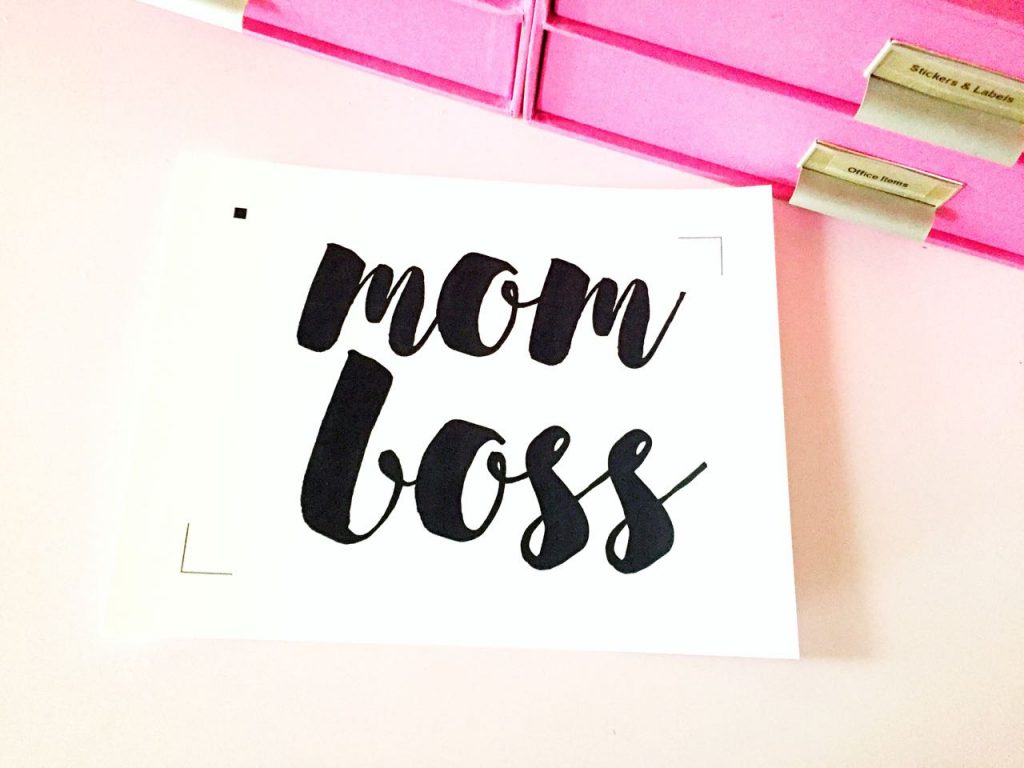
Step 2: Open the file on in your Silhouette Studio on your computer. Make sure your registration marks are on and print the file on cardstock with a laser printer.
Step 3: Open your cut settings. Under Cut Conditions set your Material Type to “Cardstock” and make sure the blade is set to 3.
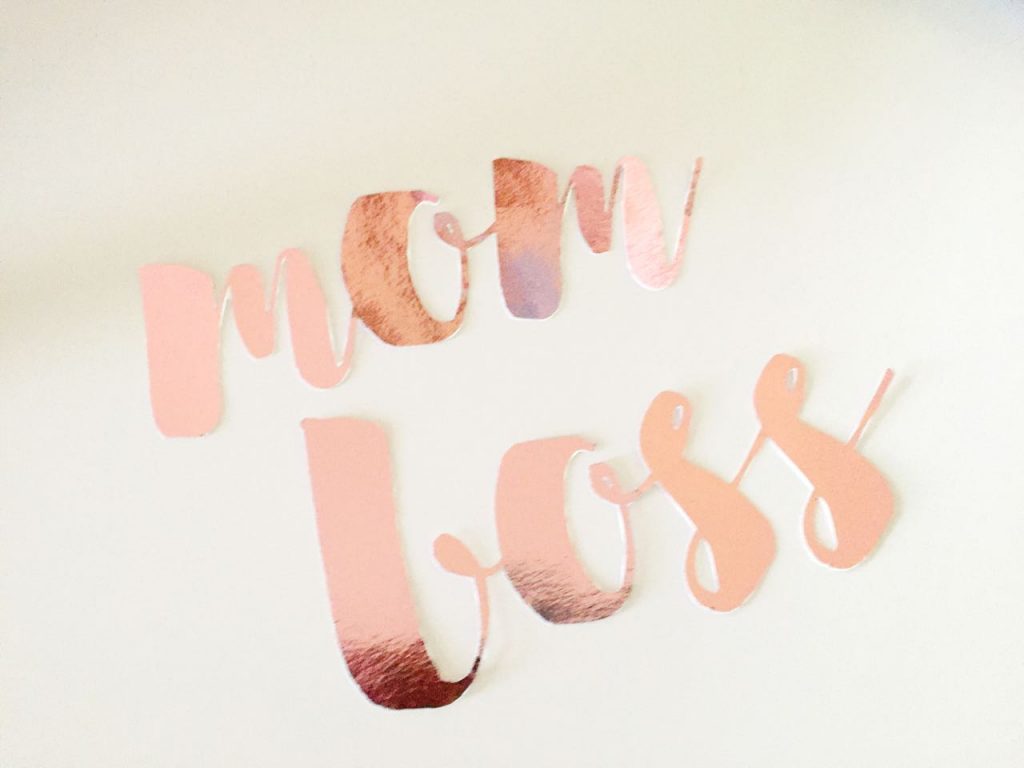
Step 4: Place your printout on your cutting mat and send your design through the Cameo.
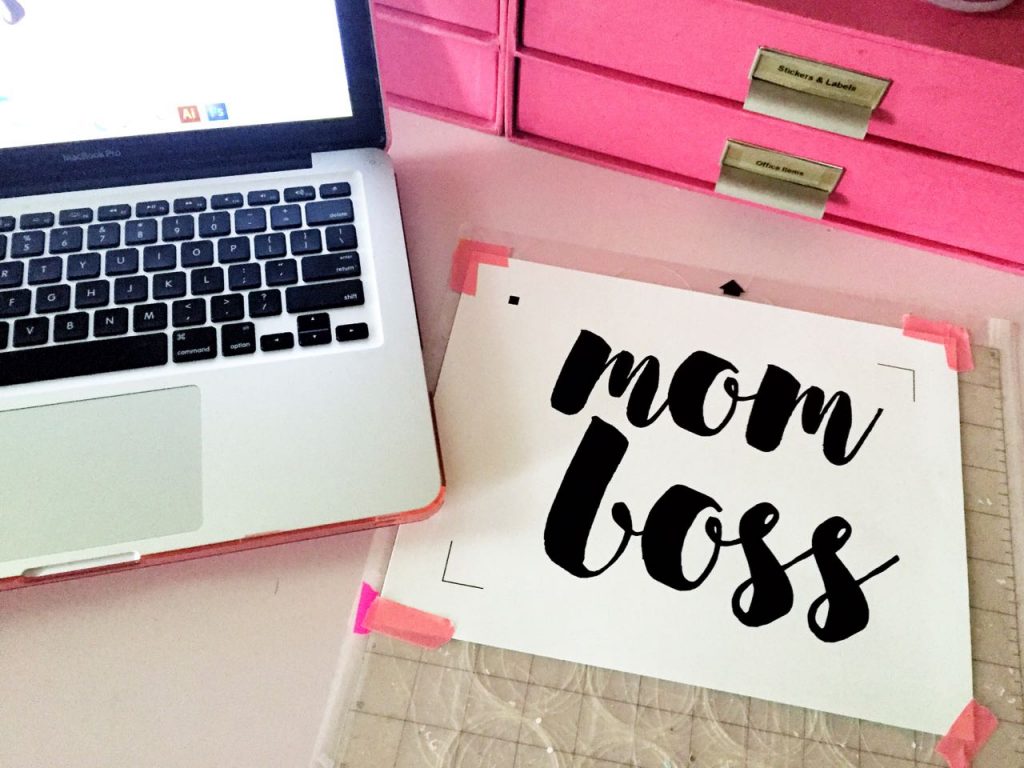 Remove cut out words. (Or have your little office assistant like my Westley do it with you.)
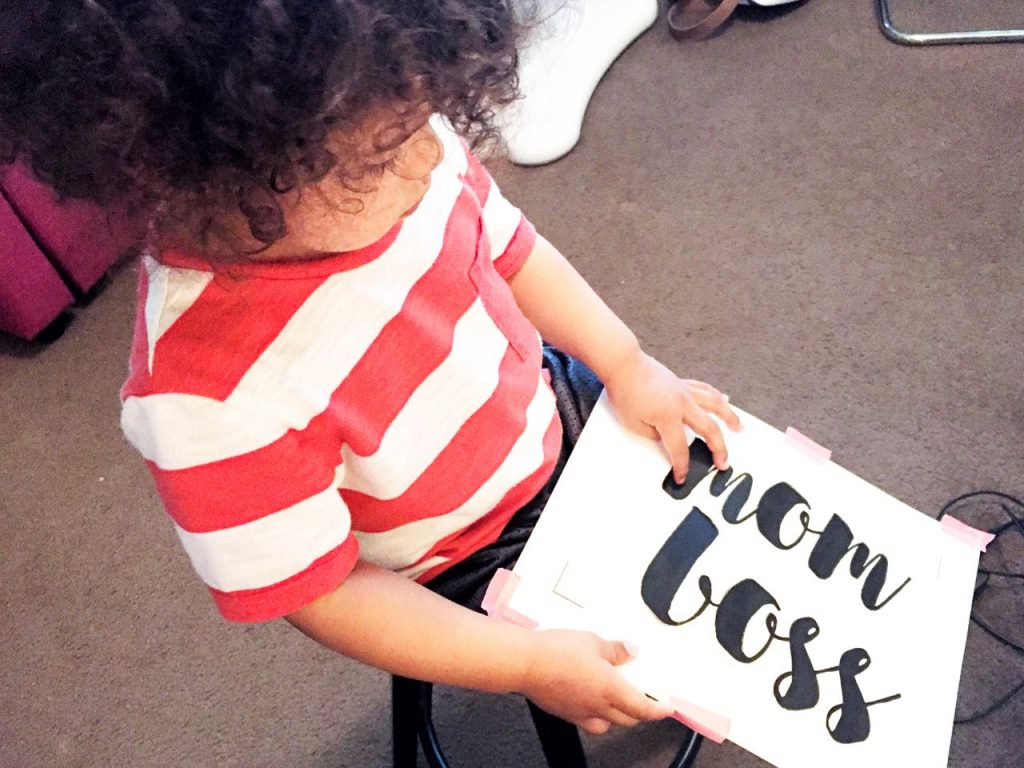 (Note: To get the best foil coverage you can add an all black uncut rectangle behind the words and then send it to cut. This way you can avoid any white trim that may appear from cutting your words which won’t be covered after your foil your words. I realized this after I did this project.)
To Glam Your Clipboard
Step 5: Cover your words with foil and place them in the sleeve.
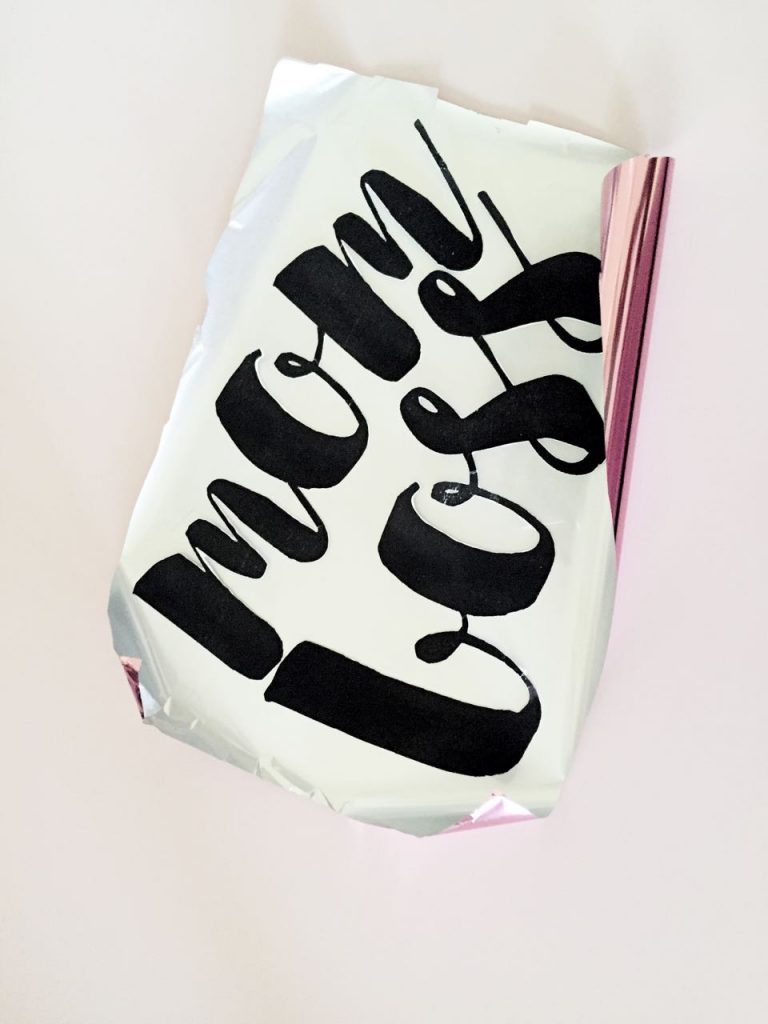 Send them through your MINC Foil Applicator on the 3rd setting.
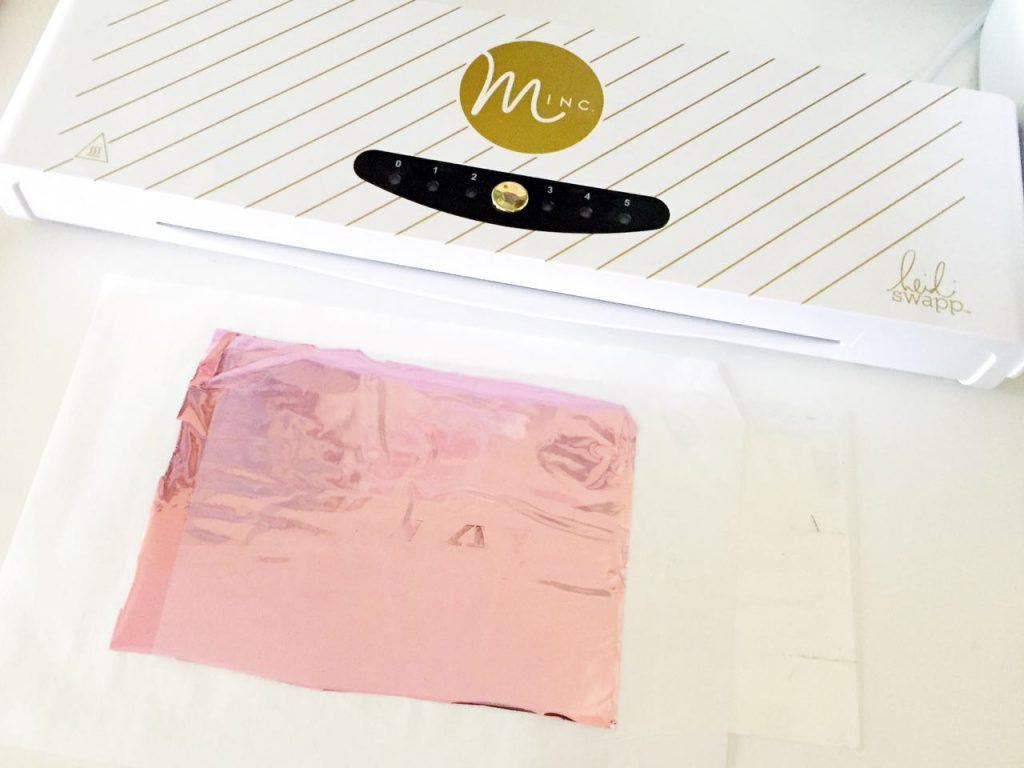 Once they go through, remove your pretty foiled pieces and set to the side.
Step 6: Run your words through your Xyron Sticker Maker.
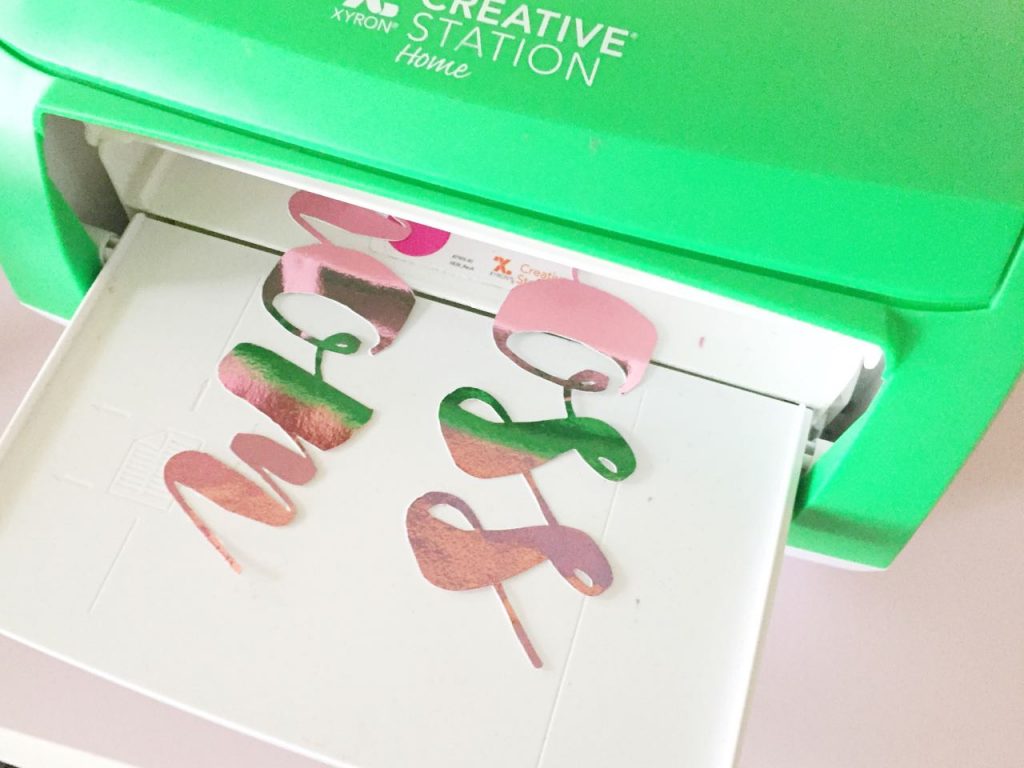 Remove the protective paper to reveal the sticky side.
Step 7: Place your words how you would like on the back of your clipboard.
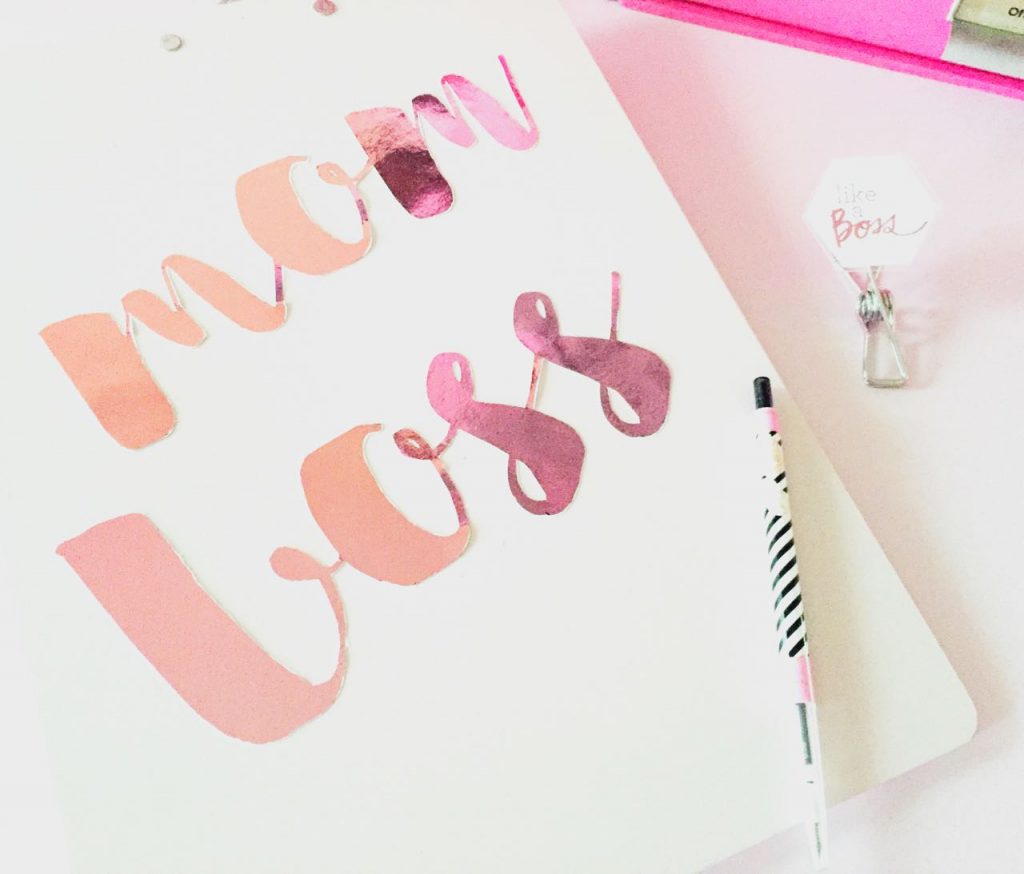 I know it’s tempting to place them on the front, but the words are raised which will defeat the purpose of a clipboard.
That’s it! Hopefully you went ALL PINK like I did in honor of this fabulous day. Remember Pink is all about kindness, tenderness, and sweetness which is what a Mom Boss needs to be when it comes to her little ones!
So let me know how your clipboards turned out and how you celebrated the fabulosity of pink today!
Don’t forget to post your pics to Facebook, Instagram or Twitter with #htgawcrafting so I can like and follow!!
