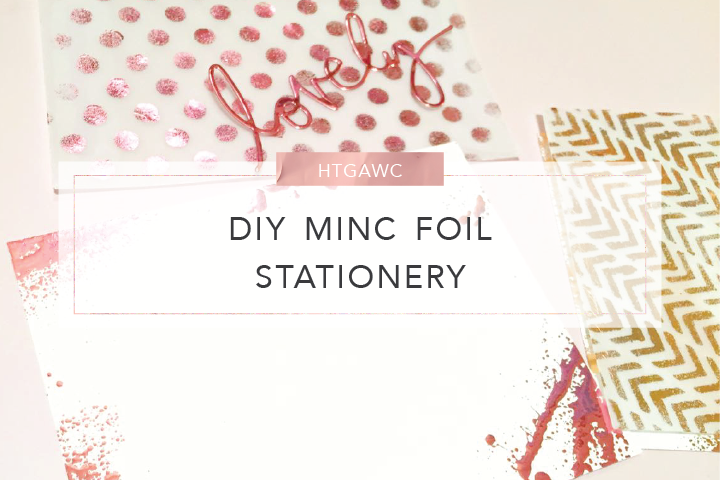
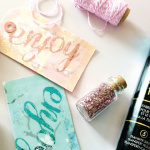
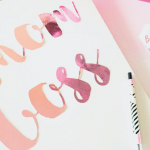
When I think of the summer I think of shimmery water and sparkly beaches. That got me in the mood for some sparkly, shimmery stationery. And with it being summertime, there’s a but more time to send the unexpected handwritten note. So tonight’s htgawcrafting project is DIY MINC Foil Stationery.
I’ve been super eager to try out the new MINC mediums and products. And after watching this video from Heidi Swapp I knew that I had to try it myself and then some. So get ready and gather up the supplies below and prepare to make super glam stationery for the summer.
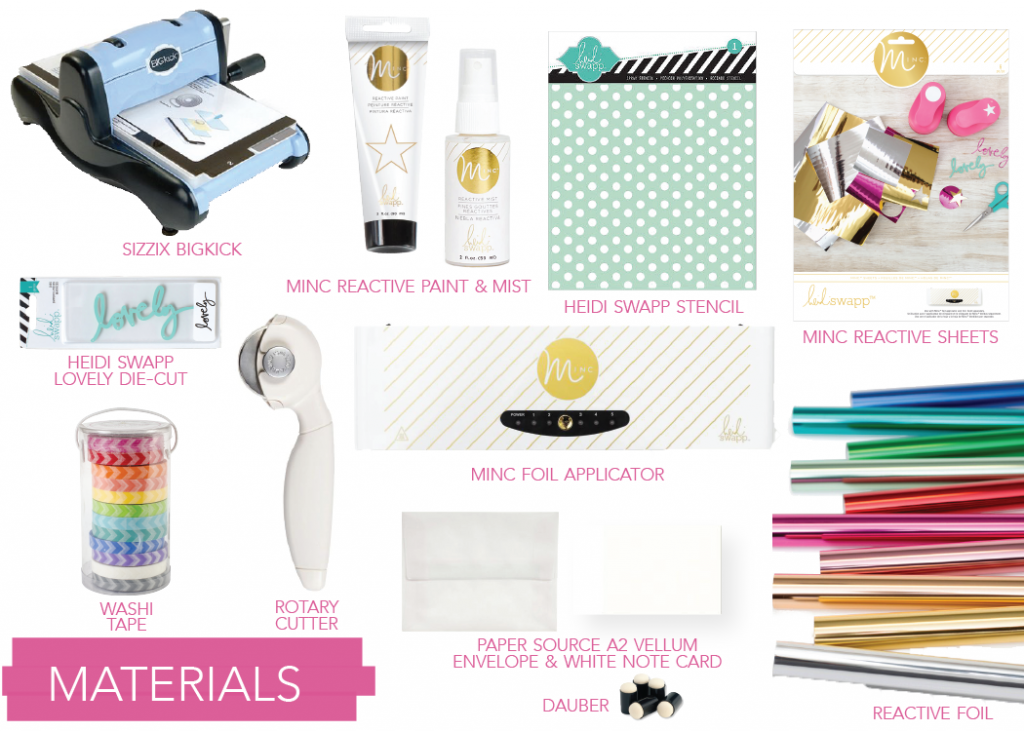
Supplies for DIY MINC Foil Stationery
- Sizzix BIGkick
- Heidi Swapp MINC React Paint
- Heidi Swapp MINC Reactive Mist
- Heidi Swapp Stencil
- Heidi Swapp Toner Sheets
- Heidi Swapp “Lovely” Die-Cut
- Washi Tape
- Rotary Cutter
-
Heidi Swapp Minc Foil Applicator
- Paper Source A2 Vellum Envelope
- Paper Source A2 Flat Card
- Xyron Sticker Maker
- Heidi Swapp MINC Reactive Foil in your favorite colors
- Foam Dauber
Steps
To Prepare Your Vellum Envelope
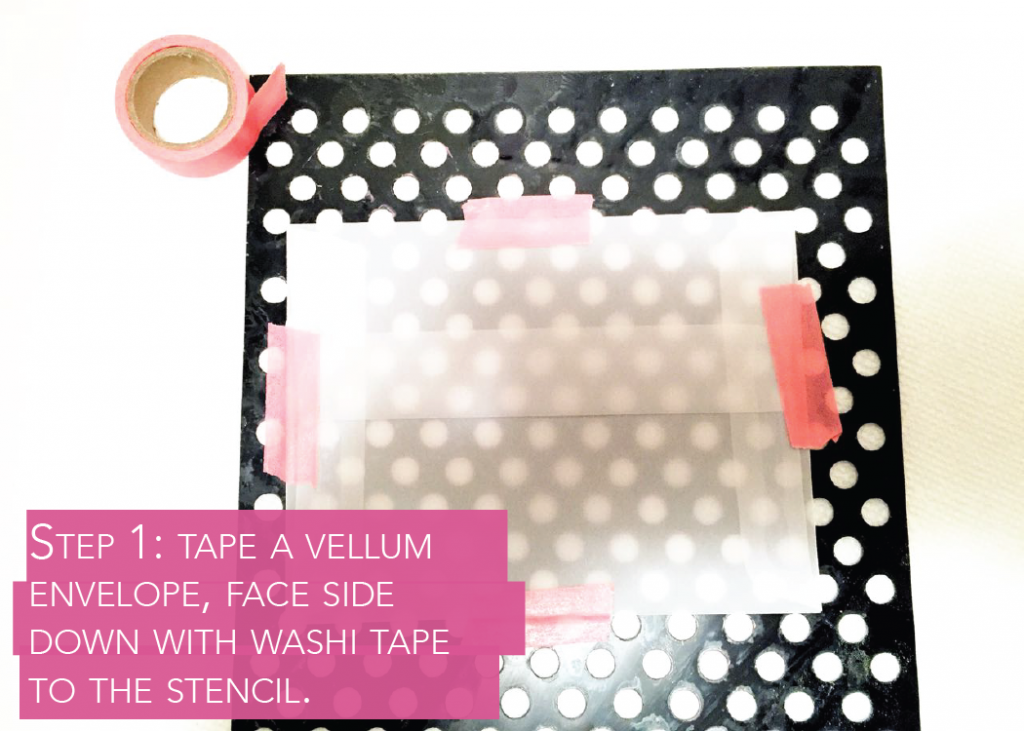
Step 1: Use a few pieces of washi tape to secure your envelope face side down to your stencil.
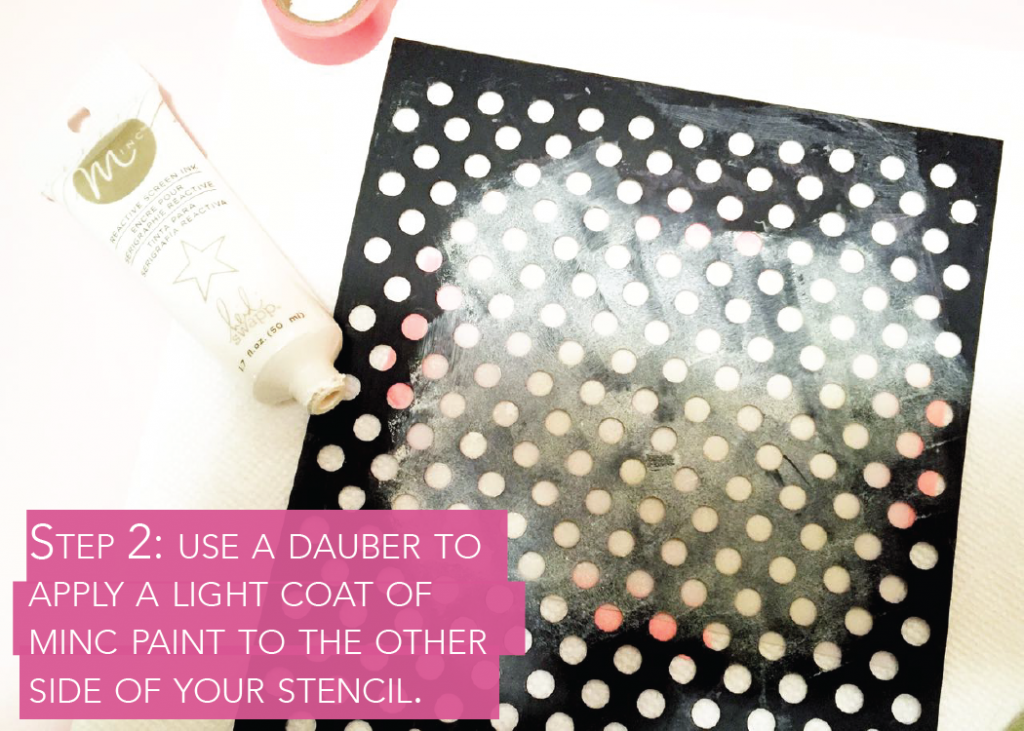
Step 2: Add a little bit of paint to a dauber. Use it to apply a very thin coat of paint over your stencil so you leave light dots on your envelope. Remove and let your envelope dry. Clean off your stencil ASAP so the paint doesn’t dry.
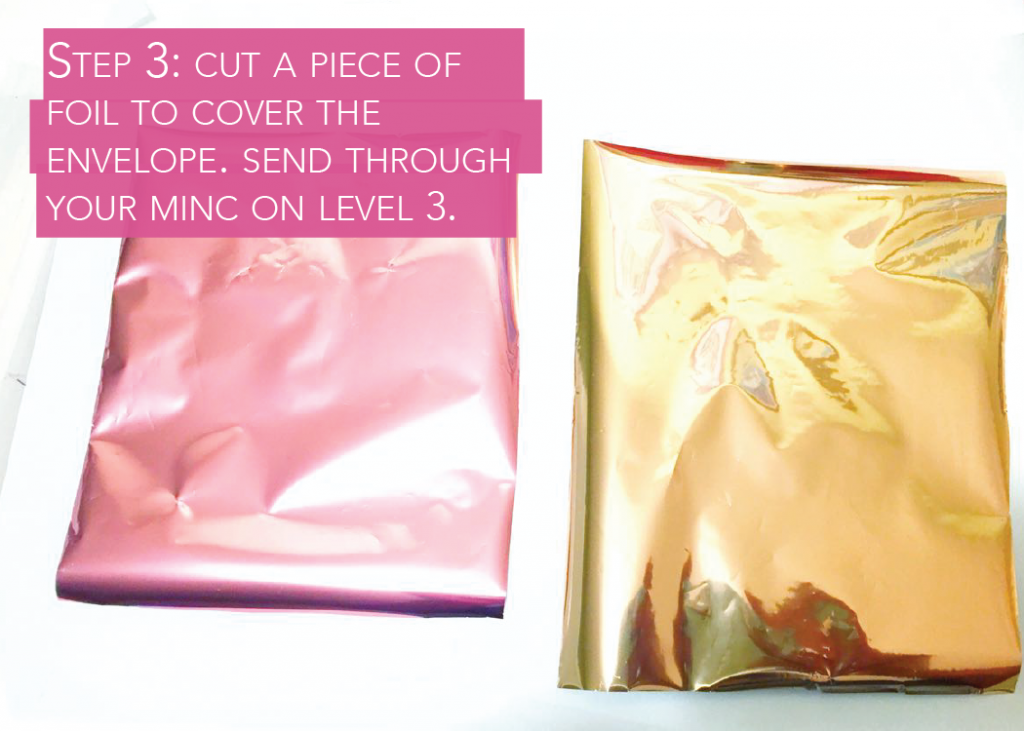
Step 3: Cover your pieces with foil and place them in the sleeve. Send them through your MINC Foil Applicator on the 3rd setting. I used light pink and rose gold.
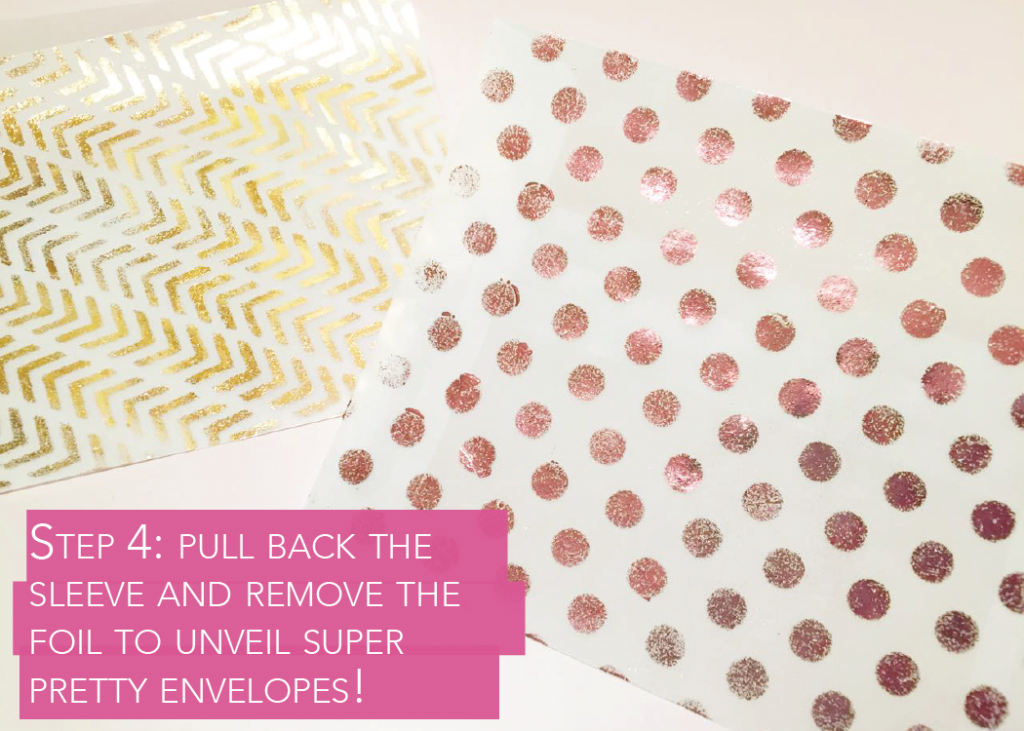
Step 4: Once they go through, remove your pretty foiled pieces and set to the side.
To Prepare Your Die-Cut Accent
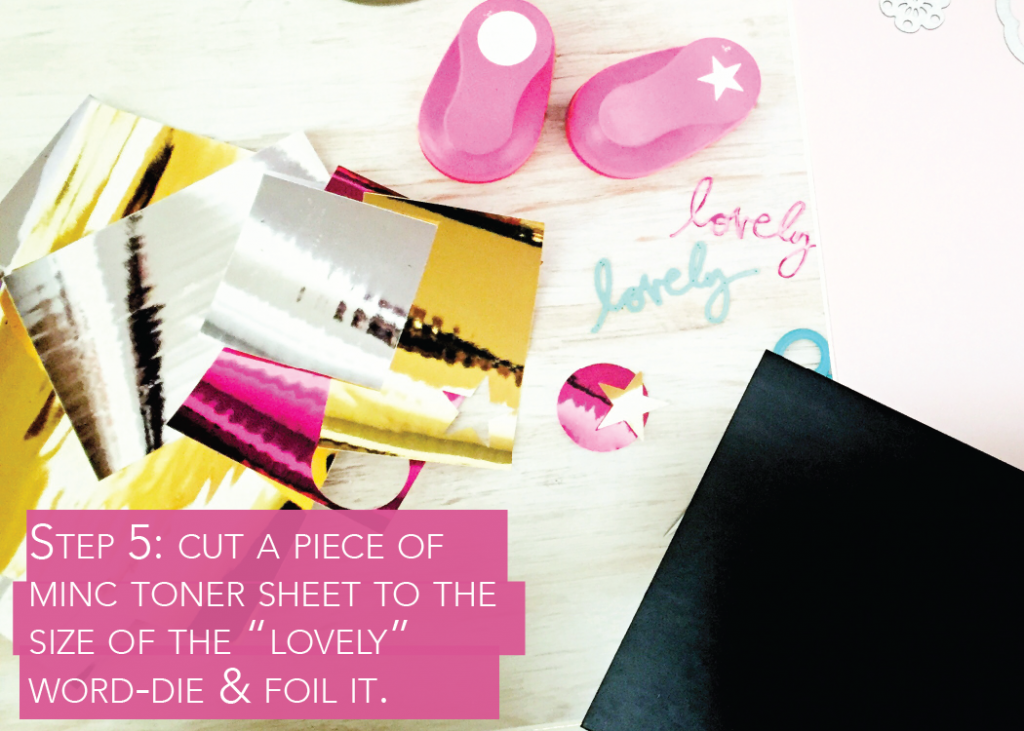
Step 5: Cut a piece of toner sheet to fit the size of the “Lovely” die-cut. Also cut a piece of foil to fit the cut toner sheet. Again I used light pink. Send it through the MINC Foil Applicator on heat setting 3.
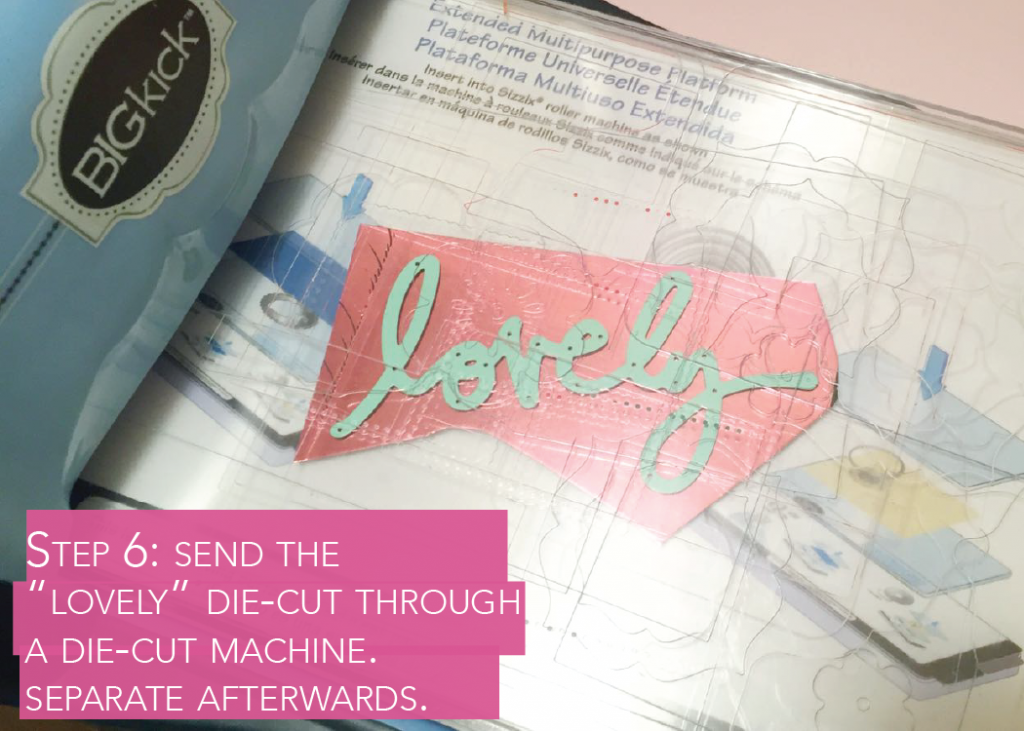
Step 6: Place your “Lovely” die-cut on top of your foiled toner sheet. Place it between the cutting pads on top of the platform and roll it through your machine. Carefully, pull your cut out and die-cut apart.
To Prepare Your Foil Note Card
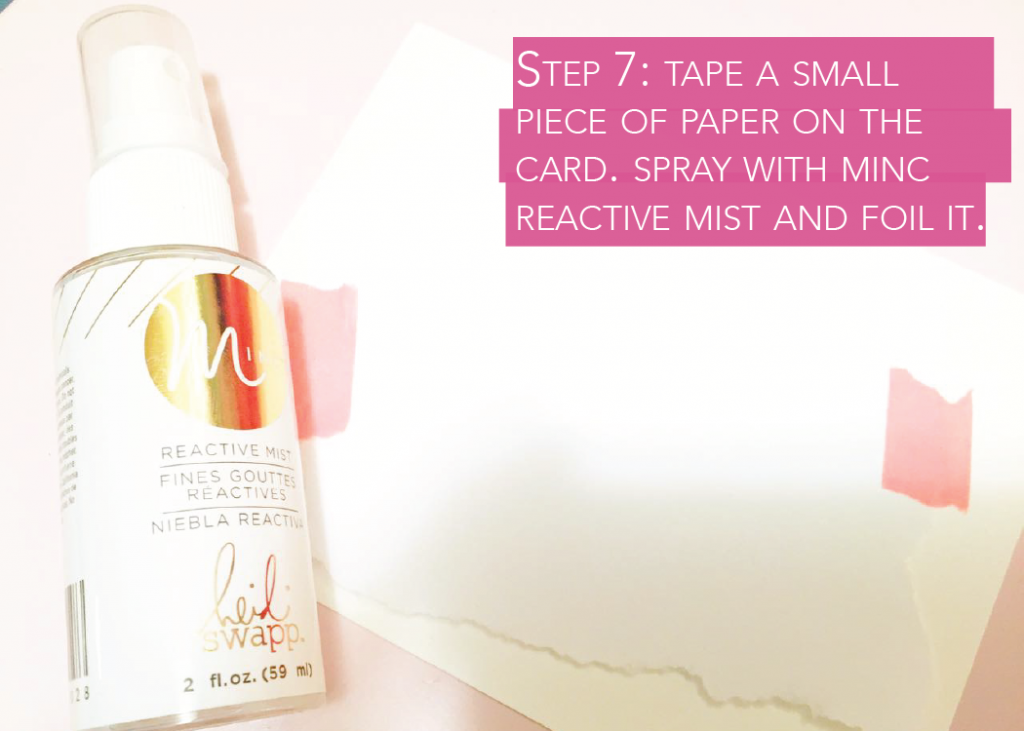
Step 7: Take a piece of scrap paper that is smaller than your note card. Angle it how you’d like and tape it to your notecard. The idea is to protect the main part of your card from the MINC Reactive Spray with this piece of paper. But you want to leave some parts uncovered for the spray. After securing the cover piece, spray the card with the MINC Reactive Mist. Let dry. Once it’s dry, send it through the MINC Foil Applicator.
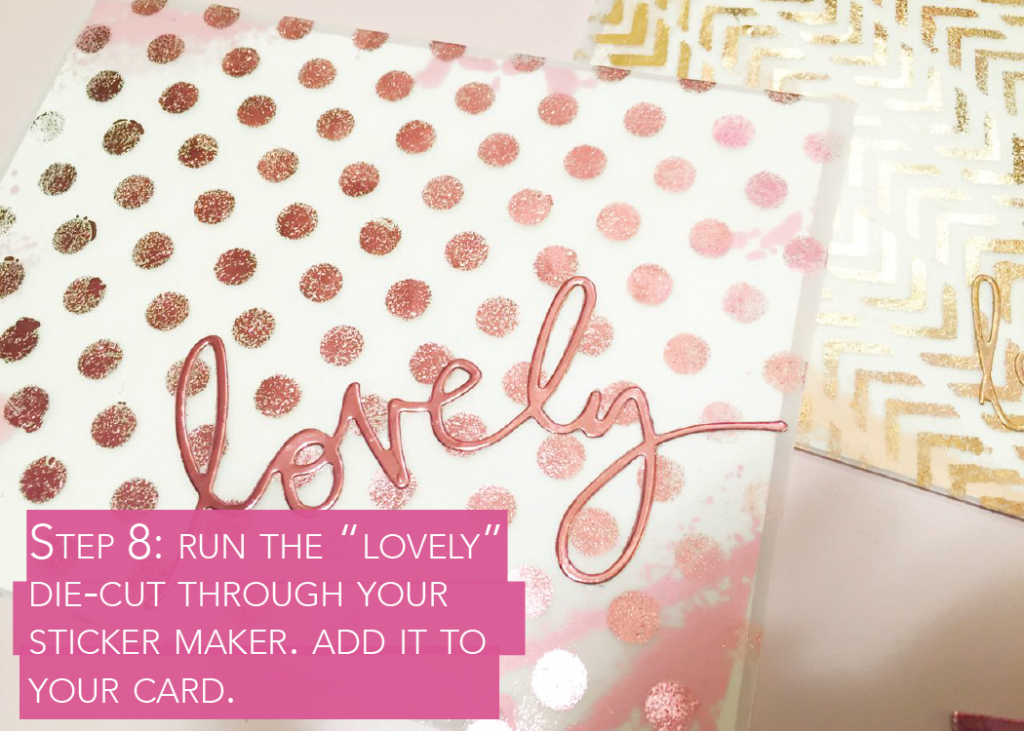
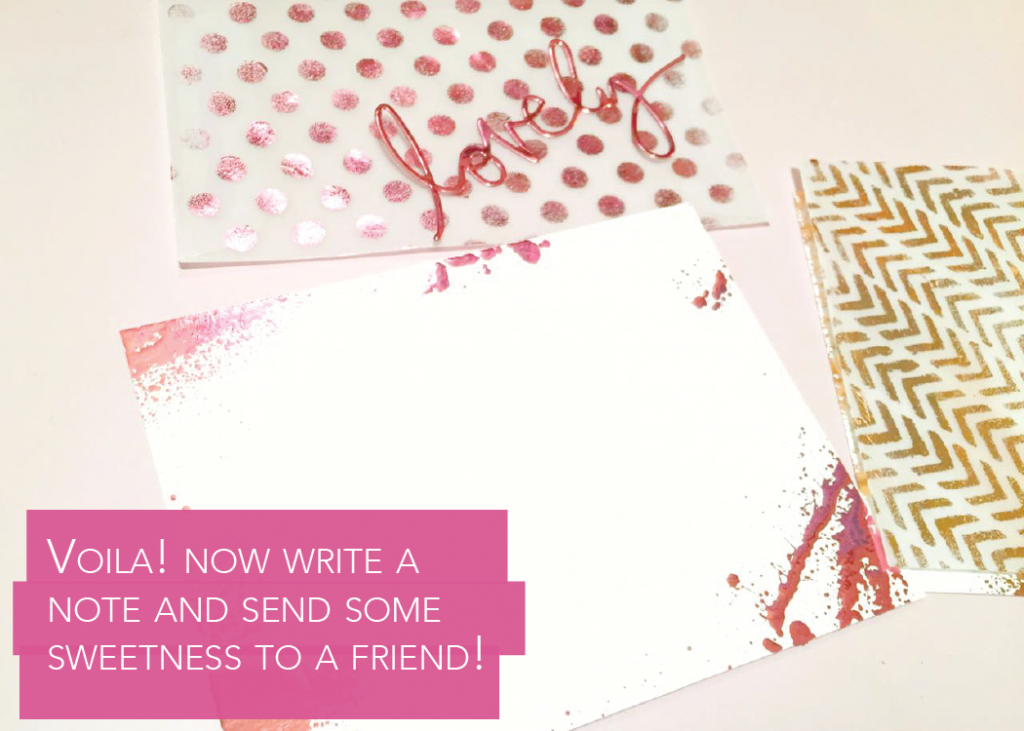
Step 8: Place your “Lovely” cut out in your Xyron sticker maker. Run it through. Removeyour sticker and place it on your envelope. I placed my on the corner.
That’s it! You now have some pretty fabulous stationery to send to someone equally fabulous. I love how it shimmers.
So how fabulous is your stationery? Don’t you just love how the spray shines when it’s foiled?
Don’t forget to post your pics to Facebook, Instagram or Twitter with #htgawcrafting so I can see!
