I don’t know about you, but I have a bunch of friends’ birthdays coming up this summer. That means I have quite a bit of wrapping to do. And I love wrapping gifts. (I’m my family’s go to wrapping gal during the holidays.) Well, this summer I decided to try my hand at some custom DIY wrapping to make my summertime gift giving a little special. So this week I’ll start my DIY gift wrapping with DIY MINC Foil Shake Cards for tonight’s htgawcrafting challenge.
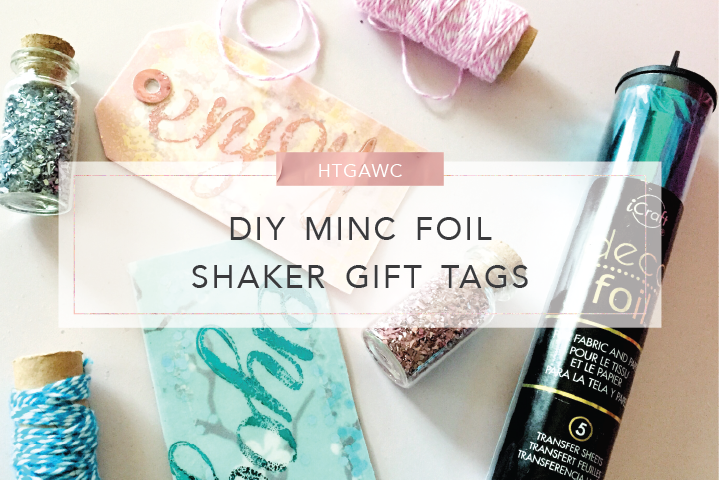
Keeping with my MINC Foil infatuation, I had to add a touch of foil to the basic gift wrapping for any present. Here’s how you can add some sparkle to any present for your favorite people with this easy 10-step tutorial. Let’s get started.
This post contains affiliate links.
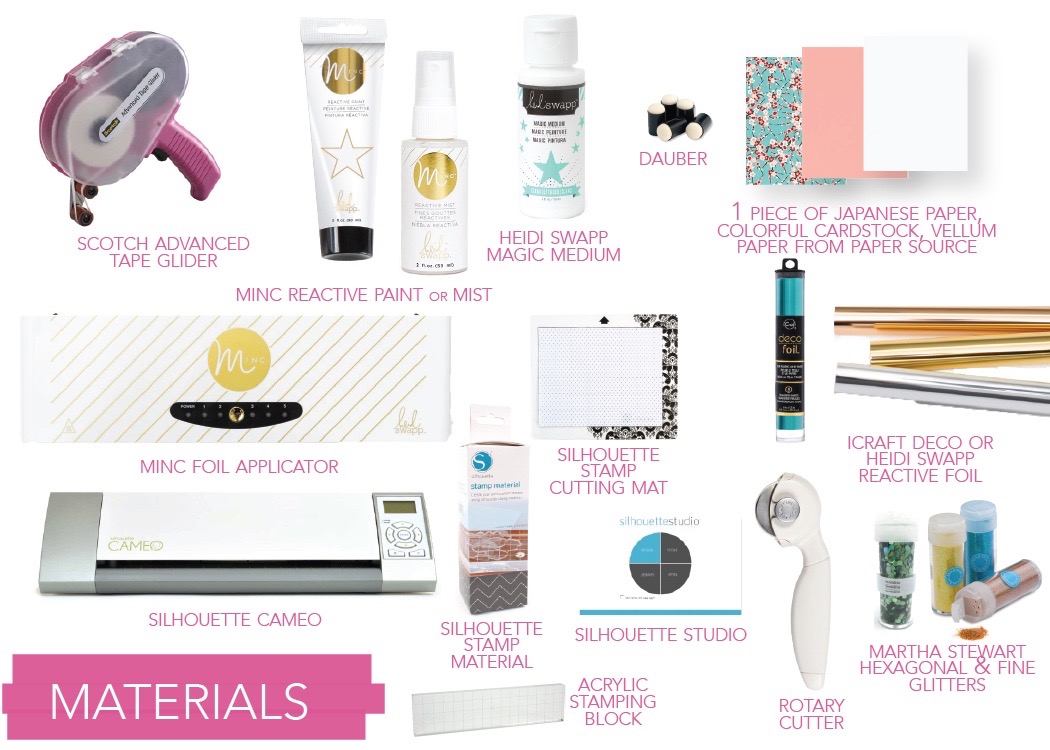
Supplies for DIY MINC Foil Gift Tags
- Scotch Advanced Tape Glider
- Heidi Swapp MINC React Paint
- Heidi Swapp MINC Reactive Mist
- Heidi Swapp Clear Magic Medium
- Foam Dauber
- Paper Source Papers
- Rotary Cutter
-
Heidi Swapp Minc Foil Applicator
- Heidi Swapp MINC Reactive Foil in your favorite colors
- iCraft DECO Foil
- Silhouette Studio
- Silhouette Cameo
- Silhouette Cutting Mat for Stamp Material
- Silhouette Stamp Material
- Martha Stewart Glitter
Steps
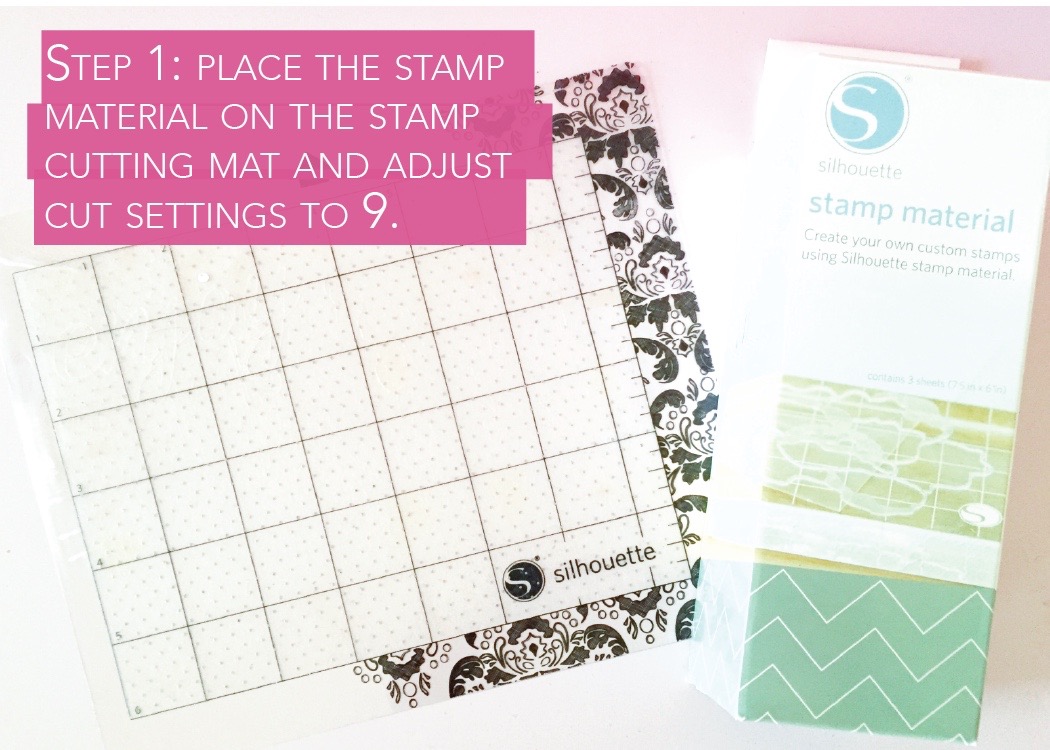
To Prepare Your Stamp
Step 1: Place a piece of stamp material on your stamp material cutting mat. Adjust your blade to 9.
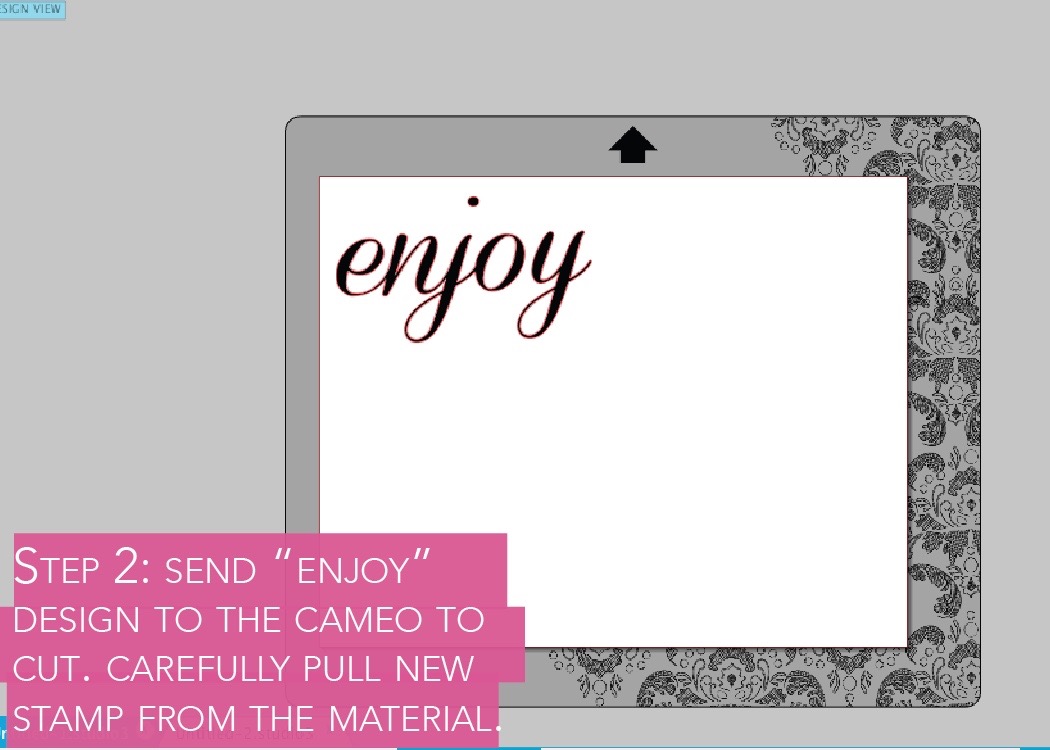
Step 2: In Silhouette Studio create a single word image to be cut for your stamp or use the one I created here. Adjust your cut settings to 9 and change your mat settings to stamp mat. For full details and directions on how to make a stamp, watch this video Stamping 102 from Silhouette. When you’re finished cutting, carefully pull your new “enjoy” stamp from the material. And don’t forget the dot above the “j”.
Step 3: Use the grid lines on your Silhouette acrylic stamping block to place “enjoy” on your block.
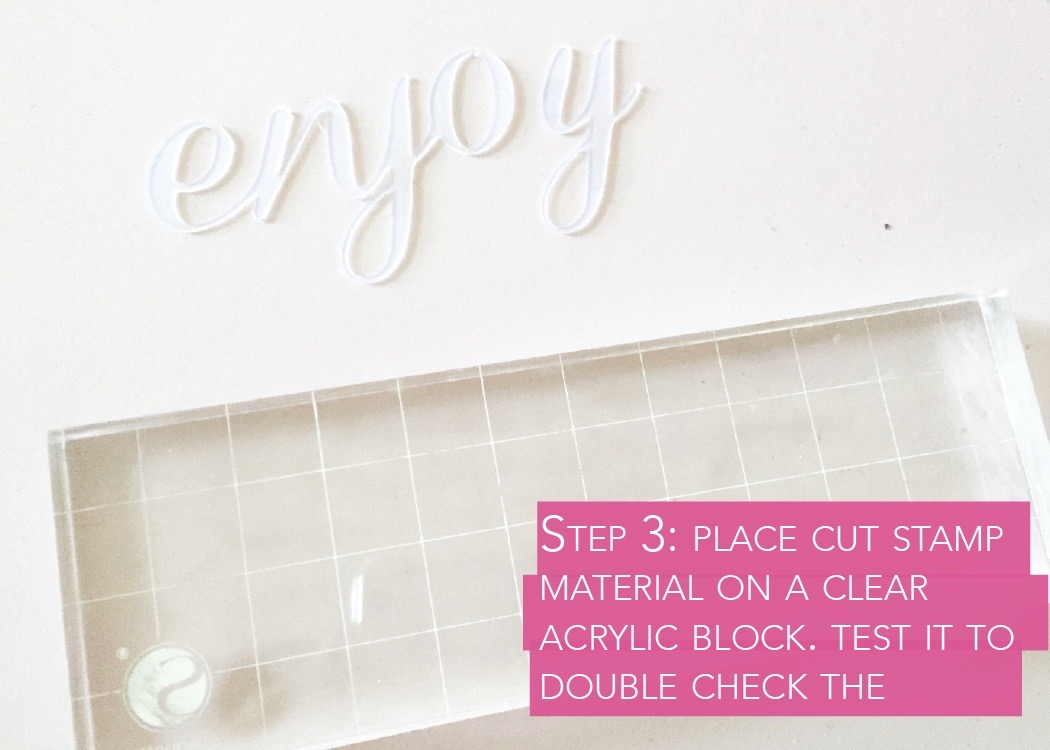
I recommend testing your stamp with regular ink to make sure you like the placement of your letters.
To Prepare Your Gift Tag
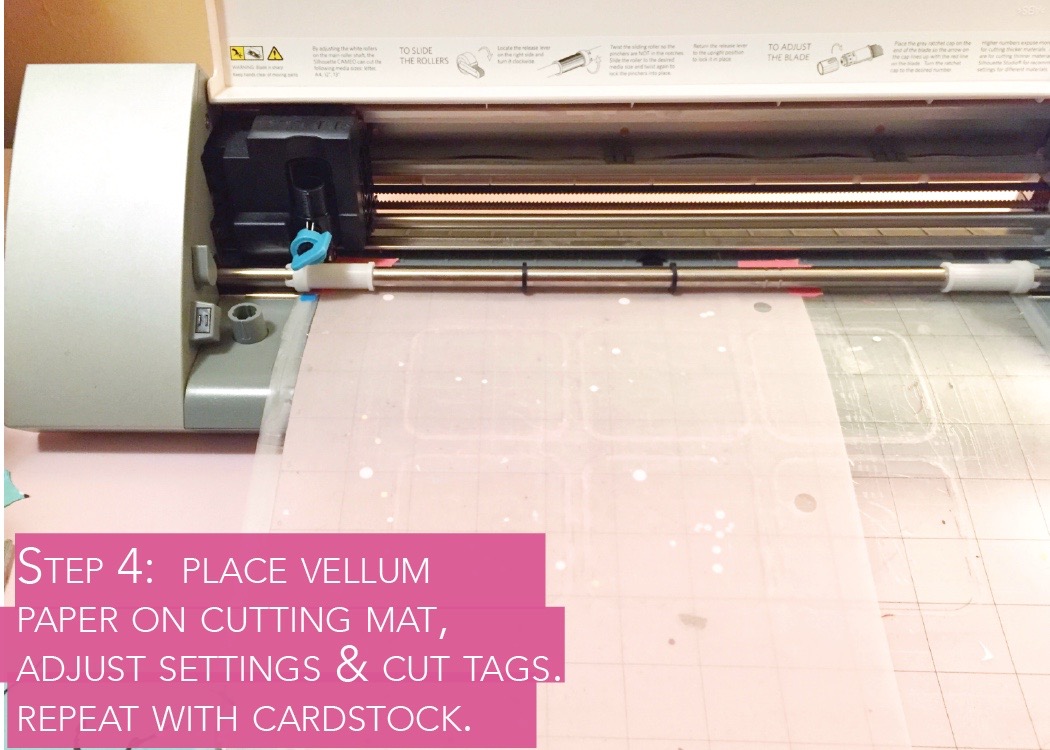
Step 4: Use this file to create your gift tag in Silhouette Studio.
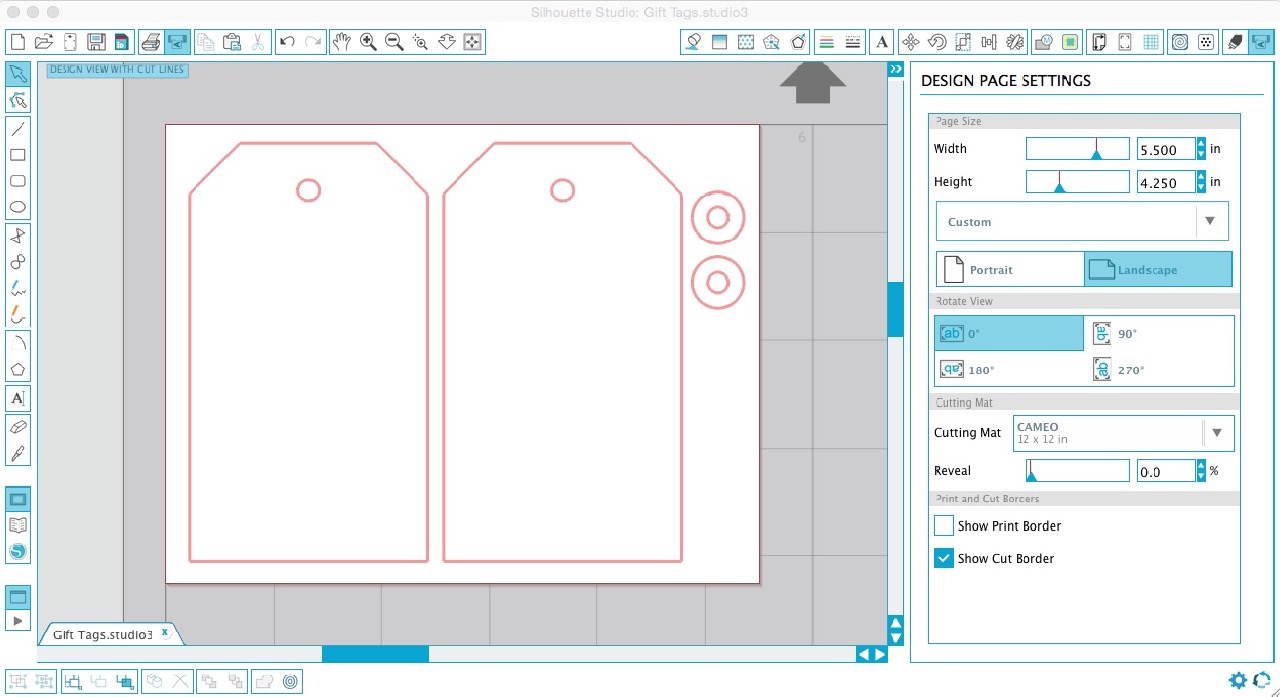 Place a piece of vellum paper on your cutting mat (remember to readjust your settings from the stamp cutting mat to your regular cutting mat), adjust your cut settings and knife to 1 and send your file to cut. This will become the top of your tag. Repeat with cardstock and fancy paper like a piece of Japanese print paper from Paper Source for the bottom of the tag. And make sure you don’t lose the decorative circles for the end.
To Design Your Shaker Gift Tag
Step 5: Apply Heidi Swapp Magic Medium or Reactive Paint to a dauber and then use it to “ink” up your stamp. MINC Foil Tip*: Here’s the thing, I think the Reactive Paint gives a better foil finish. In my opinion, more foil adheres to my projects with the MINC Reactive Paint versus the Magic Medium when stamping. But in terms of clean-up, the Magic Medium is easier to clean off of the stamp versus the Reactive Paint. However, I found a little finger nail polish remover works well to clean the paint from the block. Either way, both will work with this project.

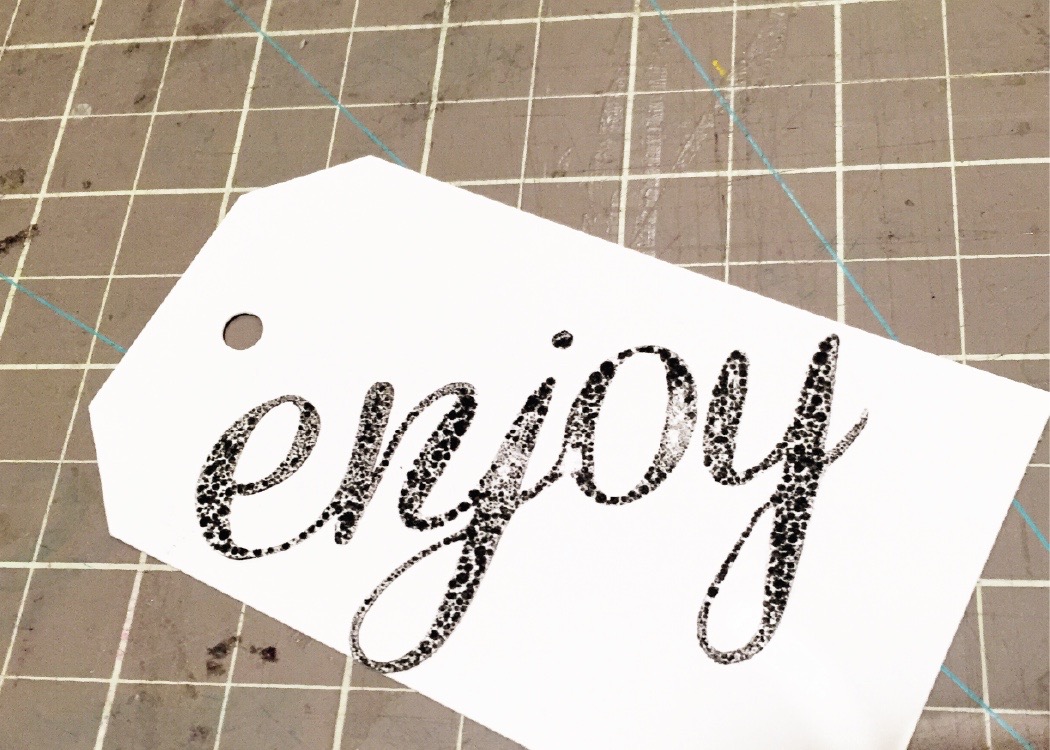
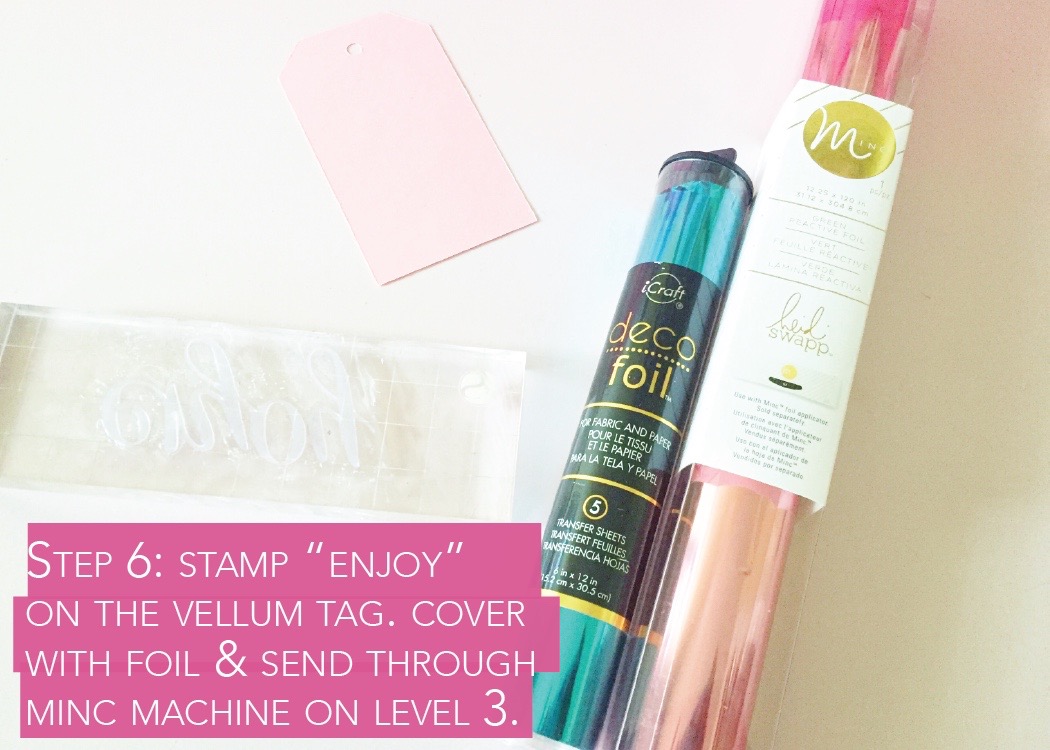
Step 6: Once your stamp is ready, stamp “enjoy” onto the vellum tag. Then choose your foil in your favorite color and cut enough to cover your tag with a rotary cutter or scissors. Cover your tag, place it into your MINC folder and send it through the machine on heat setting 3.
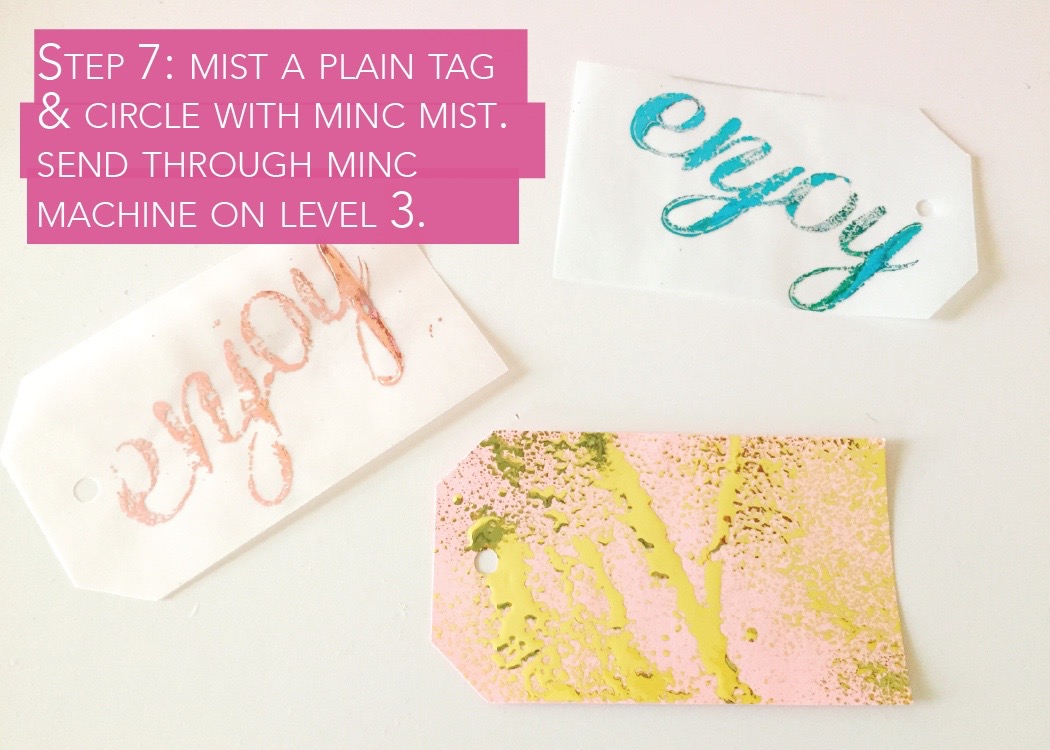
Step 7: Take your plain gift tag bottom and decorative circles and mist with MINC Reactive Mist. Let them dry. Cover them with foil, place them in the folder and send them through the MINC Foil Applicator on heat setting 3. (See the difference between the Reactive Pail (blue) and Magic Medium(Pink). Like I said above, I think the paint adheres to the foil better.)
To Assemble Your Shaker Gift Tag
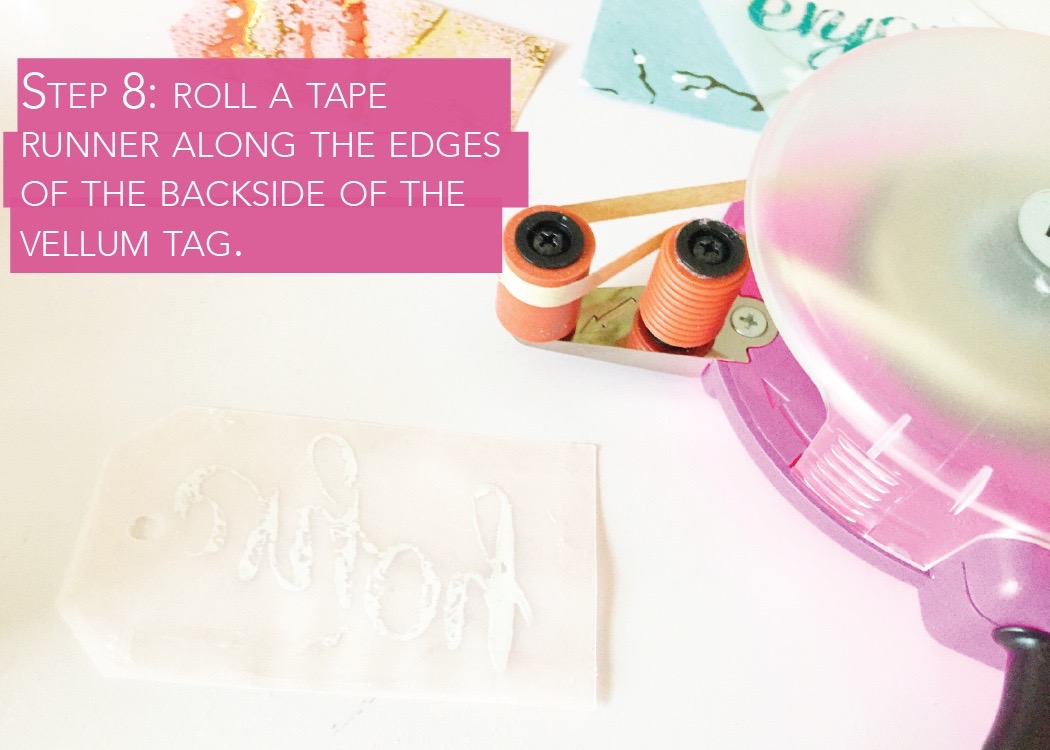
Step 8: Using a tape runner, run double sided tape along the all of the edges on the back of your vellum gift tag piece. Set to the side.
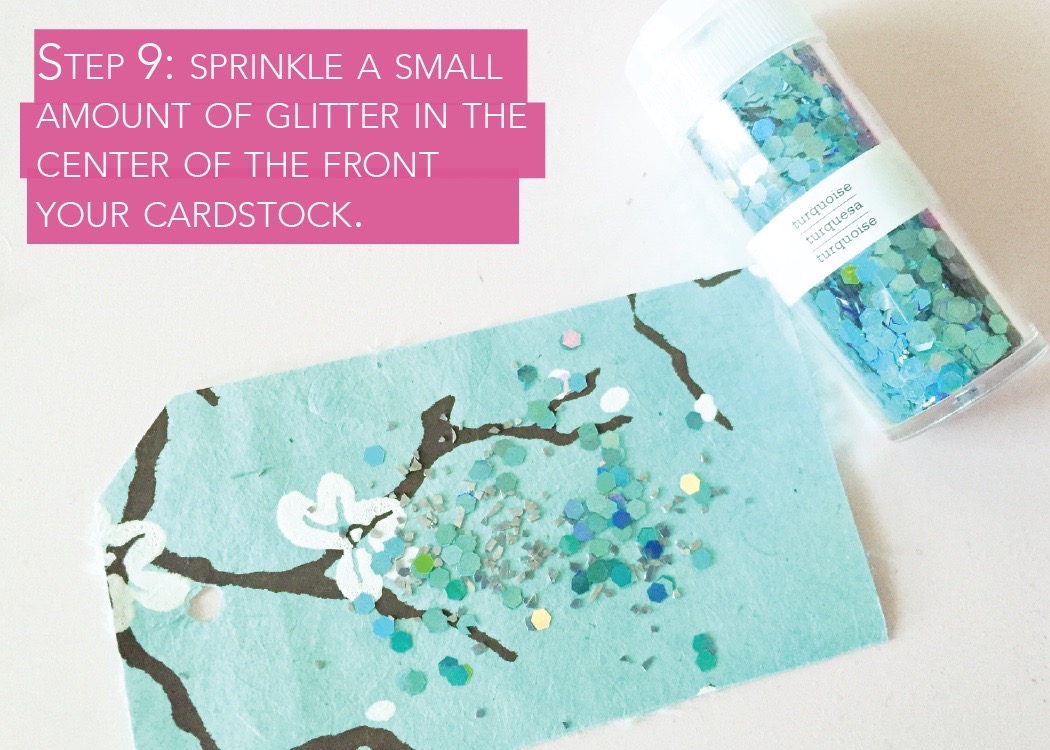
Step 9: Sprinkle a tiny bit of glitter into the center of your gift tab bottom piece. You can use sequins too. I ended up using two types of glitter – Martha Stewart Hexagonal and Fine Glitters. I liked the variation.
Step 10: Seal the glitter by placing the vellum gift tag piece with the tape on top of your bottom tag. Press firmly together. Try not to get glitter in the tape because it will affect the seal. All a little tape to the back of the decorative circle, and add it to the gift tag.

That’s it! You’re ready to send not just a fabulous gift, but some pretty glam-tatsic wrapping accouterments!
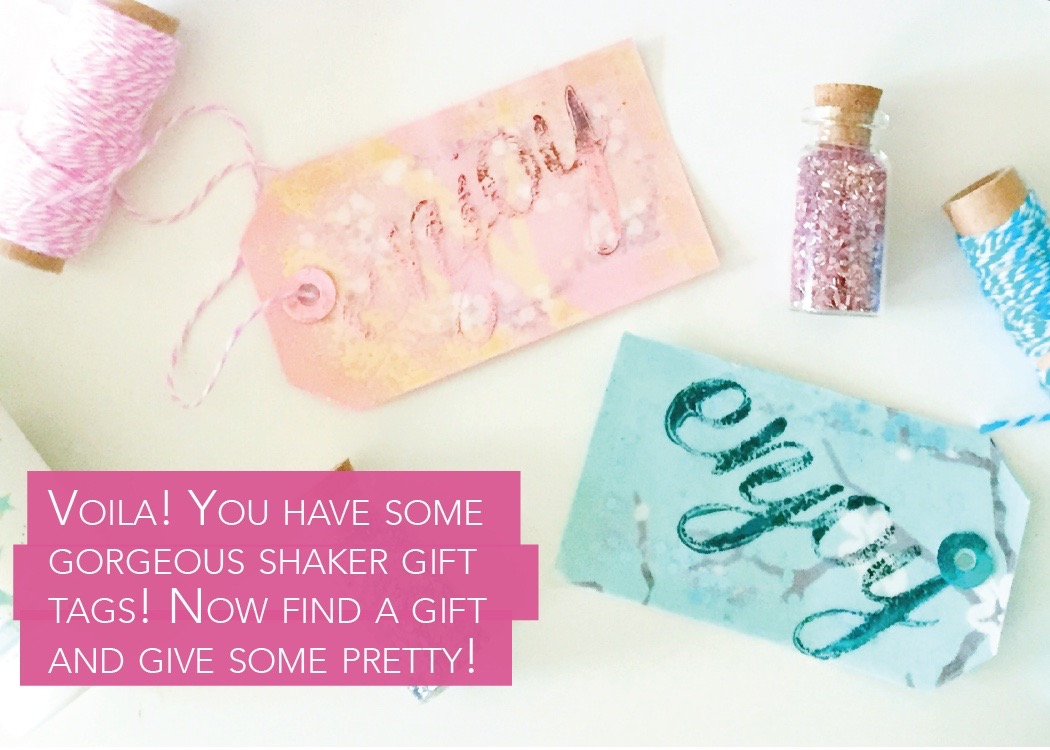 And how did your DIY MINC Foil gift tags turn out?? Did you use the Magic Medium or Reactive Paint? Let me know. And don’t forget to post your pics to Facebook, Instagram or Twitter with #htgawcrafting so I can see! Enjoy!