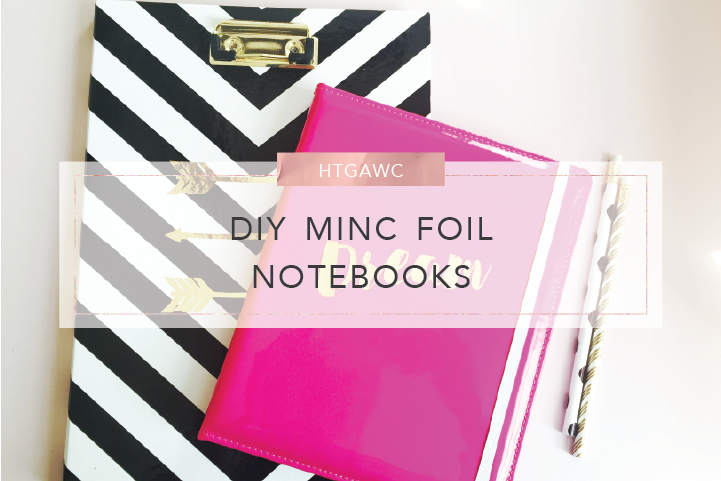
Ahh the hot, and I do mean hot days of summer are almost over. And that means Back To School is right around the corner. Now I’m not going back to school and my little ones are a little young for classes as well, but I do love checking out all of the BTS stationery. And that is what’s inspired this week’s htgawcrafting project – a MINC Foil Notebook.
Well that and this awesome IG post from Heidi Swapp. She highlighted a great tutorial on using vinyl with your MINC from Jennifer Evans at CreateOften.com. Here’s how we can add some glam to any Back To School notebooks or journal (like I did) with this easy 8-step tutorial. Let’s go.
This post contains affiliate links.
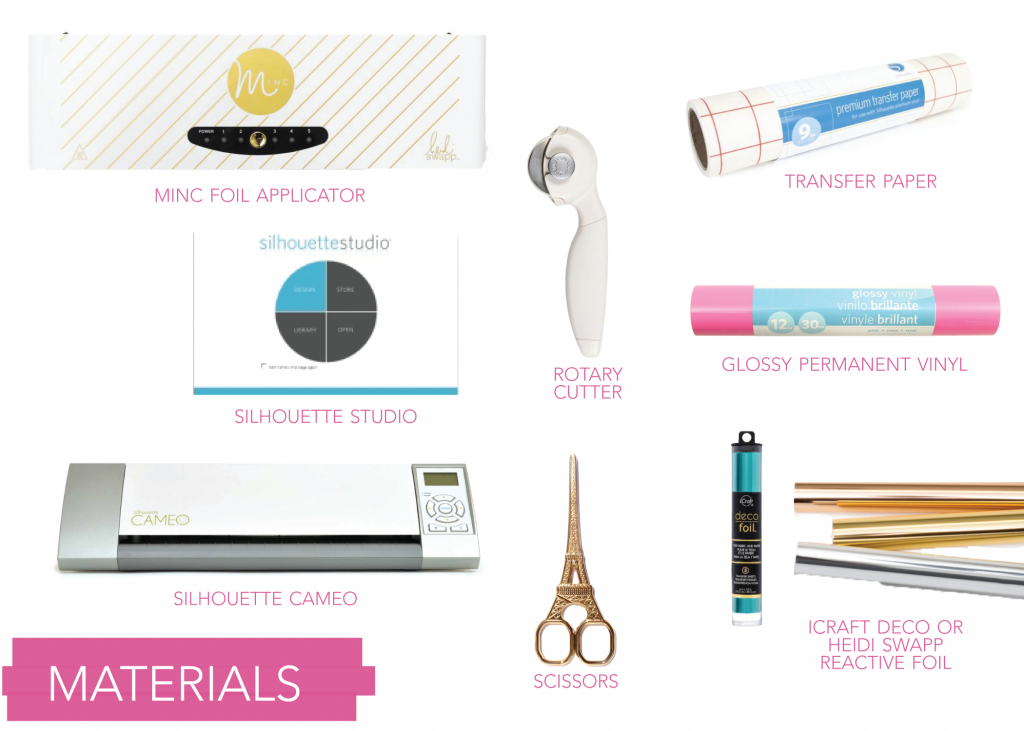
Supplies for DIY MINC Foil Notebooks
- Notebook – I got a Cre8ed Space Pink Vinyl Cover notebook From Michaels
- Rotary Cutter
-
Heidi Swapp Minc Foil Applicator
- Heidi Swapp MINC Reactive Foil
- iCraft DECO Foil
- Silhouette Studio
- Silhouette Cameo
- Silhouette Glossy Permanent Vinyl
- Silhouette Transfer Paper
- Scissors
Steps
To Prepare Your Vinyl Cutout
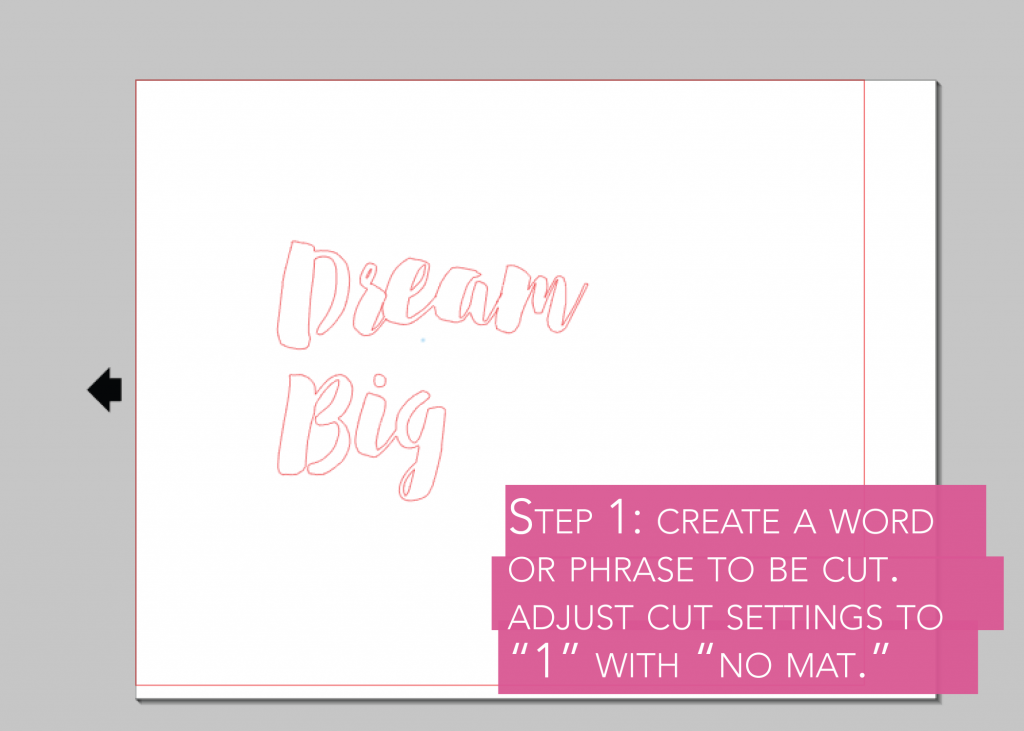
Step 1: In Silhouette Studio create a word or phrase to be cut from your vinyl. Adjust your cut settings to 1 for a kiss cut and change your mat settings to “No mat.”
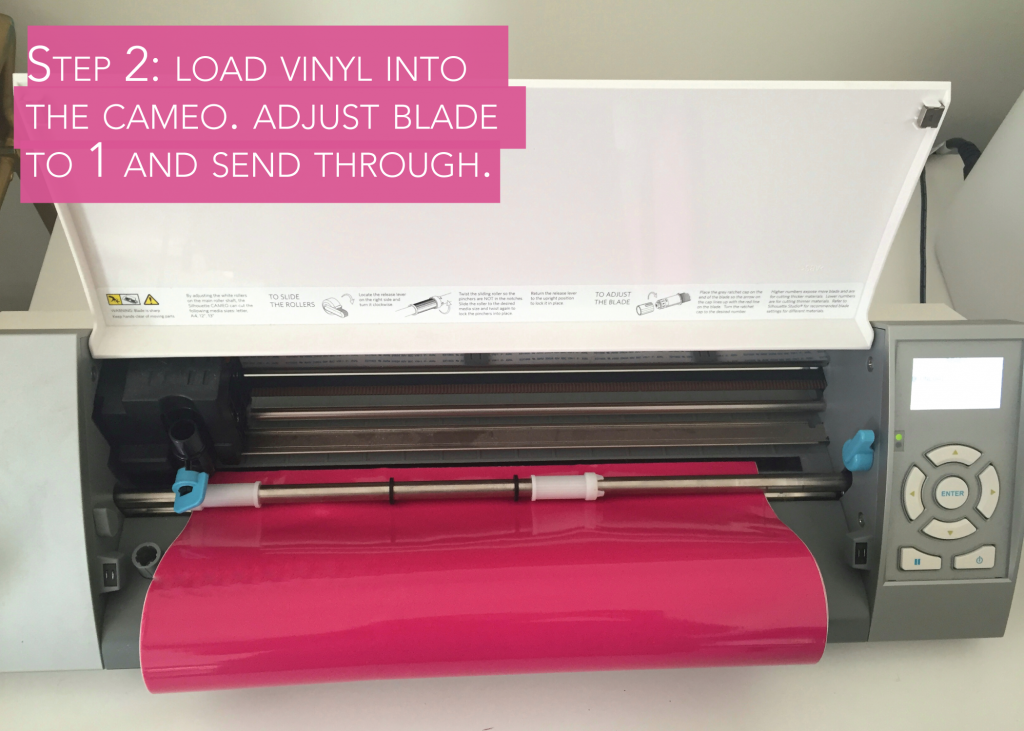
Step 2: Feed your Glossy Permanent Vinyl into your Silhouette cutting machine with the “Load Media” function. Adjust your blade to 1. Send your design through to cut.
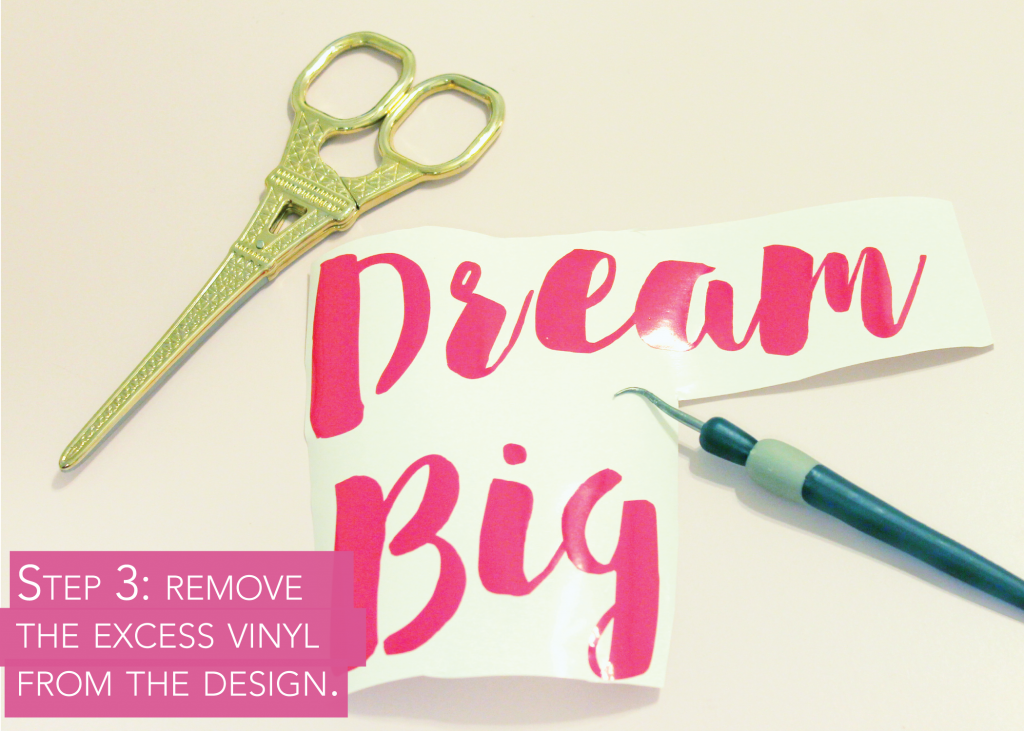
Step 3: When you’re finished cutting, carefully remove the excess vinyl from your word. Cut down any excess backing paper. Remove any pieces of vinyl that do not need to be foiled like the inside of letters.
For a video tutorial on how to cut vinyl, watch this great video How to Cut Vinyl With the Silhouette Cameo from AboveRubiesStudio.
To Add Glam with the MINC
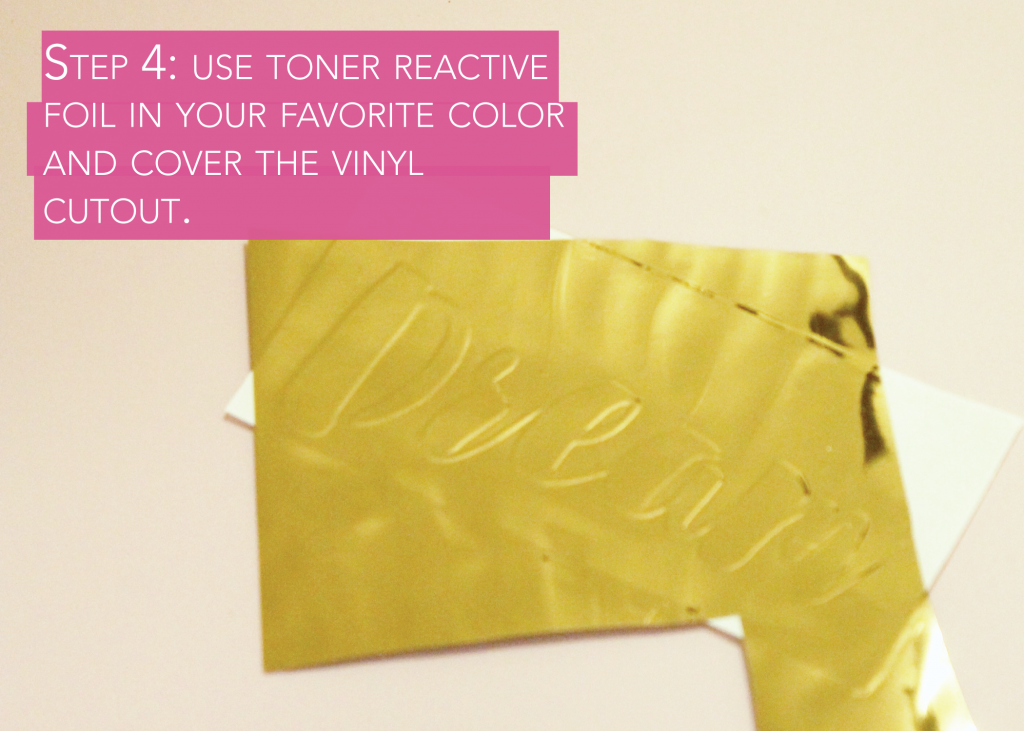
Step 4: Cut a piece of your favorite MINC Toner Reactive or iCraft Deco foil large enough to cover your words. Cover your cutout with your foil and place it inside the MINC sleeve.
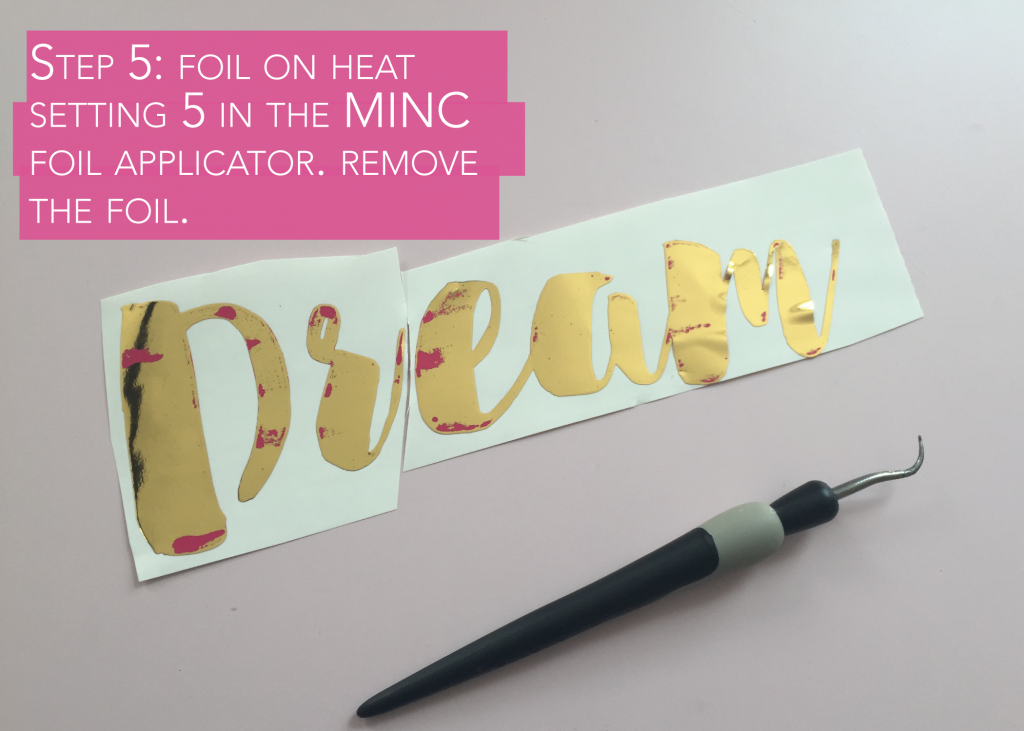
Step 5: Set the heat setting on your MINC Foil Applicator to 5. In the video that inspired this post, Jennifer Evans said to use setting 4. When I did that, parts of my vinyl went unfoiled. See below. So I did it again and just cut out the word “Dream” and re-foiled on heat setting 5 and got much better coverage. Remove your foiled word from the sleeve and get ready for the big reveal. (Ahhh, I love that feeling when you pull back the foil and see how pretty your design is.)
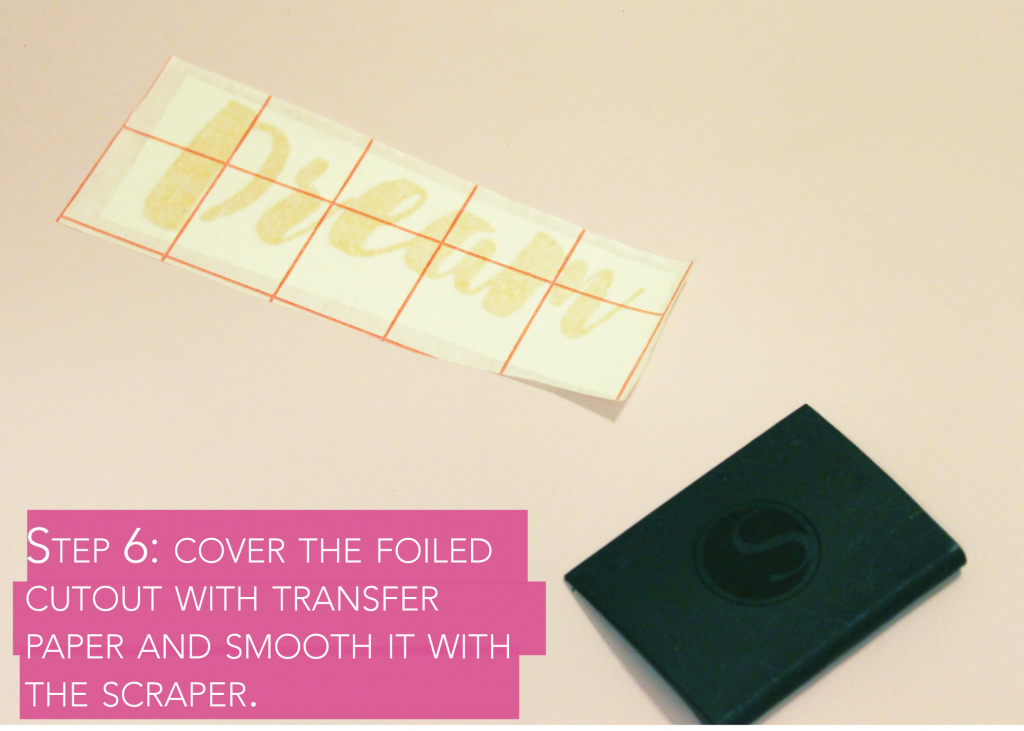
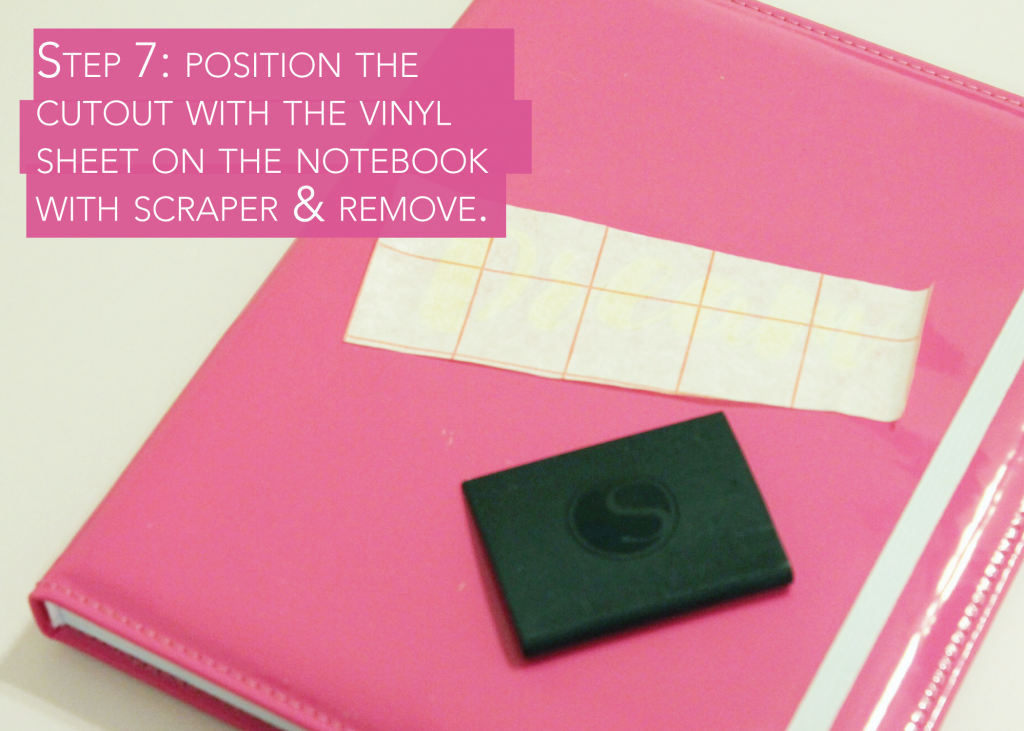
Step 6: Place a piece of transfer sheet on top of your foiled word. Use your scraper to make sure the transfer paper sticks to your cut out.
Step 7: Pull back your transfer sheet with your cutout. Place it where you want on your notebook. Use your scraper to smooth it on your cover. Pull back your transfer paper for your second big reveal – your fabulous DIY glam notebook.
Think of all of the possibilities. If I were back in school, I would be losing my coolness left and right over making custom covers for my notebooks.
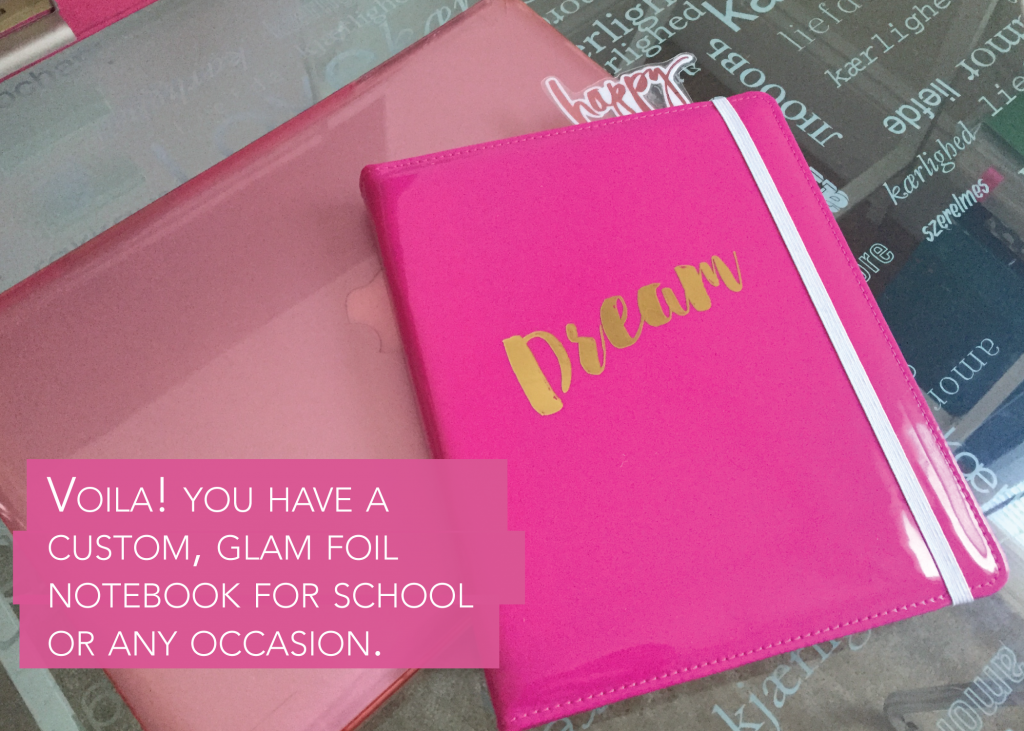 Eeek, I’m giddy over seeing the Back To School fabulous-ness on social media. Let me know how your MINC foil notebook turn out and tag them with #htgawcrafting and #pinkimono. Happy school days!
