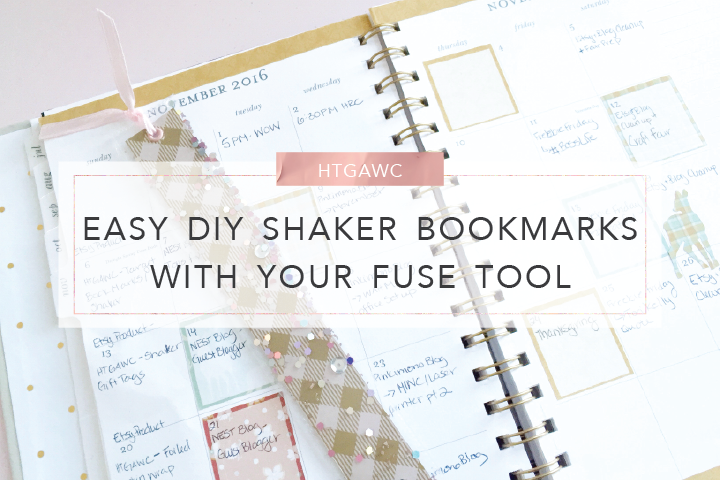
Happy start of the gift-giving season. It’s such a bittersweet time of the year. There’s something fun but overwhelming about holiday gift shopping. Well, don’t worry my fellow crafter. I have a fun and easy DIY gift you can make with a quick trip to your Target Dollar Spot – DIY Shaker Bookmarks!
Tonight’s htgawcrafting project is Shaker Bookmarks made from Target’s Paper Chain Kit. I saw these during my regular trip through the TDS and thought, “Oooh what cute bookmarks.” Was I surprised when I saw the packet was a Paper Chain Kit of cut paper strips and not bookmarks. So I thought why not turn them into bookmarks? They’re the perfect size, super pretty and a great gift for any bookworm. Plus there are 27 pieces so you can get a loooot of gifts out of this packet. Let’s get started!
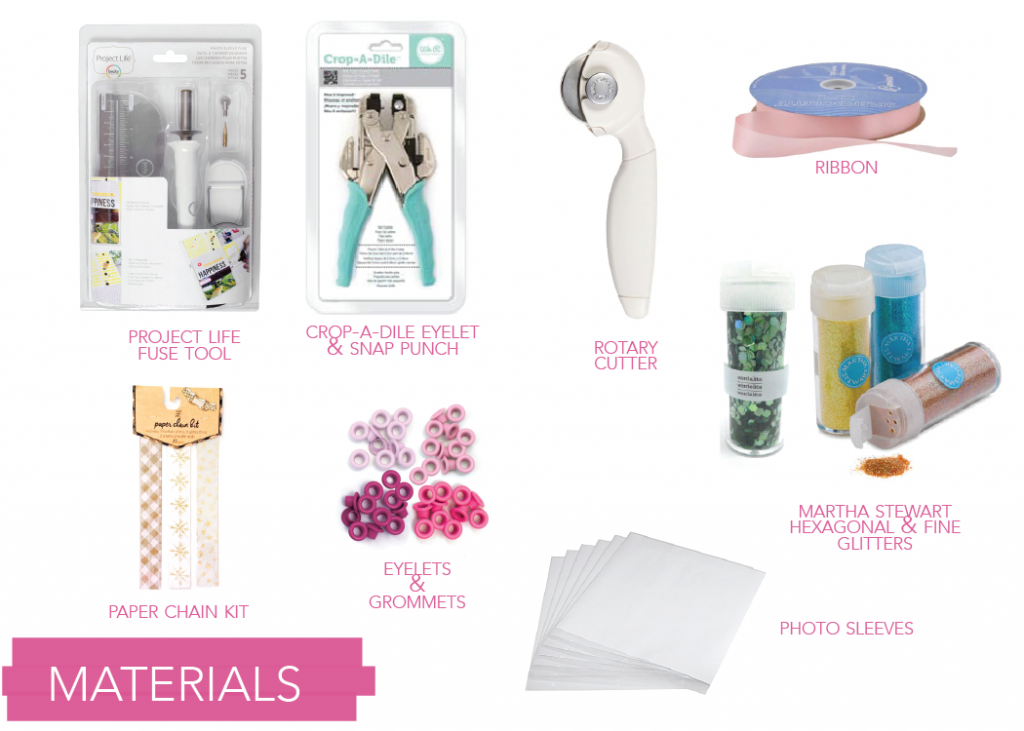
Supplies for DIY Shaker Bookmarks
- $1.00 Paper Chain Kit from the Target Dollar Spot
- Martha Stewart Rotary Cutter or Scissors
- Project Life Photo Sleeve Fuse Tool
- Photo or Scrapbook page protectors
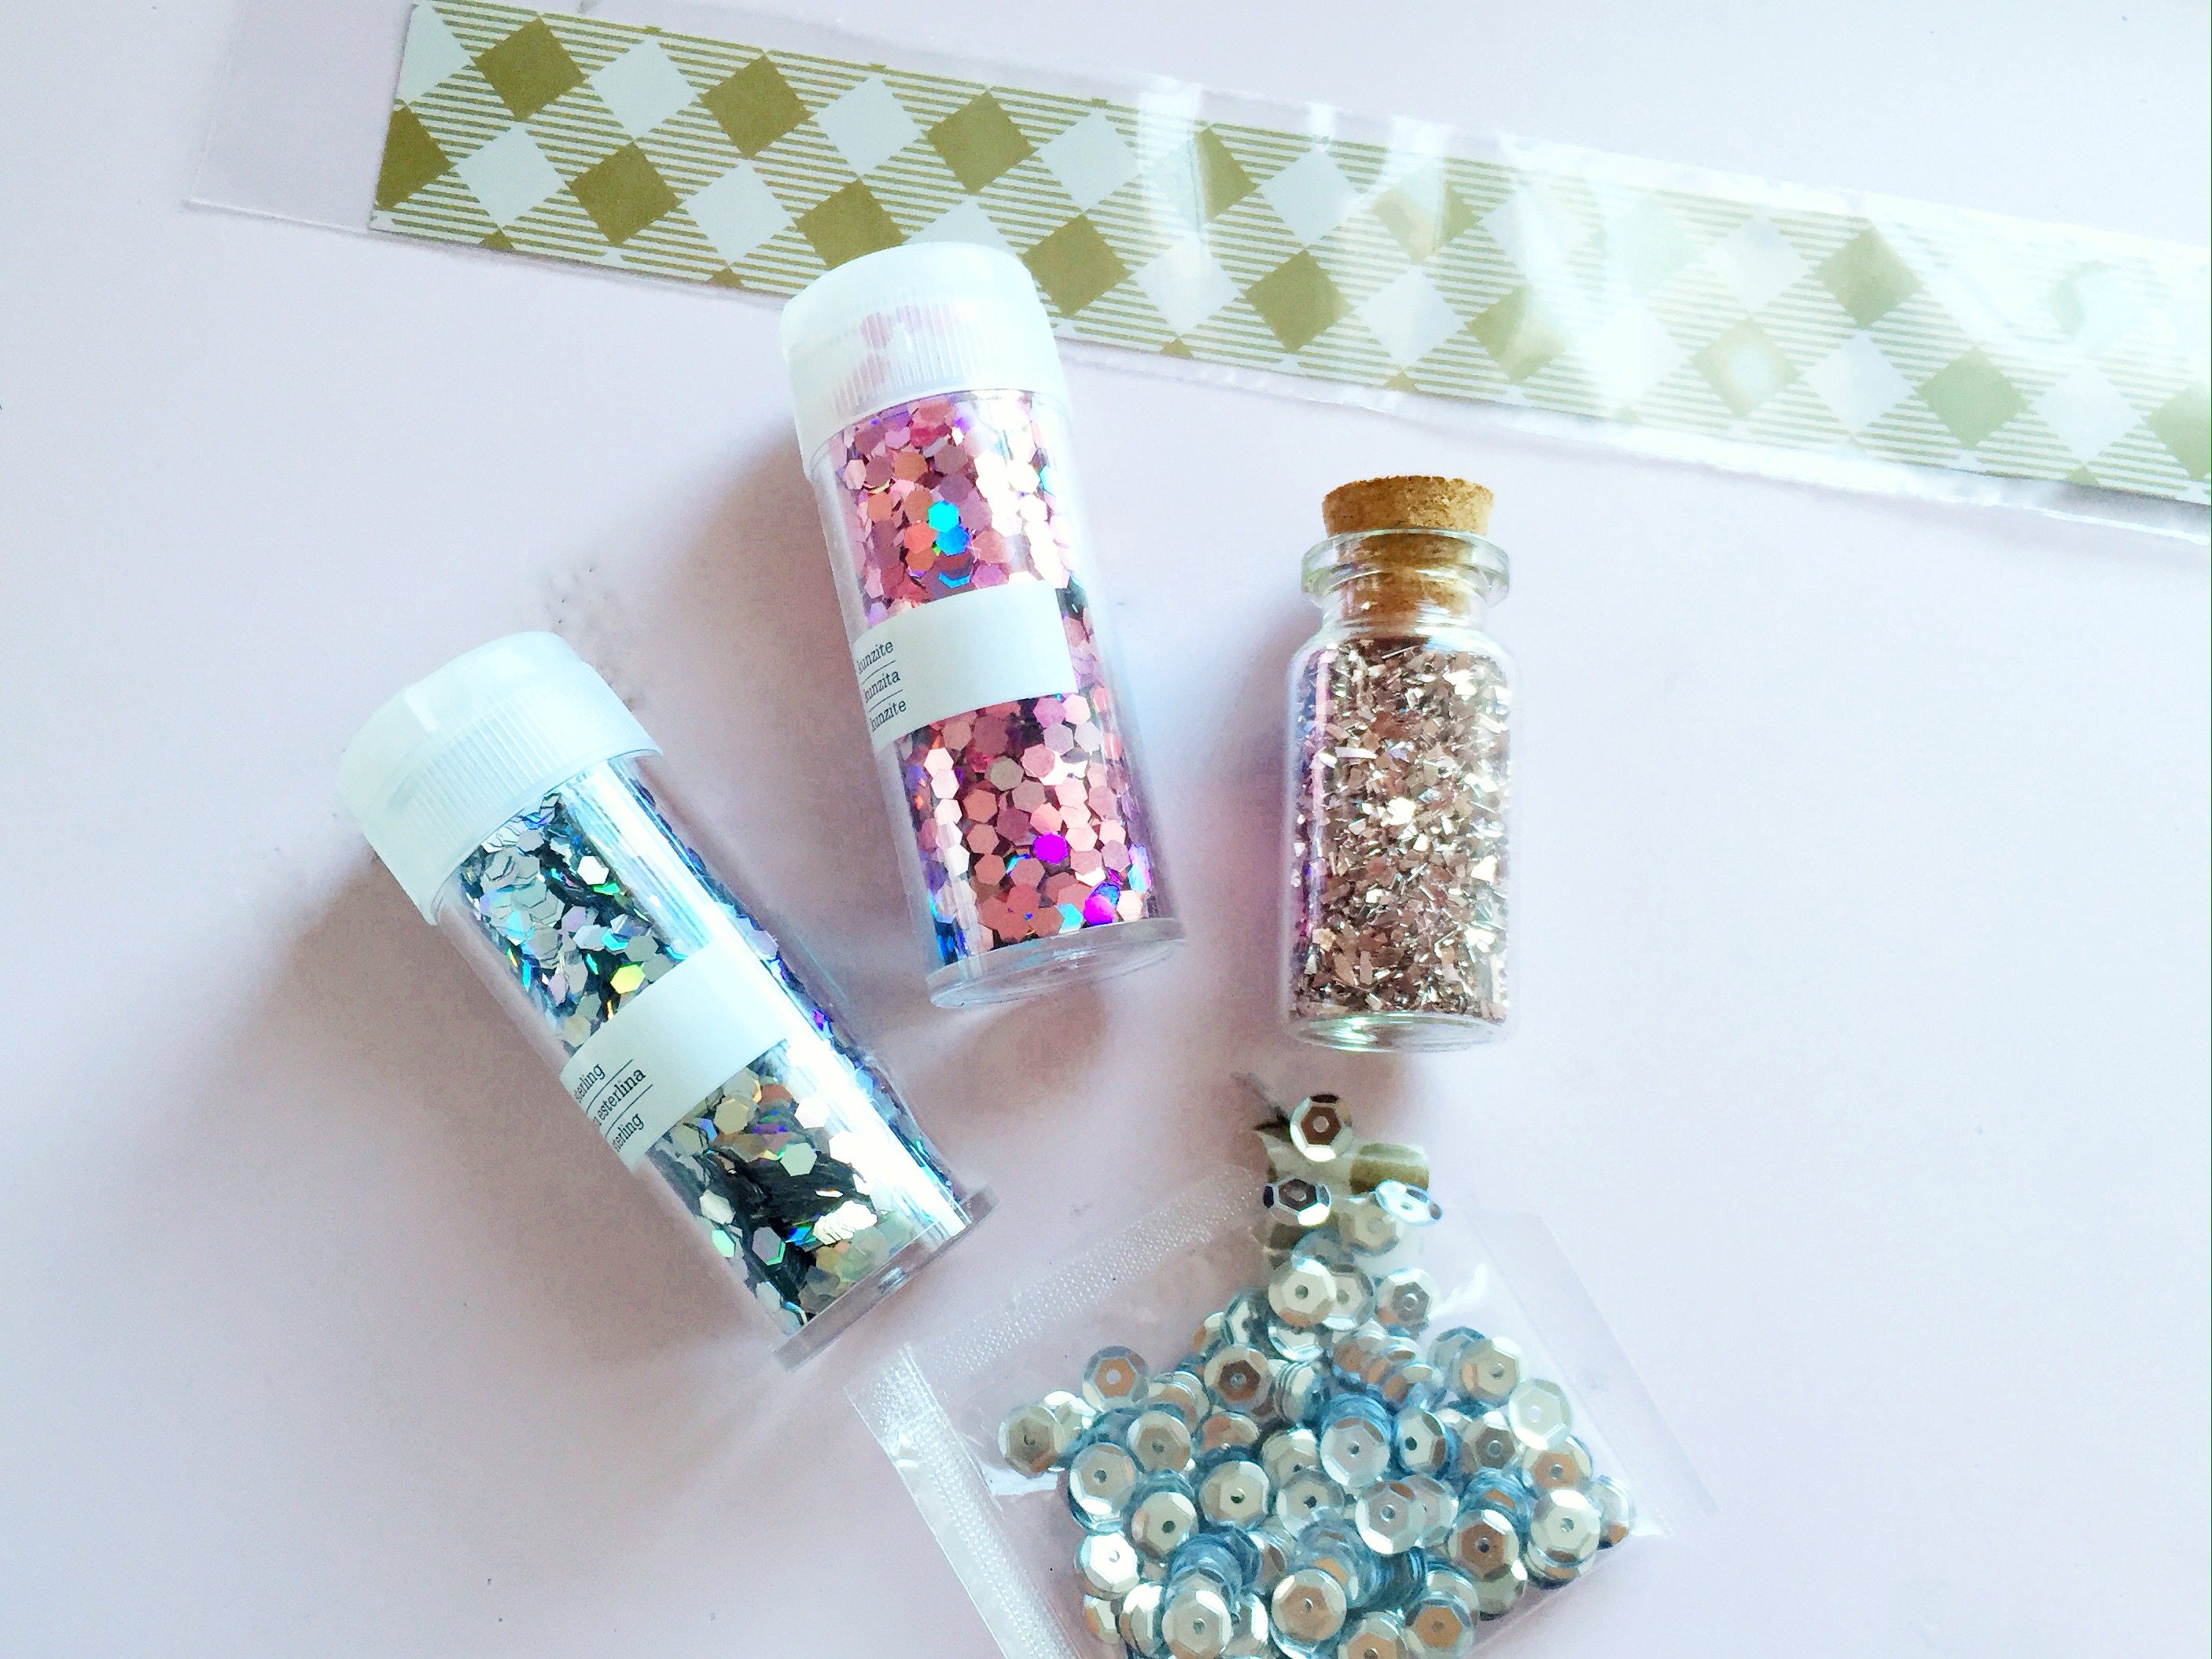
- Martha Stewart Crafts Hexagon Glitter
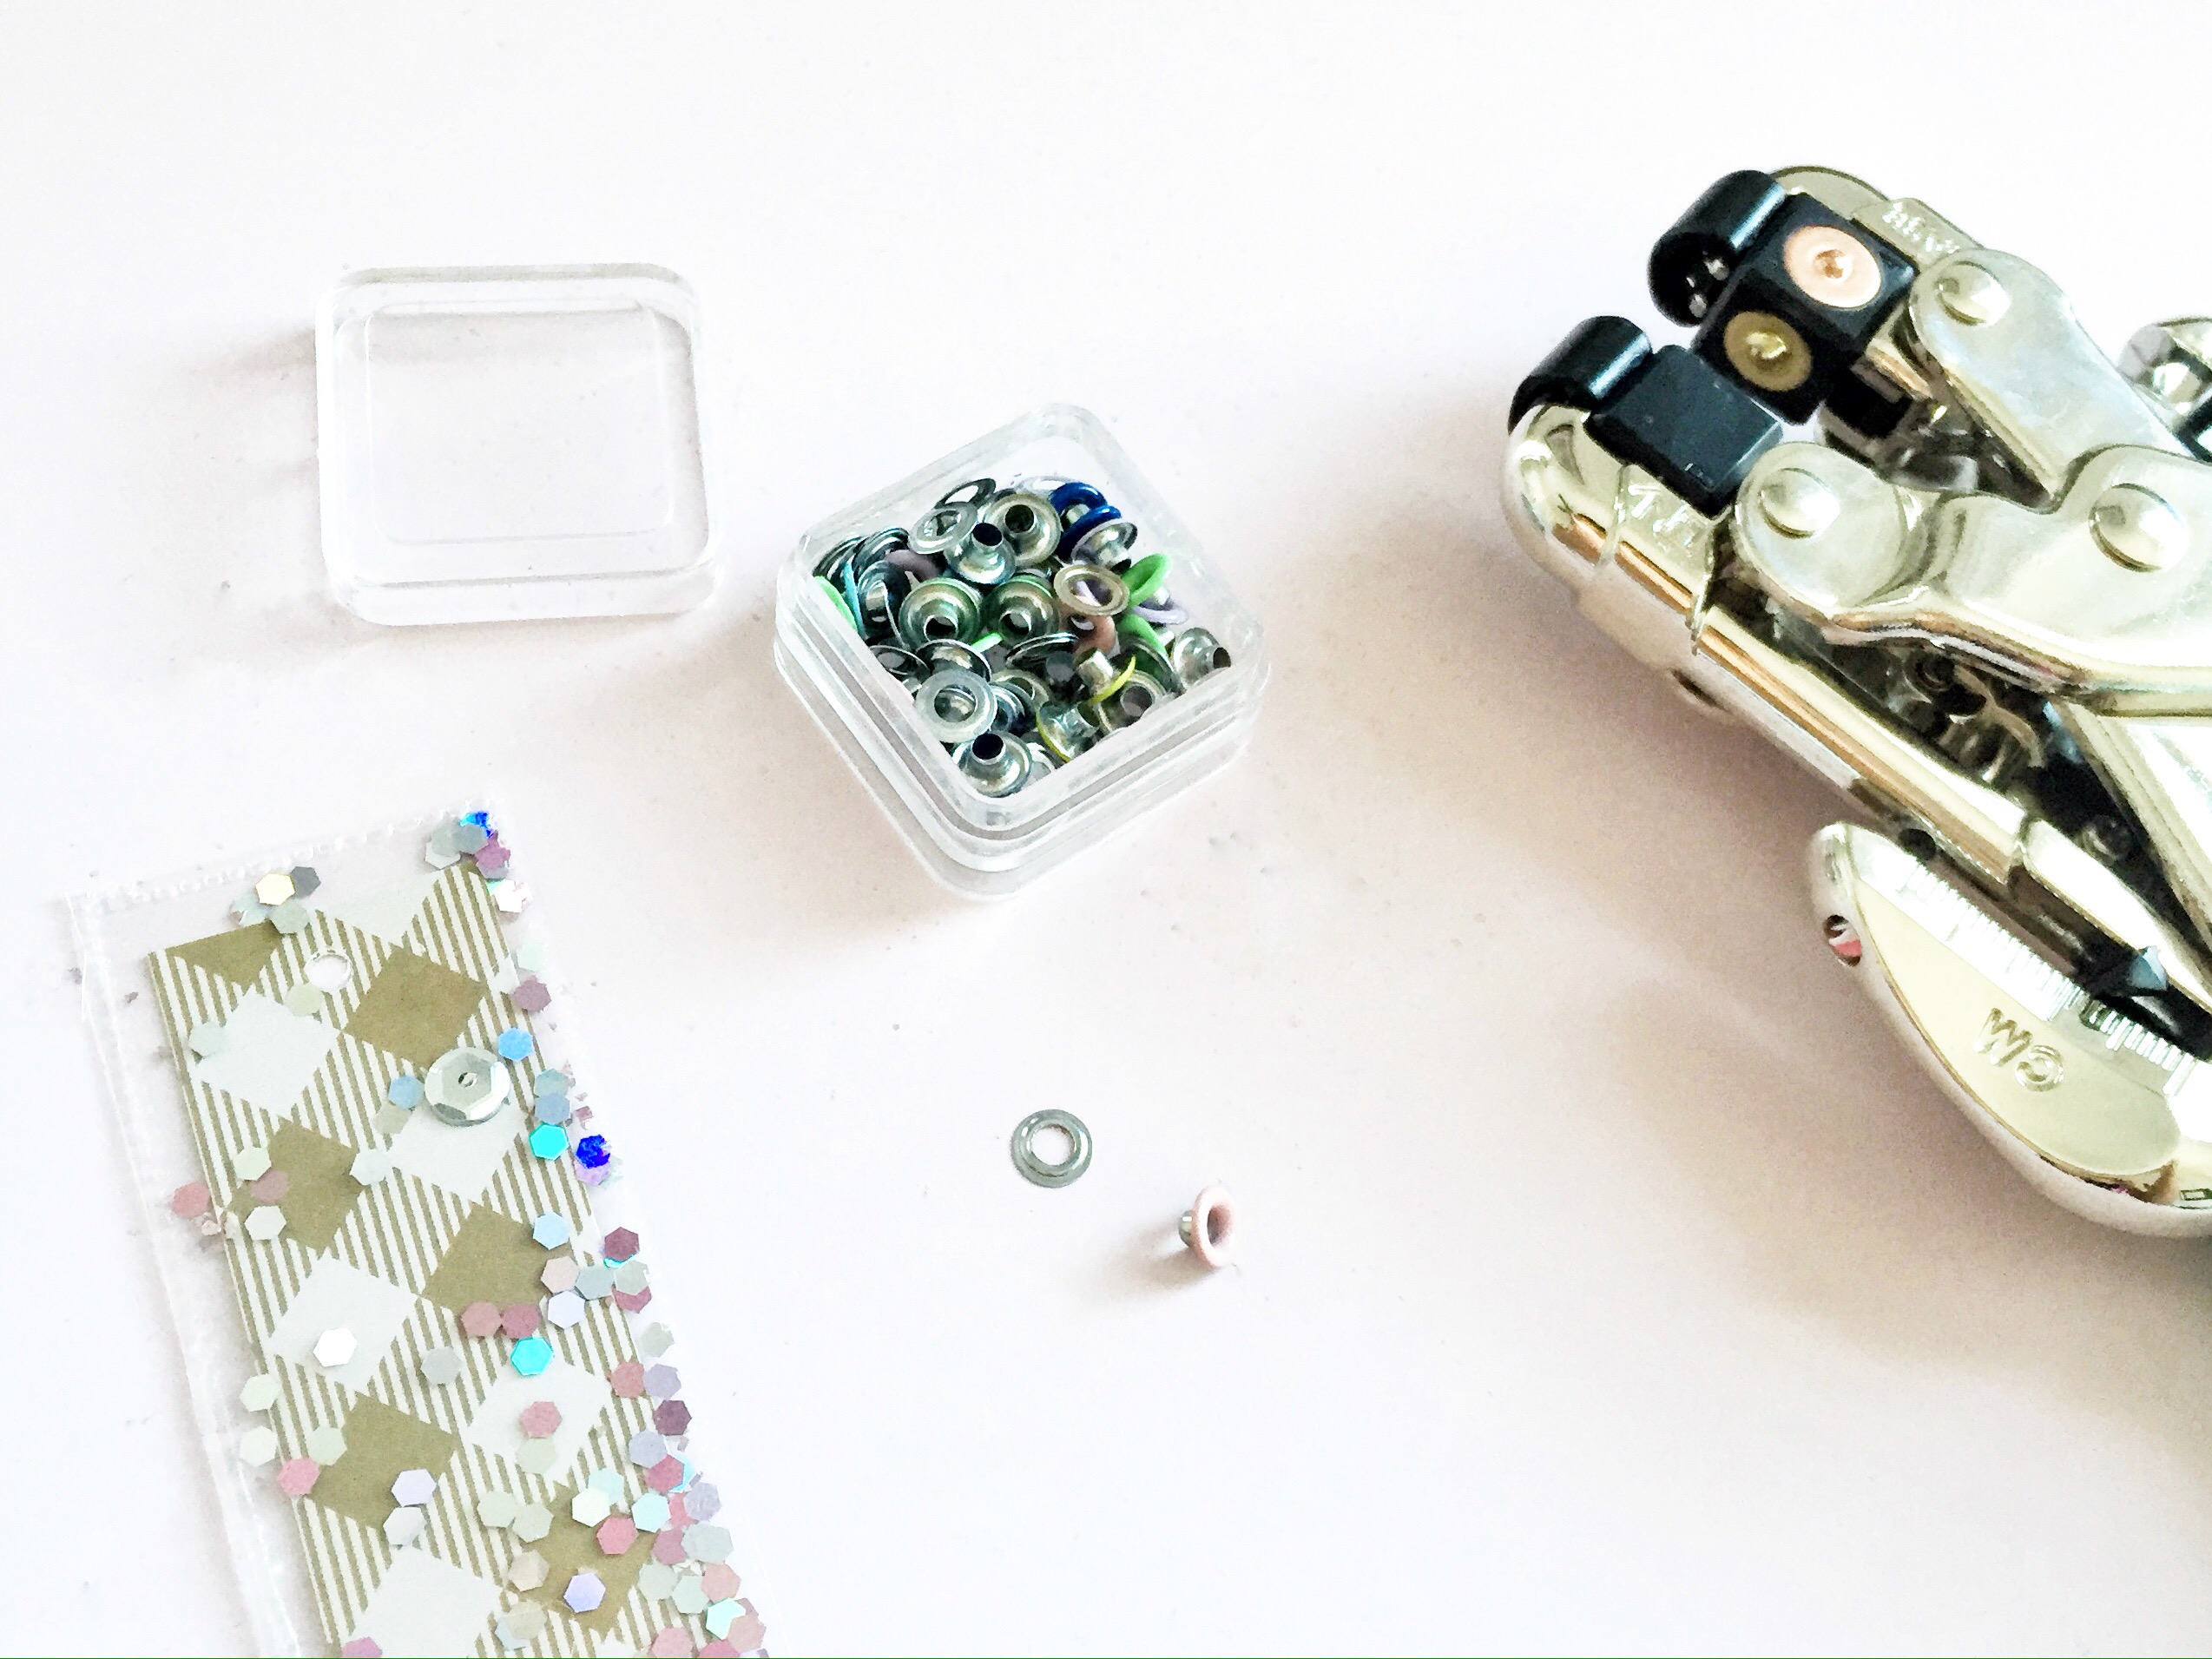
- Crop-A-Dile Eyelet and Snap Punch
- Eyelets
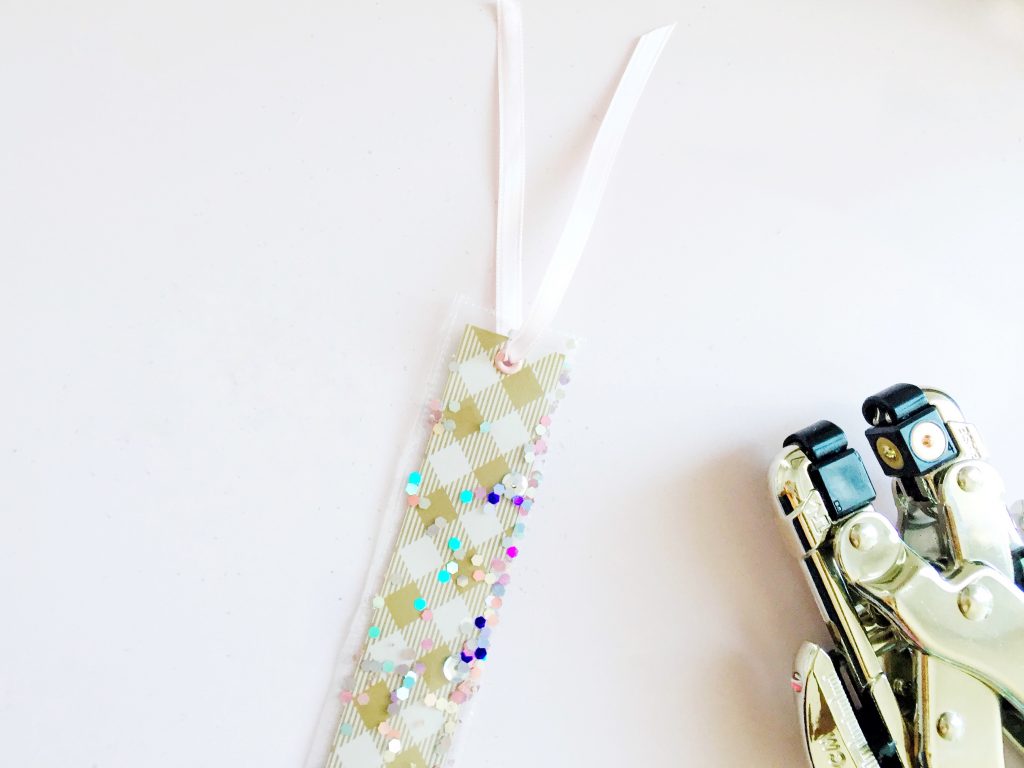
- Ribbon ( 1/4″ ribbon width)
To Prep Your DIY Shaker
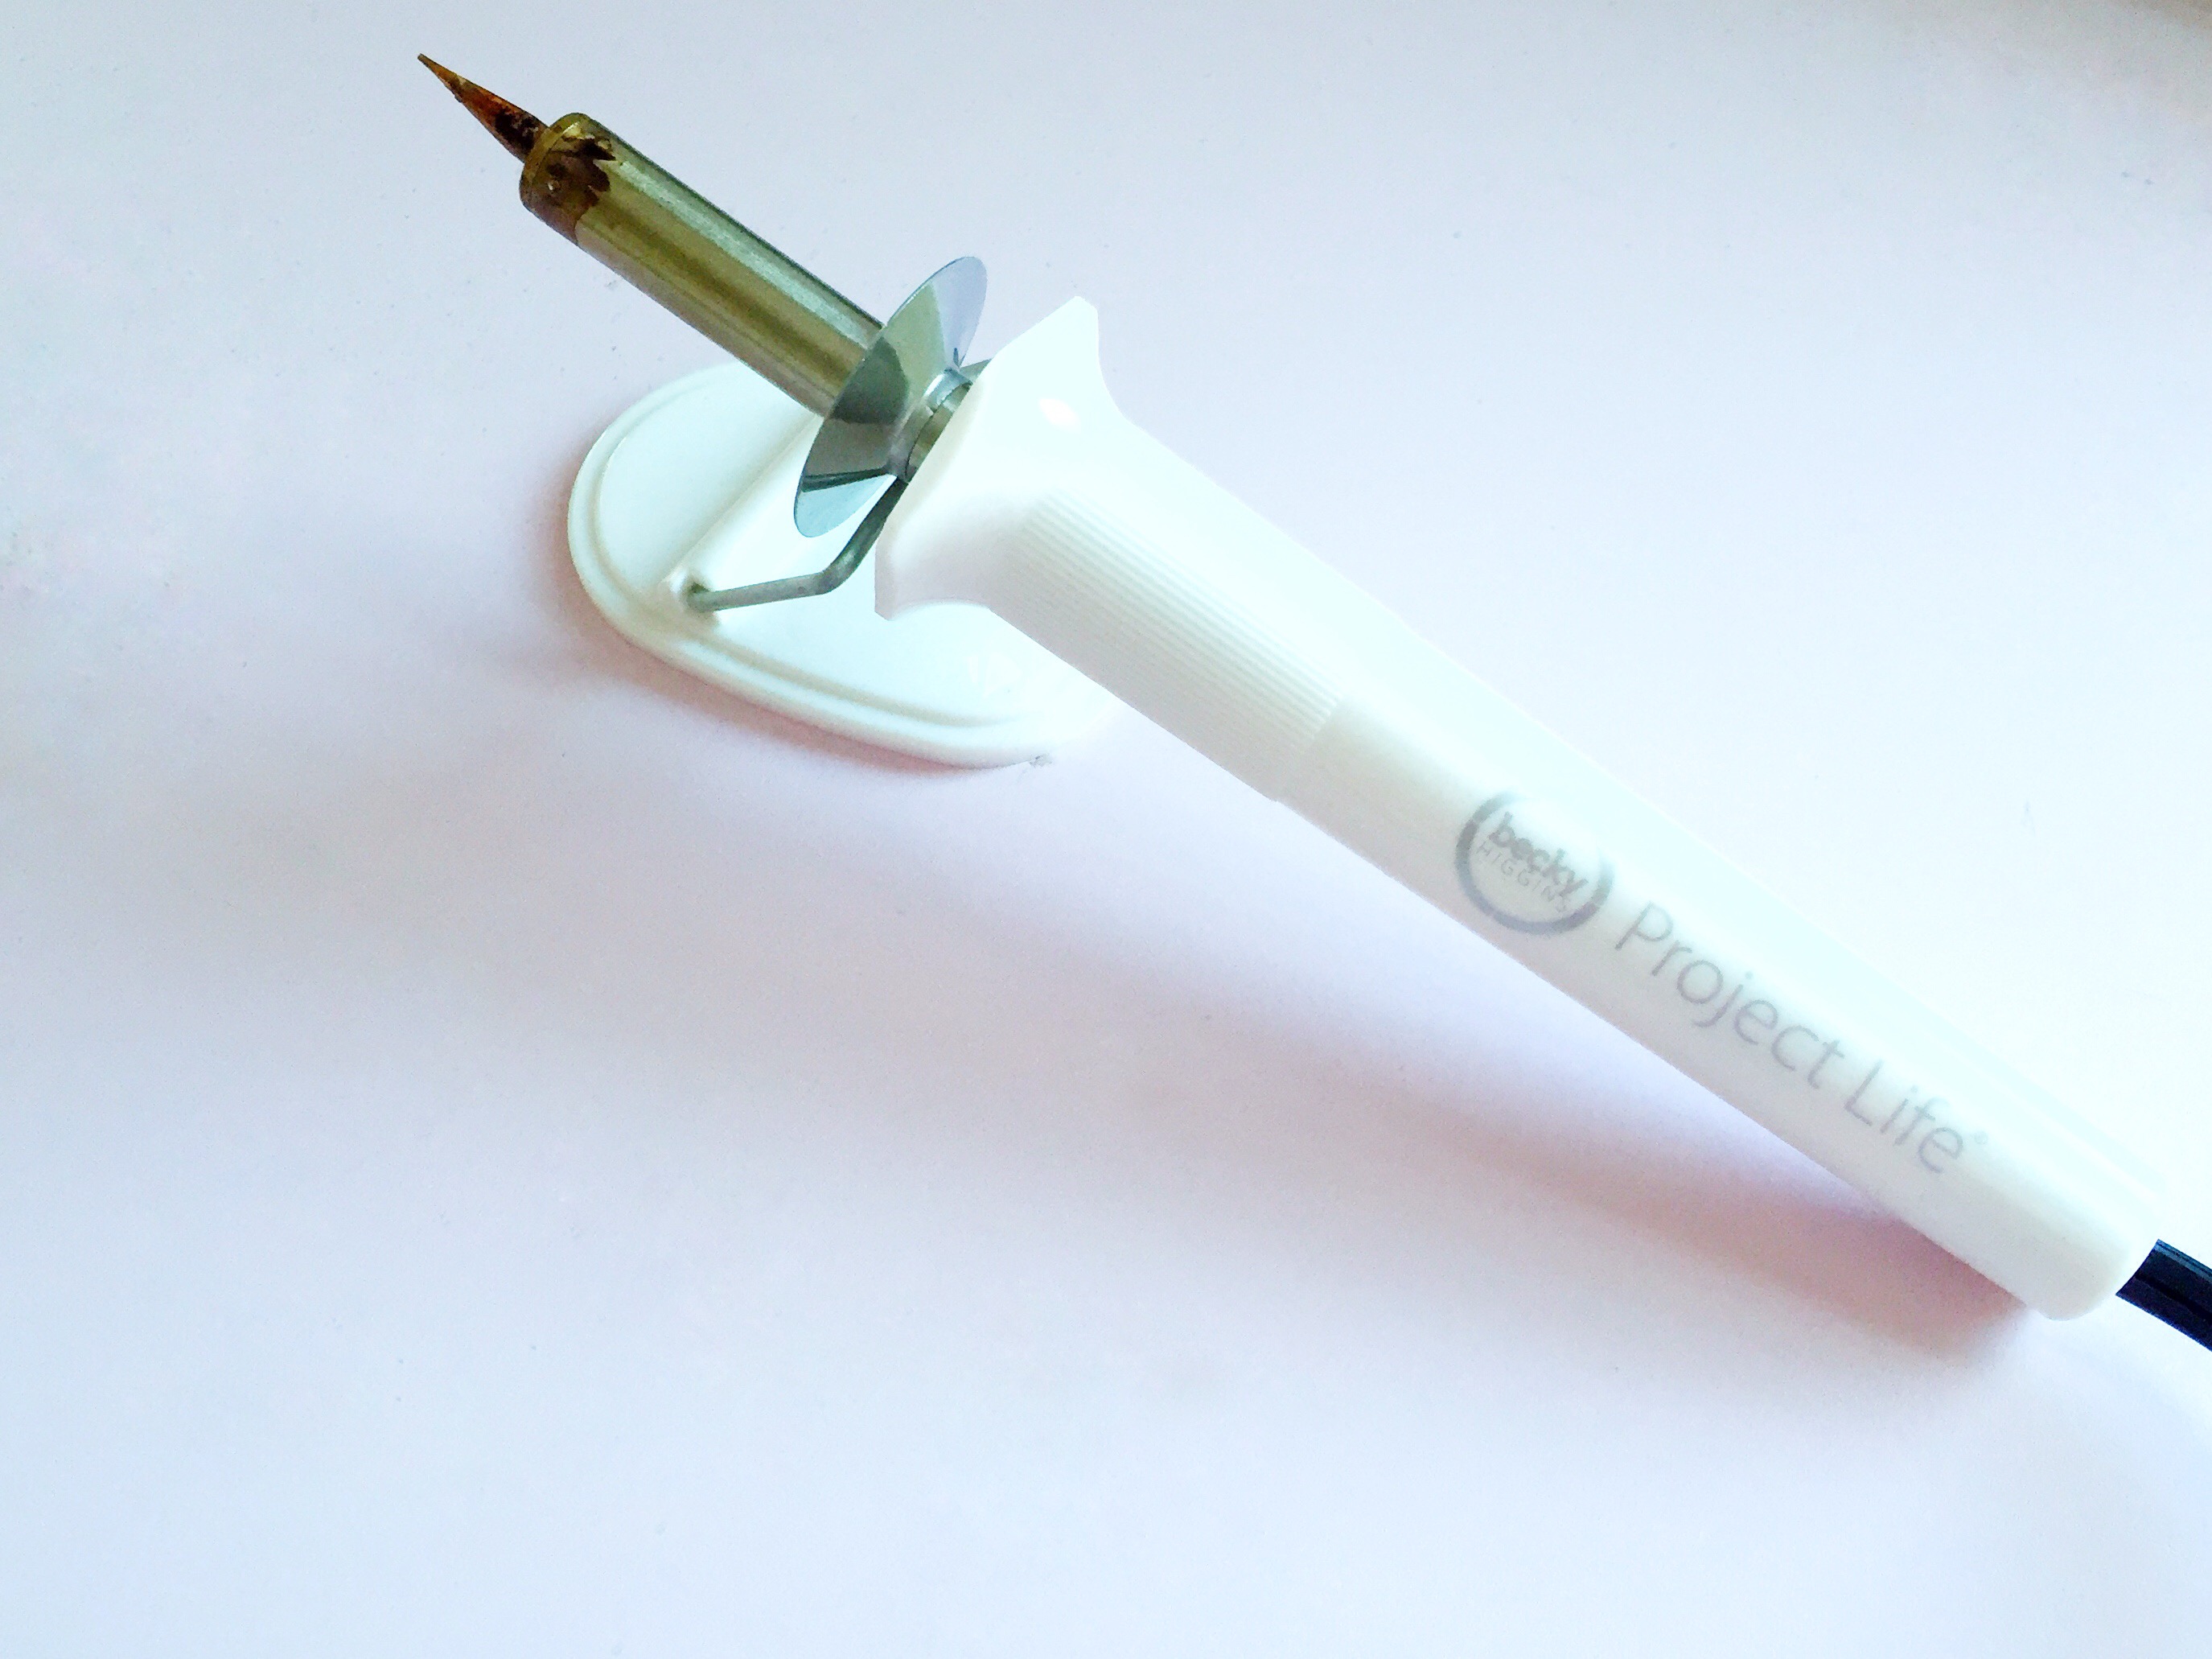
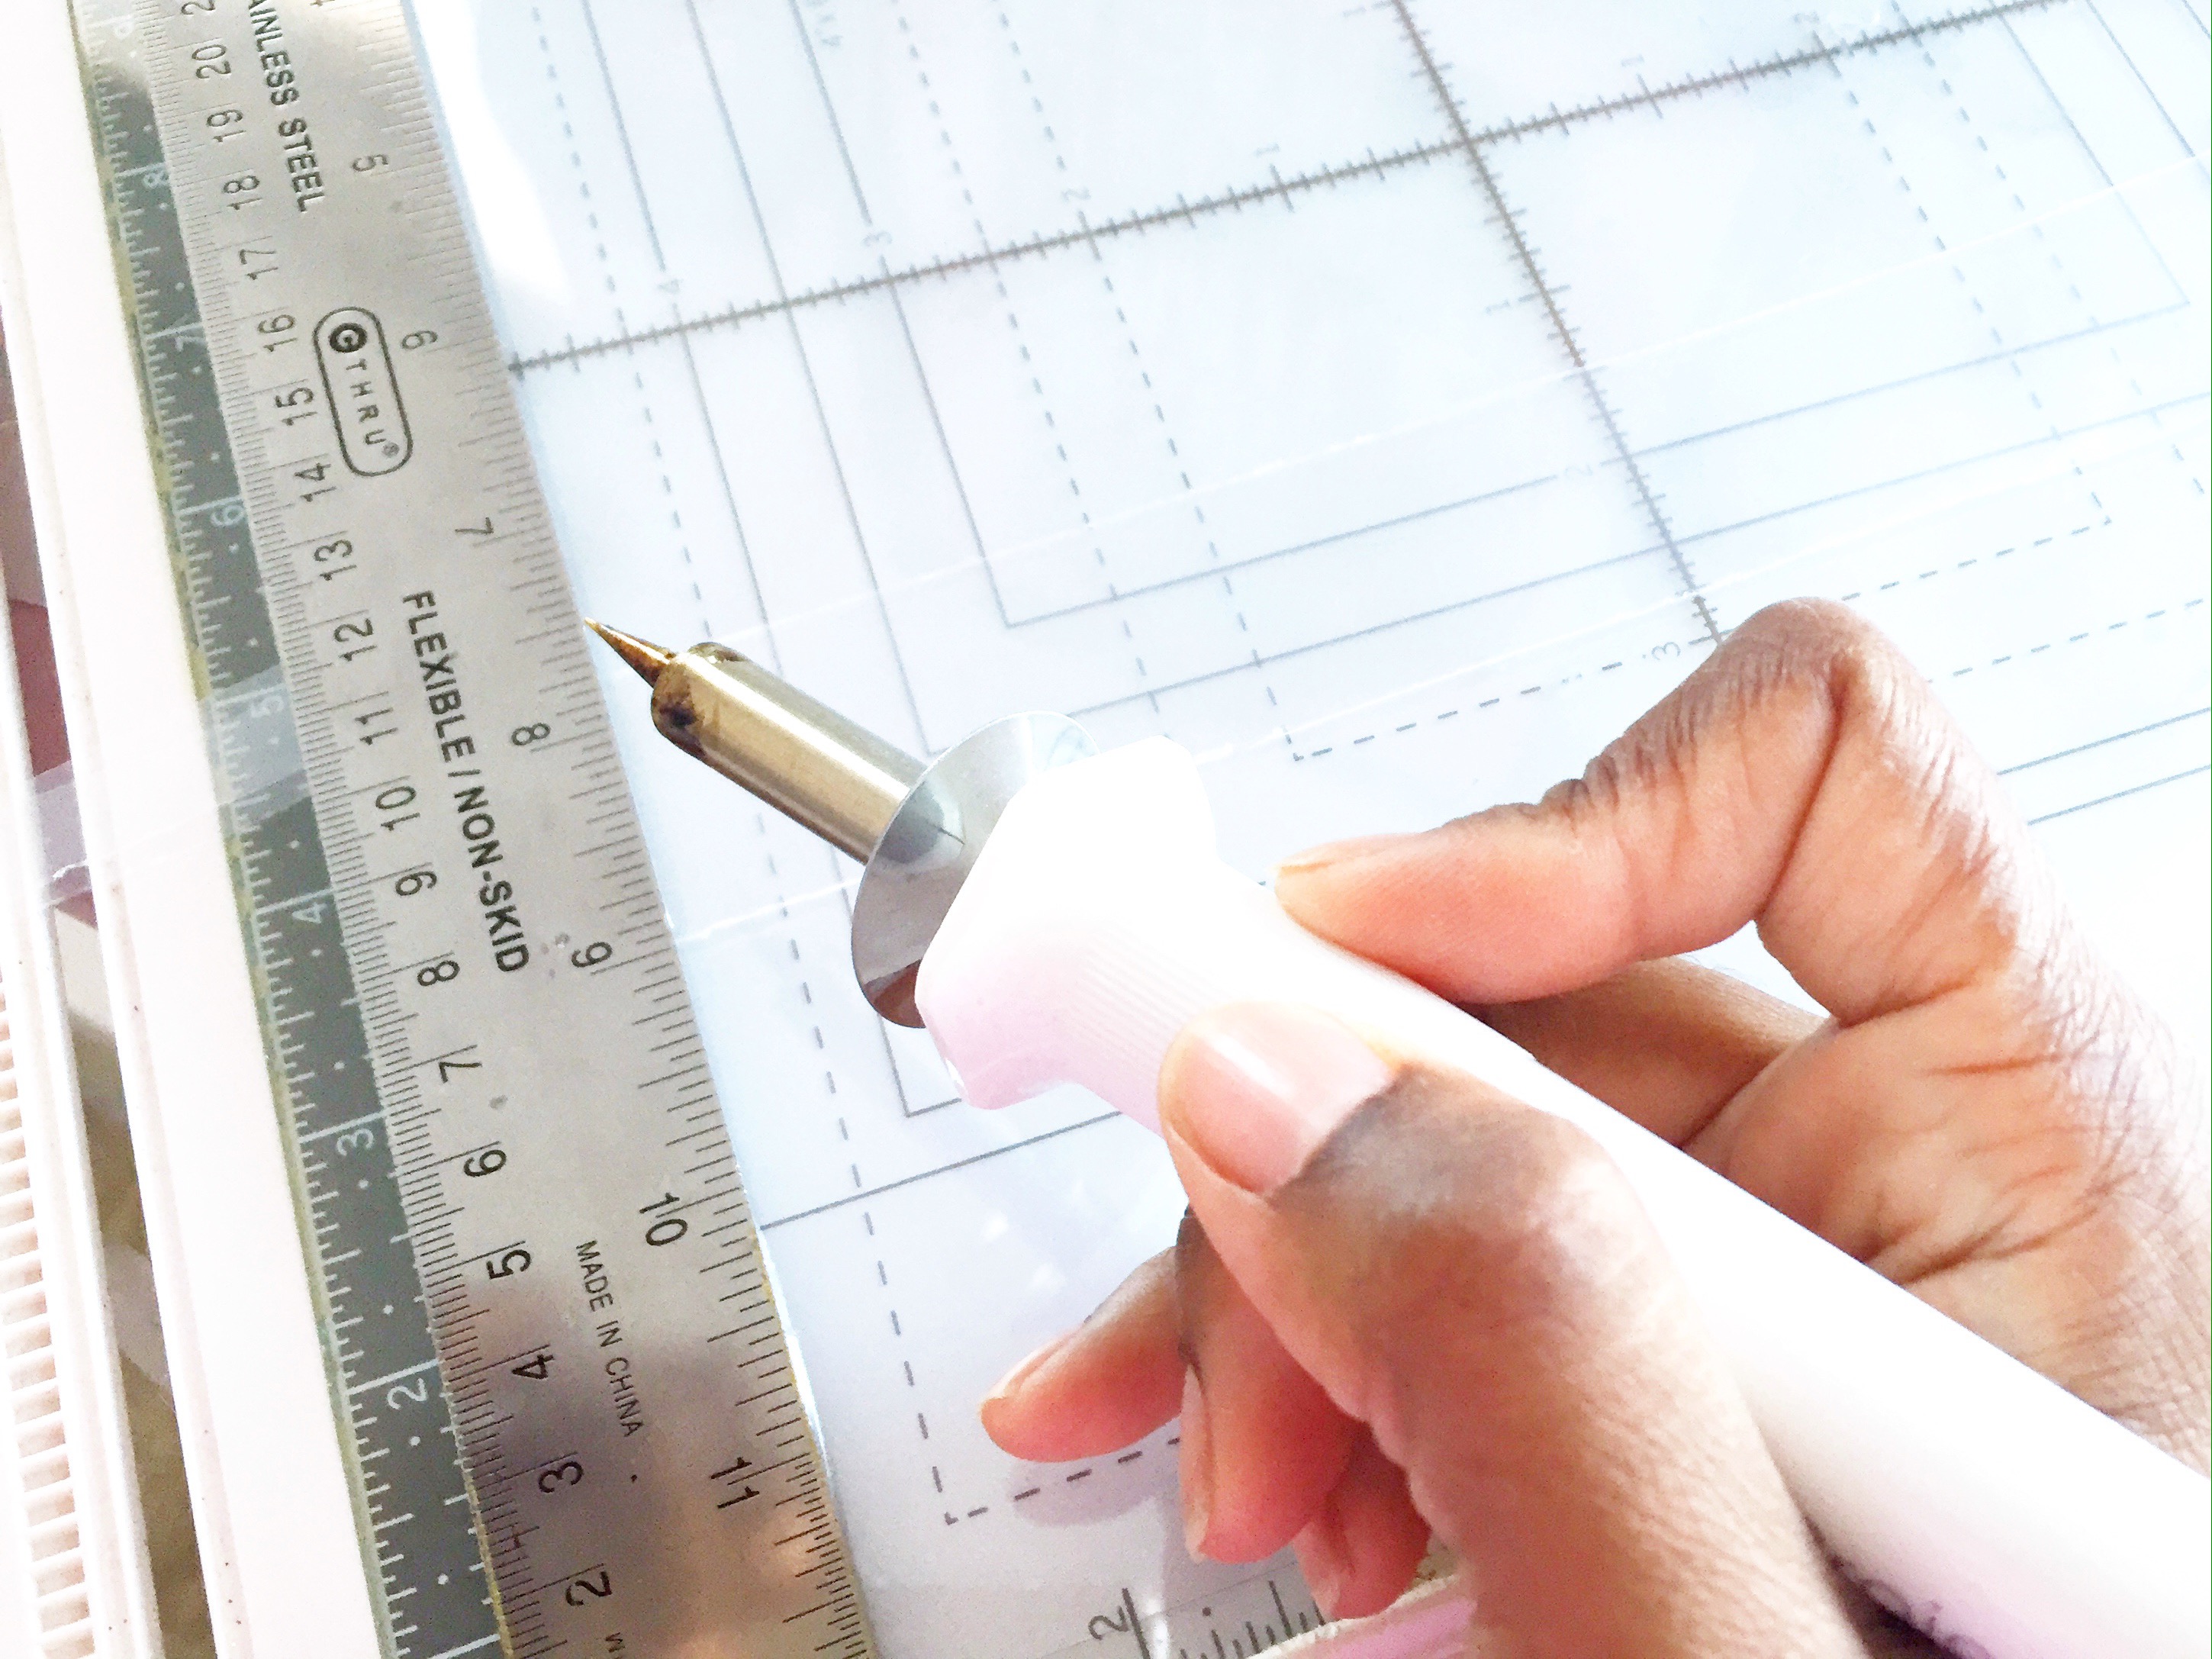
Screw in the cutting tip to your FUSE Tool and plug it in. It takes awhile to warm up. Set it safely to the side for the time being.
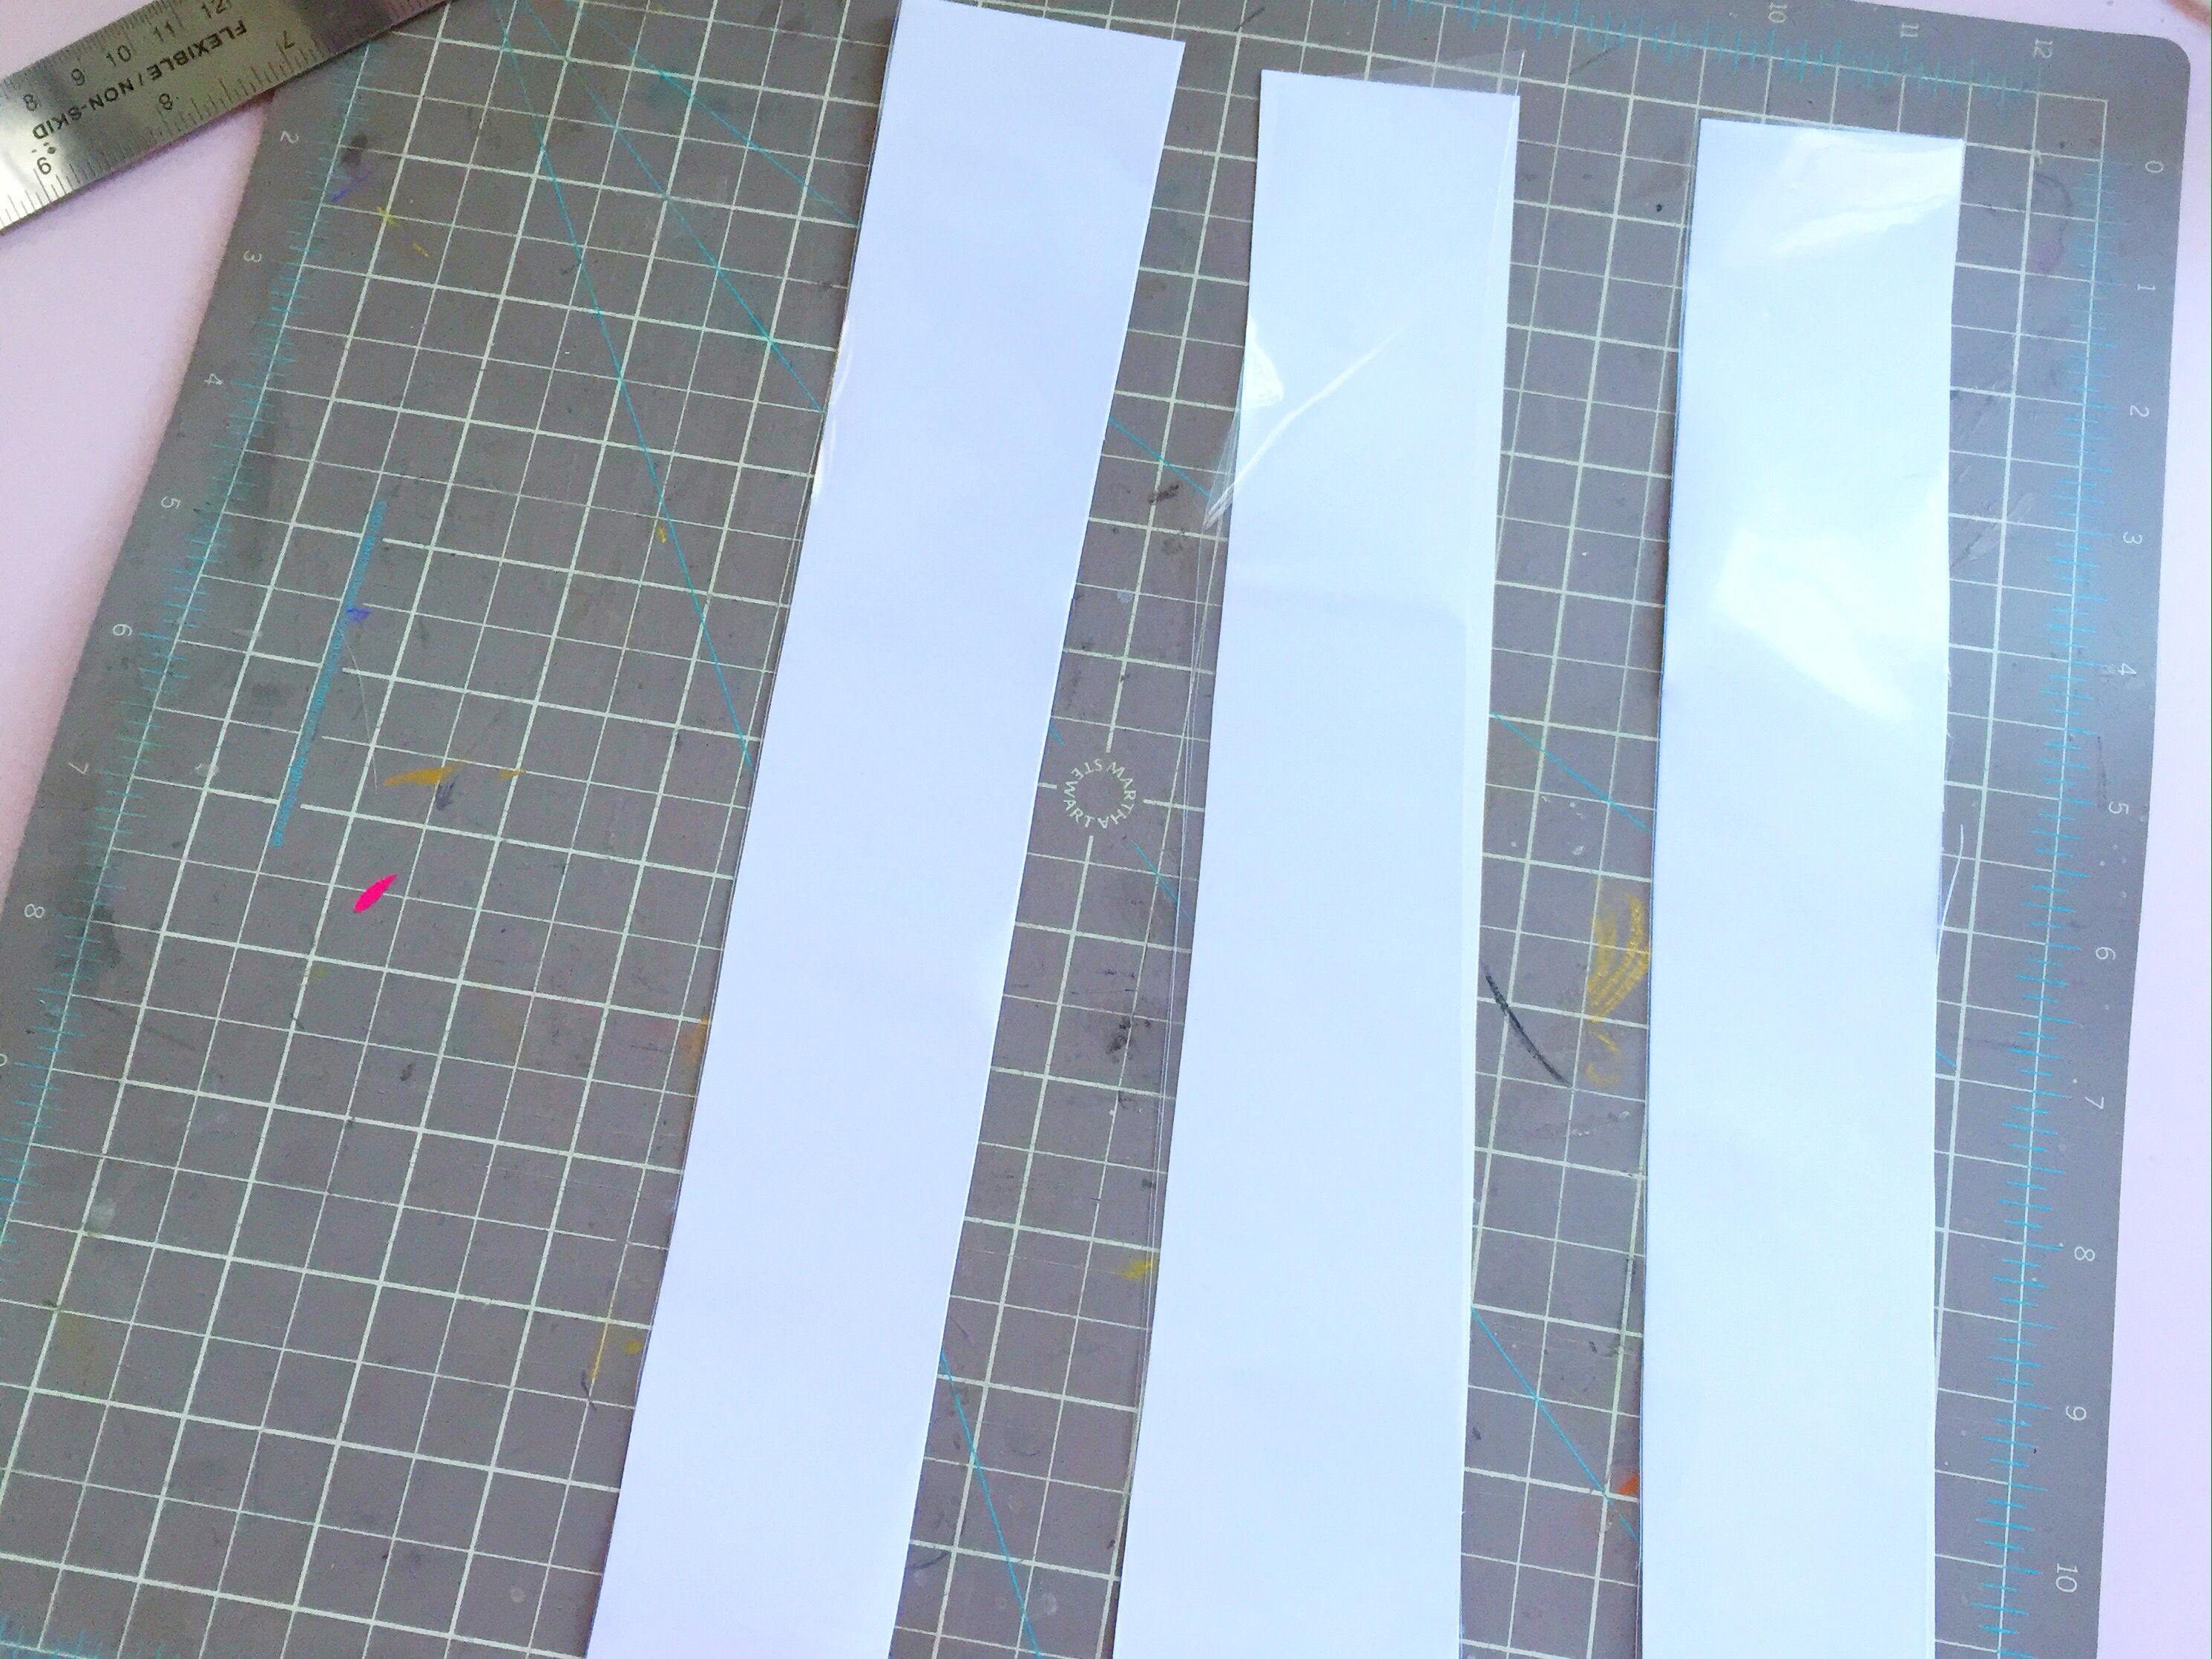
Cut your photo sleeve to measure 1.5″x 8.25″. Your final bookmark will measure 1.25″ x 8.25″, but you’re giving yourself a little wiggle room to use the FUSE Tool. Here’s a little tip: Take advantage of the existing sealed sides of the photo sleeve so you only have to cut and seal 2 sides.
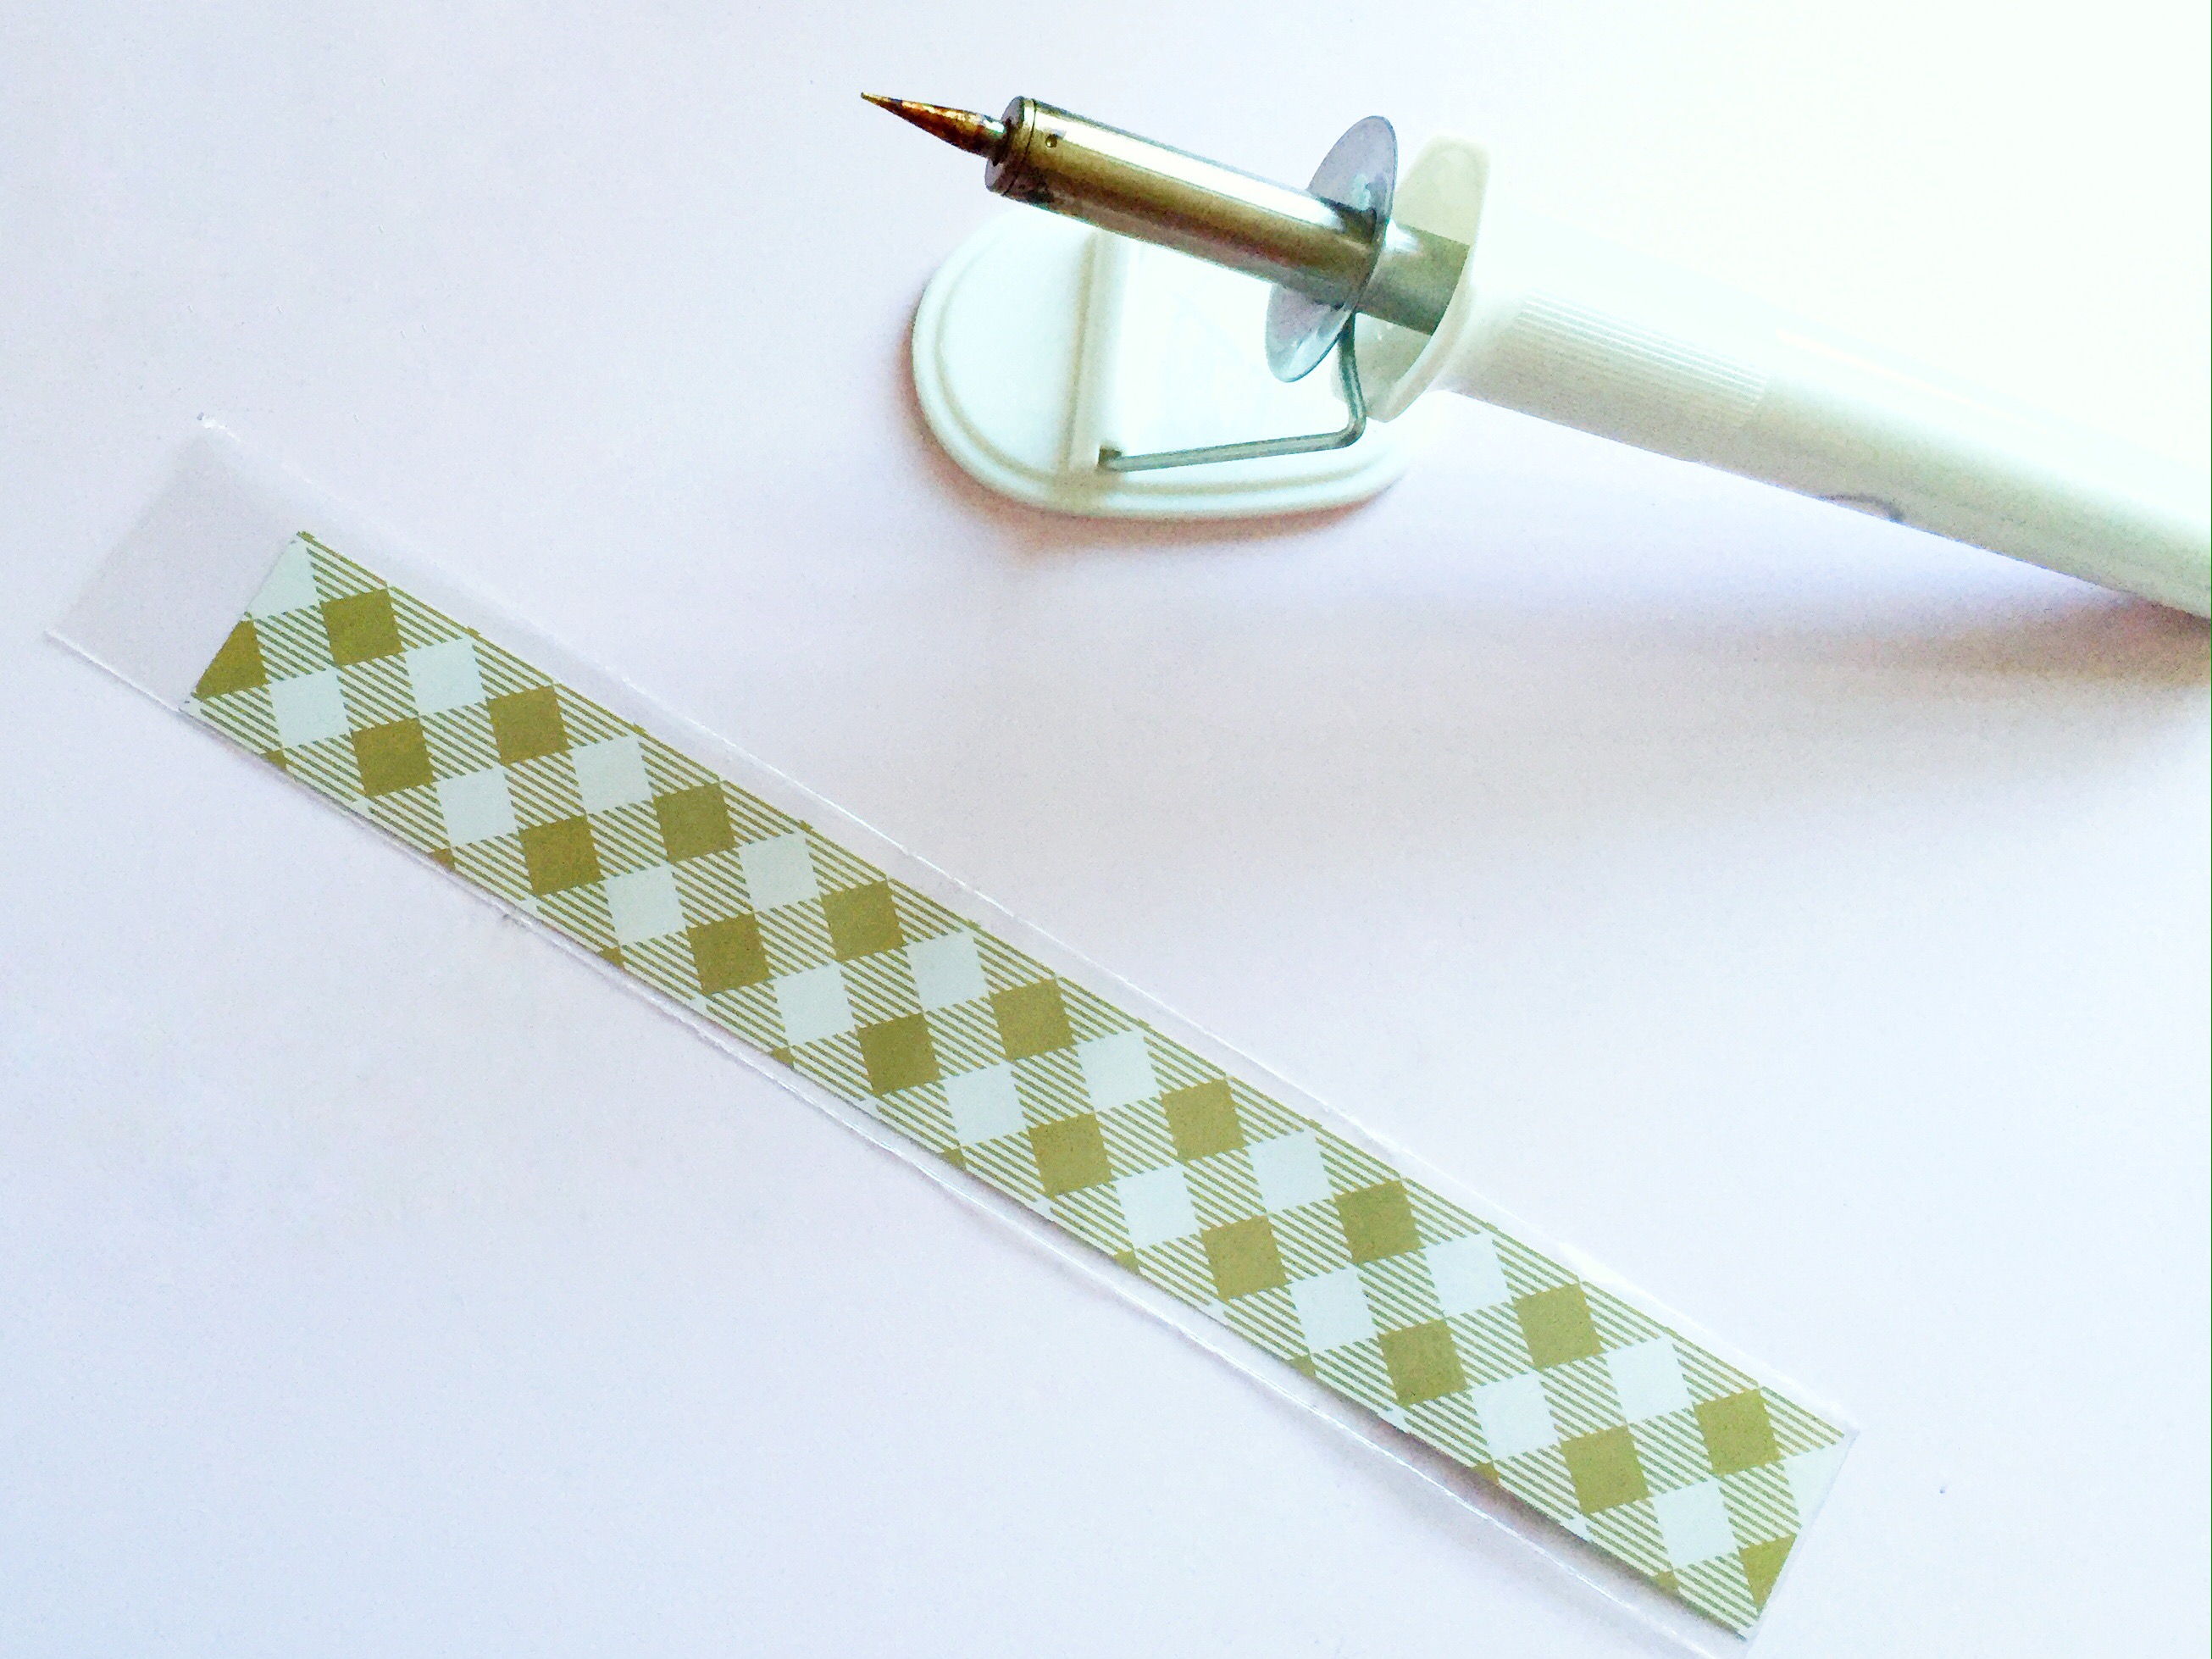
 If your FUSE Tool is ready, use it with the cutting tip with the guide to seal/cut all the sides except the top. Leave that open.
 Slip one of the Target Dollar Spot Paper Chains in the sleeve.
Grab your favorite glitter and sequins and add a few to your sleeve. I love using the Martha Stewart Hexagon glitter for my shaker projects. Super pretty.
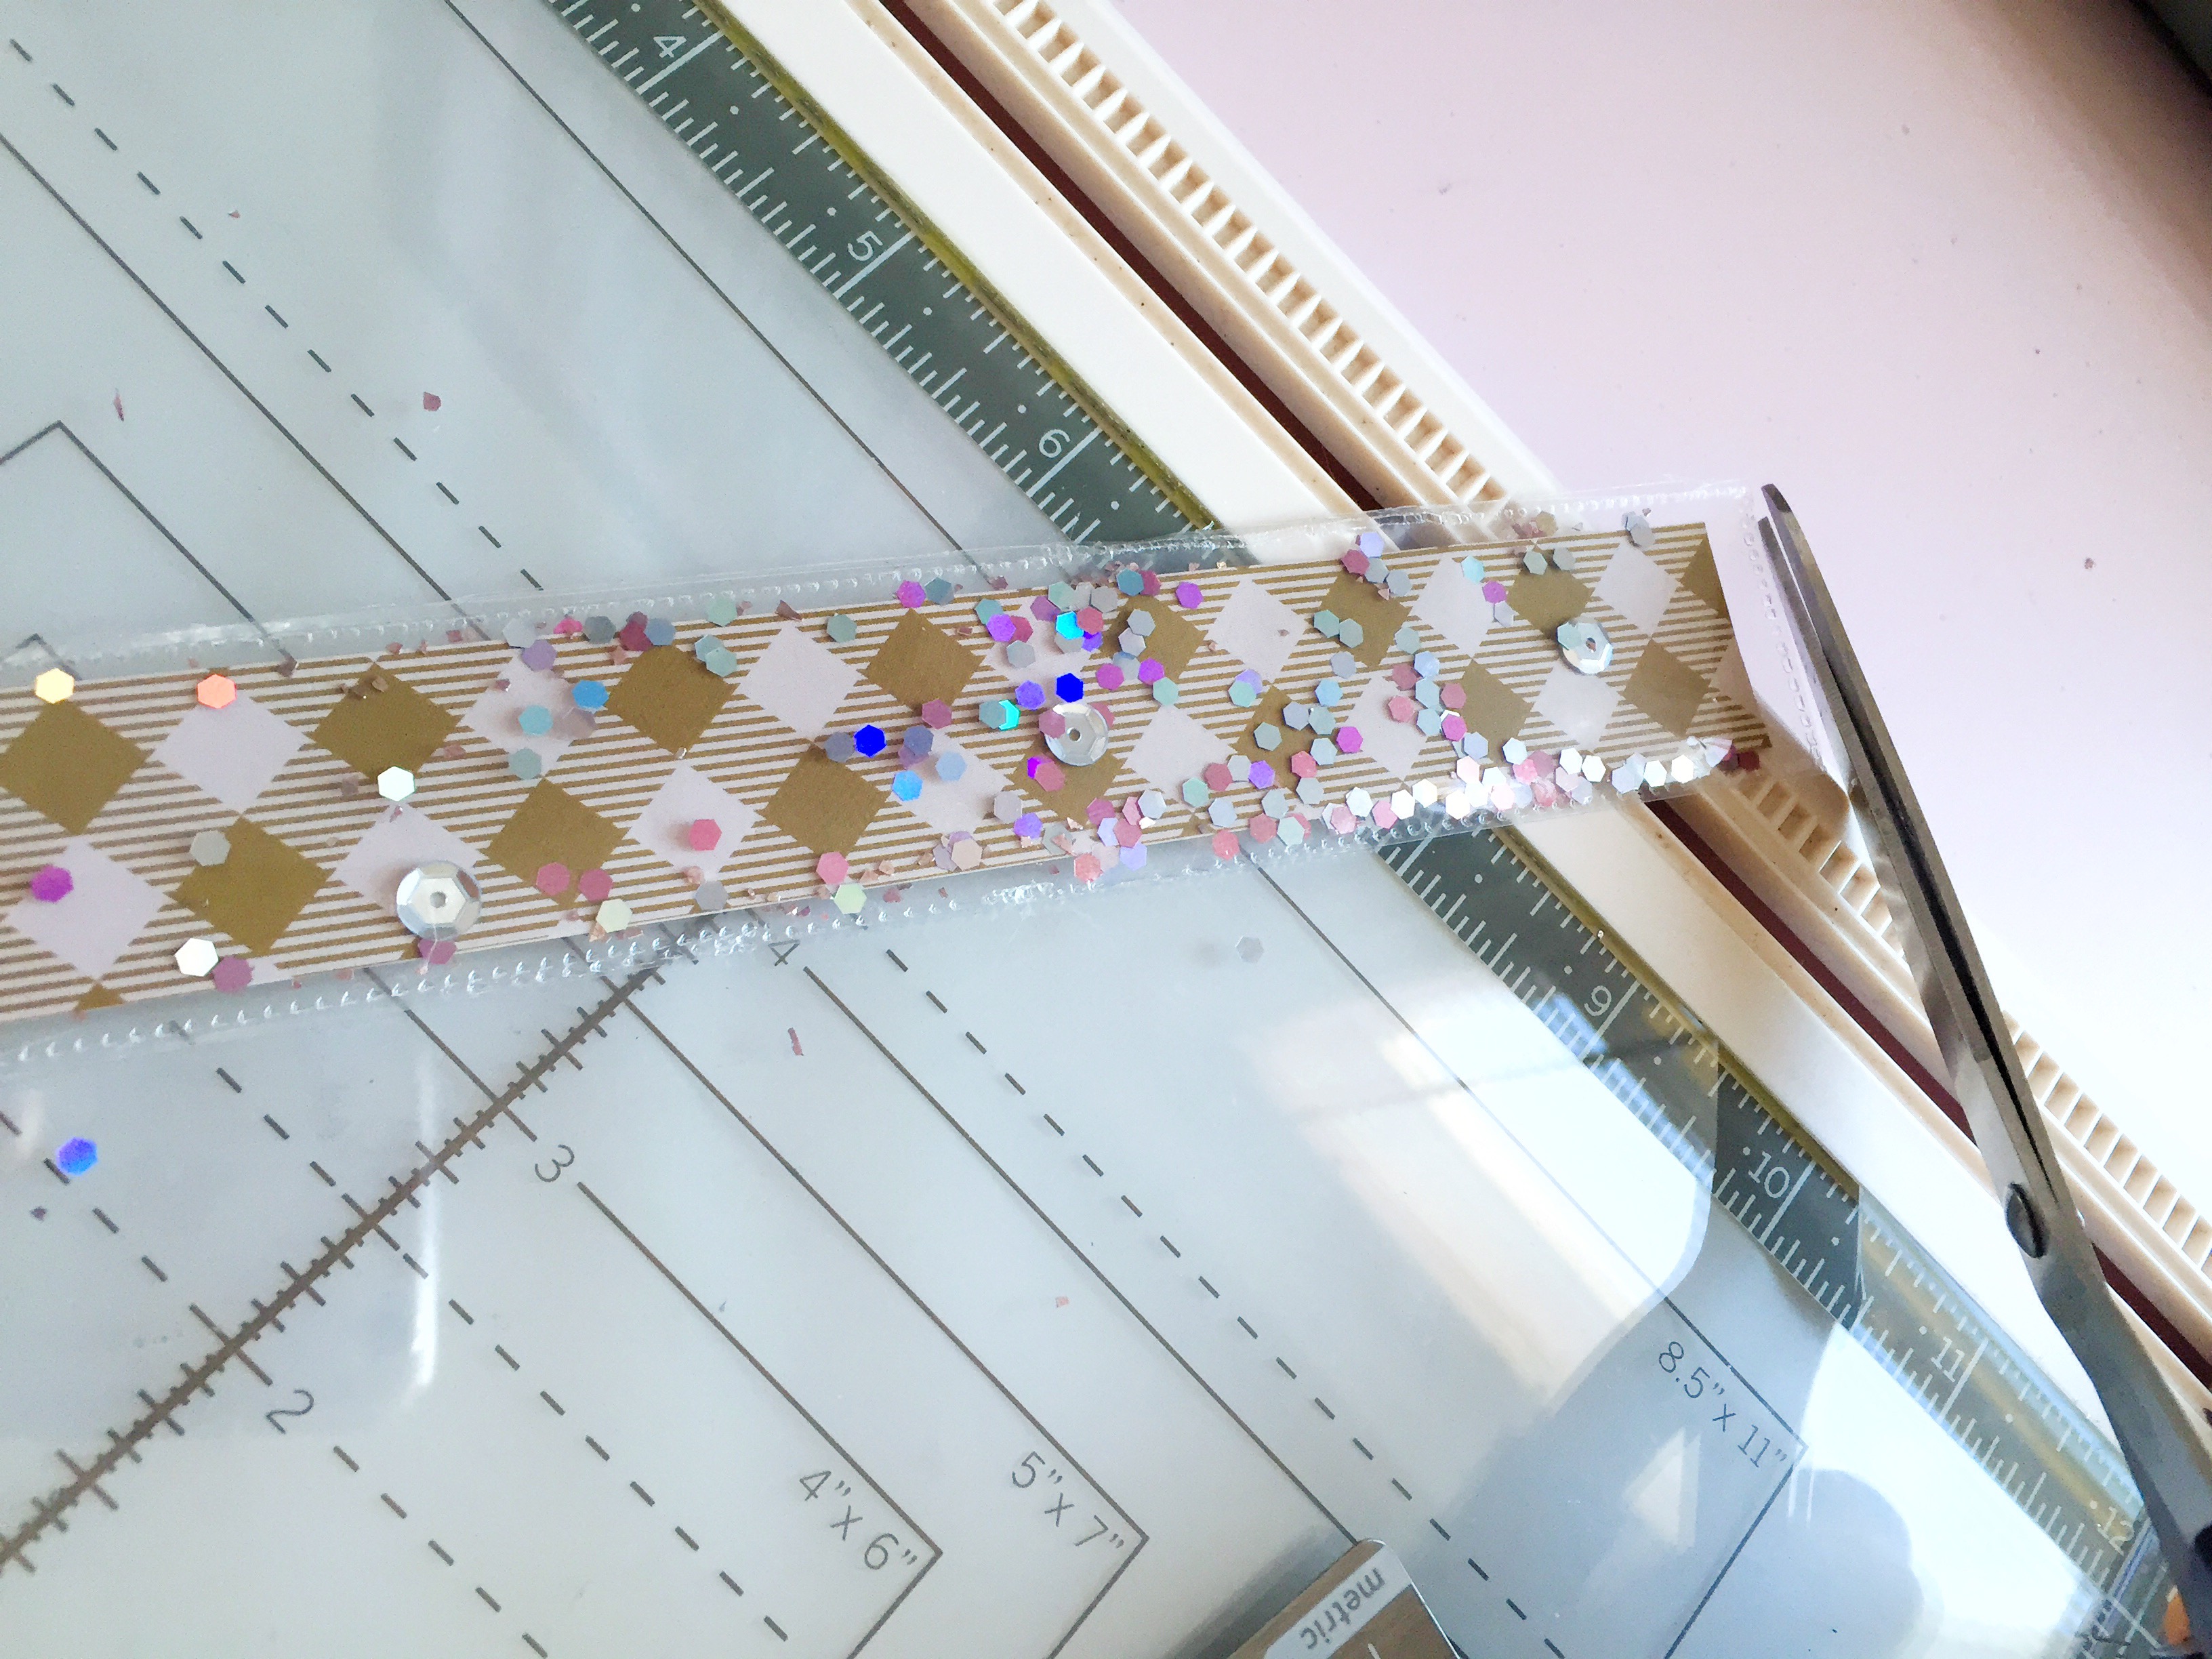
Use your FUSE Tool with the cutting tip to seal/cut the top of your bookmark. Cut away any extra pieces so it measures
To Turn It Into A Bookmark
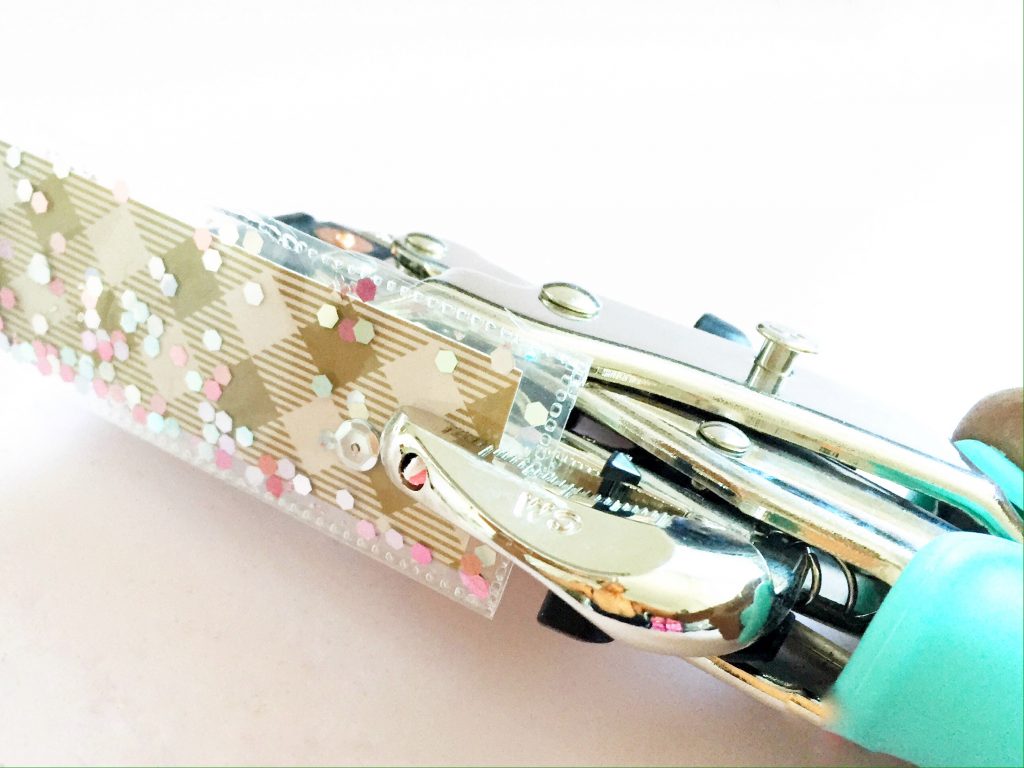
 Now you can leave your bookmark as is or go a little further and add a ribbon. I did because I thought it add a nice finishing touch. Use a Crop A Dile to punch a centered hole near the top of your bookmark.
Set your eyelet or grommet with the Crop A Dile. Here’s a video on how to use the Crop A Dile to set an eyelet or grommet if you need help.
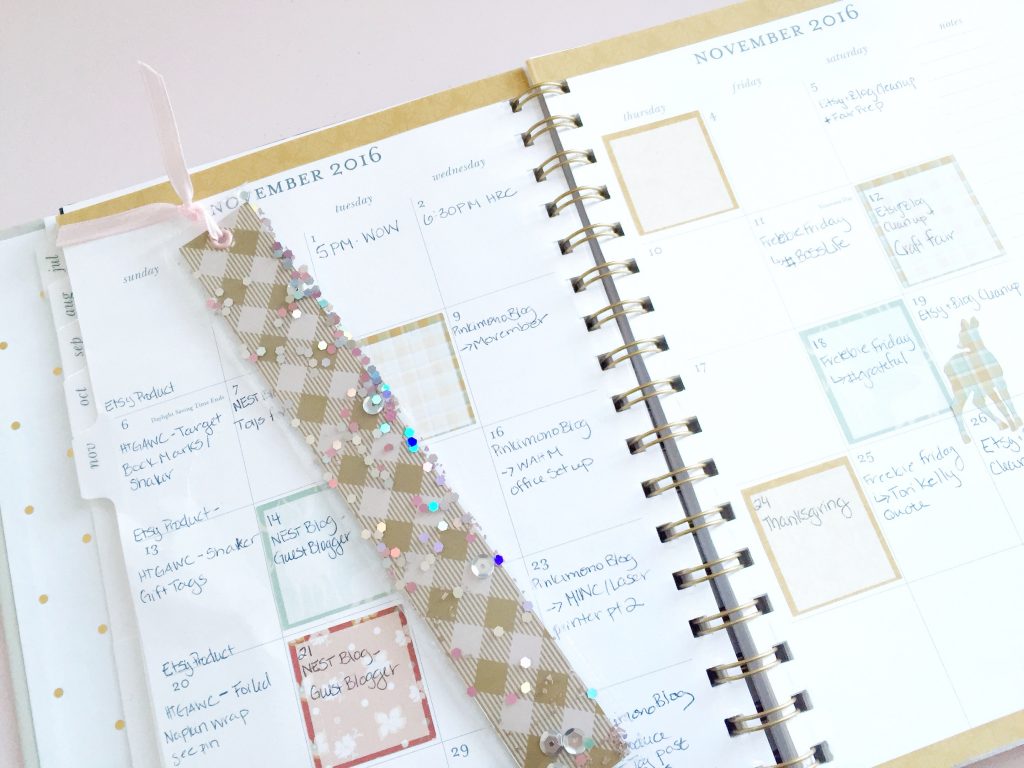
I love, love how these DIY Shaker Bookmarks turned out. These are going to be wonderful add-ons to my holiday gifts. What will you use them for this gift giving season? Gift tags, gifts for your little one’s classmates, co-workers’ gifts?
Let me know! And don’t forget to take a picture of your bookmarks and post online with the hashtag #htgawcrafting.
Happy crafting!
