This post may contain affiliate links. That means if you click on some of the product links, I may receive commissions for purchases made through them, but at no cost to you.
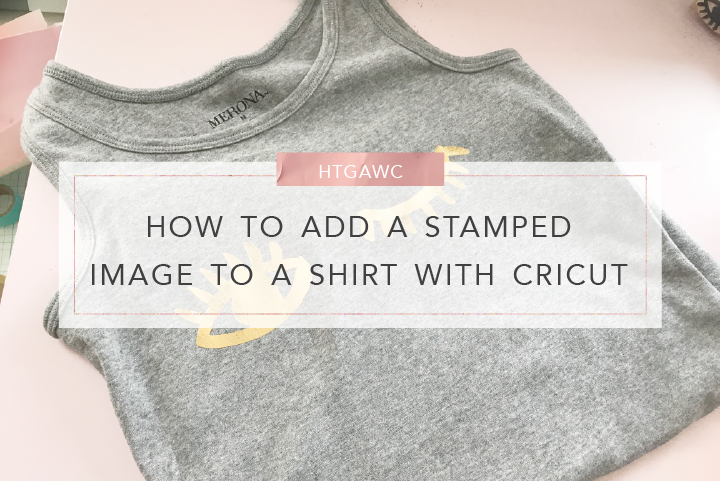
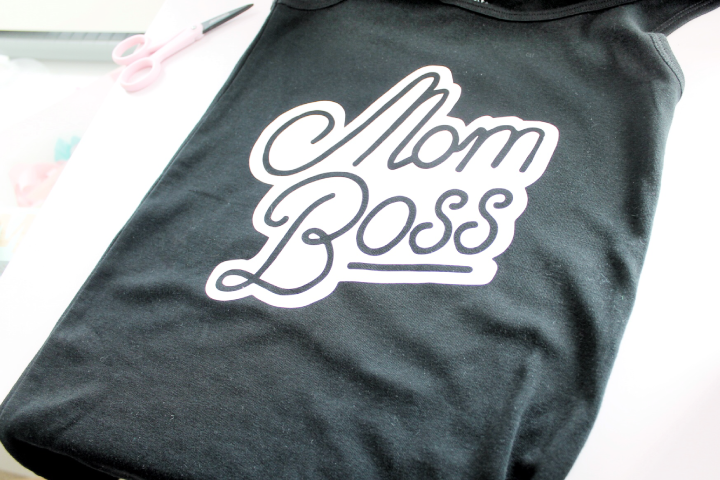
Hello, fellow crafters. I hope everyone’s enjoying summer so far. So between the heat and these kids, I am wearing myself out. As a Mom Boss, I’m working 24/7 on Pinkimino and PinkimonoPapers, managing my household and raising my kids with my husband. So I decided to treat myself with this week’s htgawcrafting challenge and make something cute for me – a few custom tank tops with stamped images.
What I did for this challenge is actually pretty simple and took less than 30 minutes to do. I took two of my favorite stamps, scanned the stamped images, converted them into SVG files, uploaded them to the Cricut Design Space and the rest is history. Now if that sounds like a lot, don’t worry – it’s not. So let’s get started on this week’s challenge and make some cute tops for ourselves.
Supplies for DIY Glam Nursery Wall Art & Decor
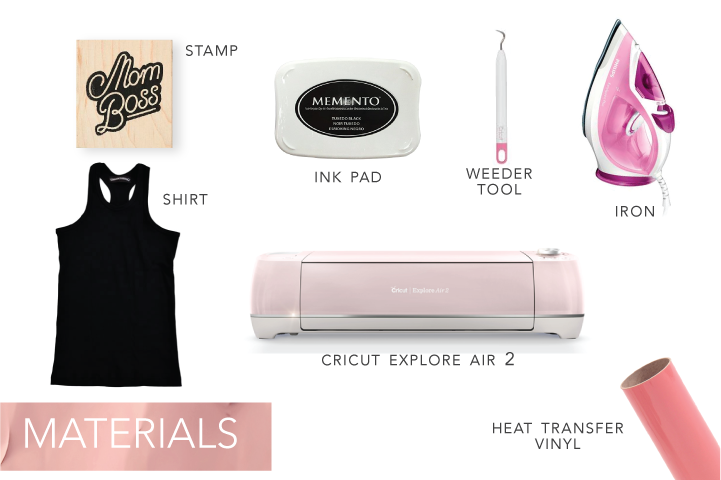
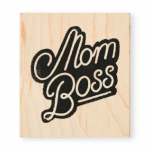
- Mom Boss Stamp or any favorite stamp (a simple design is best)
- Black Ink
- Scanner
- Photo Editing App or Software
- Graphic Design Software that converts images into SVG files
- Access to Cricut Design Space
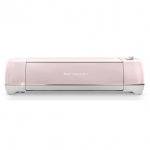
- Cricut Explore 2
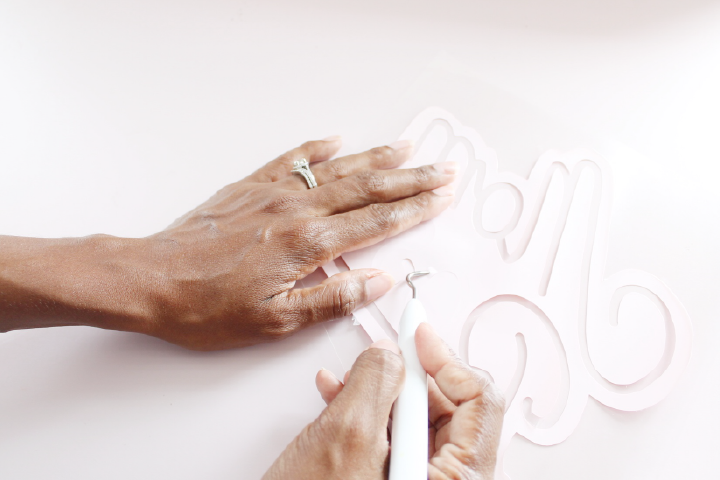
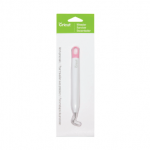
- Cricut Weeder
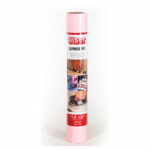
- Heat Transfer Vinyl
- Iron
- Pressing Cloth
- Tank Top
Prep Your Stamped Image
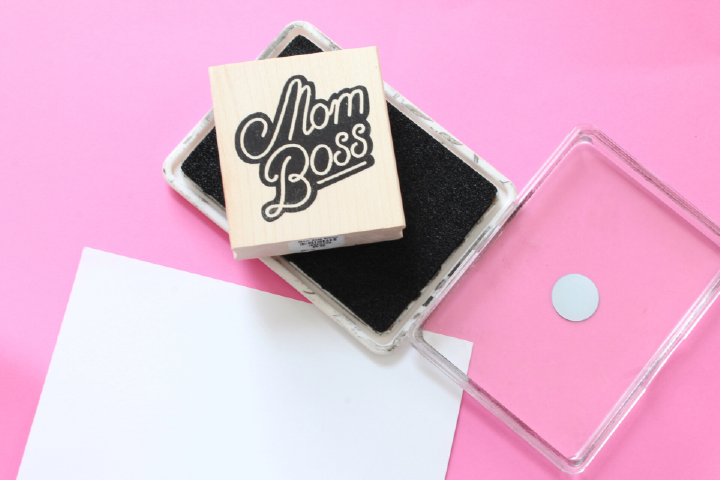
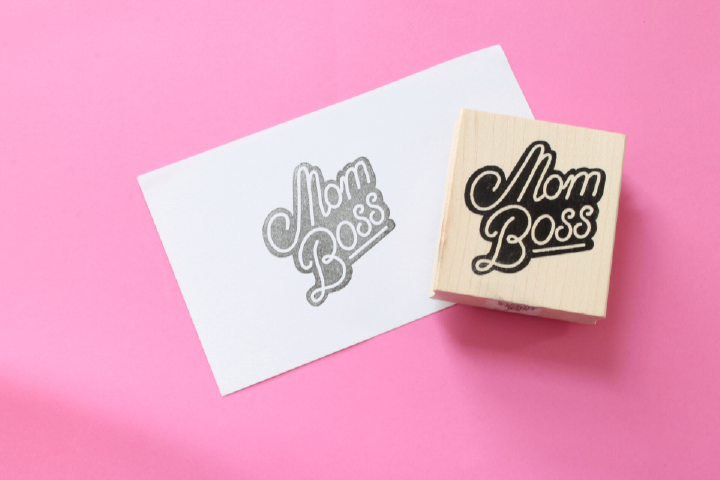
Ink up your Mom Boss Stamp. Then stamp a blank piece of white scrap paper. Let it dry.
Once dry, scan your print to your computer and save as a .jpg file.
Digitize Your Image
Open the file in your photo editing software. Now here’s where it got a little convoluted for me. I sent my new Mom Boss .jpg file from my computer to my iPhone and used Snapseed to increase the saturation and contrast as much as possible. I needed to make the image as black as possible so I could use Illustrator to easily digitize it. I’m sure you can do all of this on your desktop with a photo editing program, I just find Snapseed to be super easy to edit photos quickly.
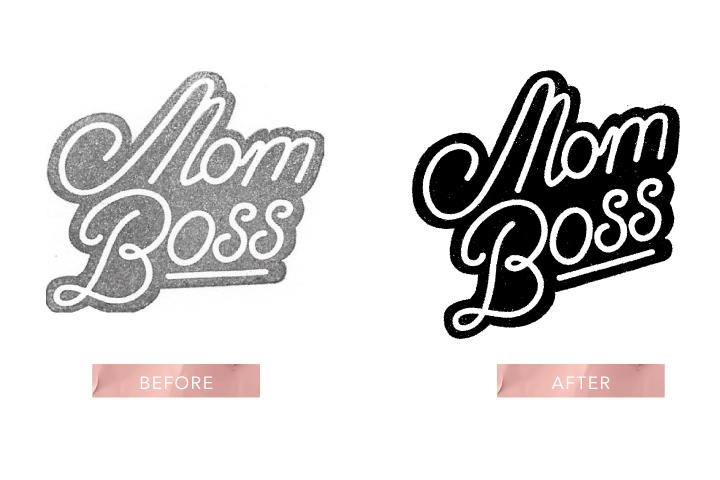
Once you’ve made the design as black as possible, send the jpg to a graphic design program on your computer. Again, I’m sorry there’s so much back and forth, and if you have an easier way of doing this let me know. Once you have the file in a program, like Illustrator, create a graphic from the file. I did this by using the live trace function in Illustrator. 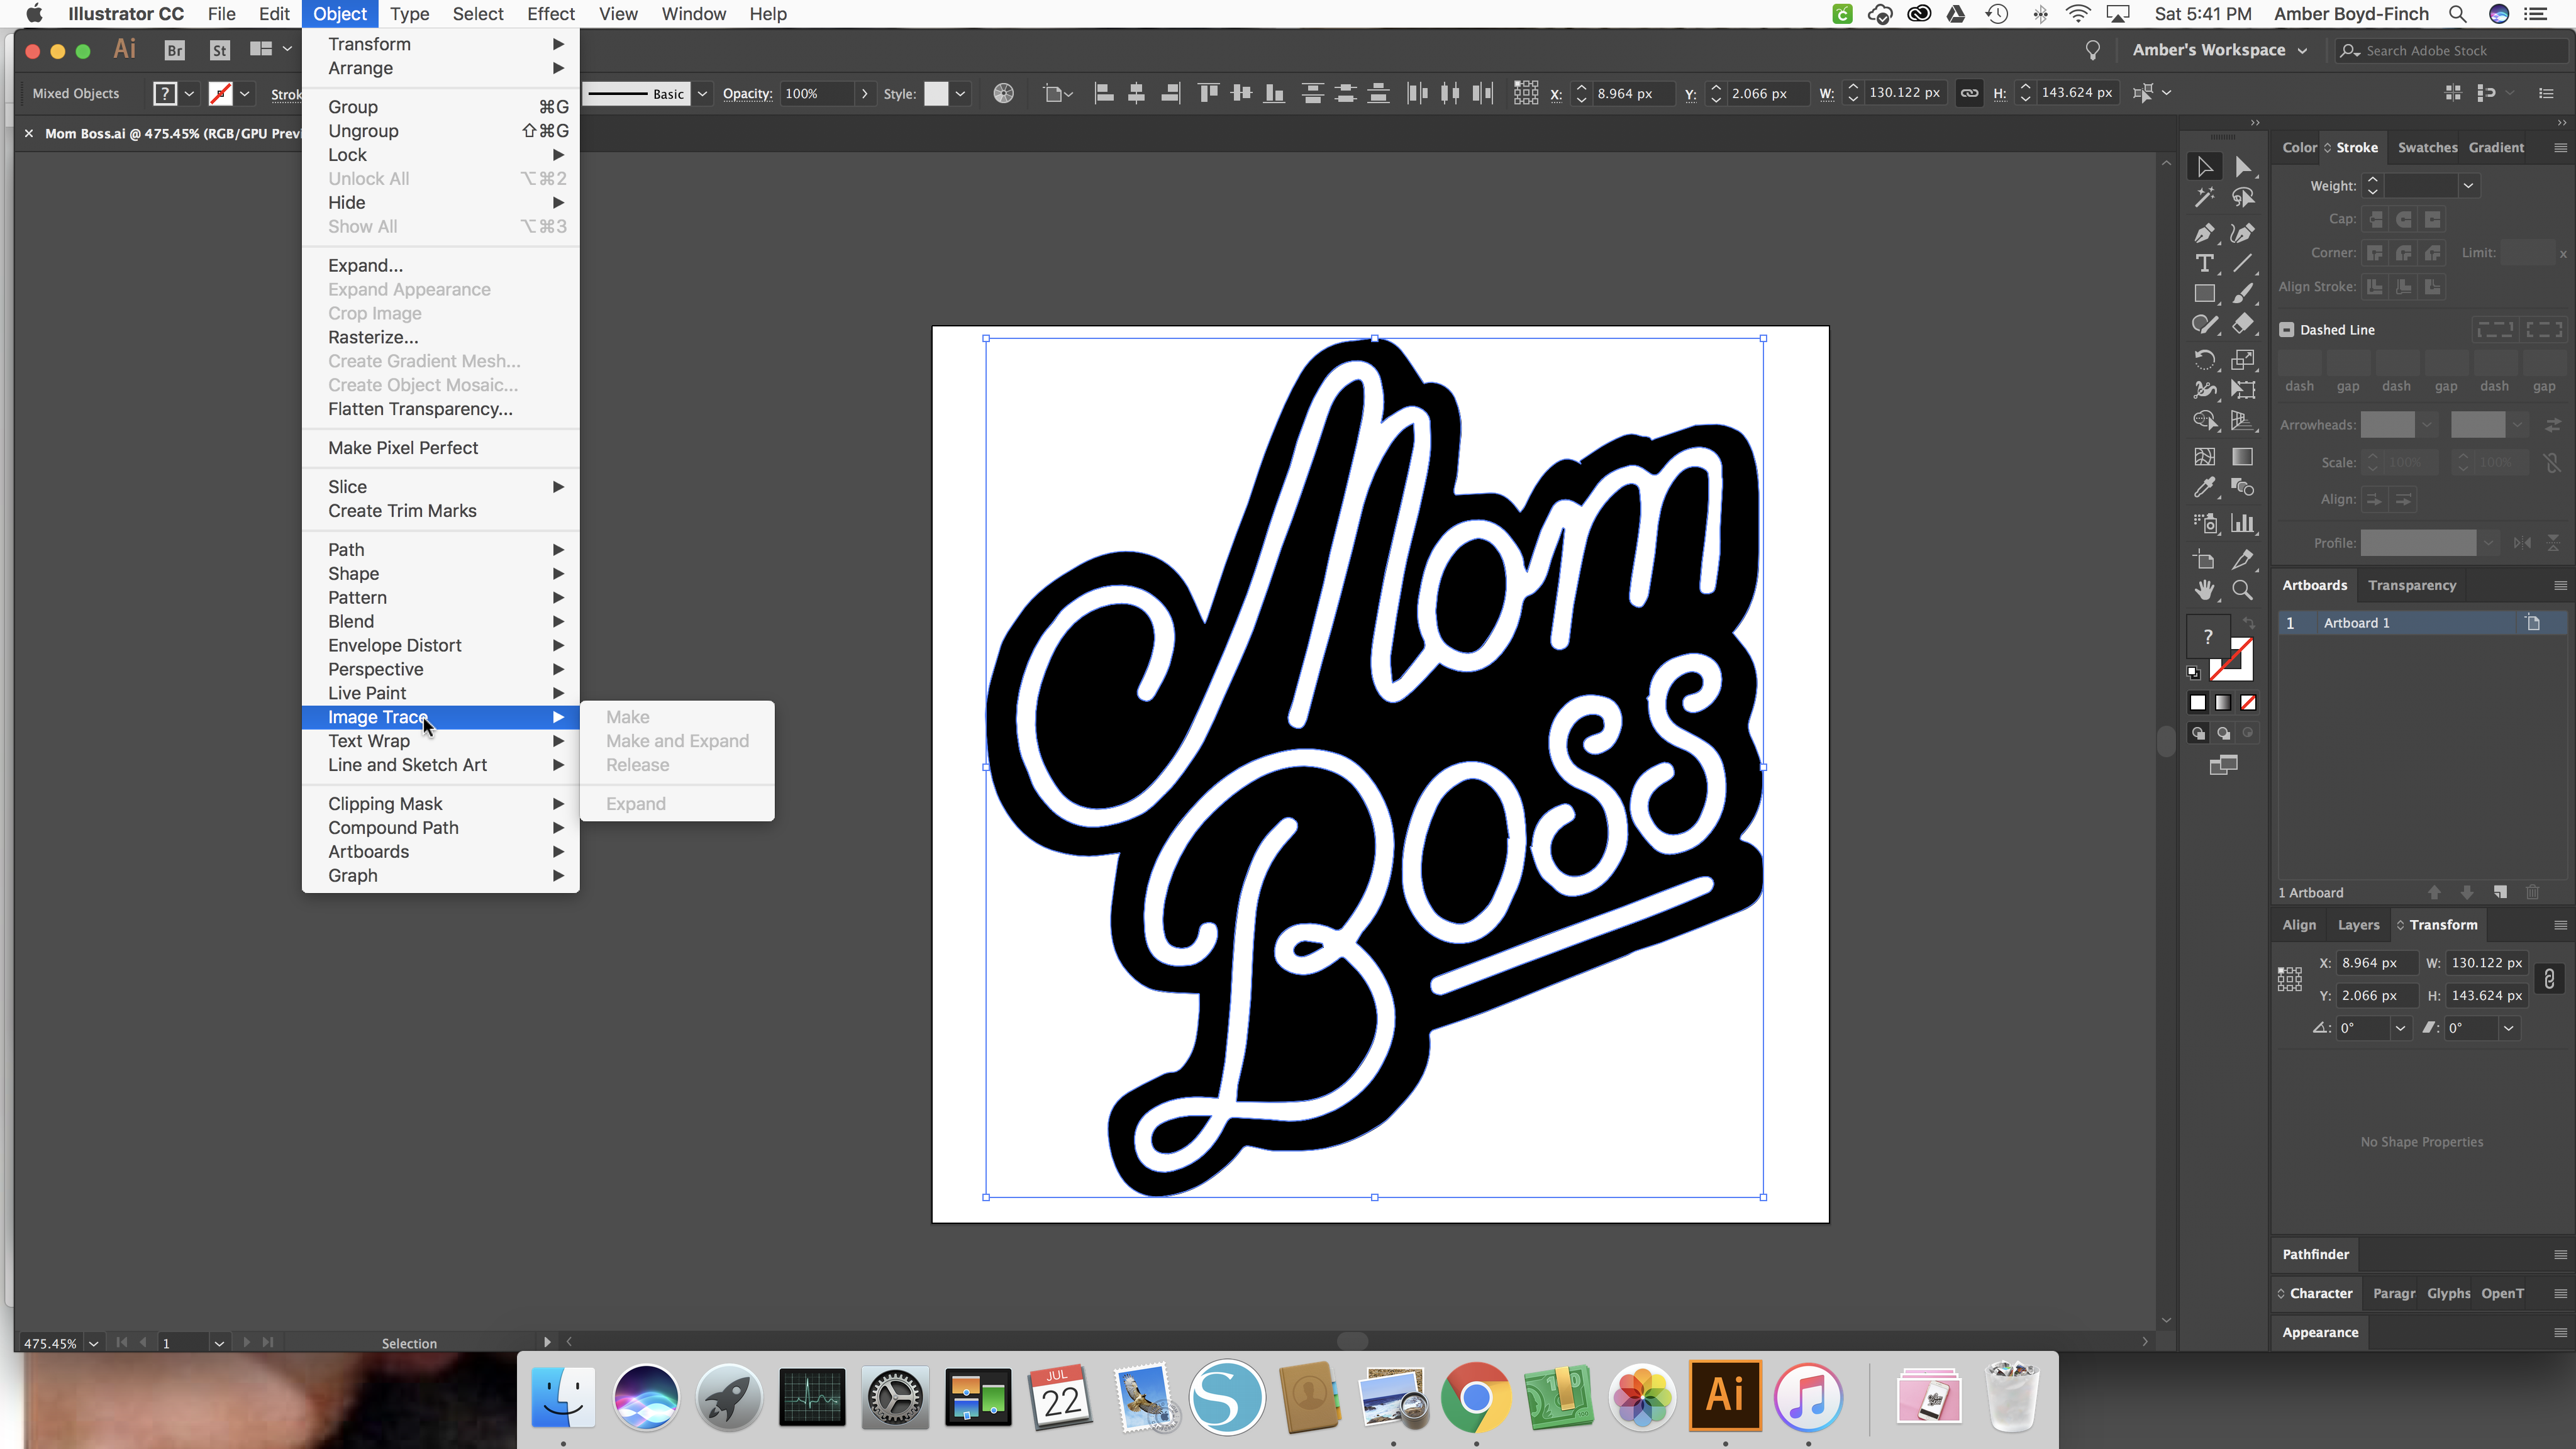
You can see the difference in the art.
Get Ready To Cut & Transfer
Clean up your graphic and then export your file as an SVG file.
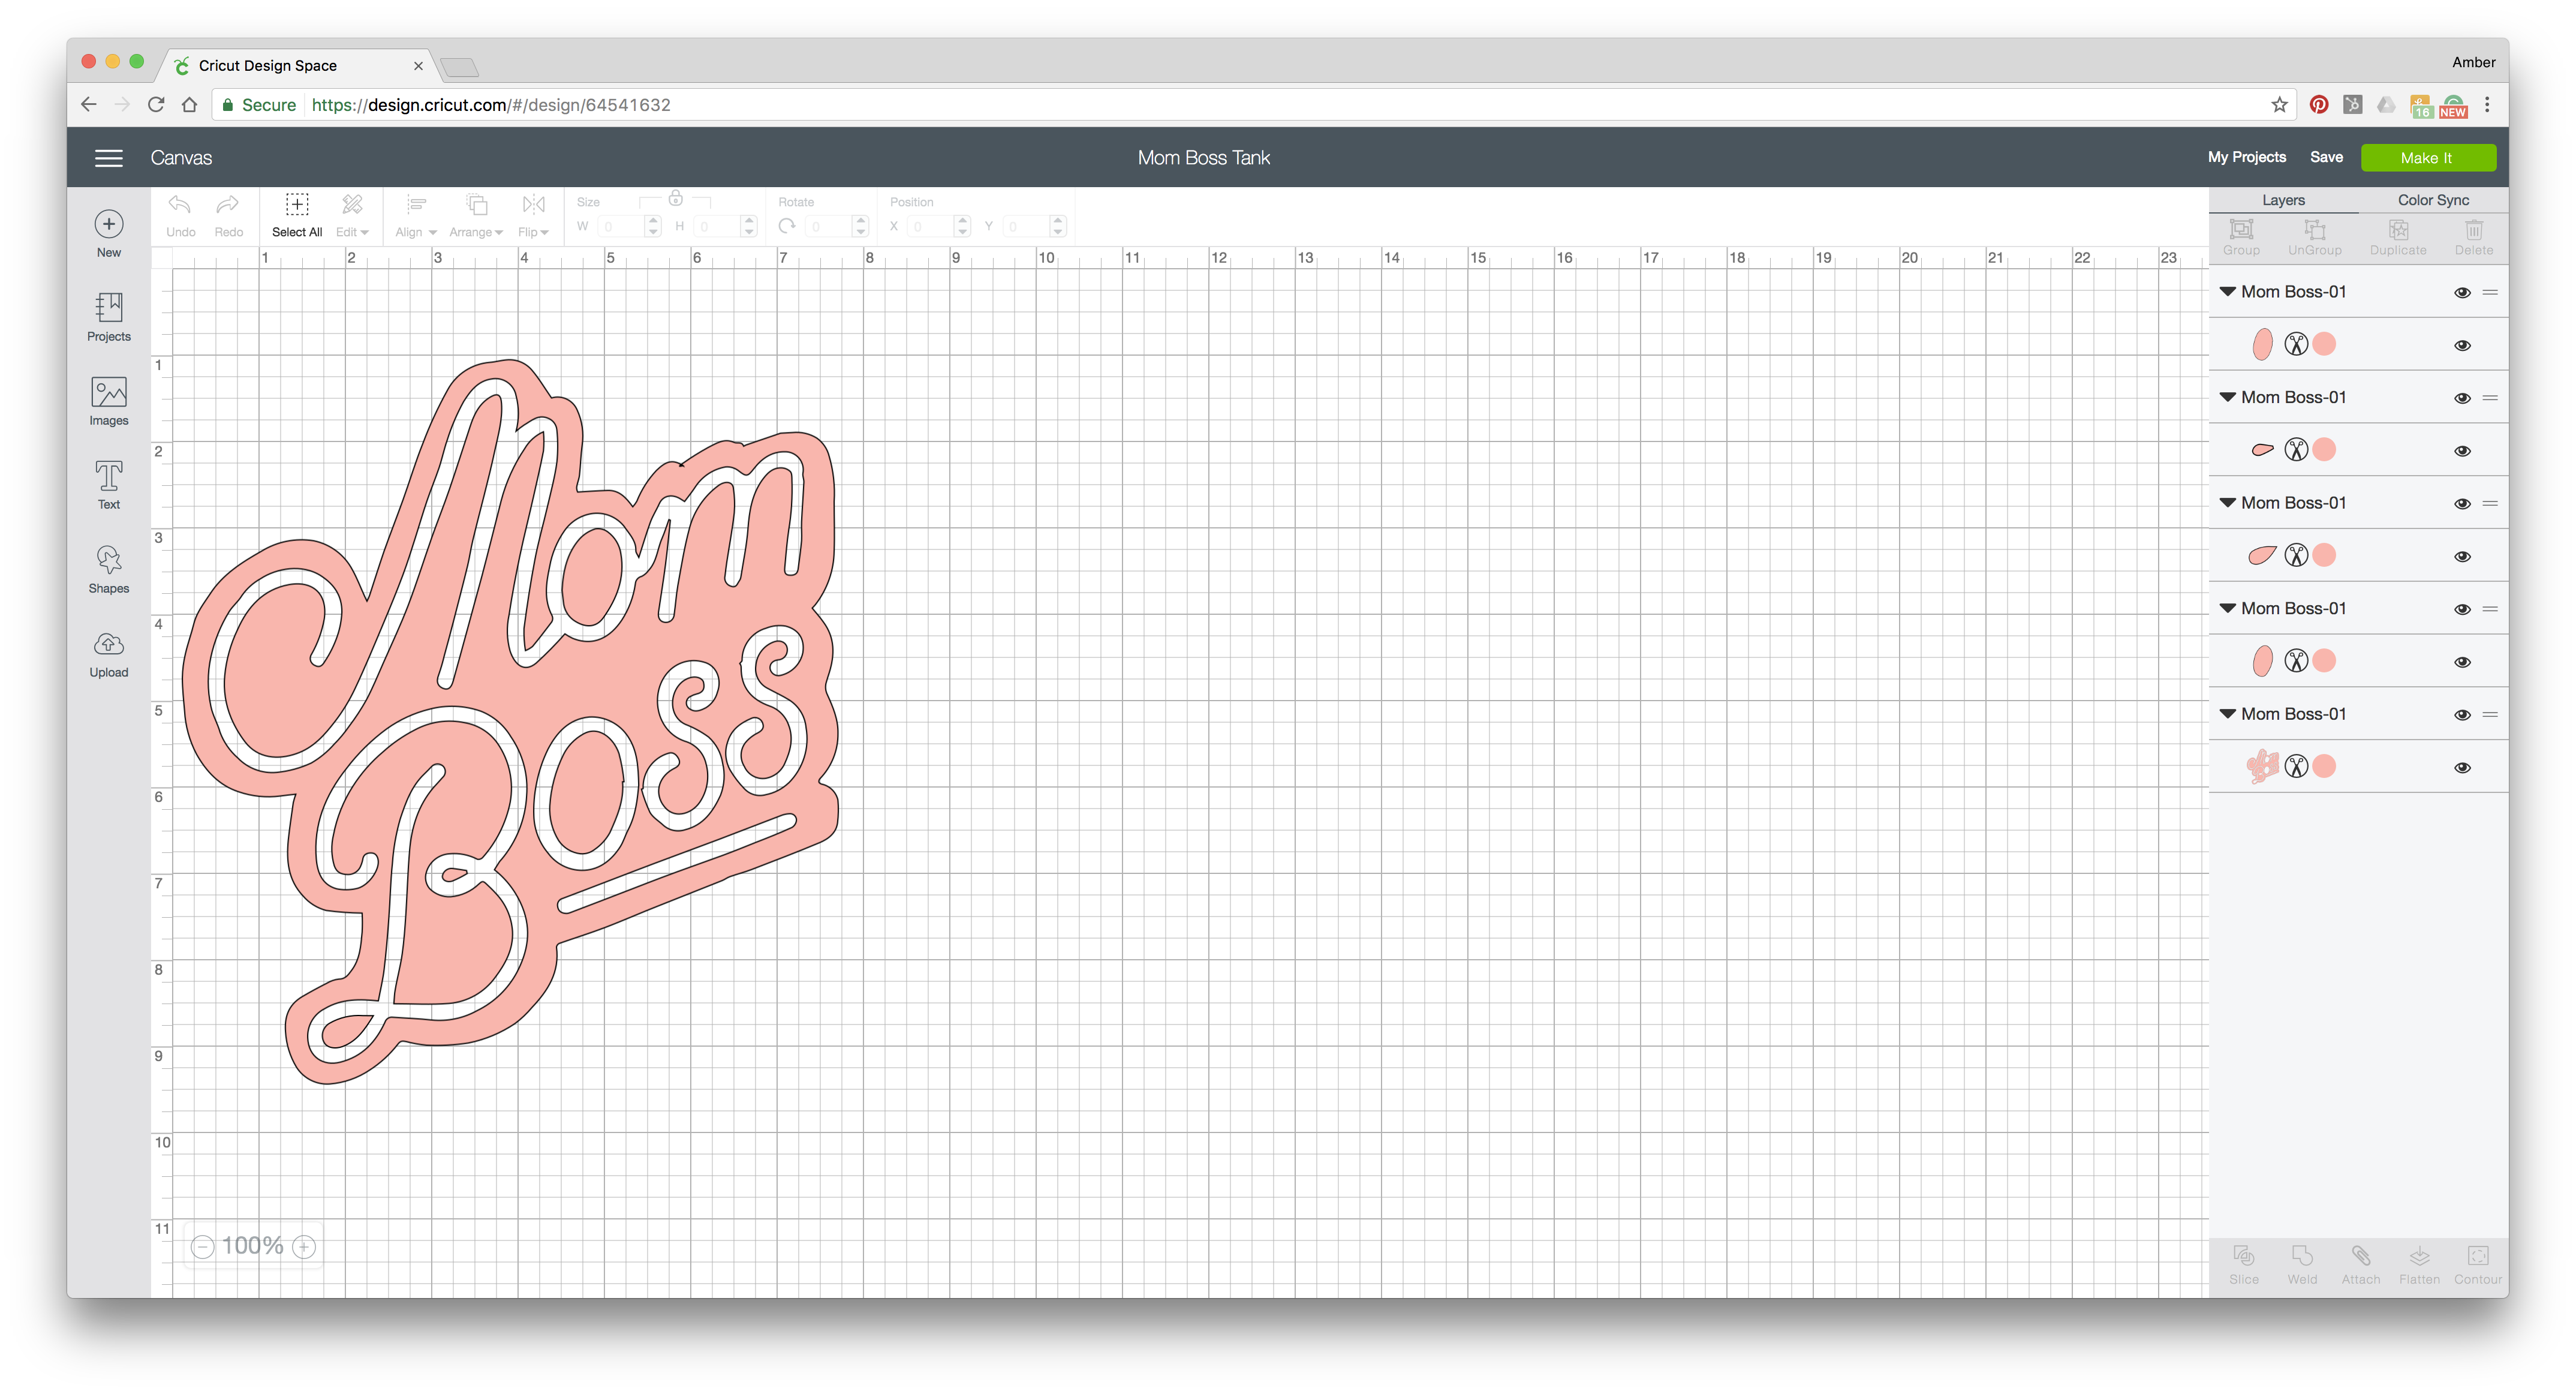
Upload your SVG file to the Cricut Design Space and start a new project. Size your stamped image to what makes sense for the tank you’re using.
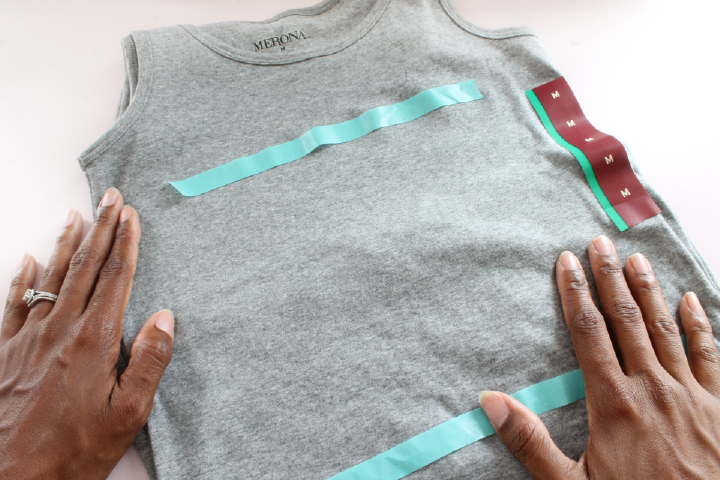
I actually use washi tape to frame out the design and get my measurements for my shirts. For these tanks I needed my artwork to be slightly less than 8″ wide.
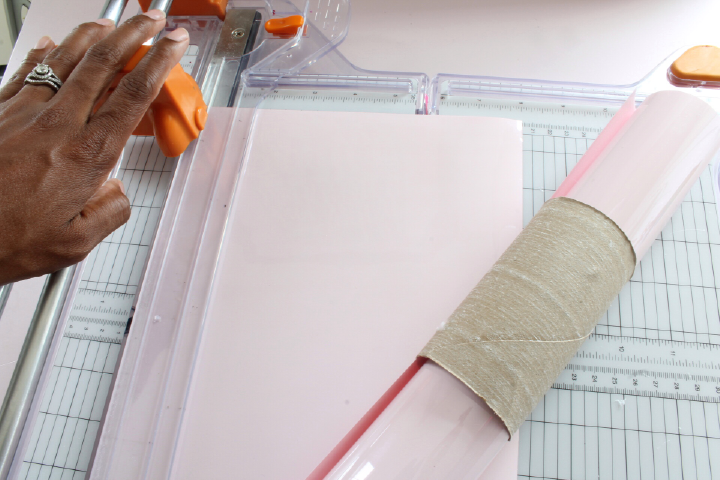
Once you’ve prepared your art, cut an appropriate size piece of vinyl for your project.
*Psst: Here’s a little tip I picked up, use old TP rolls to secure your vinyl after opening them so they don’t go all over the place.
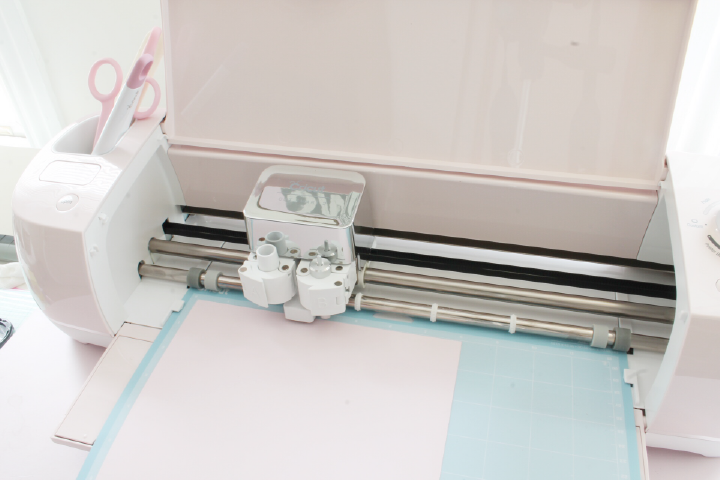
Now, continue the steps Cricut provides to cut the heat transfer vinyl. For their directions, check out this video on their site.
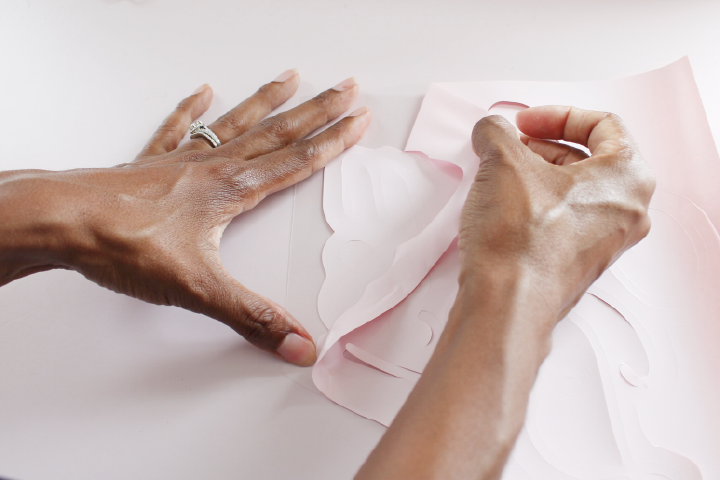
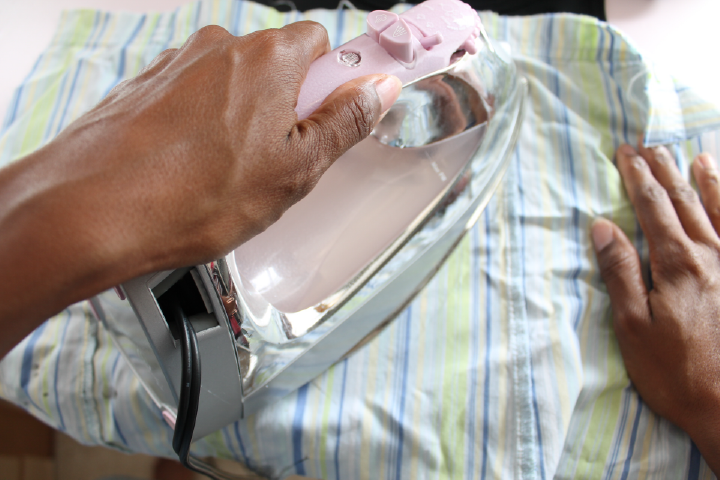
One note, I used vinyl from Siser which I found at Michaels instead of the Cricut vinyl. Otherwise, I followed all of the steps from Cricut to cut, weed and iron my design on my tanks.
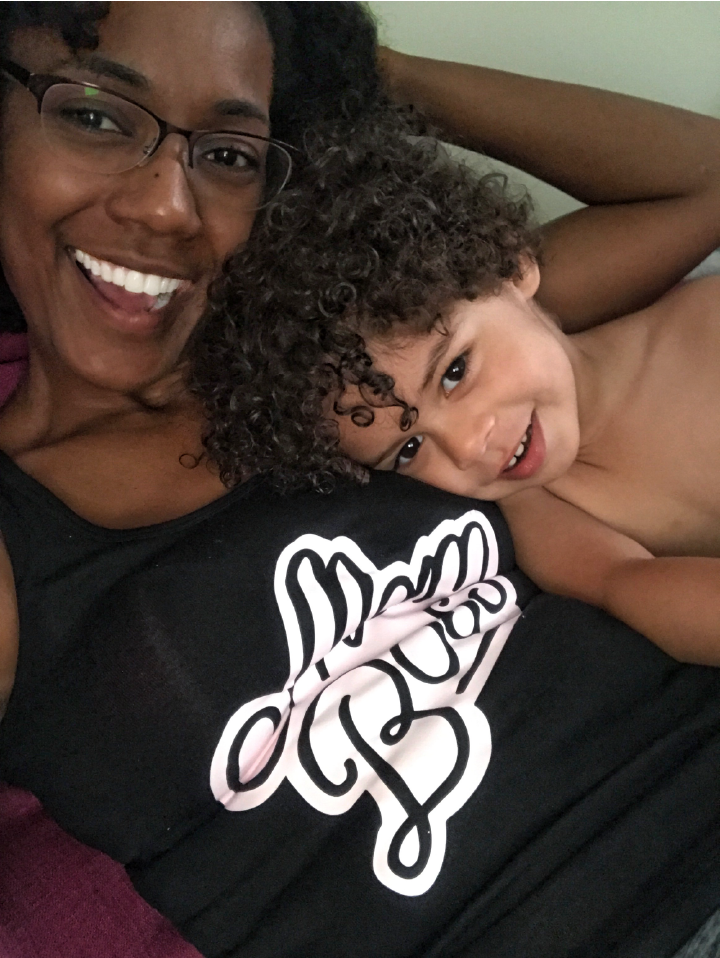
Get ready to be super cute during the week.
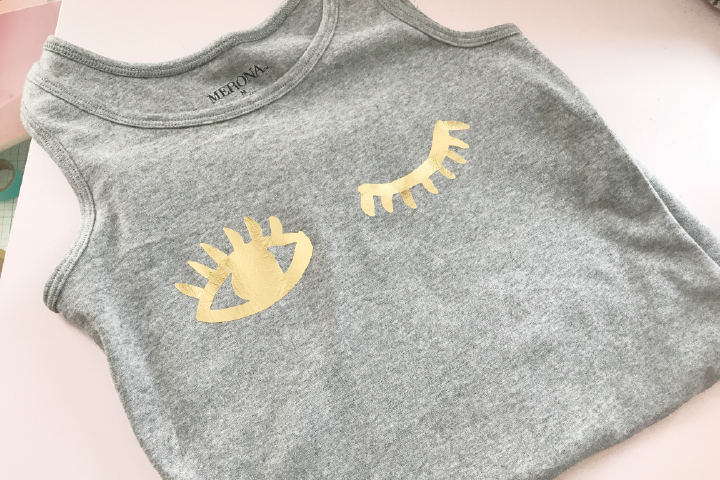
So how did your new tanks turn out? Super cute right? I love how I can take any stamped image and turn it into something cute to wear. Oh, the possibilities are endless.
I did it again with a stamp I found at Artist & Craftsman Supply in Chestnut Hill.
As usual, I want to see what you made. Message or tag me so I can see how they came out. Just use @pinkimonogirl or #pinkimono & #htgawcrafting on Instagram! Happy crafting!
- Cricut Explore Air 2
- Cricut Weeder
- Paper Source Mom Boss Stamp
- Siser Easyweed Vinyl
