This post may contain affiliate links. That means if you click on some of the product links, I may receive commissions for purchases made through them, but at no cost to you.
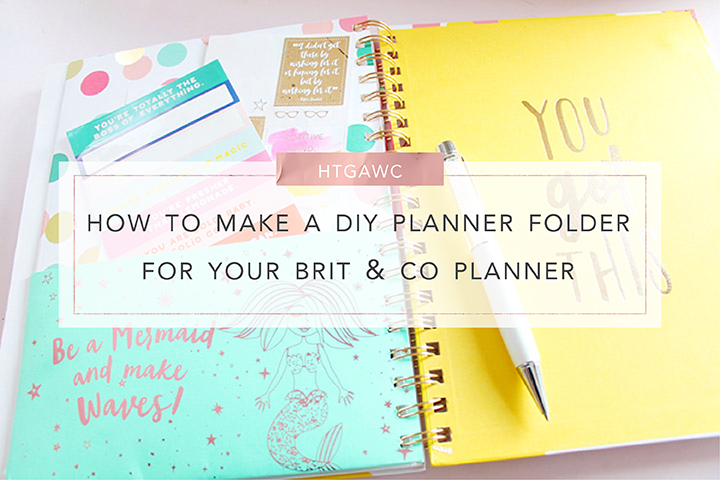
Hola, to my lovely Planner People! Is anyone else just loving all of the BTS planner goodness at Target lately? I feel like between them and Michaels I could just lose my planner-loving mind (and money.) AND I DID! I recently added another planner to my collection – I have a Ban.do planner for Pinkimono, an Erin Condren Life Planner for other work, and now an awesome Brit + Co. planner for my personal life.
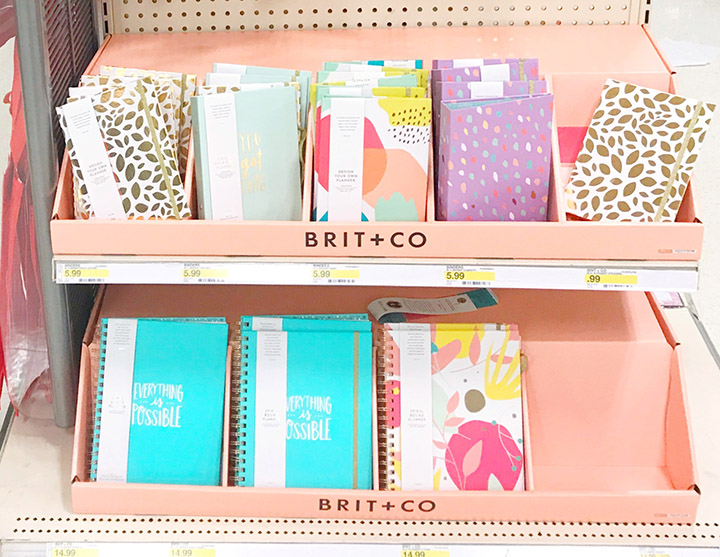
I recently added another planner to my collection. Now, I have a Ban.do planner for Pinkimono, an Erin Condren Life Planner for other work, and now an awesome Brit + Co. planner for my personal life.
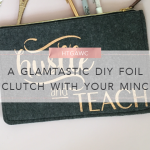
I LOVE THIS PLANNER. It’s totally blank and UNDATED, and therefore my creative and strategic mind can do its thing! The only thing that was missing from this perfect-for-me planner was a FOLDER to hold all my extra planner goodies. So you know I DIYed that problem with the quickness!
And with that, this week’s HTGAWC challenge is to make a DIY Planner Folder for the Brit + Co planner. This project does require a few items that you may not usually have and a little bit of “Frankensteining”. (Unless you have a piece of paper that measures 14.5″ x 14″, you’re going to have to create it from multiple pieces of paper.) Don’t worry, I’ll show you how and when it’s all done, you WILL LOVE IT! So let’s get started on tricking out our planners!
Supplies for DIY Glam Nursery Wall Art & Decor
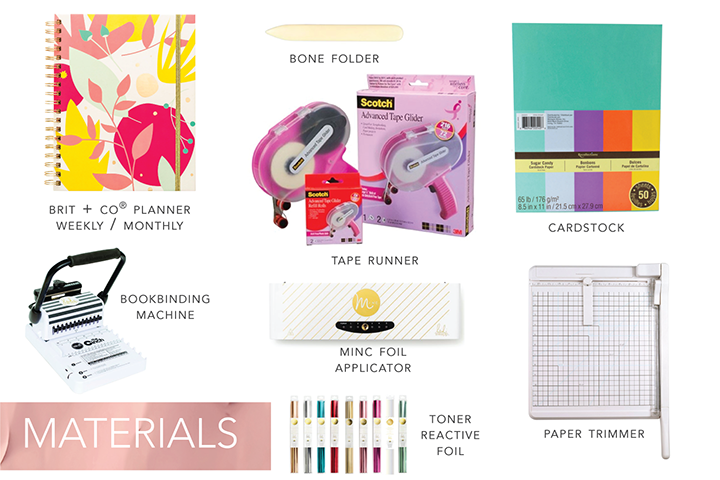
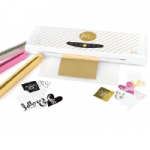
- Brit & Co Planner
- 12″ x 24″ paper
- Bone Folder
- Scoring Board (a nice-to-have, not a need-to-have)
- 8.5″ x 11″ Cardstock
- Paper Trimmer
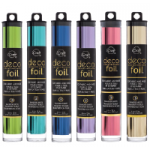
- Heidi Swapp Minc Foil Applicator
- Heidi Swapp Minc Reactive Foil in Gold & Pink
- Tape Runner
- Washi Tape
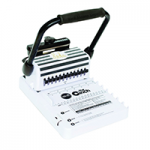
- We R Memory Keeper Cinch Bookbinding Machine – Square Punch OR We R Memory Keepers Planner Punch Board with 3 Piece Spiral Punch Inserts With the Square Punch
Prep Your Folder
![]()
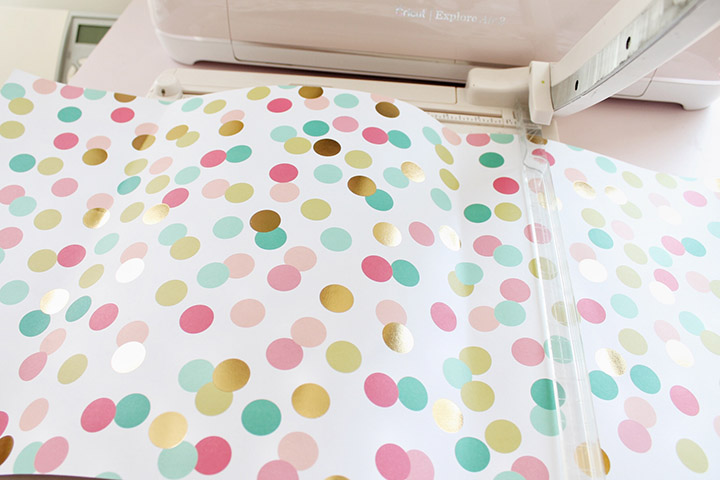
Cut your 12″ x 24″ decorative paper down to 16″ x 10″ (h x v). I got mine from Jo Ann Fabrics. Eventually, you’ll trim everything down to 14.5″ x 9.75″, but I left a little extra on each end just in case I messed up.
![]()
Score your paper with your bone folder down the middle at mid point and then fold it.
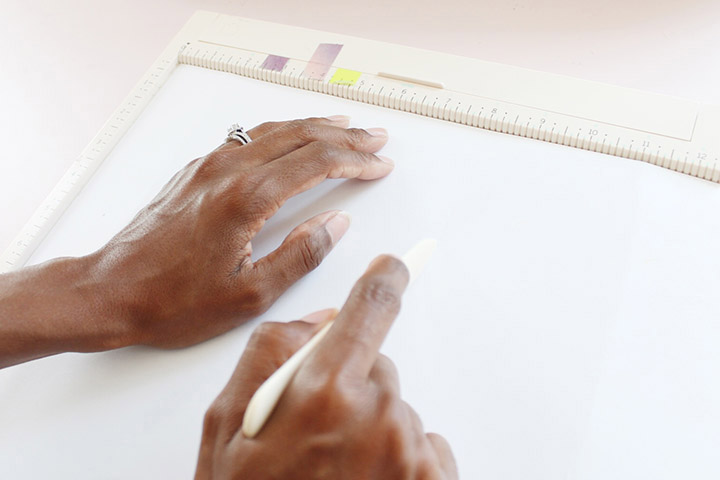
Now it should measure 8″ x 10″ when folded.
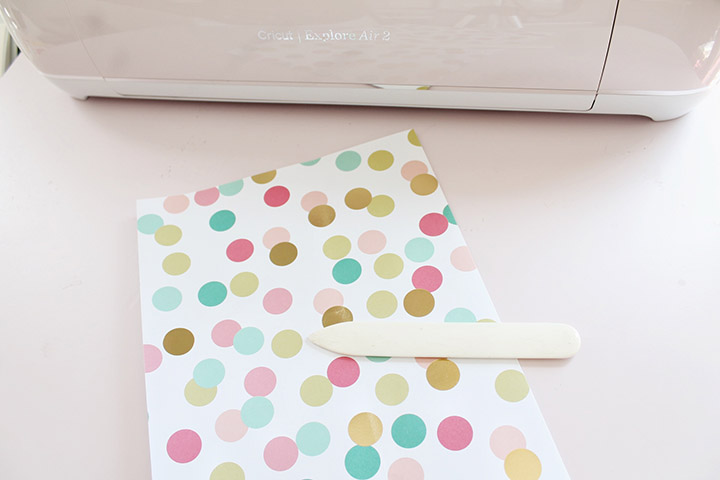
Extend Your Paper
![]()
Since I didn’t have a piece of paper that measured 14.5″ x 14″, I needed to create my own. This is where I “Frankensteined” my decorative paper with some additional cardstock so they ultimately made a single 14.5″ x 14″ sheet of paper. (I think this ends up being cuter than just using one single decorative sheet of paper.)
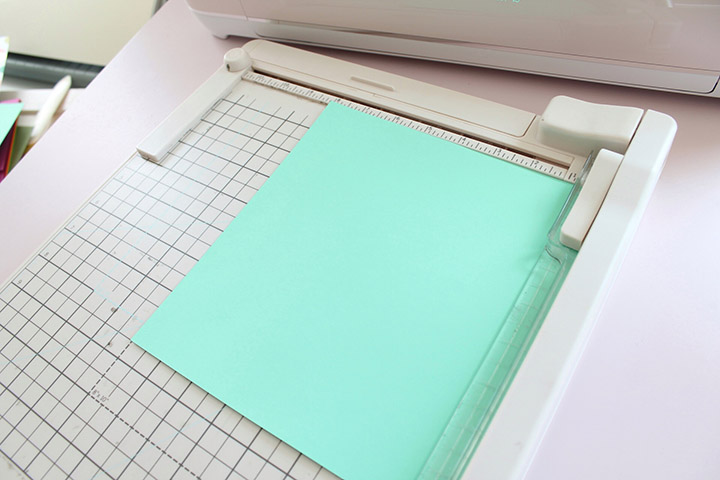
Cut 2 pieces of paper that measure 8″ x 4.75″ from a piece of 8.5″ x 11″ cardstock.
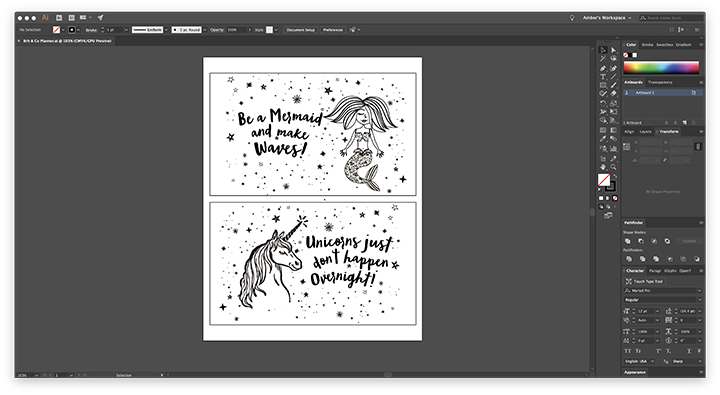
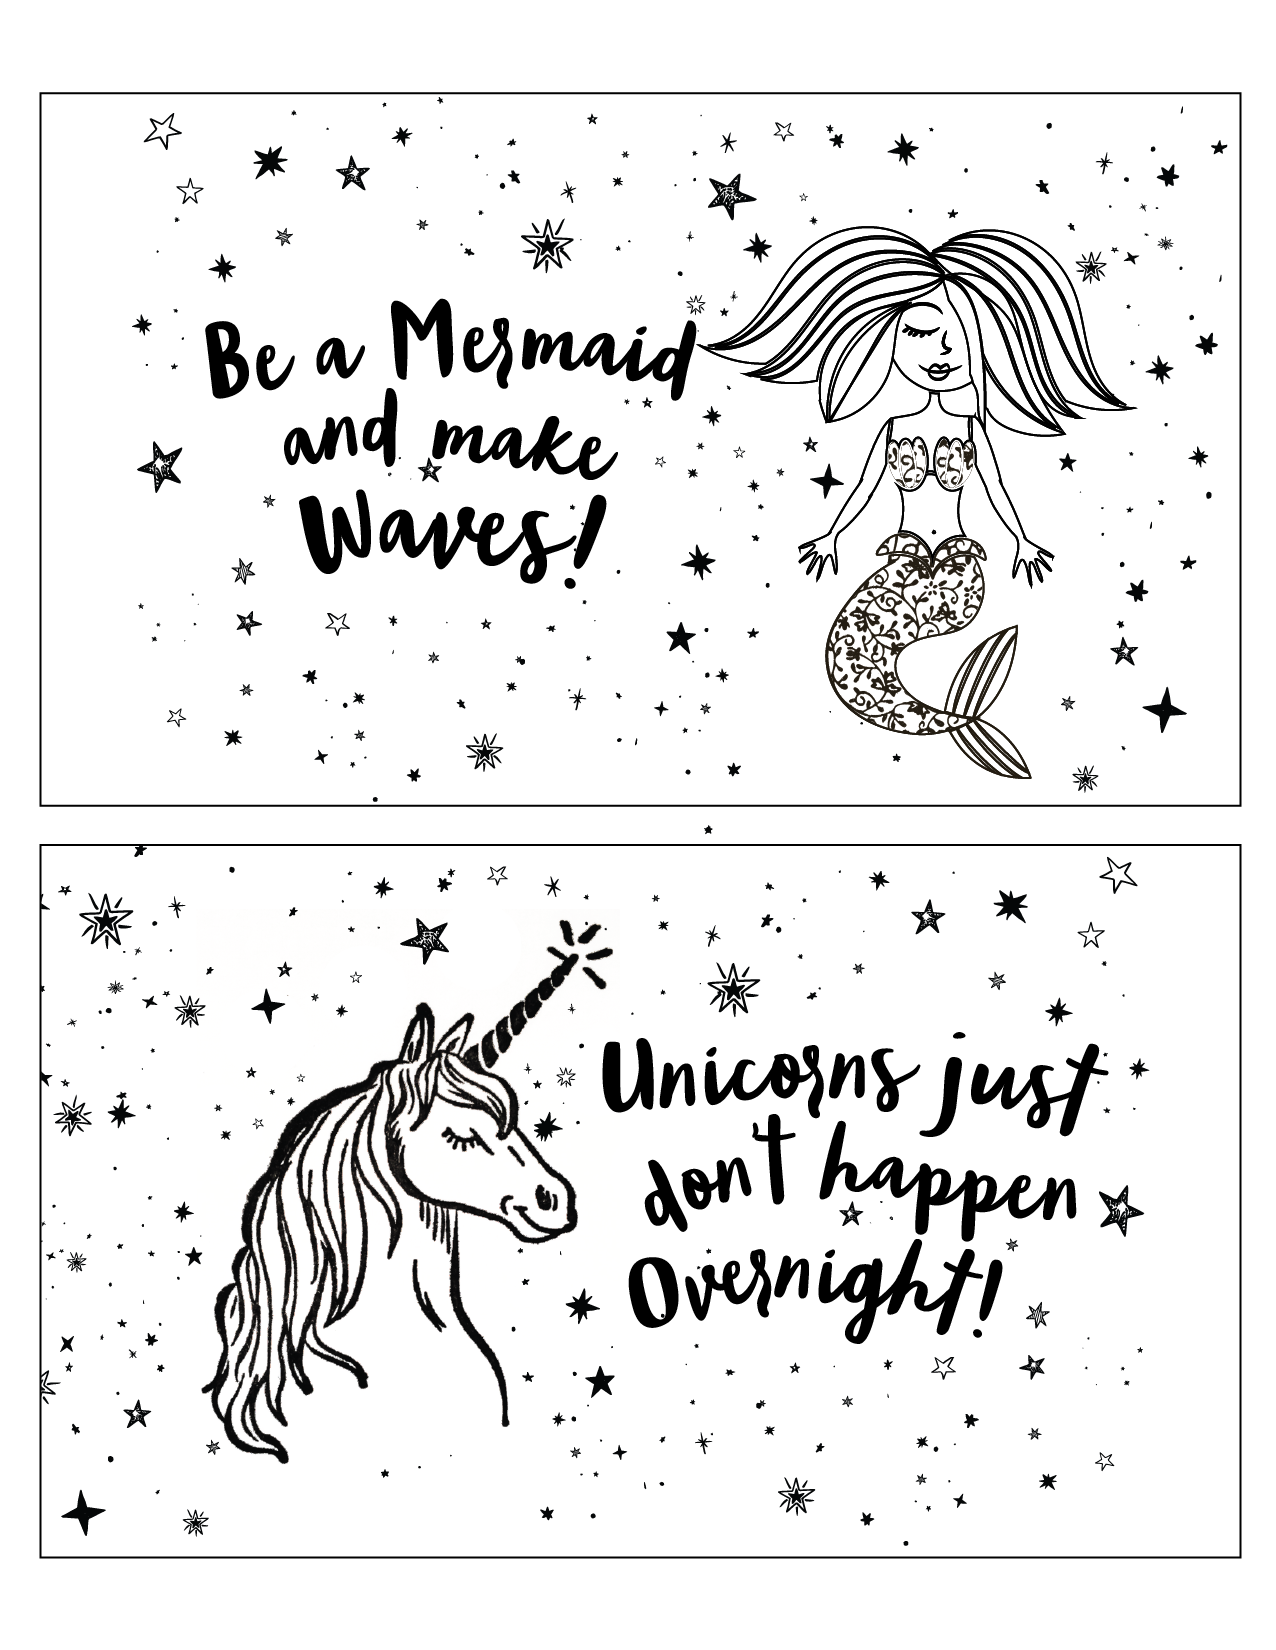
Now you can cut that out of your blank cardstock, OOOOOOR you can add a little bit of “fancy” to the pockets. I created and printed this design off a laser printer on a piece of the 8.5″ x 11″ cardstock and cut the two designs out which measured 8″ x 4.75″. Feel free to download this design and use it.
![]()
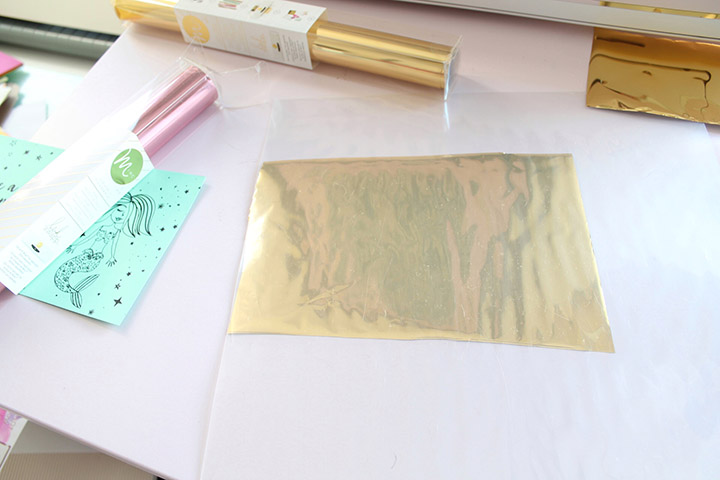
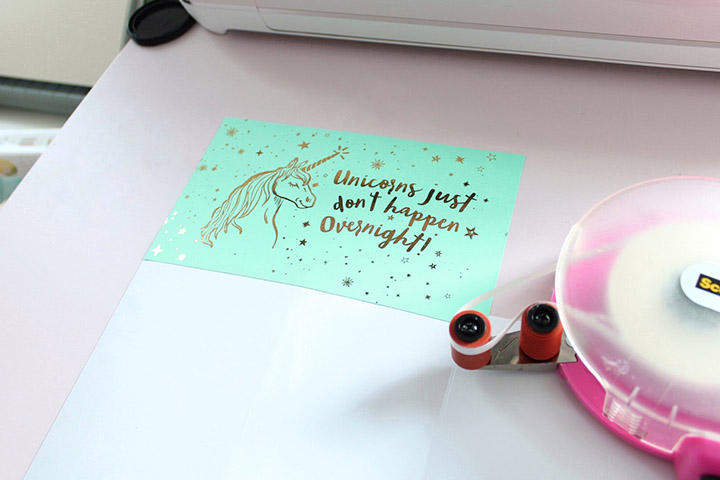
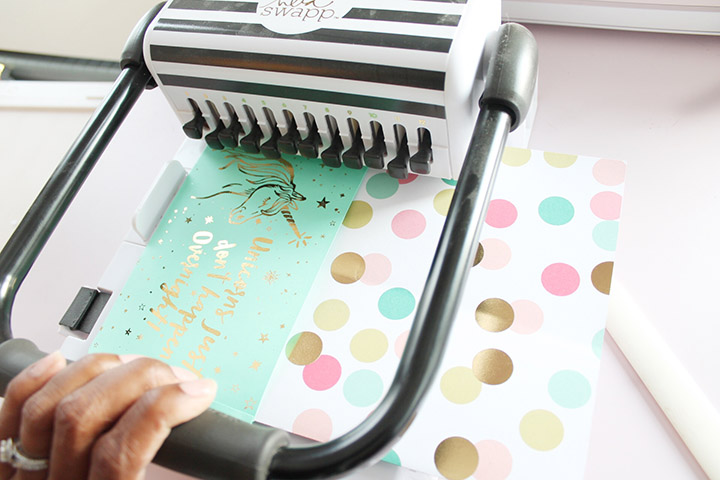
Next, warm up that MINC Foil Applicator and choose some fun foil colors that complement your decorative paper. Set your MINC to 4 and cover your design with your foil. Place it in the protective sleeve and feed it through the machine.
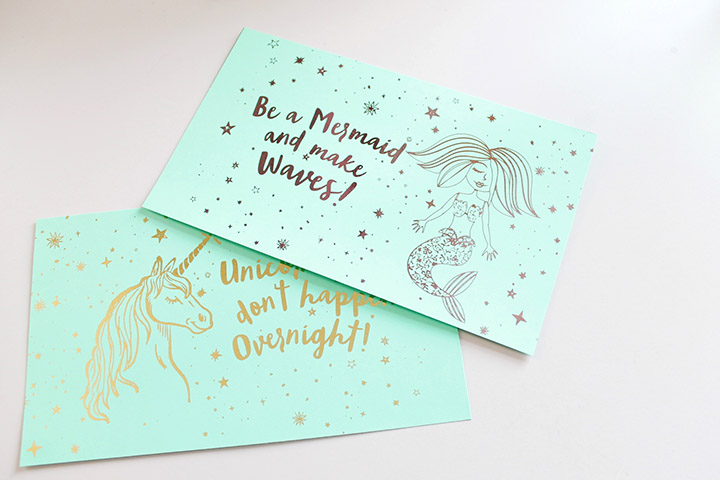
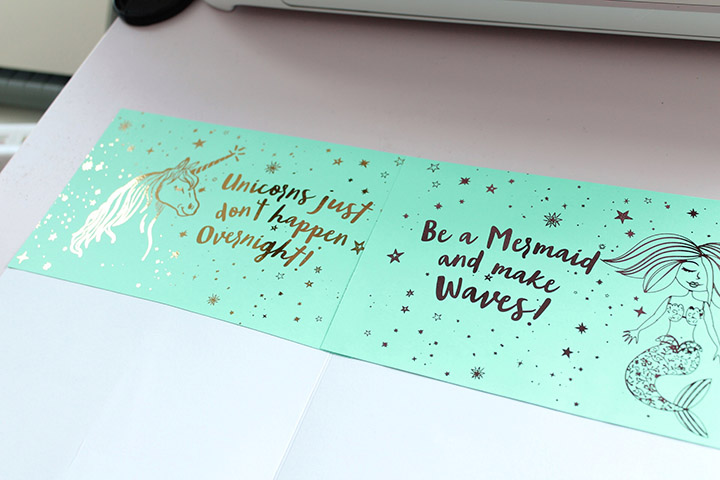
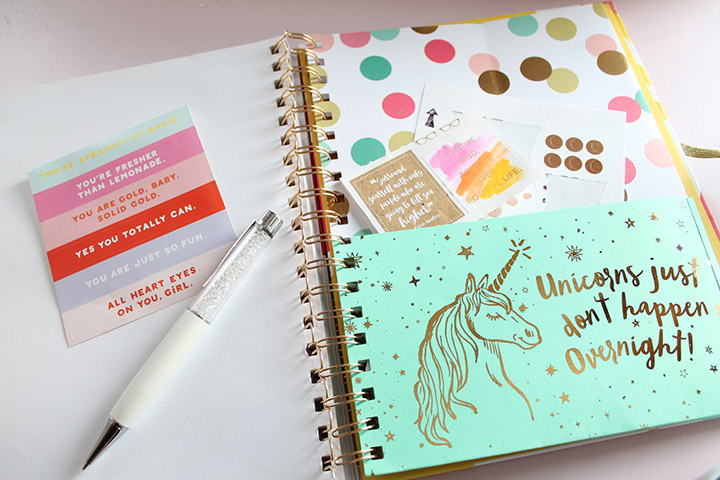
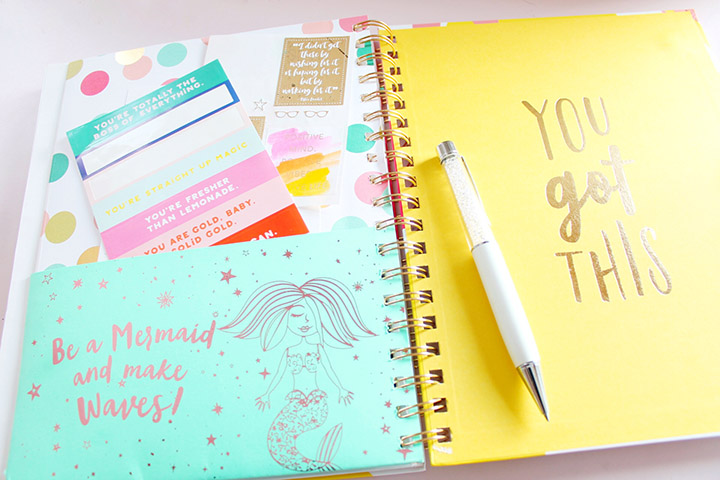
Once it’s done, uncover your pretty pockets-to-be! I foiled the unicorn pocket in gold and the mermaid pocket in pink. TOTALLY LOVING HOW THEY TURNED OUT!
![]()
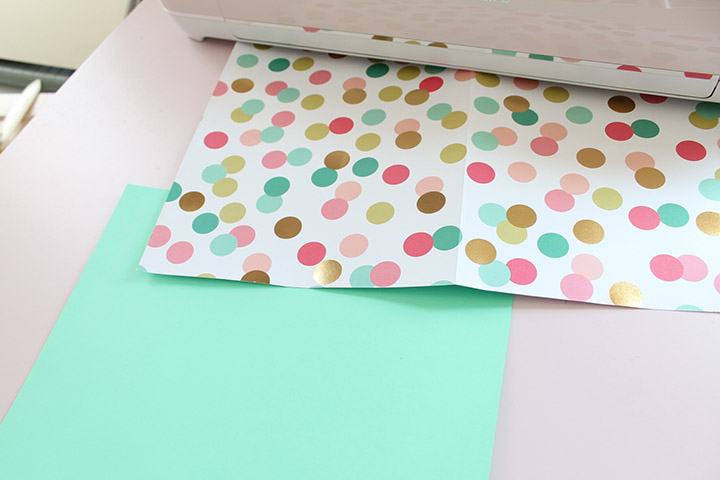
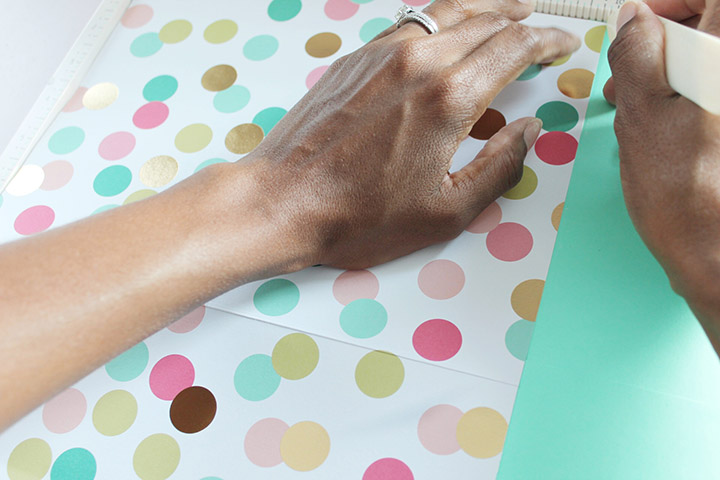
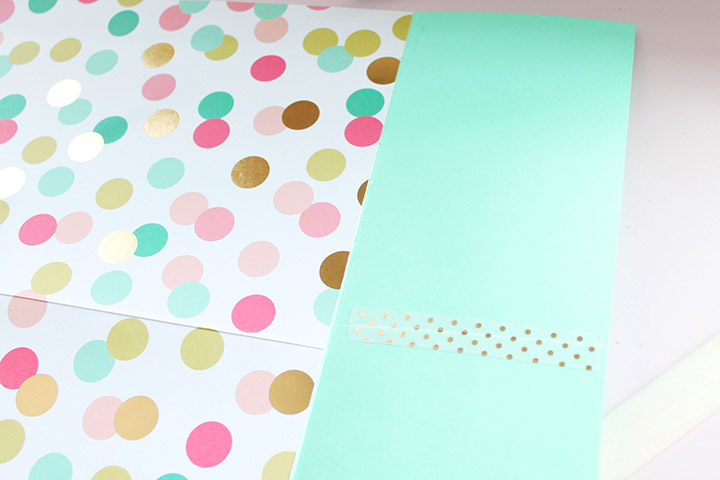
Open up your decorative paper so it lays flat with the decorative side facing up. Then place it to the side. Take your tape runner and add some tape as close as you can to the bottom edge of the back of your pockets.
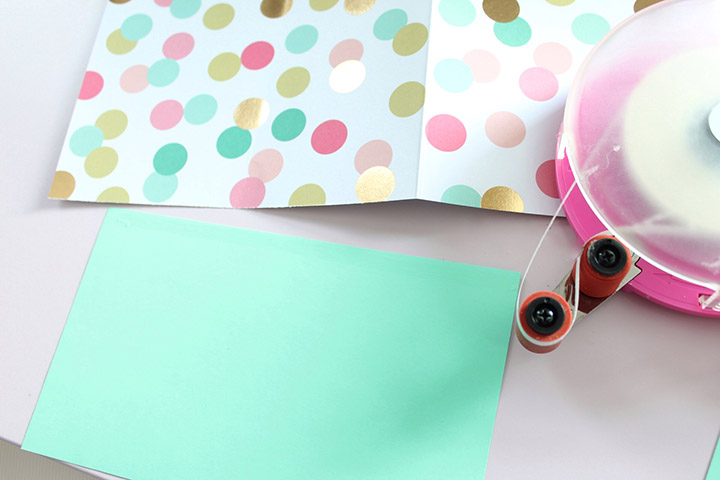
Align your decorative paper to the first pocket so the edges are flush. Then overlap the bottom of your decorative paper by .25″ over the strip of tape and secure them.
Repeat this same step with the other pocket. One pocket will flop over the other. That’s okay, we’ll fix that in a minute.
![]()
Finish The Planner Folder
Flip your “Frankensteined” sheet of paper over so the decorative paper is facing up and your pocket designs are facing down! Using your bone folder, score a line where you just connected your pockets to your decorative paper. The idea is to make it super easy to fold your pockets up.
Once you score and fold your pockets up, use your tape runner to secure the flapping pockets by running the tape right along the edge of the piece that will be on top. You can see I messed up by doing that step too early.
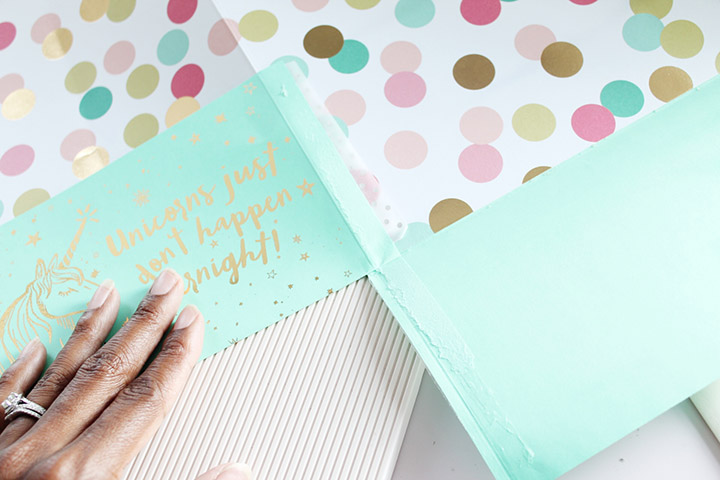
I realized I didn’t run my tape runner close enough to the edge so it wasn’t as secure as I wanted it. Oh well, you can’t tell in the finished product, but mistakes happen. You can also use a little washi tape to add extra security to the back of the overlapping pockets.
![]()
Use your bone folder one more time, by extending the score line from the decorative part of your “Frankensteined” paper so it continues onto the pockets. Fold your pockets up again and then fold your entire folder in half. Trim down the extra paper on the open sides. It should now measure 14.5″ x 9.75″. Super cute, right? But we’re not finished, yet. (We’re so close to planner folder bliss!!)
Bind Your Planner
![]()
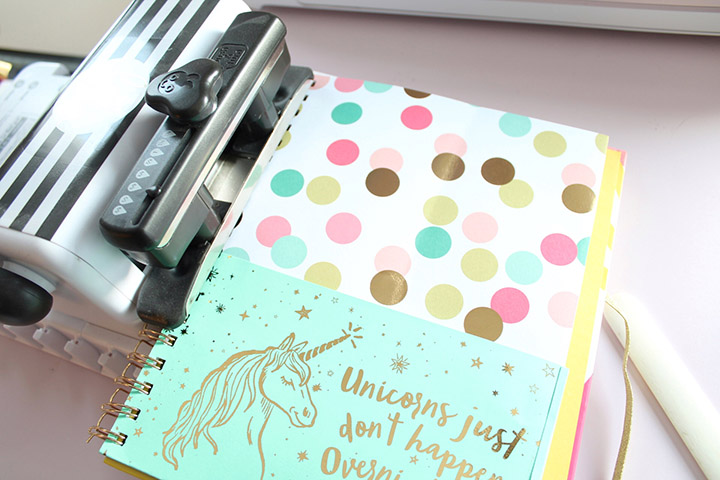
Use your Cinch to punch your folder. (You can use the Planner Punch Board as well.) I aligned my folder to the 3/8″ mark on the machine and punched.
For the second punch, I pulled the 8 peg out.
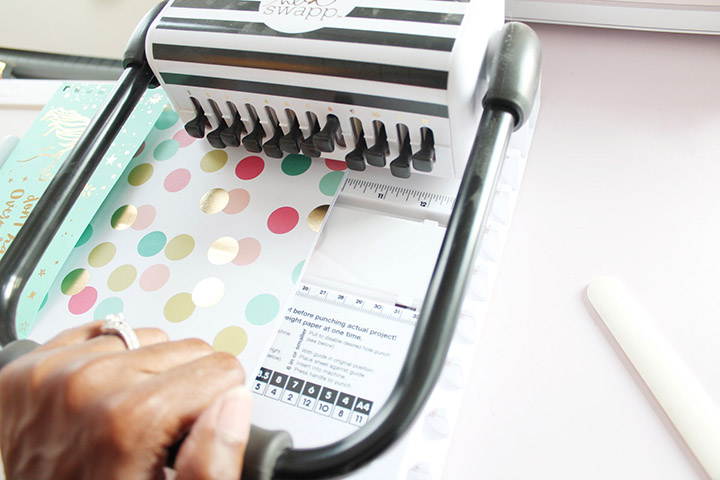
Here’s a link to a video on using the Cinch from We R Memory Keepers if you’re new to it. (NOTE: I suggest practicing on a piece of paper the same size as your folder just to make sure everything lines up nicely before punching your actual folder.)
![]()
Gently separate the binding on your planner. You don’t need to do too much, just enough to slip your folder into the back of your planner. Then add your folder and either manually close your binding or use the Cinch to close it.
![]()
Fill your Planner Folder with Planner Goodness!
That’s it! Isn’t it so cute!? I love, love how it turned out. Yes, it would have been waaaay easier with a single sheet of paper that was long enough for this project, but I think being able to add my own personal touch made it so much better. How did your planner folders turn out? I really want to see! Message or tag me so I can see them. Just use @pinkimonogirl or #pinkimono & #htgawcrafting on Instagram! Happy planning & crafting!
![]()
-
- Brit + Co Planner
-
- We R Memory Keepers The Cinch
-
- Heidi Swapp Minc Foil Applicator
-
- Therm O Web Deco Foil
