Pinkimono

Creating A Pretty & Simple Life

  • Email
  • Facebook
  • Google+
  • Instagram
  • Pinterest
  • Twitter
  • Blog
  • Mom Boss-ing
    • Westley & Scarlett
    • Tips for Thriving
  • Craft Magic
    • htgawcrafting
    • The Foil Factory
  • Simple Solutions
  • Freebies
  • The Shop

December 5, 2015 by: Pinkimono Girl

HTGAWC: Make Your Own DIY Glitter Reindeer Planner Clips

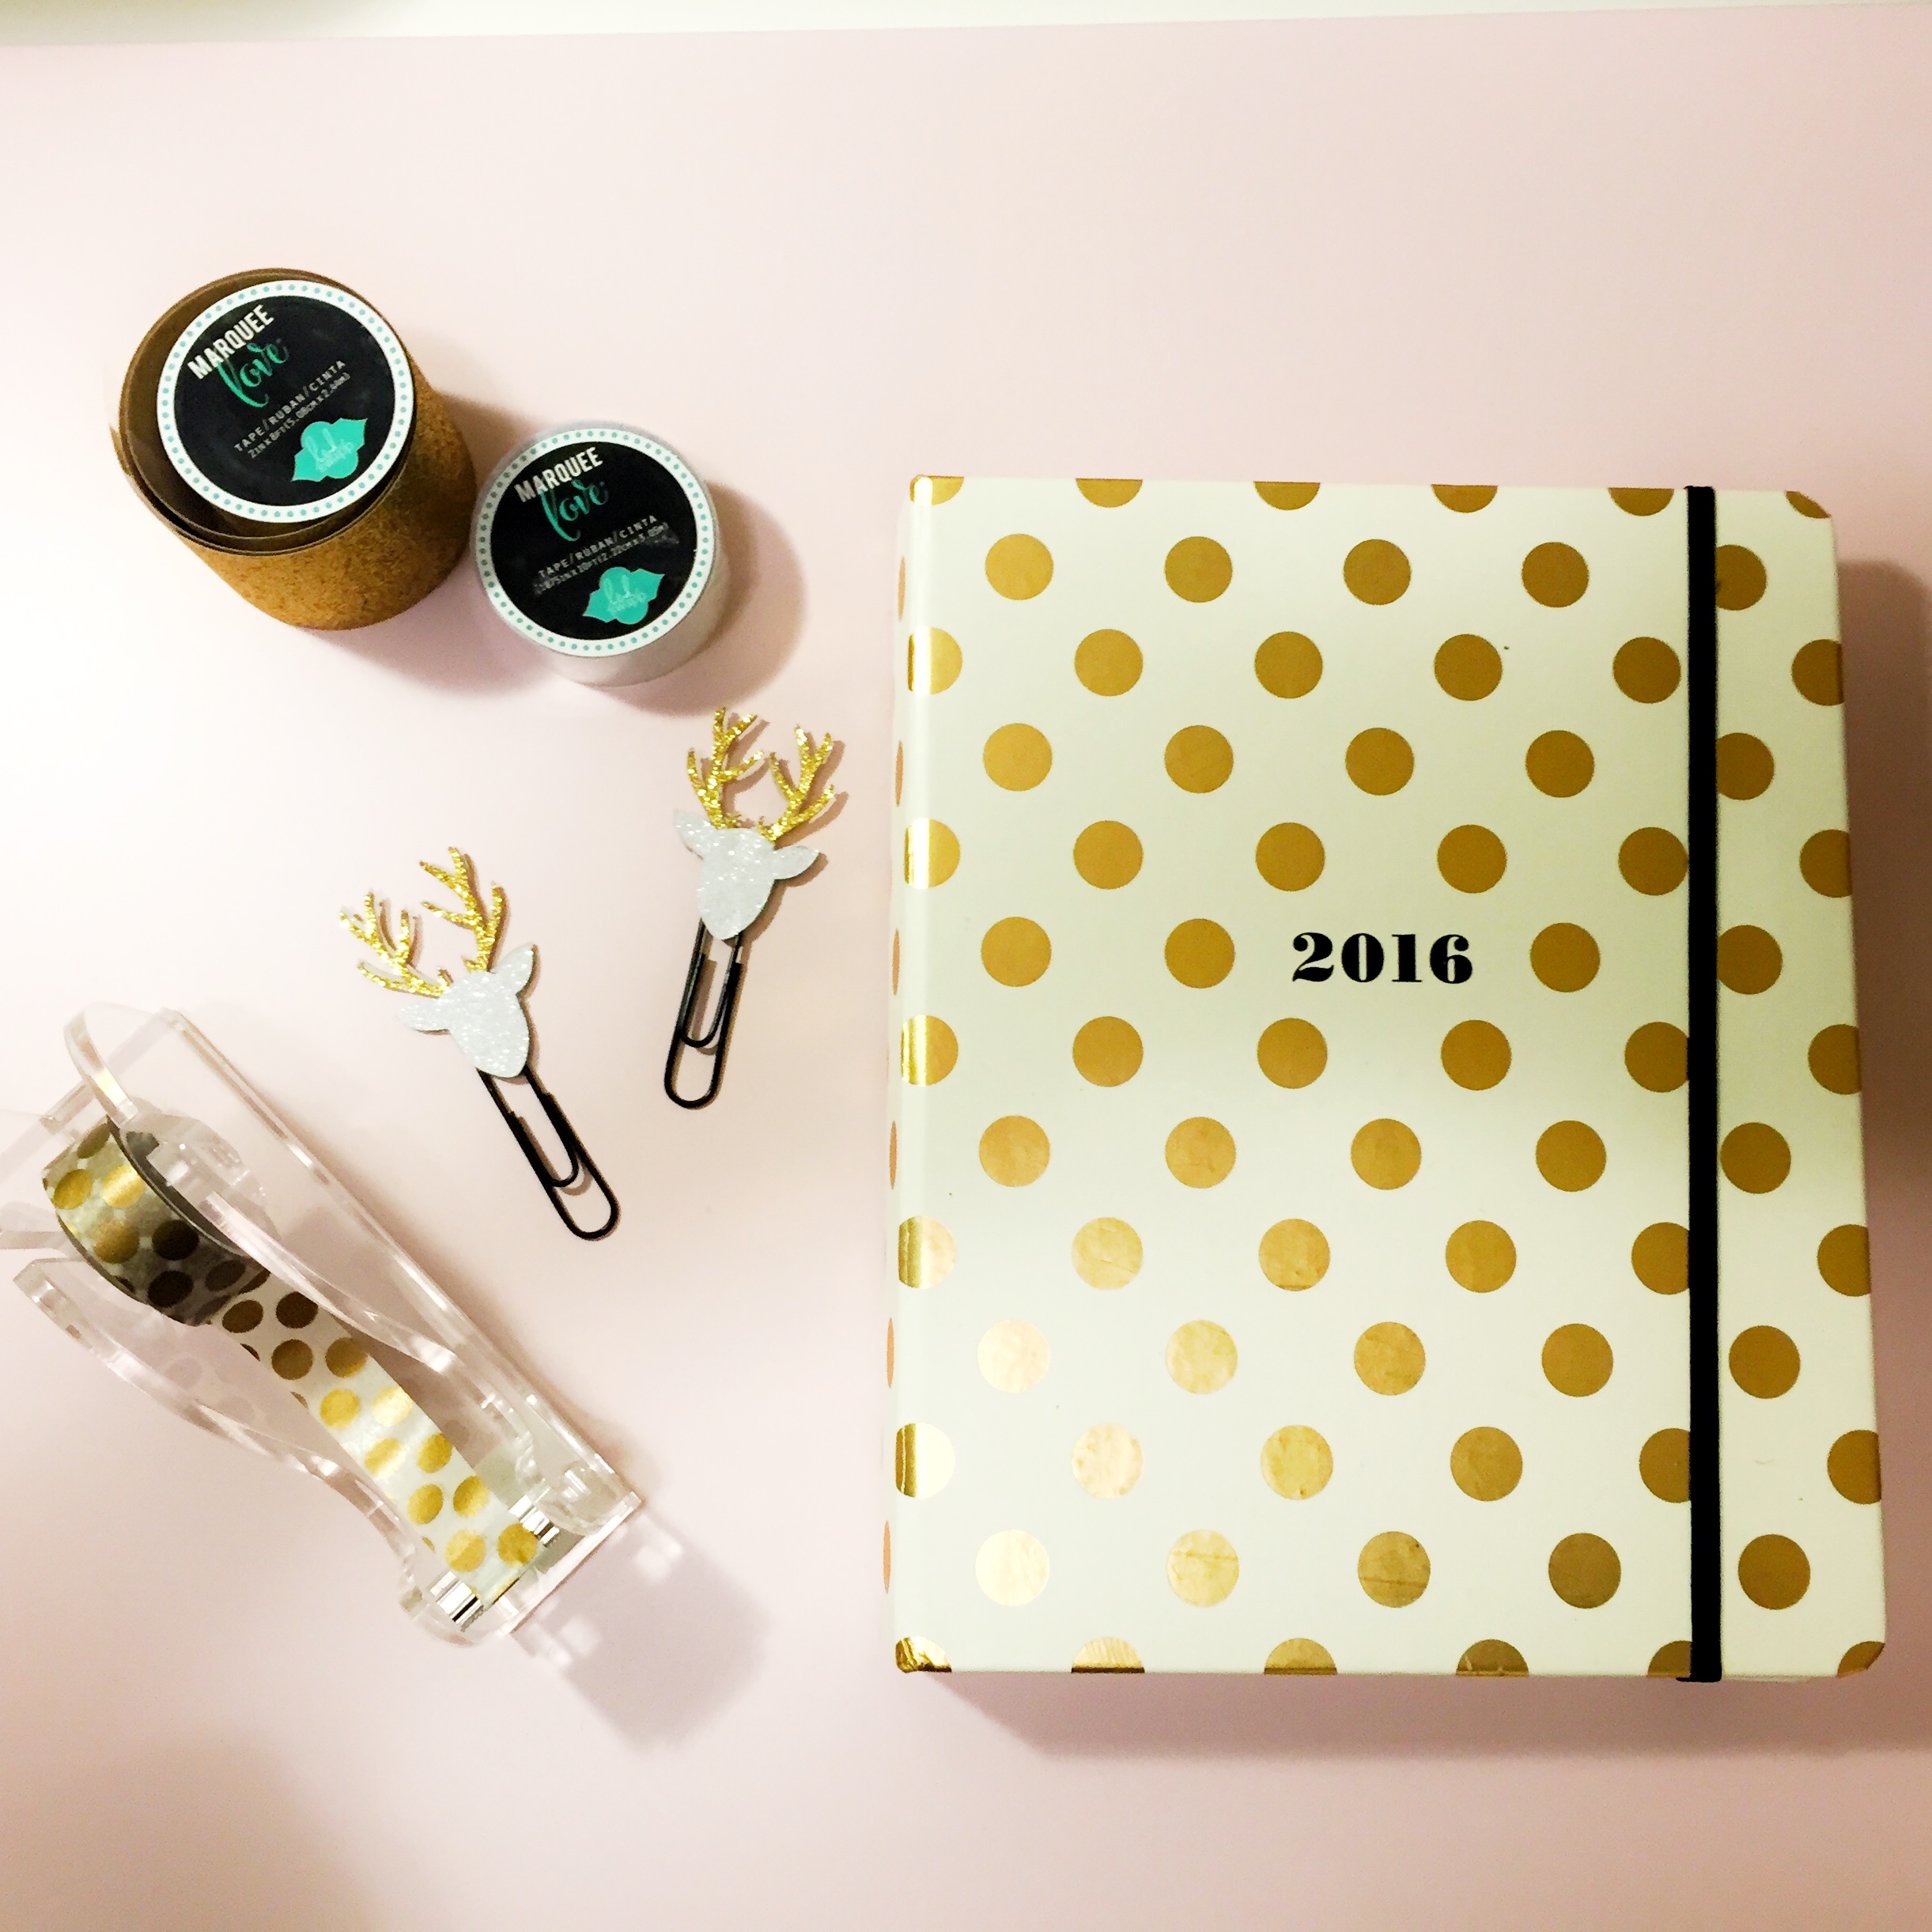
Tonight’s #htgawcrafting project was inspired by Alexis aka Miss Trenchcoat and this Heidi Swapp Instagram post. I knew I wanted some cute holiday clips for my planner, but I hadn’t found anything I really liked. I love seeing all of the colorful planner layouts and accessories on Instagram, but I prefer my planner to be a bit simpler. So it can be a challenge to find just what I want. But when I saw Heidi Swapp’s post with the classy and glittery reindeer, craft magic hit me. I figured I could make the same thing for my planner, but just smaller.

I did some googling and came across Alexis’s Youtube video on DIY planner clips. Her instructions inspired enough creativity on my end to come up with the tutorial below on creating Heidi Swapp inspired planner clips. Let’s get started!

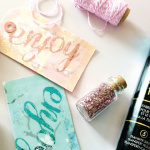
Supplies to Make DIY Glitter Reindeer Planner Clips

  • Silhouette CAMEO cutting machine
  • Silhouette 12 x 12 Chipboard 
  • Heidi Swapp Marquee Love Washi Tape 2″-Gold Glitter, 8′
  • Heidi Swapp Marquee Love Washi Tape 2″-White Glitter, 8′
  • A Reindeer EPS or AI file (I got mine from Creative Market)
  • Thermoweb Small Adhesive Zots
  • Hot glue gun and glue
  • Medium Size trombone paper clips

Steps

Step 1: Cut a 12″ piece of your gold and 12″ piece of your white 2″ Heidi Swapp Marquee Love Glitter Washi tapes. Take your gold piece and place it on your chipboard about 2 inches from the top. Directly under the gold, place your white tape. 

Heidi Swapp Marquee Love Washit Tape is set

Step 2: Open a new document in your Silhouette Studio® software. Adjust your paper settings for 12 x 12. 

Step 3: Visit the Silhouette store and download a reindeer design. (I got mine from Creative Market.)  Once you download your Silhouette or custom designs, separate the antlers from the top of the reindeer’s head and create 4 copies of each part. (That sounds creepy.)

Silhouette read for my planner clips

Step 3: Place your antlers in a row about 2 inches from the top of your drawing area. Then place your heads about 2.25 inches below that. You’re trying to align your artwork to your washi tape on your chipboard. Place 4 sets of antlers where the gold washi tape would be and 4 heads for the white washi tape. Two make 2 clips you need four copies – 2 fronts and 2 backs. (Tip: I realized my reindeer head wasn’t symmetrical. So to fix this, I mirrored the head – this way the head fronts and backs would align perfectly.) 

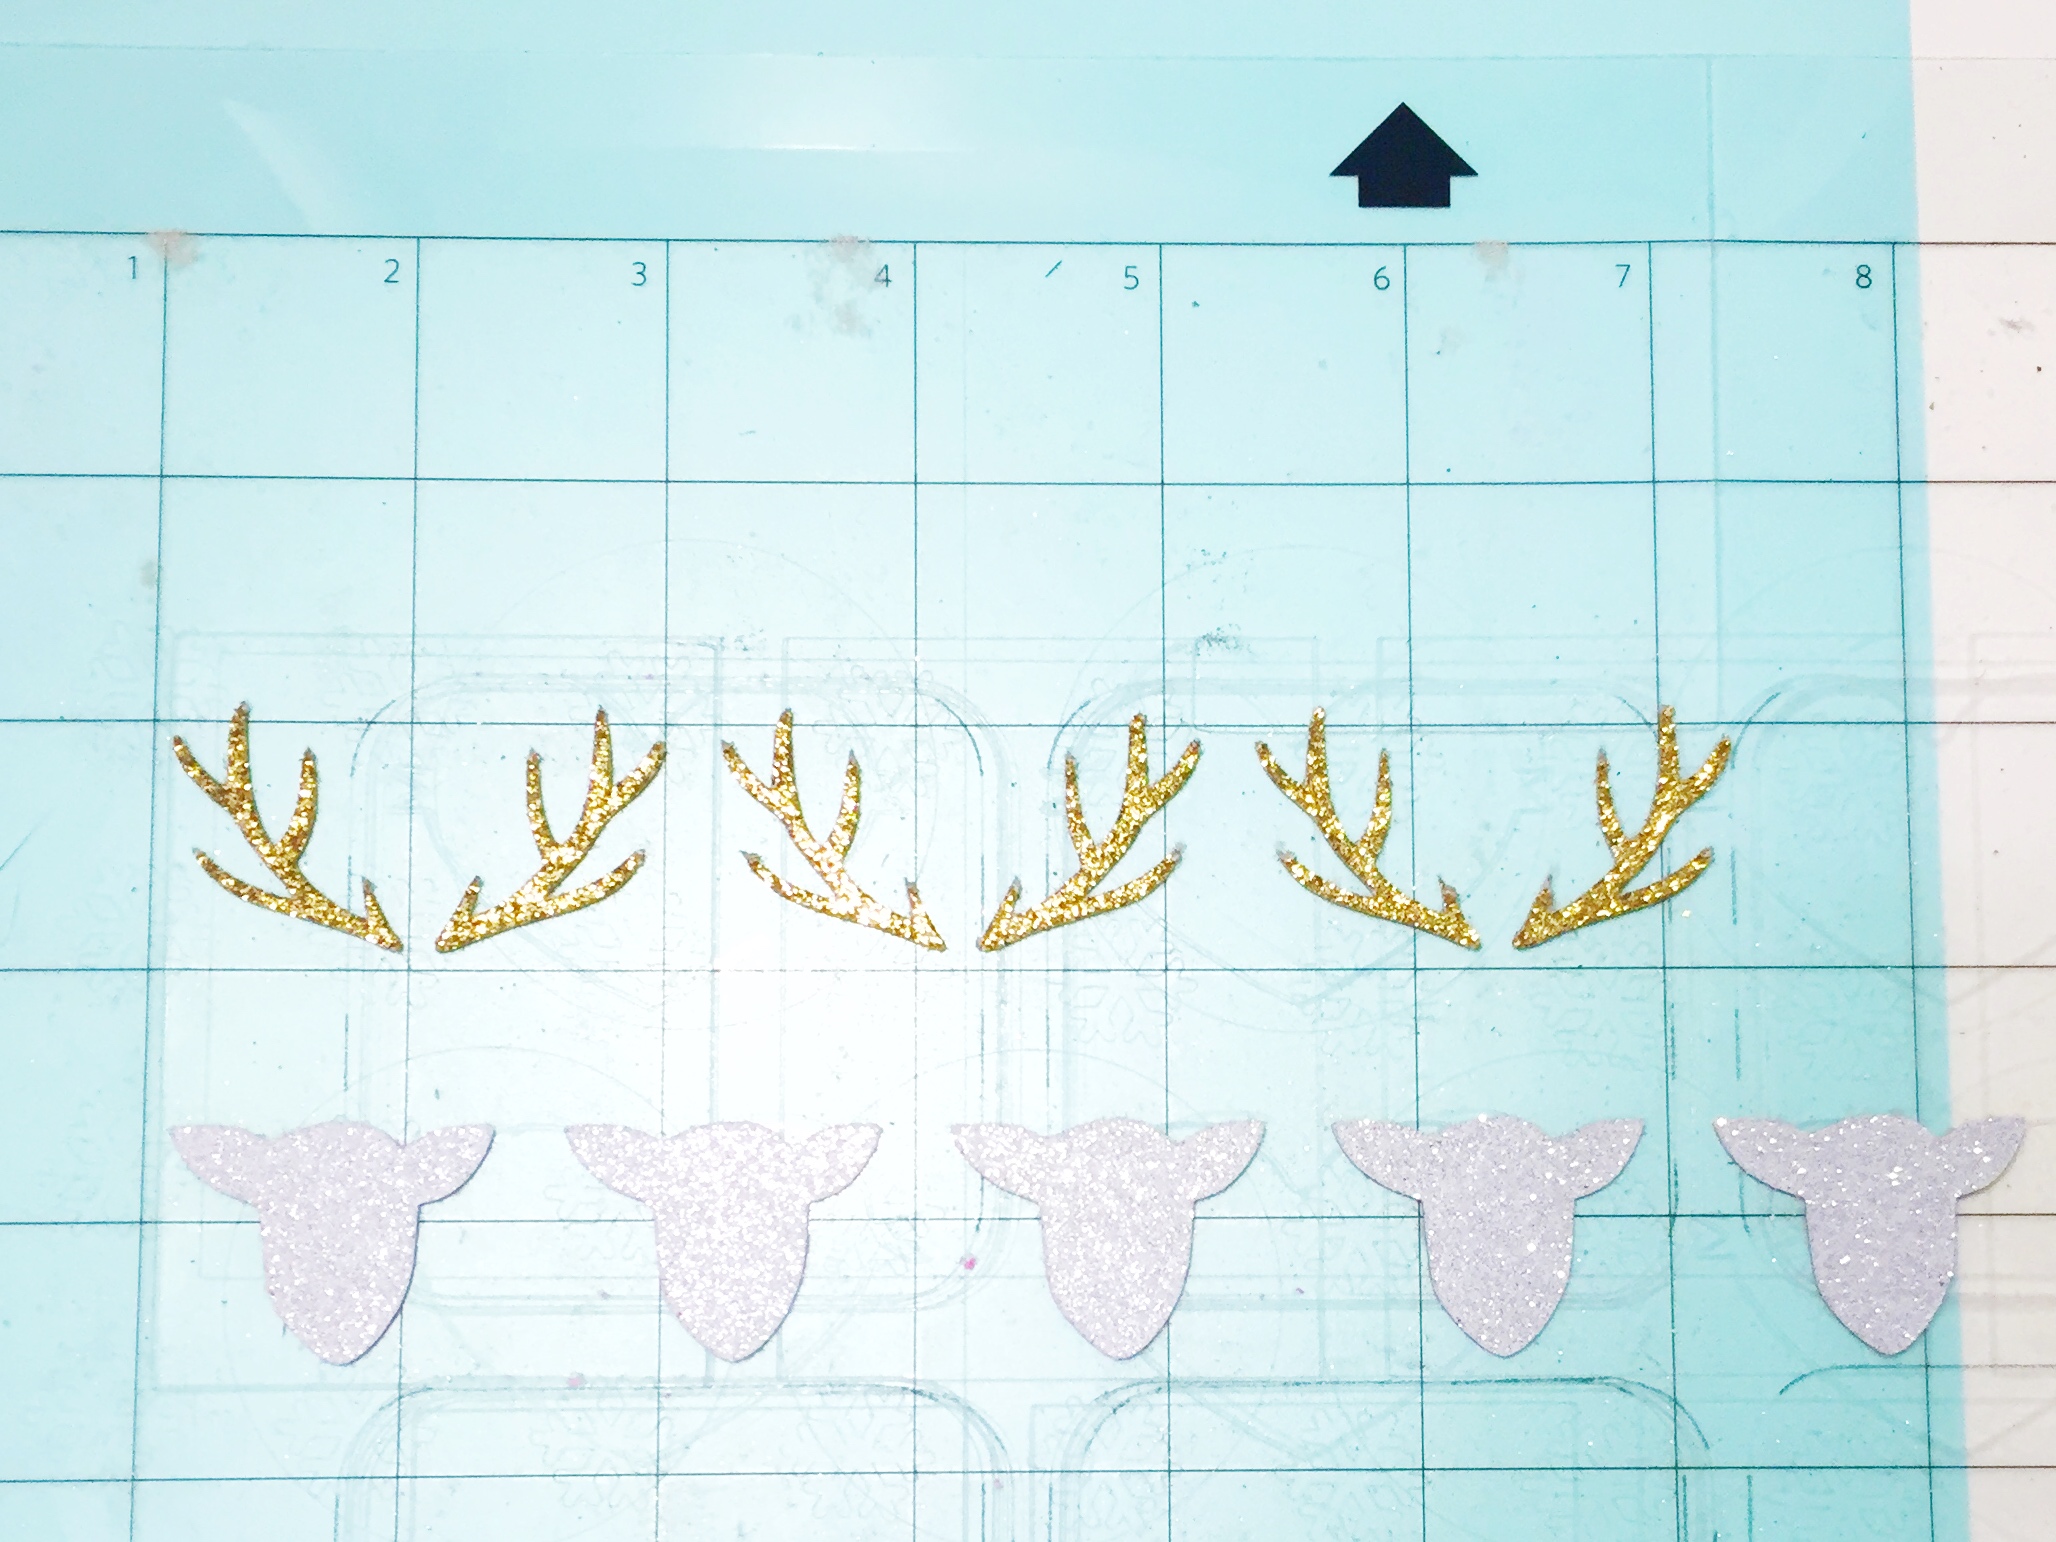
Step 5:  Send your reindeer through your Cameo with the ratchet blade setting at 5 for the Silhouette brand chipboard. Remove your designs from the mat when done. (Aren’t they cute?)

My freshly cut reindeer and antles

Step 6: Glue your antlers to the top of one of your reindeer heads with Zots. This will be your “front reindeer head.” Then repeat for the “back reindeer head.”

Step 7: Place your paperclip on the back of that front reindeer head.

Step 8: Sandwich your paper clip with a dab of hot glue and the back reindeer head.

Step 9: Wait for your pieces to dry.

Finished Reindeer Planner Clips

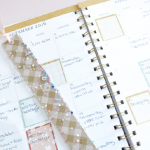
Step 10: Place your new clip into your planner and enjoy!

My matching reindeer planner clips and planner

Voila! Super simple and super cute holiday planner clips. You can probably tinker with the sizing and other designs to come up with some really cute options. Take some pics of you new clips in your pretty planners and post them on Instagram with the hashtag #htgawcrafting so I can see! Can’t wait to see what you came up with for your planner!

Till tomorrow…

Other Posts You Might Like

  • HTGAWC: MINC Foil DIY Planner ClipsHTGAWC: MINC Foil DIY Planner Clips
  • HTGAWC: Make Your Own Snowman MagnetsHTGAWC: Make Your Own Snowman Magnets
  • HTGAWC: Easy DIY Shaker Bookmarks With Your FUSE ToolHTGAWC: Easy DIY Shaker Bookmarks With Your FUSE Tool
  • HTGAWC: DIY MINC Foil Shaker Gift TagsHTGAWC: DIY MINC Foil Shaker Gift Tags

Categories

Latest Pins

 Holiday Mitten Gift Card Holder  - The gift card giving season is among us! ( = Seriously, give those Amazon, Target and Apple gift cards to your friends and family with a little something extra. These handmade gift card holders are a super cute and convenient way to share some holiday cheer. Theres a place to securely add your card and space to leave a sweet holiday message!Handmade Gingerbread Man Christmas Shaker Card - Oh Snap! Its Christmas! Celebrate with this pretty, shaker card for the puny person in your life! Visit the shop now to snatch up this one of a kind, handmade shaker card.Handmade Gingerbread Man Christmas Shaker Card - Oh Snap! Its Christmas! Celebrate with this pretty, shaker card for the puny person in your life! Visit the shop now to snatch up this one of a kind, handmade shaker card.Handmade Unicorn Christmas Shaker Card - Unicorn magic is here for the holidays. Visit the shop now to snatch up this one of a kind, handmade shaker card for the unicorn addict in your life this holiday!Handmade Unicorn Christmas Shaker Card - Unicorn magic is here for the holidays. Visit the shop now to snatch up this one of a kind, handmade shaker card for the unicorn addict in your life this holiday!Small Hanukkah Shaker Gift Tags - Just loaded some adorable "Happy Hanukkah" gift tags to the shop. Perfect way to make your gifts pop this year!Whimsical Gold ScriptThe 30 Best Pumpkin Decorating Ideas Youve Ever SeenMelted Crayon Pumpkins by Dream a Little Bigger and other cool pumpkin ideas Easy No Carve Pumpkin Ideas that Make the Best Halloween Decorations


Archives


SHOP PINKIMONOPAPERS

SHOP PINKIMONOPAPERS

Shop pretty, custom designs for stationery like note cards, notebooks, planner accessories and items for special occasions.

FREEBIES

FREEBIES

FREE printable wall art and other goodies are available every week! Add a little fun to your home or office with these printables. Print, frame and hang t!

Hi Friends!

HI! I'm Amber and welcome to Pinkimono. I'm a mom to 2 lil' sweeties, my son Westley and my daughter, Scarlett. I'm a MomBoss, Blogger, Designer, DIYer, Paper Addict & PINK girl. I'm happy you stopped by. I hope you find some helpful tips and goodies that inspire you to live a pretty & simple life too! [Read More…]

Let’s Connect

  • Email
  • Facebook
  • Google+
  • Instagram
  • Pinterest
  • Twitter
  • Home
  • About Pinkimono Girl

© 2022 · Fun Genesis WordPress Theme by, Pretty Darn Cute Design