I am loving this star theme for the nursery. I think it is turning out to be a great neutral way to add some fun to the room for my Westley and his little sister. I can’t believe we only have 40 days left! Ahhh! So to continue with our nursery themed htgawcrafting challenge, I wanted to add some star wands as decoration.
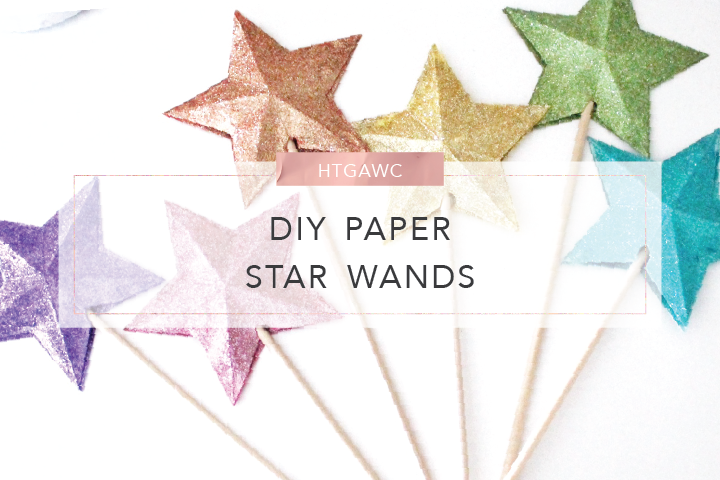
I thought it would be a nice way to add a touch of glitter and sparkle to their room, in particular, the mantle and tops of the closets. Most of the tutorials I saw were for gorgeous fabric wands. I’m not that great with sewing or fabric. So I got creative and found a great tutorial for 3D paper stars from Doodle Bug Design Inc. Her post on making Patriotic 3D Stars was the perfect foundation for creating these paper star wands.
So let’s get started on making them! Oh, and if you’re past the nursery stage, these look great in a kid’s room, too. Depending upon what you’re designing, you can make these to hang on the wall as well. Just skip the steps that deal with adding the dowel to the star.
Supplies for DIY Paper Star Wands
-
1 piece of cover weight paper from The Paper Source in the following colors:
- Blossom
- Poppy
- Sunshine
- Chartreuse
- Peacock
- Plum
- Silhouette Cameo Machine
- Martha Stewart Crafts® Glitter in
-
- Kunzite
- Copper
- Florentine Gold
- Purple Saphire
-
American Craft WOW! Extra Fine Glitter in
- Fountain
- Recollections Glitter in
- Citron
- Martha Stewart Crafts Glittering Glue
- Wood Dowels, 3/16″
- Hot Glue Gun
Steps
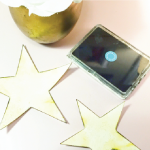
Step 1: Open your Silhouette Studio on your computer. Either upload your own star shape or download one from the Silhouette Design Store. Size your star to 3.75″ x 375″ and duplicate it. You should have 2 stars on the page. Add your cut lines to your stars.
Step 2: Set your cut settings for cardstock. Then adjust them on your computer and on your machine to 5 for the blade. The Paper Source Cover Weight paper is a bit thick. Then load a piece on your mat and send it through to cut. Repeat for each color.
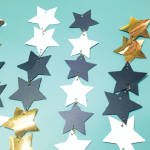
Step 3: After removing your stars, you should have 12, 2 of each color. Take one star from each color set and score it from each of the 5 points to the center. Then do the same from the 5 valley points to the center. Because I’m not the best with lines, I found it easier to actually fold the star at every point and valley in half so they were even, versus scoring. Now you should have one 3D star and one flat star in each color.
Step 4: Cut a small notch out of the bottom of each 3D stars in one of the valleys. This is so you can easily add the wooden dowel at the end.
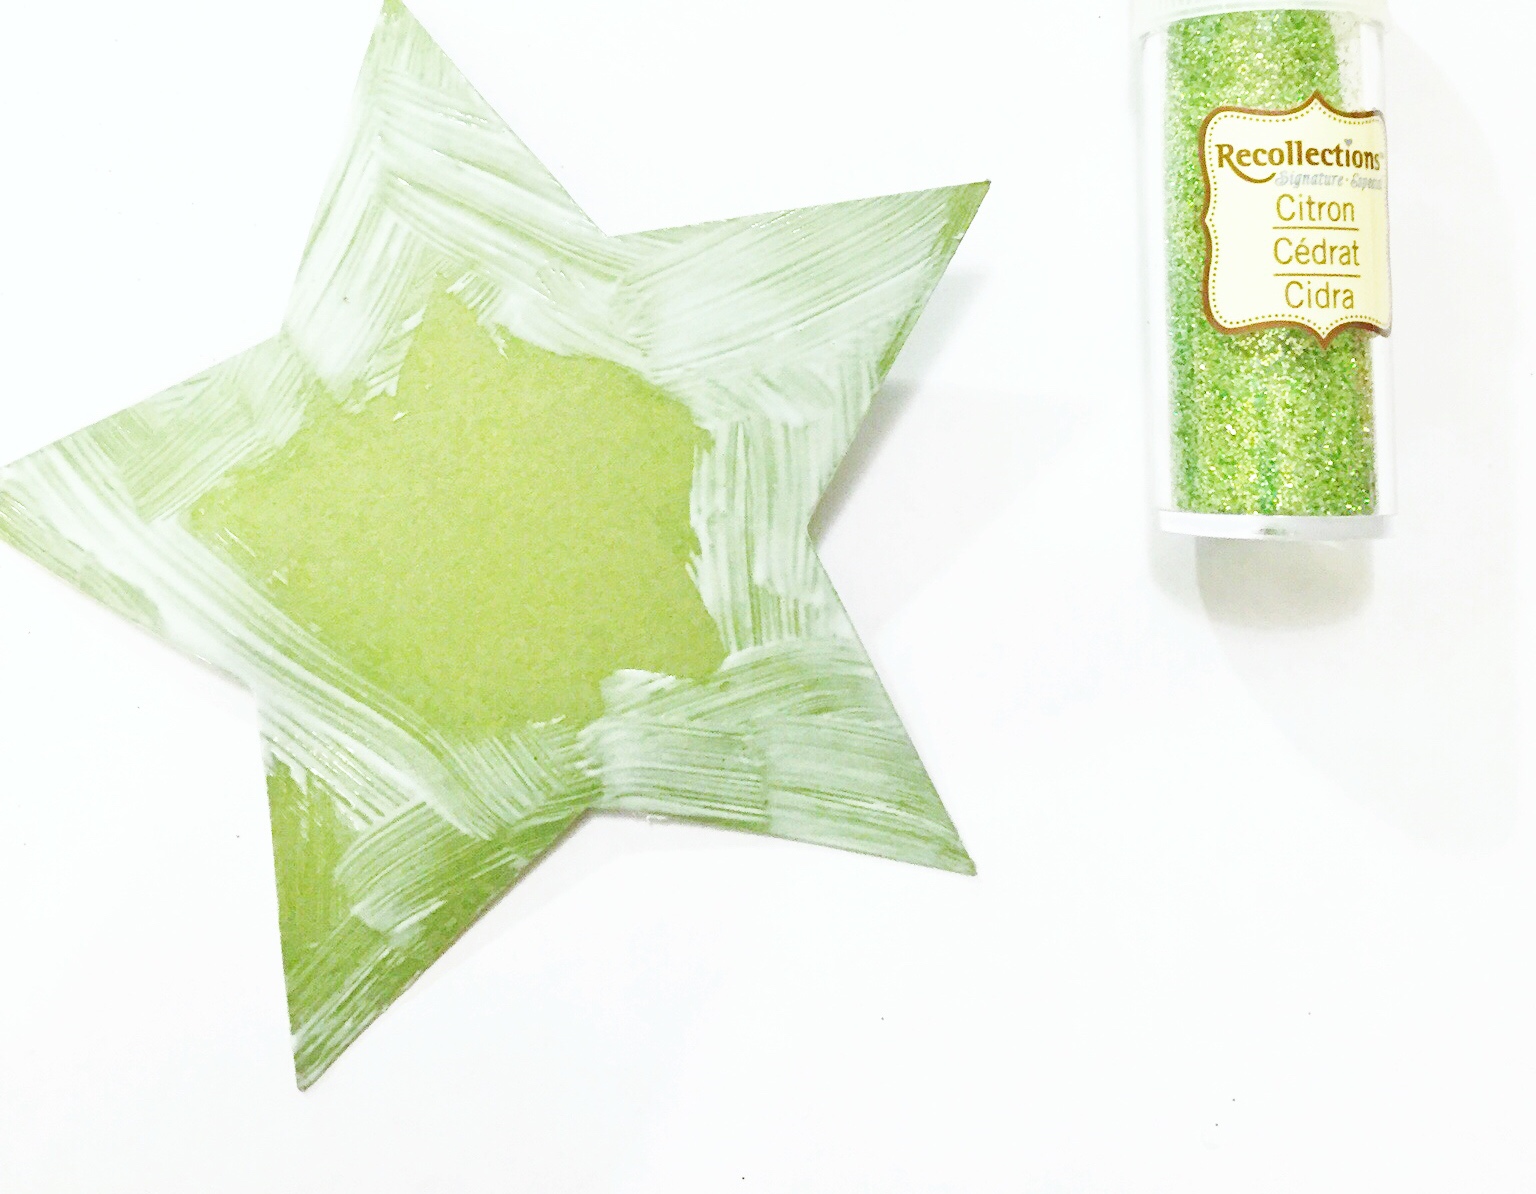
Step 5: Use your thin layer of Glittering Glue to cover your 3D stars.
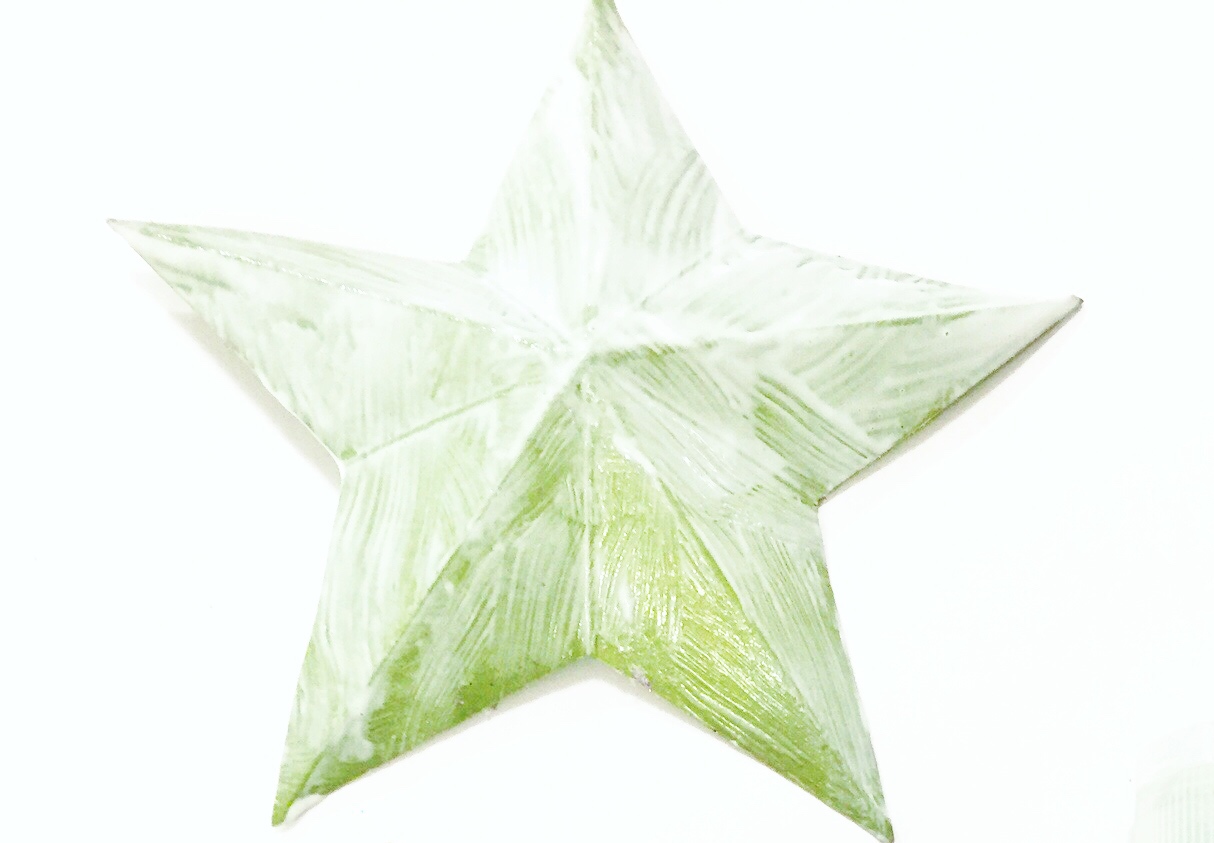
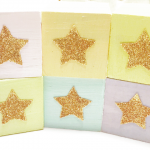
Step 6: Take the glitter that matches the paper (i.e. Use the Fountain glitter on the Peacock paper star) glitter the 3D star. The reason we’re using a matching colored paper versus white is it will help the color intensity.
Step 7: Take your flat star and use your Glittering Glue to cover the edges. Then shake the matching glitter as well. You don’s need to cover the center of the star because you won’t see it once we add the 3D star. Note: For the back of the star, you can glitter it as well, but I left them blank. These are decorative and I know nobody will see the back of them so I decided to conserve the glitter.
Step 8: Fire up your hot glue gun. Add a little hot glue to the center of your 3D star. According to Doodle Bug Design Inc, this is a great trick to help keep your star from folding flat.
Step 9: Glue your wooden dowel to the middle of your flat star with the hot glue. This is now the base of your wand. Then add a drop of hot glue to the backside of your 3D star’s points and valleys.
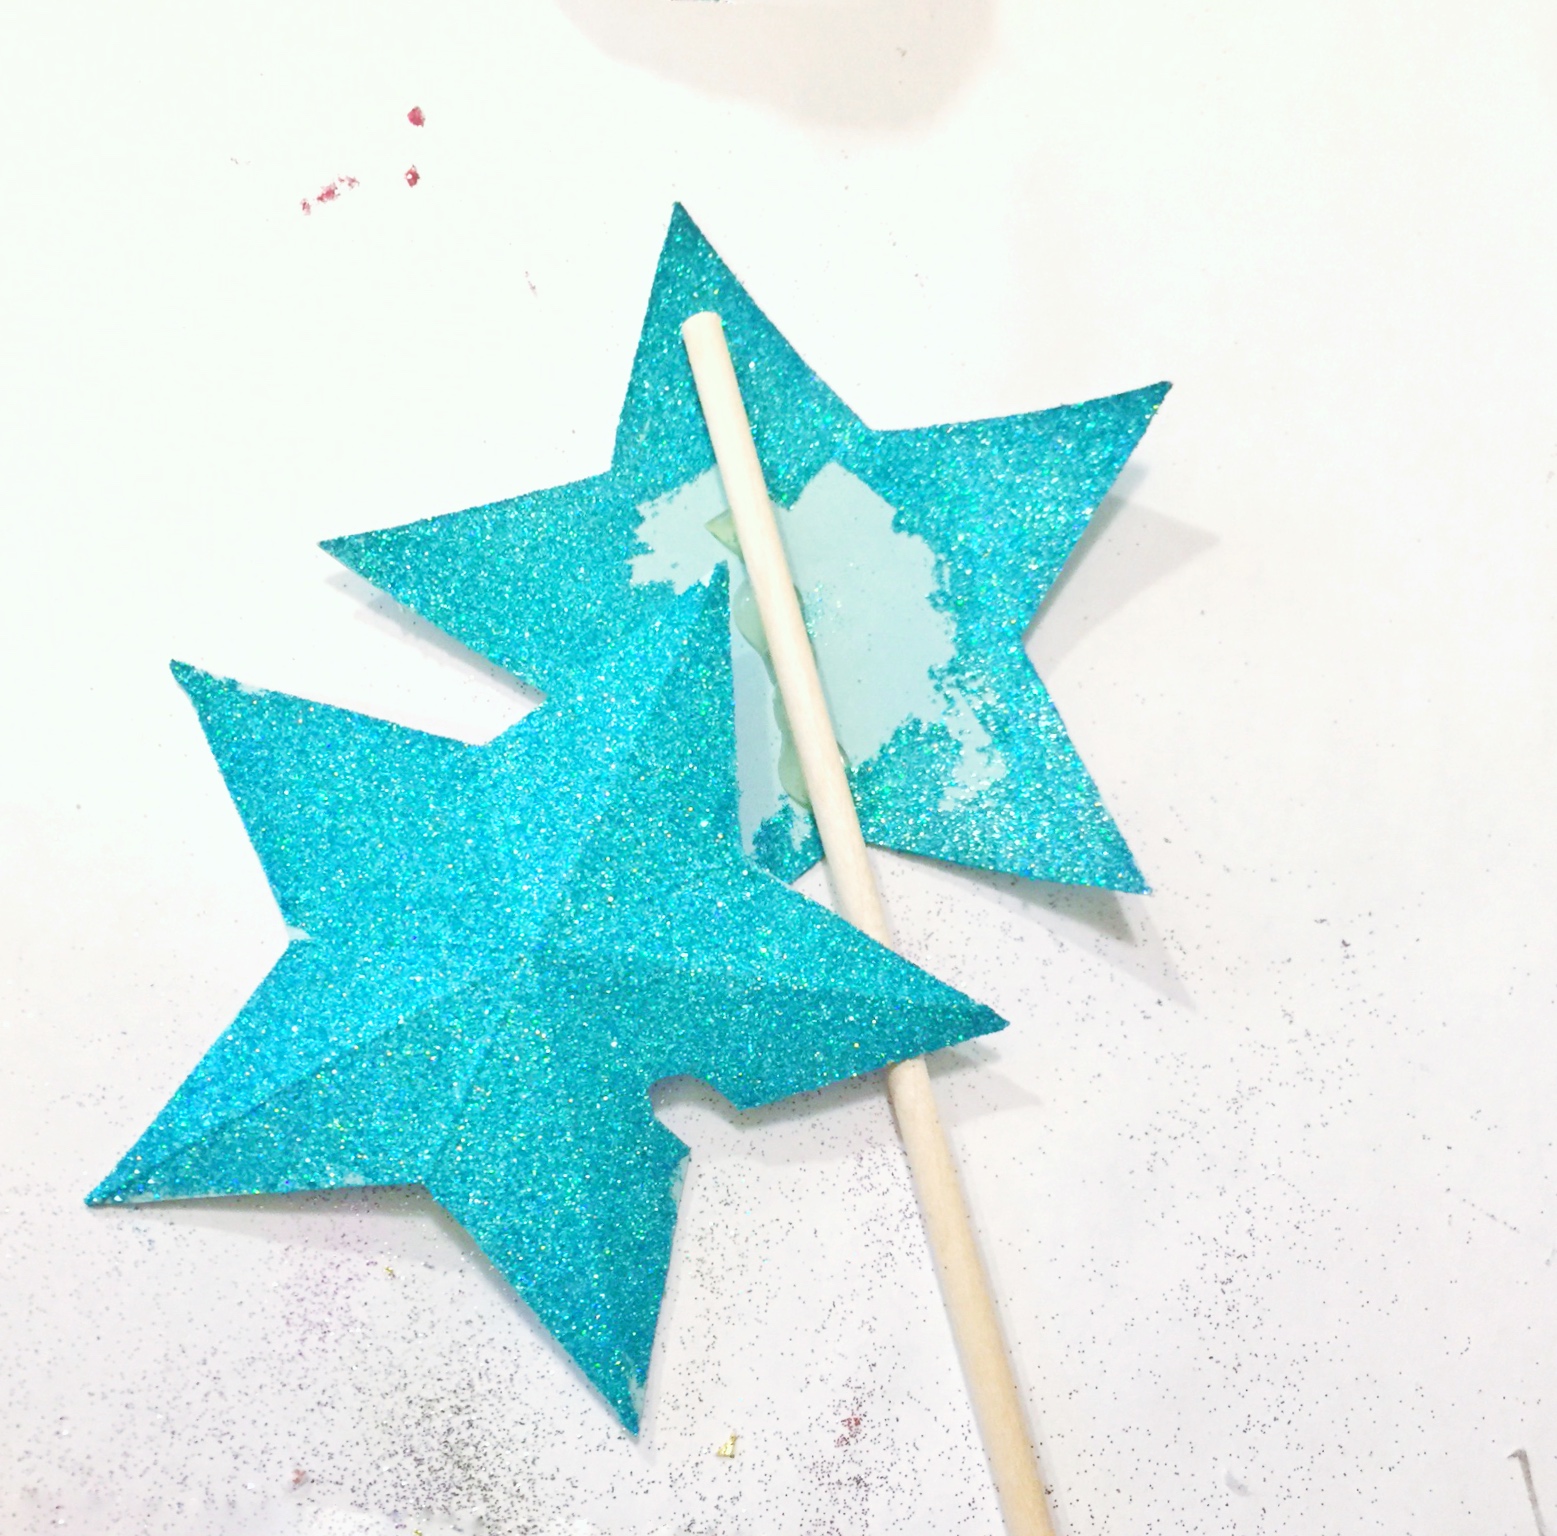
Step 10: Take your 3d star with the glue and center it to the front of the flat star. Line up the cut out notch to the dowel so it fits snuggly. Let everything dry!
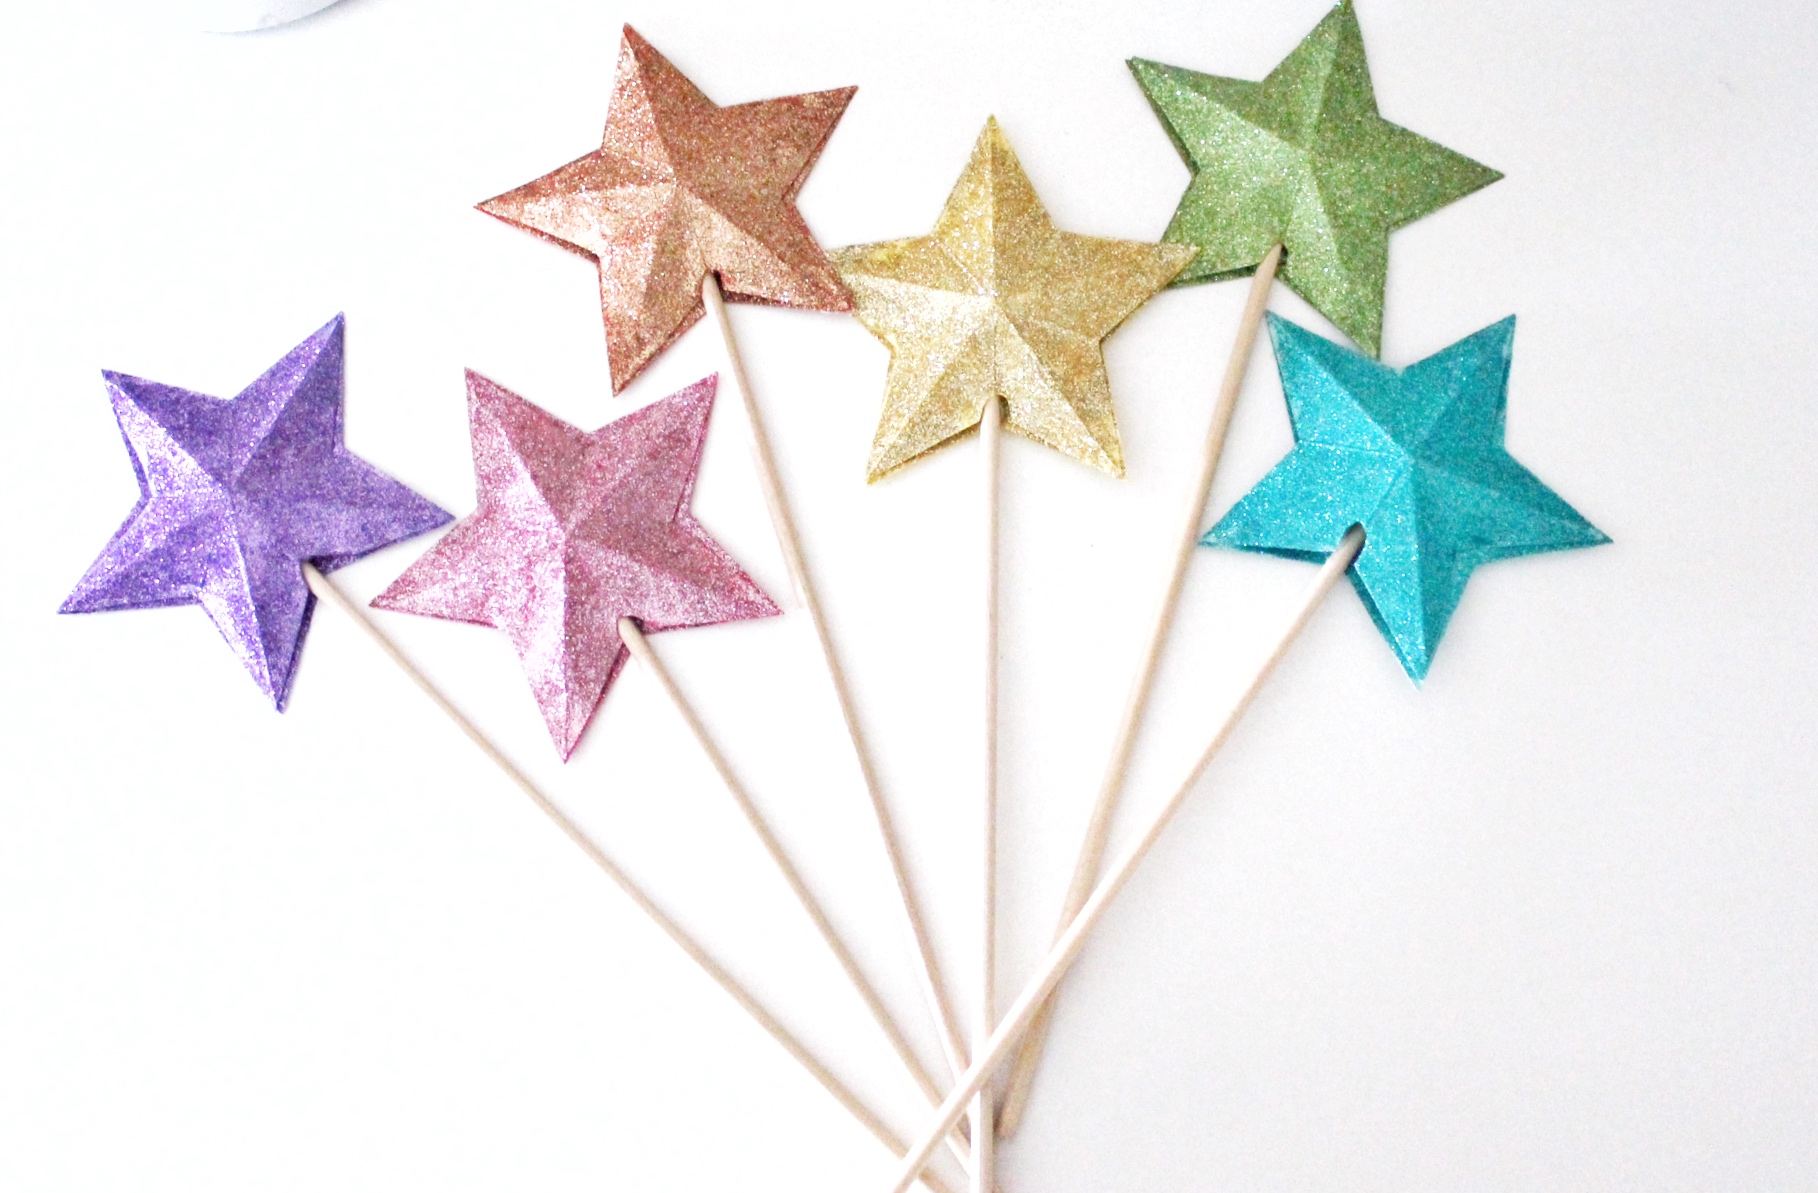
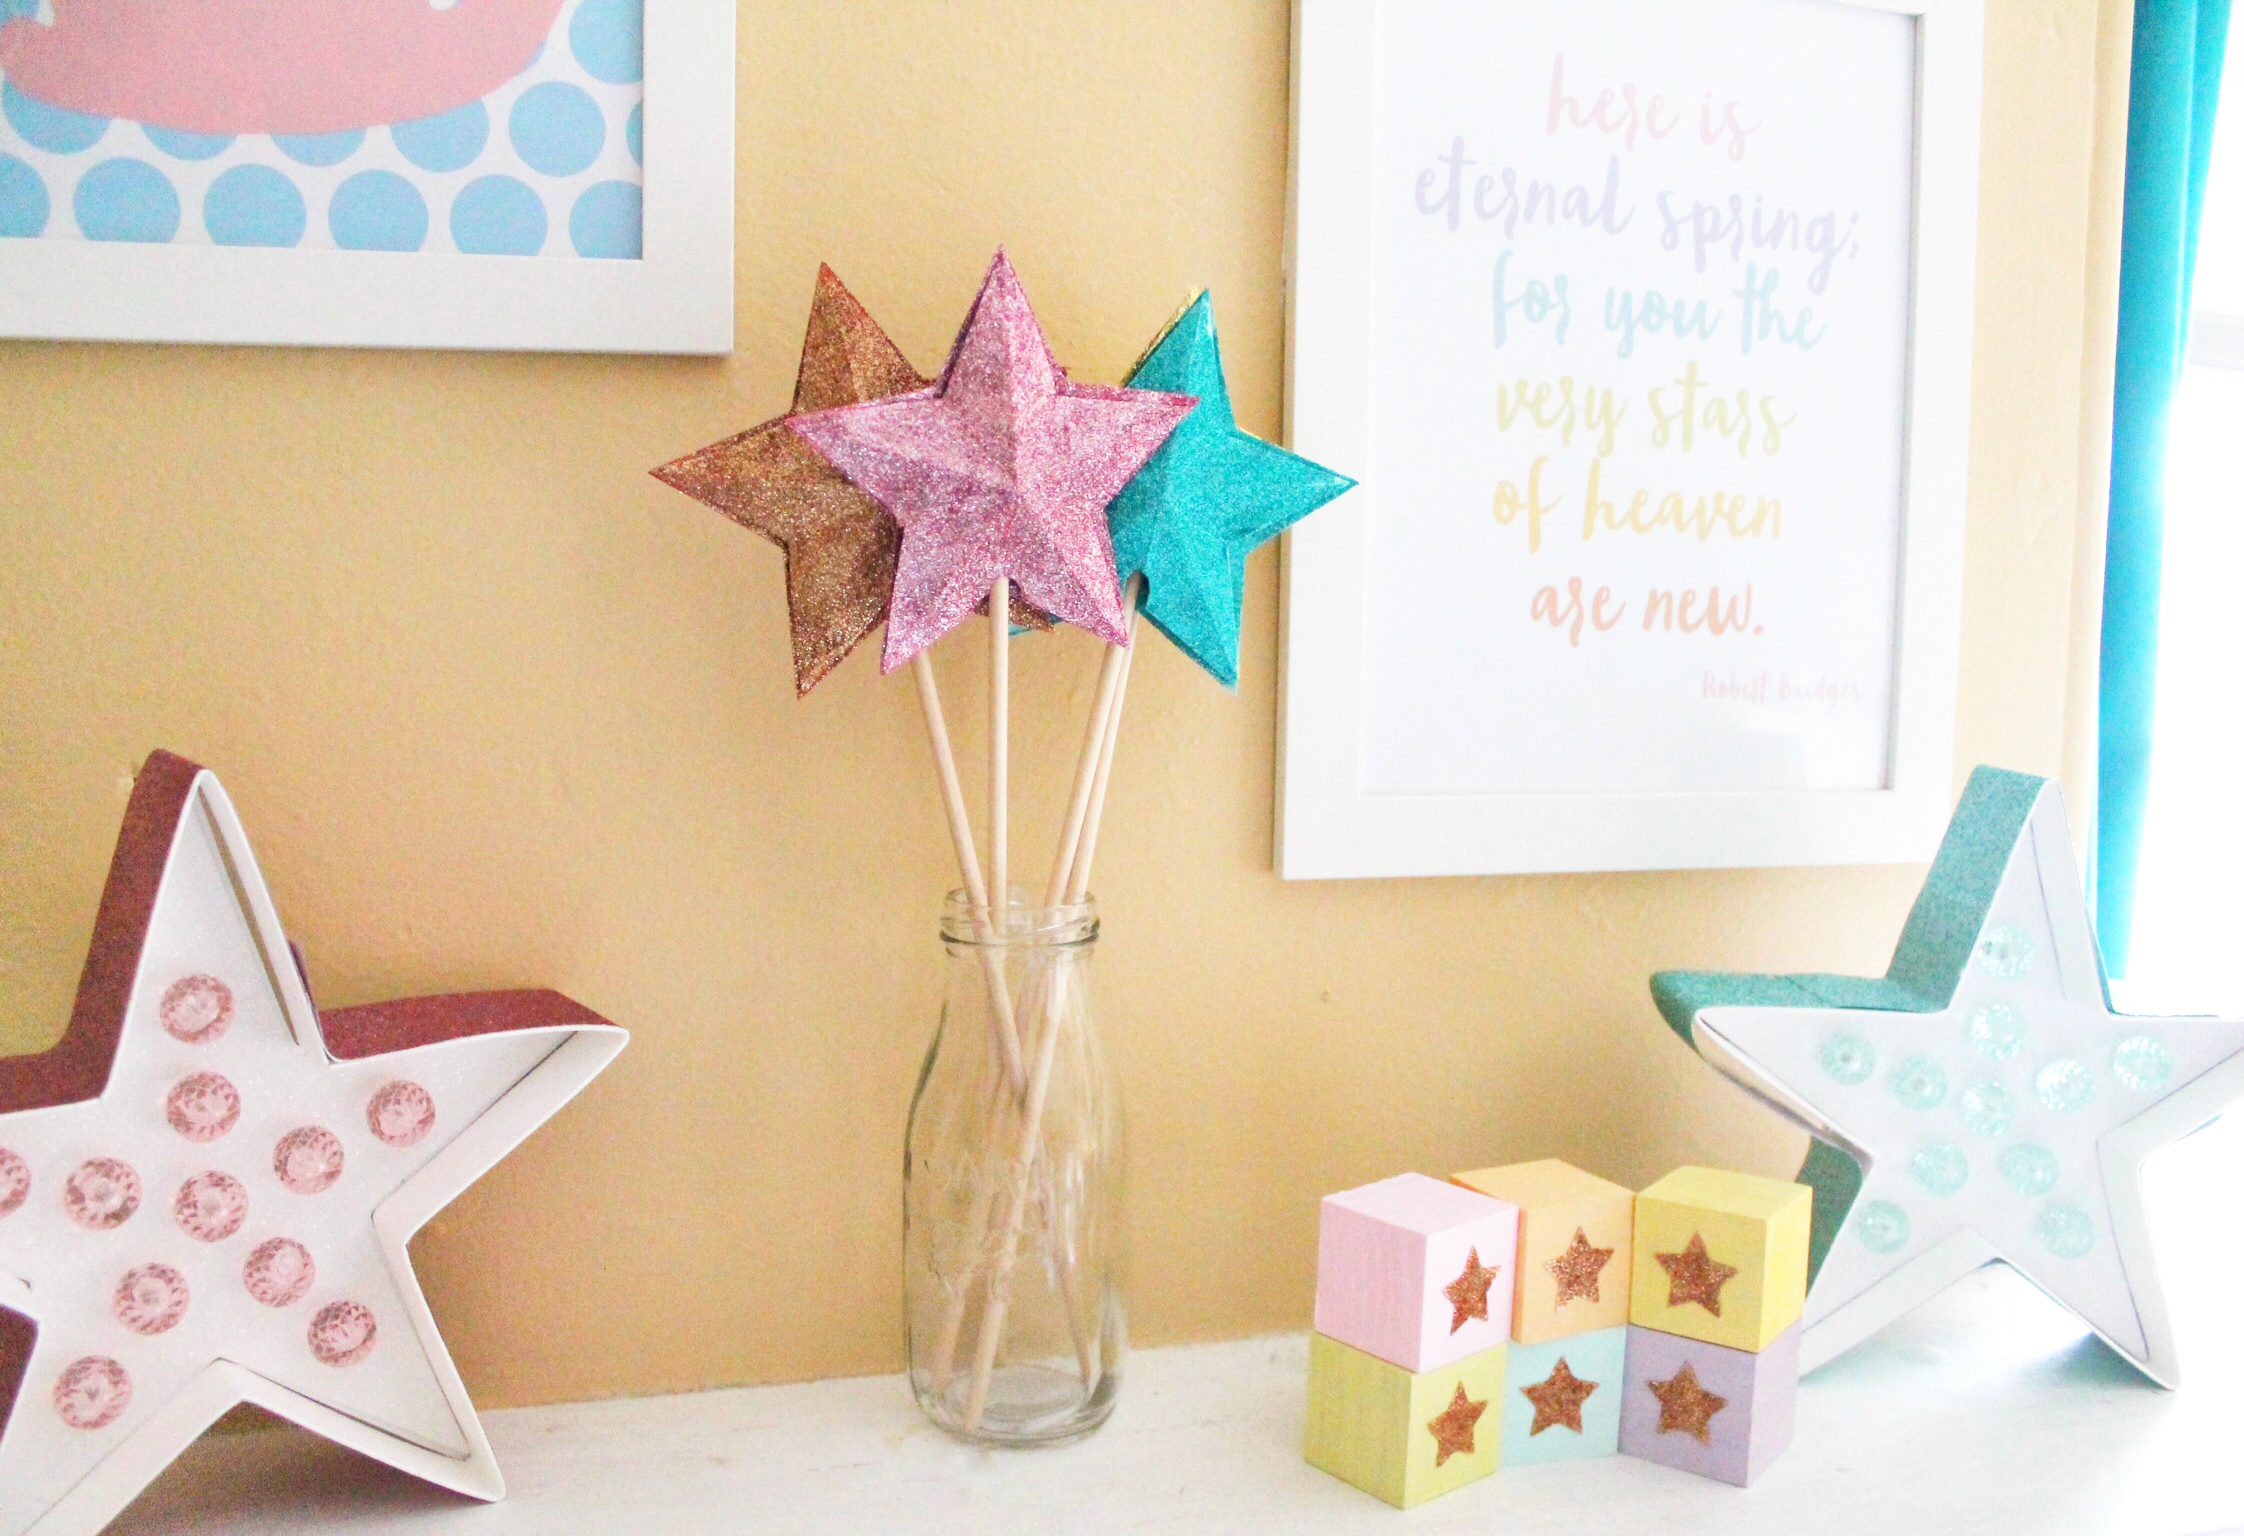
Now you have 6 decorative wands. If you have a little one who loves sticks, cat wands and mixing spoons, you may have some trouble keeping these beauties from them. I have this issue with my son. It’s safe to say, Westley and I both loved how these turned out and we’re excited to have them in the nursery for Baby Girl Finch.
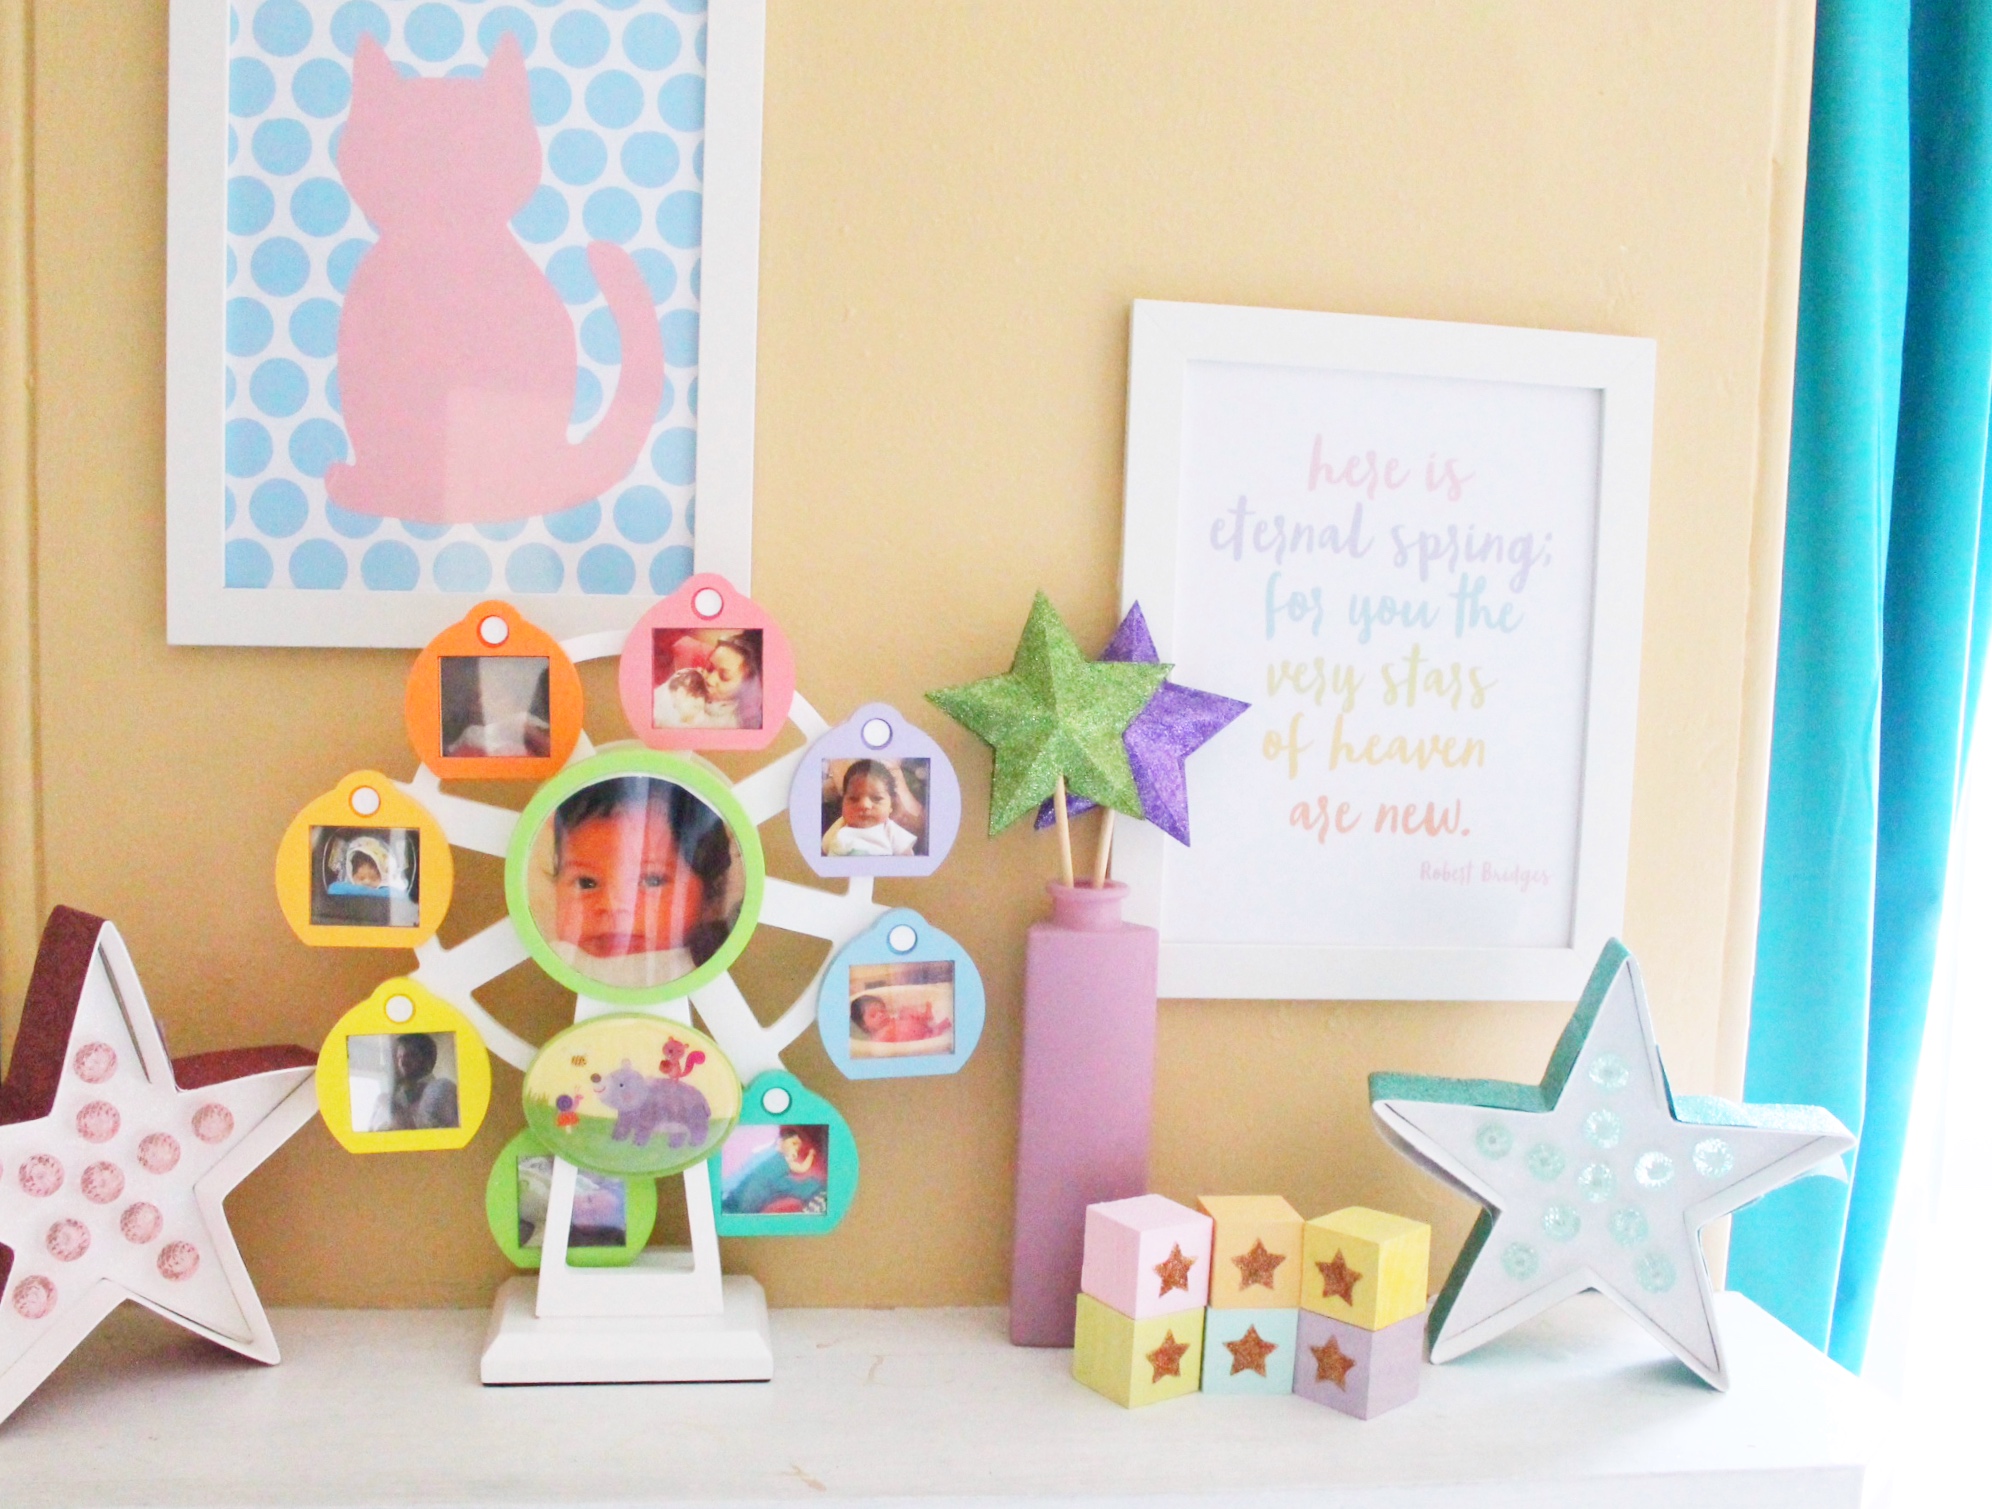
A few other tips: Spread your wands out through out the nursery. I added 4 wands to a glass milk bottle and two to an old Ikea vase
 Also, you can cut the dowels down to different sizes so they look staggered. Let me know how your star wands turned out and how you used them to decorate a nursery or little kid’s room. Post your pics to Facebook, Instagram or Twitter with #htgawcrafting. Now have fun with all of that extra glitter!