I can’t believe there are only four days left till Baby Girl Finch arrives! With that being said, my mind is a little preoccupied these days with all things BABY! That’s why tonight’s How To Get Away With Crafting project is baby-themed. This project is about creating a special way to preserve the sweetest of baby memories – his or her first 10 days. (Note: you can totally do this project for anything baby or not baby related.)
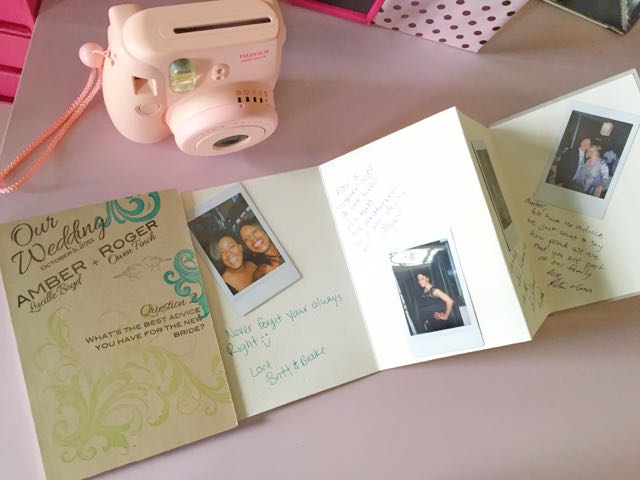
The inspiration for this project came from a couple of places. First, memories of my son’s first days motivated me to do this project. I remember how much Westley changed in his first week of life. I was also inspired by fellow crafter One,l of Onelmon.com/blog. A few years ago, she posted a great DIY on making frames for your Polaroid prints. I love instant photos. I purchased a Fuji Film Instax Mini 8 camera for my wedding and used the instant photos as part of an accordion guest books. It was super cute.
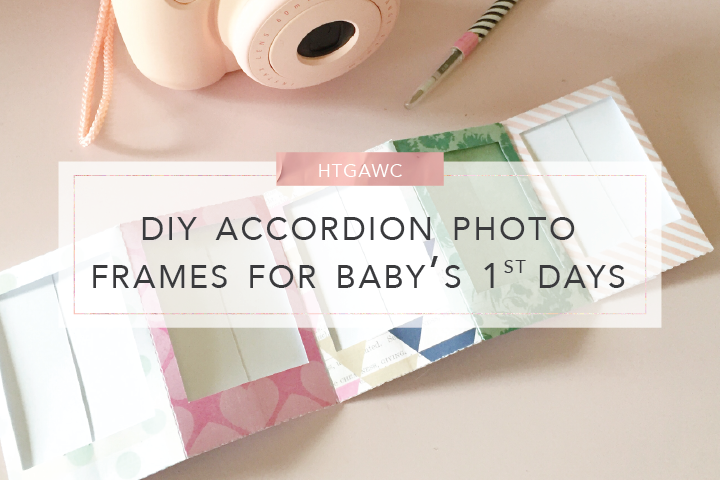
So let’s get started on making a similar accordion frame for tonight’s htgawcrafting project!
Supplies for A DIY Accordion Photo Frame
- Silhouette Cameo Machine
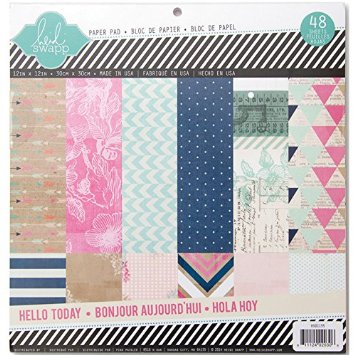
- Heidi Swapp Hello Today 12×12 Paper Pad (or any pretty scrapbook paper)
- Tape Runner
- Fujifilm Instax Mini 8 Instant Film Camera (or other instant photo cameras like Polaroid Pic-300 Instant Print Camera or the Polaroid Zip Instant Photo Printer – I so want one of these from ErinCondren.com)
- Fujifilm Instax Mini Instant Film
Steps
To Create The Frames For Your DIY Accordion Photo Frame
Step 1: Take down the measurements of your instant photo film. For this project, I’m using my Fujifilm Instax Mini 8 camera. My film frame measures 2.13″ x 3.4″ and the photo is 1.81″ x 2.4″.
Step 2: Open your Silhouette Studio app on your computer. Take your instant photo measurements and build a frame using the software tools. Add flaps to all four sides of the frame. (My measurements are in the photo below.) One of the longer flaps should be about .20 inches wider than the other side. This way you can secure the back by closing the longer flap over the shorter one.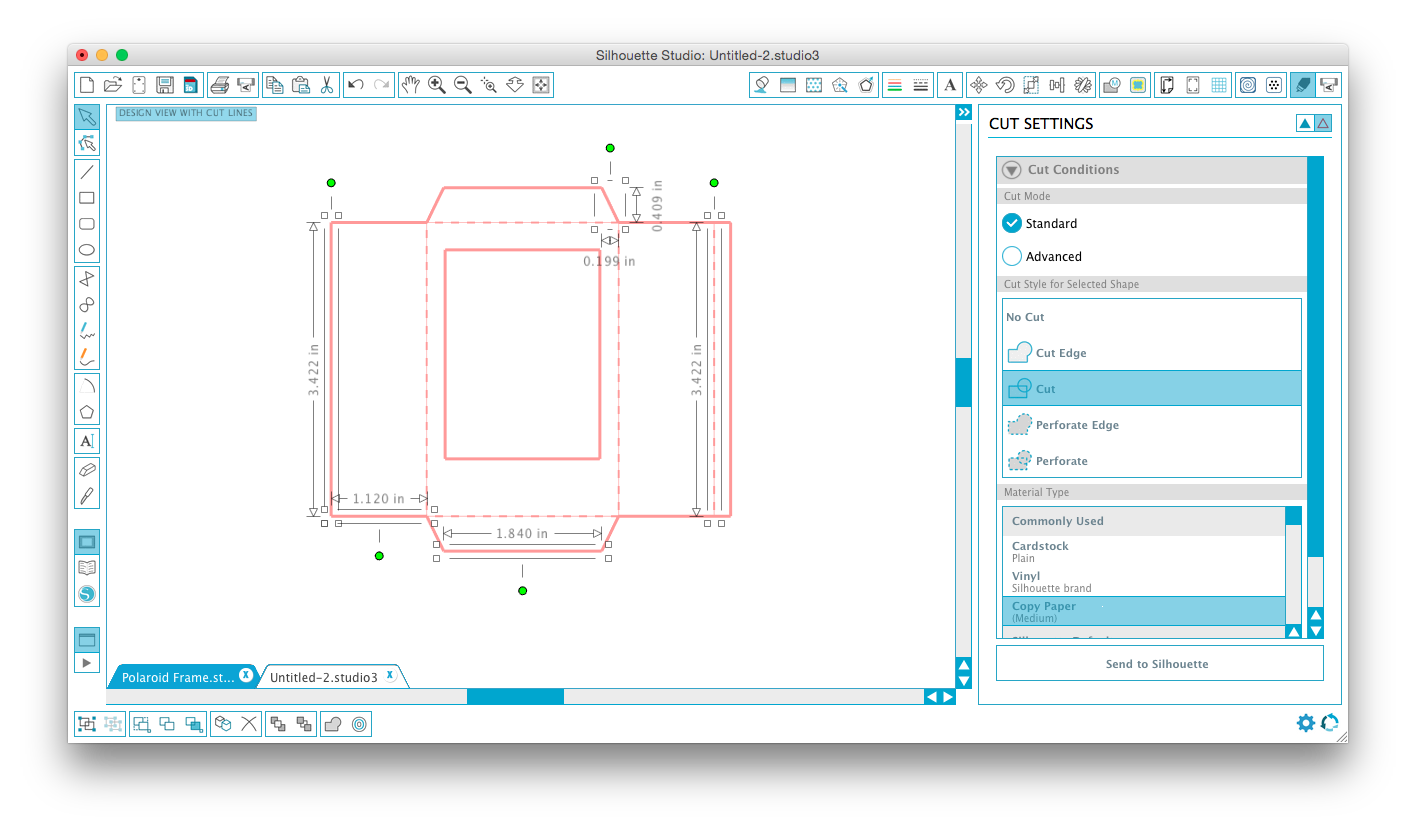
Step 3: Open your cut settings. Under Cut Conditions, set the entire image to cut with the exception of where your flaps and frame connect and on the glue line on the longer flap. Set those lines to perforate. Under material type, select Copy Paper (medium) and make sure the blade is set to 2.
Sept 4: Select your pieces of scrapbook paper. I chose 5 different designs: 4 pieces from the Heidi Swapp pad and one from the KaiserCraft Dream Big Collection.
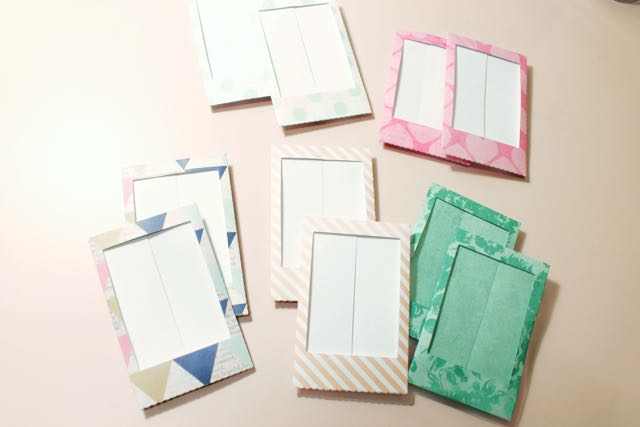
Place your first piece of scrapbook paper on your cutting mat. Send your design through the Cameo. (With the paper being 12×12, you can fit up to 4 Instax frames on the paper.) Repeat for each sheet of sheet of paper until you have at least 10 frames in the patterns you want.

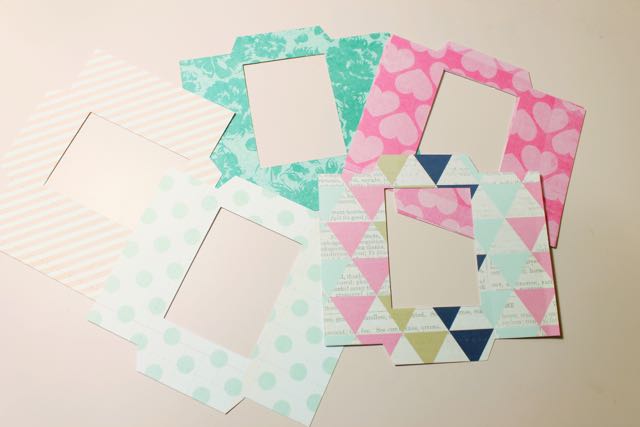
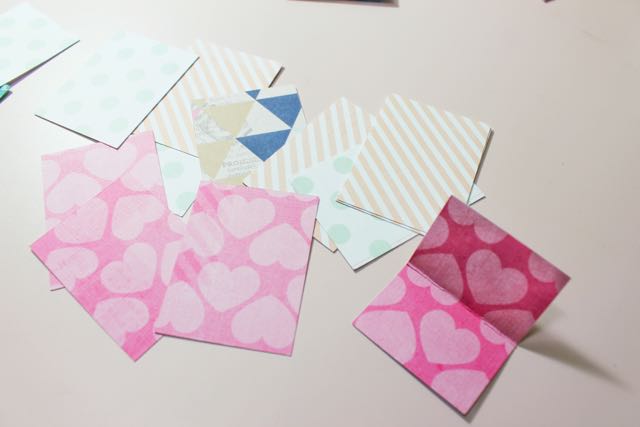
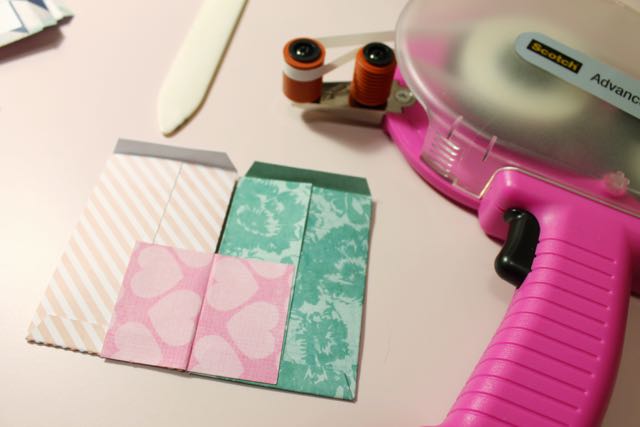
Step 5: Remove your frames. Also, remove the leftover rectangles and place them to the side. You’ll use them later to secure your frames.
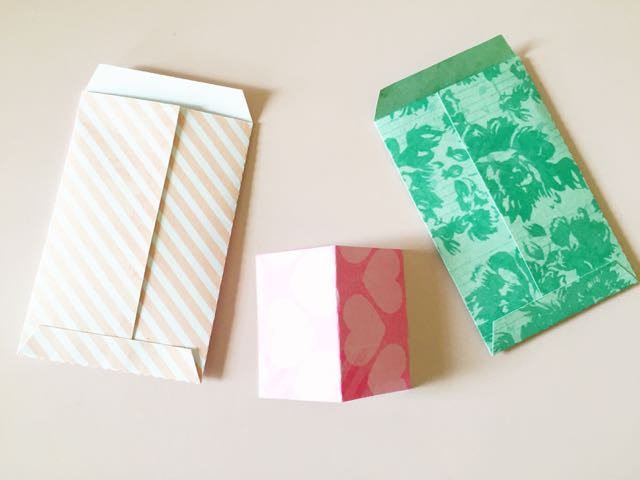
Step 6: Take your frames and begin to assemble them. Fold the long flaps on top of each other with the wider flap on top. Use your tape runner to secure the top piece by not going pass the perforated line. (I did that the first time and had a big strip of exposed tape. The frame will still work, but my photo will permanently adhere to it.)
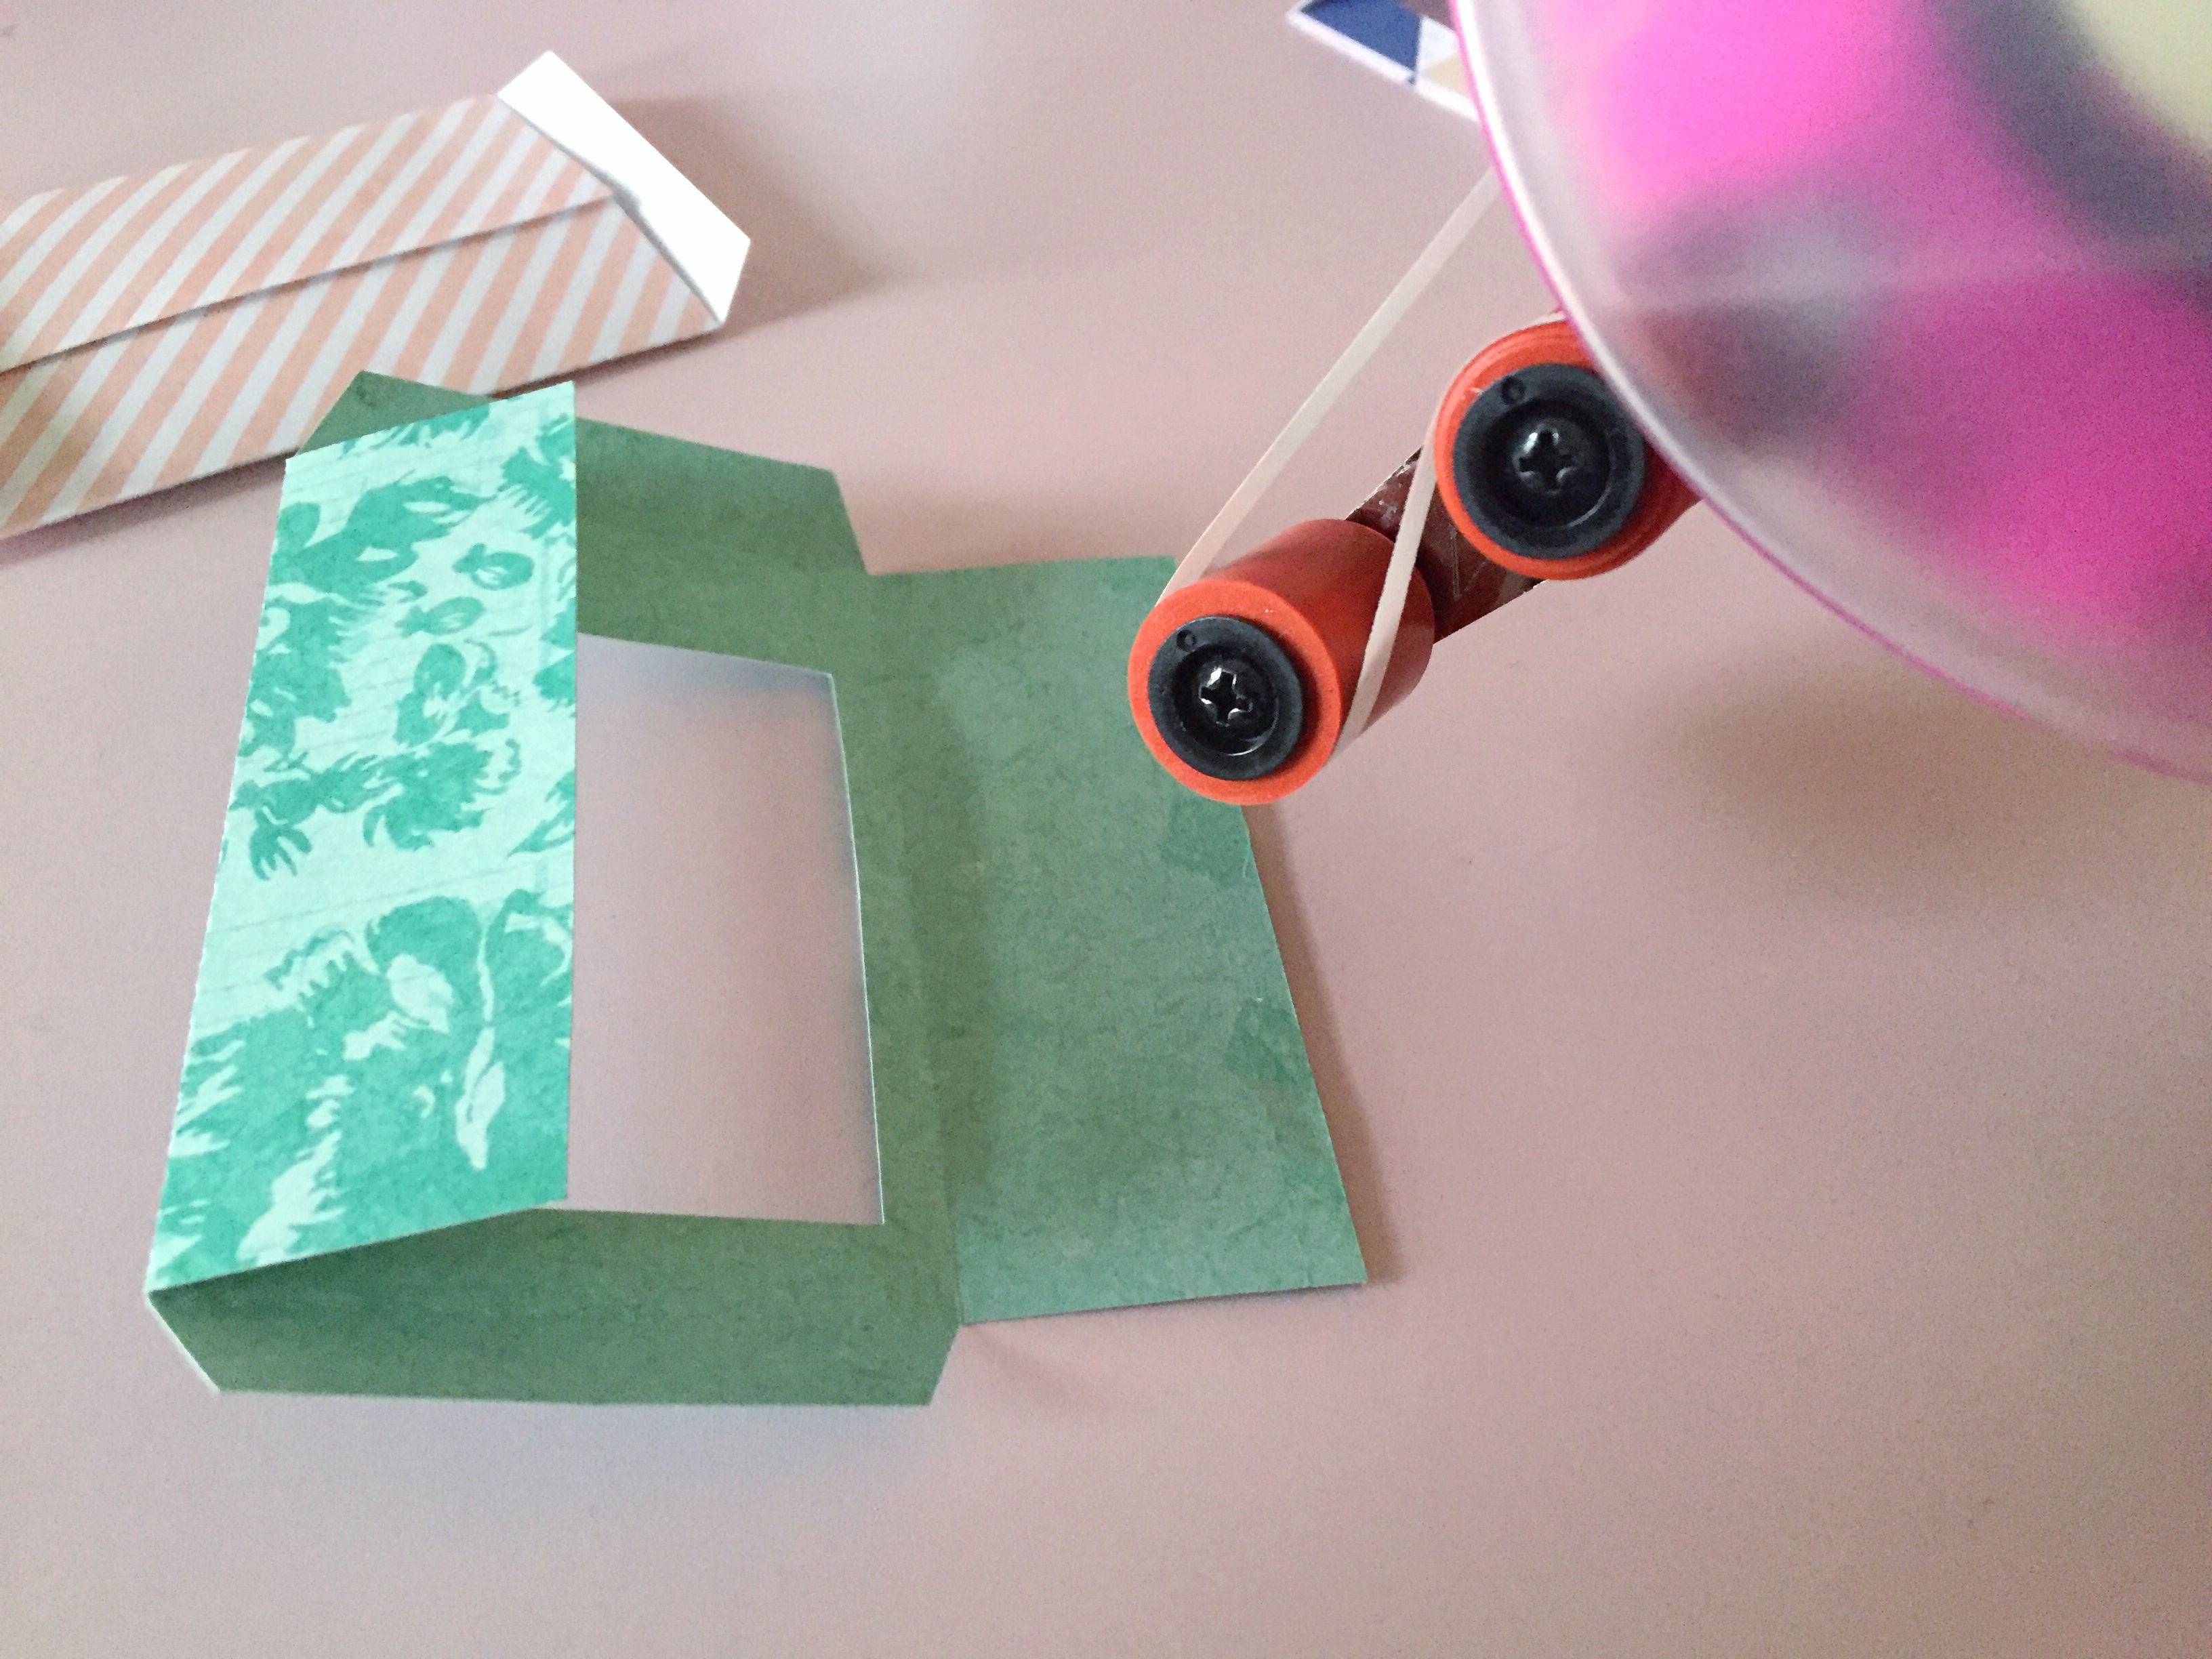 Use some more adhesive to secure the bottom of your frame. Leave the top flap open for your photo.
To Assemble The DIY Accordion Photo Frame
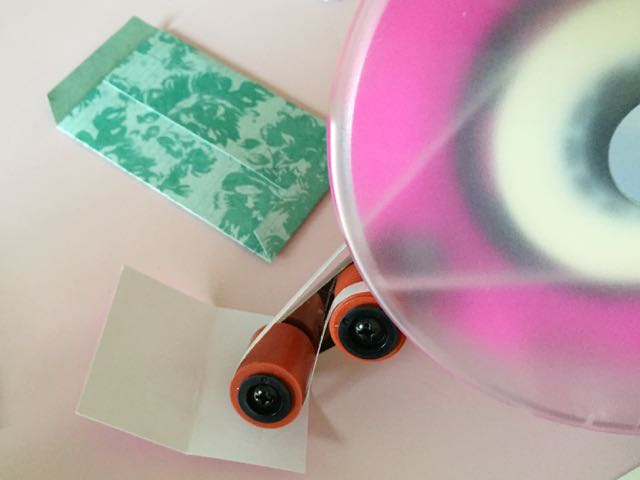
Step 7: Gather your leftover rectangles. Take one rectangle and fold it in half so the patterned side or the side your want exposed if you’re using double sided paper is exposed.
On the inside unexposed side, apply several strips of adhesive.
 Take one frame and secure it to one side of the strip.
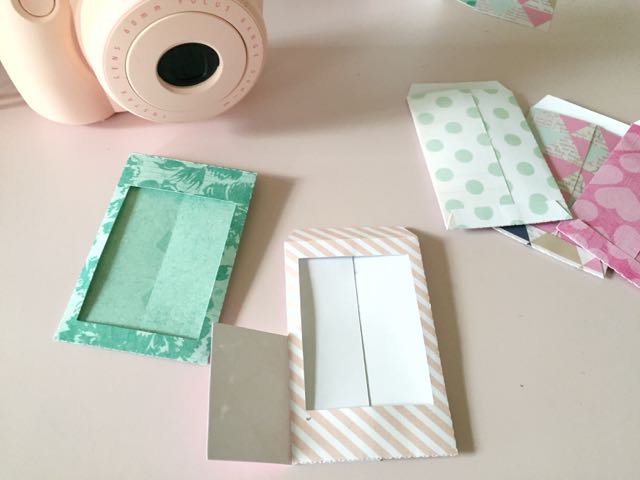 Take a second frame and secure it to the other side.
 Repeat the same process for your remaining frames, but instead of folding the rectangle so the patterned side is exposed, reverse it. Apply adhesive to the white side and use it to secure the first set of frames and the next frame.
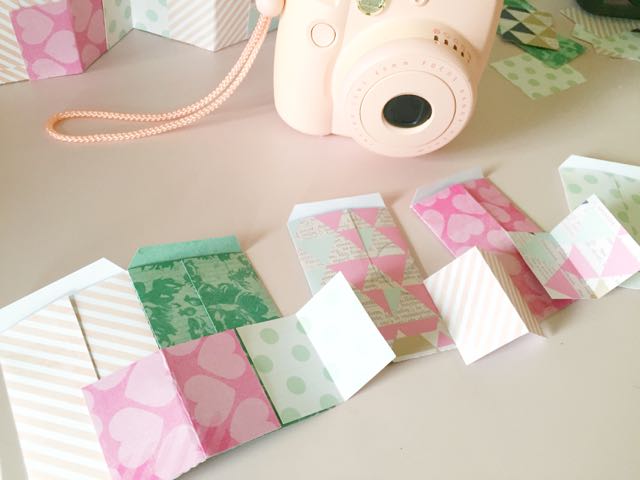
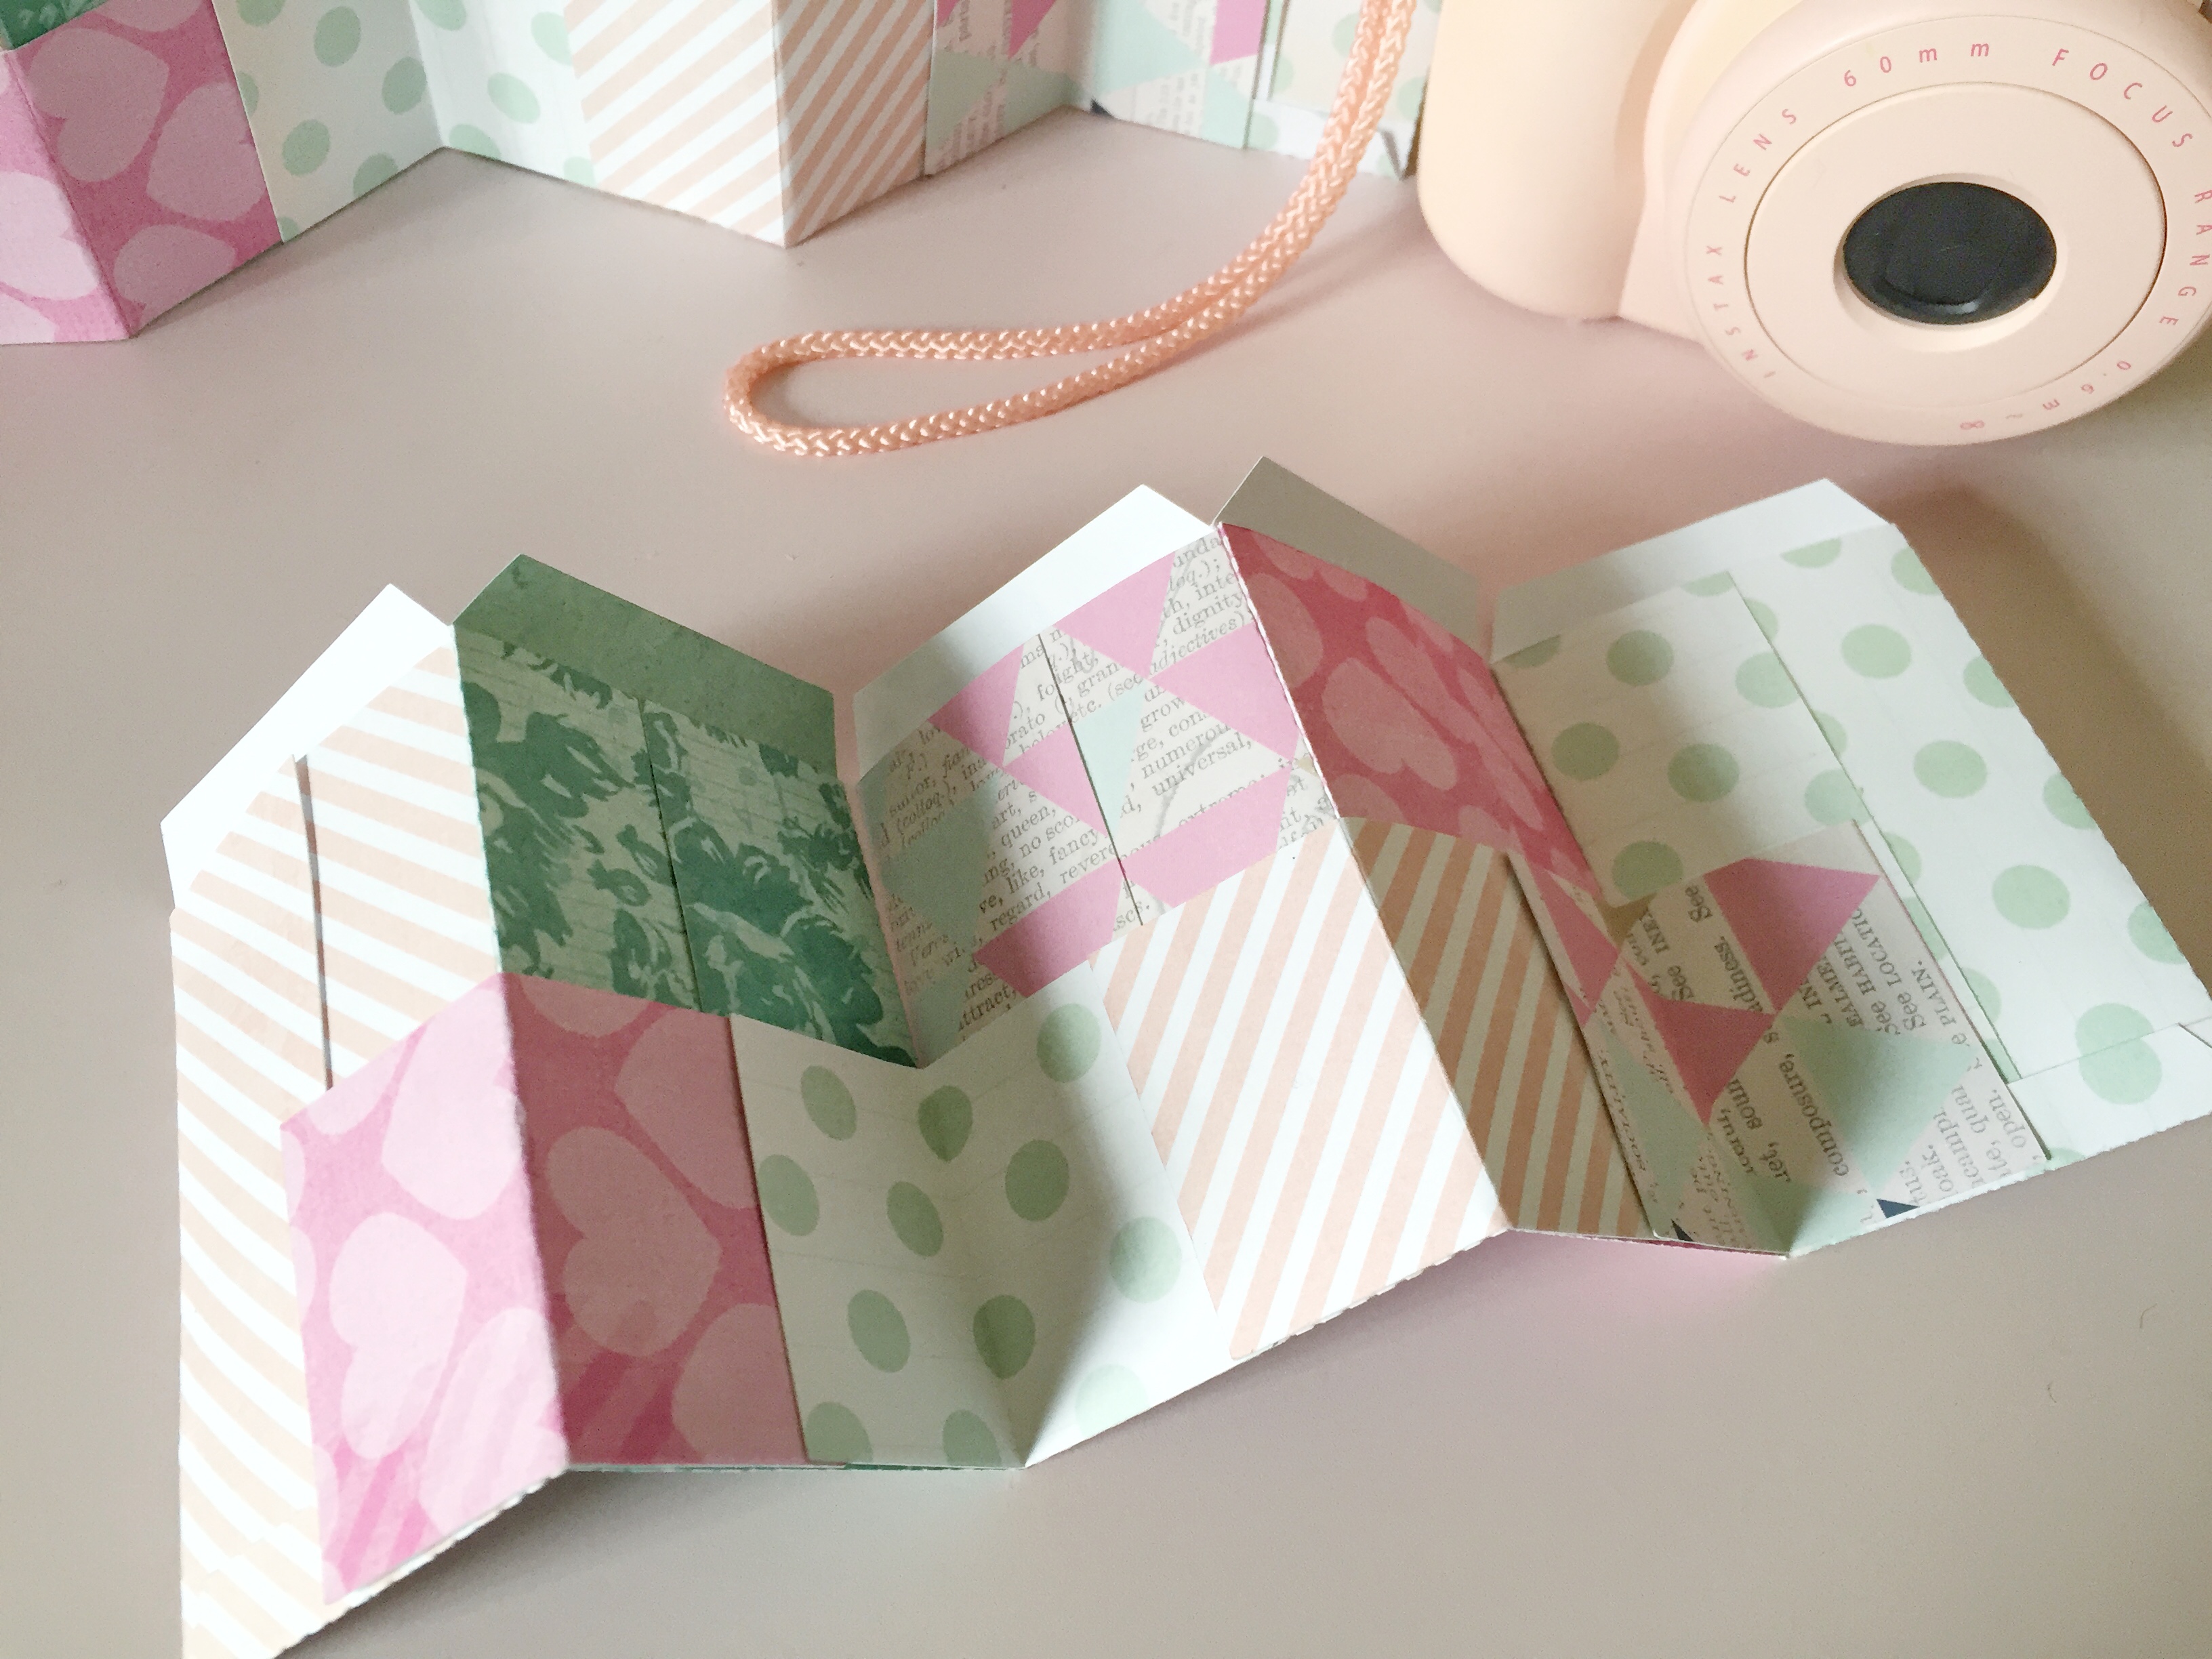
Continue to alternate so you create an accordion of frames. (Note, I chose to make 2 separate accordions of 5 frames versus one lone frame of 10.)
Pack Your Instant Camera In Your Hospital Bag
Aren’t these adorable? I just love how this project turned out.
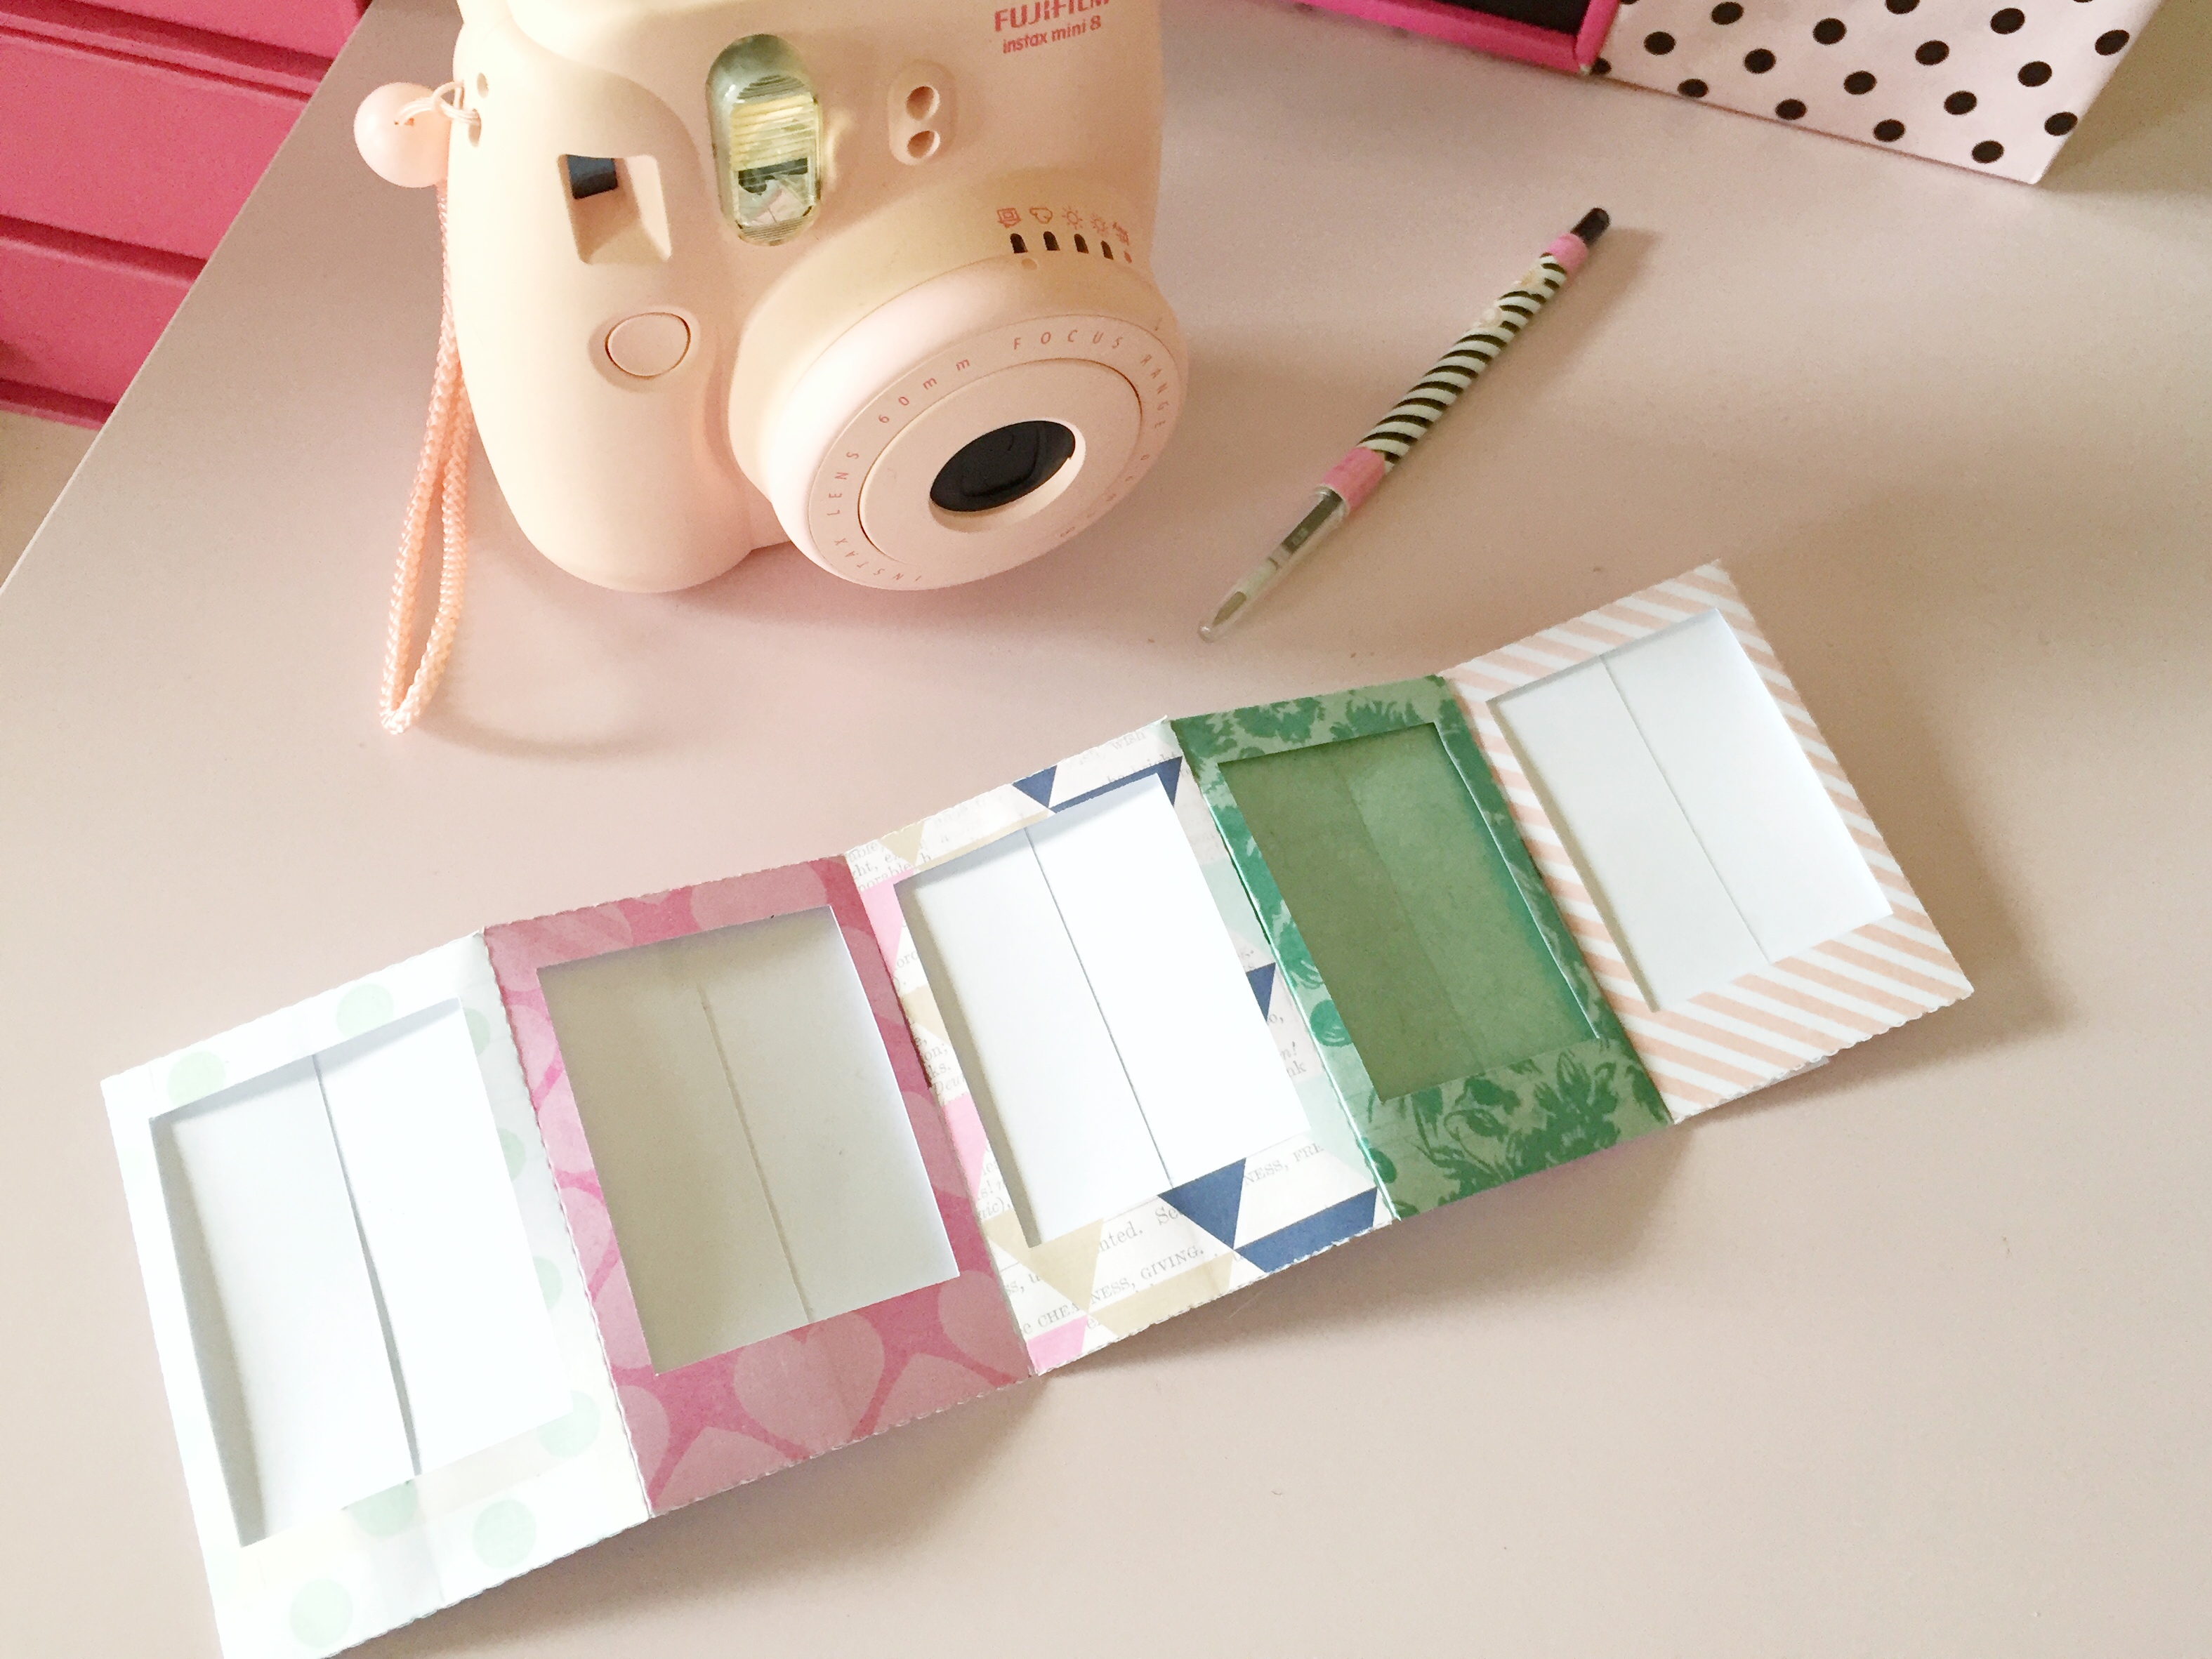 I realized that you can turn these into really wonderful gifts for friends and family who weren’t able to be there in the first few days of you news baby’s life. I would recommend using digital photos versus instant ones depending on how many of these you make. It could get a little pricey and a little overwhelming for your baby if you use an instant camera every time. Think about it. If you want to make 5 of these, you would need to take 50 instant photos. That’s a bit much. Next week, I’ll use both my Instax and iPhone to take photos when I’m in the hospital. I’ll keep the instant photo for my frames and use the digital ones for my great aunts and cousins. So, what are you going to do with you DIY Accordion Photo Frame? Let me know and don’t forget to post your pics to Facebook, Instagram or Twitter with #htgawcrafting. I can’t wait to see how your frames turned out.