 I’ve been a planner gal for as long as I can remember. To this day, my favorite is still my high school issued planner. It met my needs perfectly. It was compact, had an ideal layout, and was fabulously colorful. Now as a mama to two under two who’s running her own business, my planner needs have drastically changed. So I’ve been on the hunt for the ideal planner that is functional and affordable. And unfortunately the crazy expensive, albeit beautiful planners, aren’t meeting my mommy needs. So what’a Planner Gal/Mommy to do?
I know I’m not alone in my quest to find the perfect mommy planner on a budget. I see my fellow planner moms on IG going through multiple planners in a year. I know some of us do it for the variety, but I can’t help to think there are others out there like me who are in the vicious cycle of being seduced by a gorgeous planner and then realize it doesn’t work functionally. (There’s simply not enough space to make lists, and keep notes in those cute little planner layouts.) Well, have no fear! I may have stumbled upon a solution that can work for you! Below is how I “Frankenstein-ed” a functional, custom and affordable planner out of an Erin Condren notebook, an old Limelife Planner and a few DIY touches.
Step 1: Keep Calm & Accept Functionality
I get it. There’s a lot to love about premium planners. They’re beautiful, solid and fun to decorate. (Check out my post on how decorating a planner can help relieve stress.) But I had a Come To Jesus moment and realized that functionality outweighs looks. (Don’t worry though, you can still have some pretty with this planner solution.) The truth is, my days are less about scheduling specifics and more about managing:
- To-do lists for my two kids, husband, and two cats
- Plans for my clients, Etsy shop and blog
So when it comes to these premium planners, most of the layouts just aren’t functional. The pages simply didn’t provide enough space for me to write lists, thoughts, ideas, notes, etc for everyone in my family.
A notebook on the other hand does. Notebooks provide a better base for functional planning because they have the space to:
- Keep long lists – Sometimes there’s just more to do in one day than a typical planner daily/weekly layout or side note column can handle. Plus keeping a running list – regardless of the day/week can be easier when managing a household.
- Plan ideas – It’s called a PLANNER for goodness sake. Yet, most planners leave little to no room to really WORK THROUGH A PLAN. There’s no extra time or baby bag space to have one book for jotting down ideas and thoughts and another for keeping a schedule as a mom on the go. Having it all in one place keeps it simple.
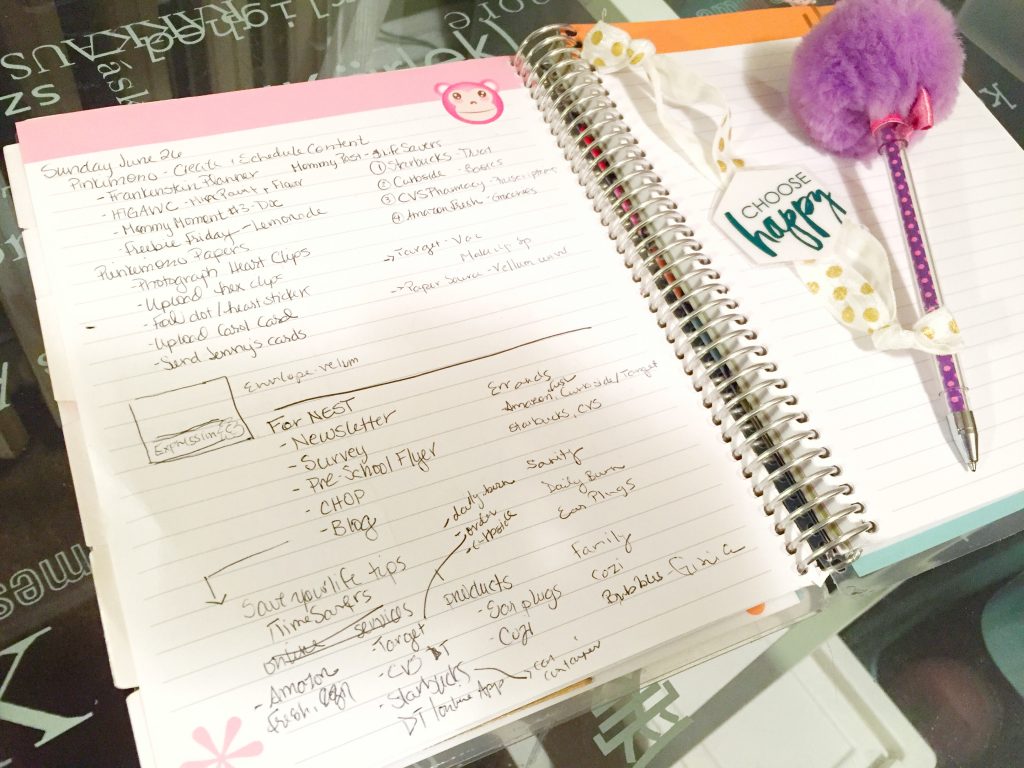
- Take notes – Same idea above applies here. Most likely when I’m making a call or having a meeting I’m going to need to reference my calendar. So, why would I take notes in one book and then move into a different book for scheduling? It’s just unnecessary and as busy mom bosses, we don’t have time for it.
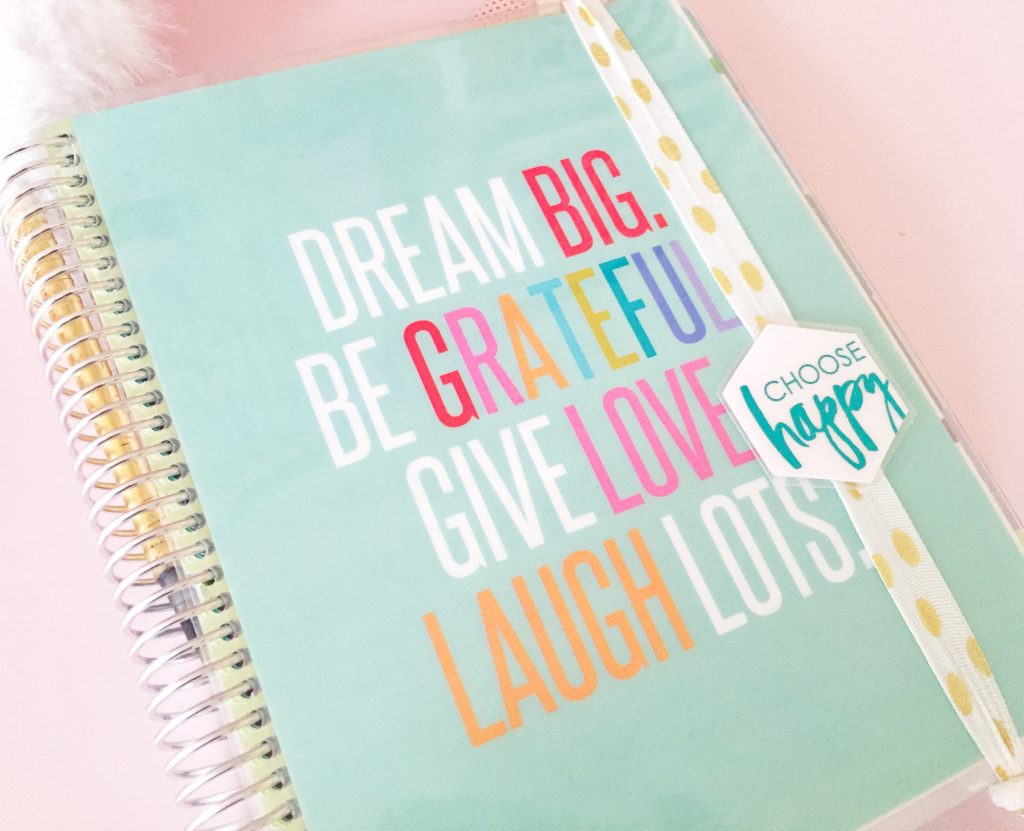
So to build my planner I decided to go with a premium and much more affordable notebook. I went with an Erin Condren 7″x9″ notebook for 4 reasons:
- It’s well built and pretty sturdy so it can handle being tossed in and out of my baby bag.
- I was able to get it ASAP from my local Staples. (I hate to wait.)
- It was only $17.95. So it is significantly less than most premium planners.
- I can customize it as often as I’d like. You can buy a number of covers to switch out like you would with an ECLP. They have several at Staples and online. Or if you want to go the extra step, you can DIY your own cover. You’ll need a pretty design cover that measures 9″ x 7″, 10 mil laminate, scissors and access to a 4:1 pitch hole punch. You can also have Staples punch your cover or hand punch the holes yourself.
Step 2: Upcycle Your Old Planner Dividers
At this point you may be thinking, “Well Amber, that’s great. But how do I keep track of dates?” Here’s where you can get creative. So if you’re like me, you need both a digital and analog system to maintain a schedule. I need to hear the alarm “ding” from my iPhone to remind me about upcoming appointments and meetings. And I also need to write things down as a way of remembering that the appointment even exists. Said another way, my iPhone serves as my alarm/reminder tool and my planner acts as an overview.
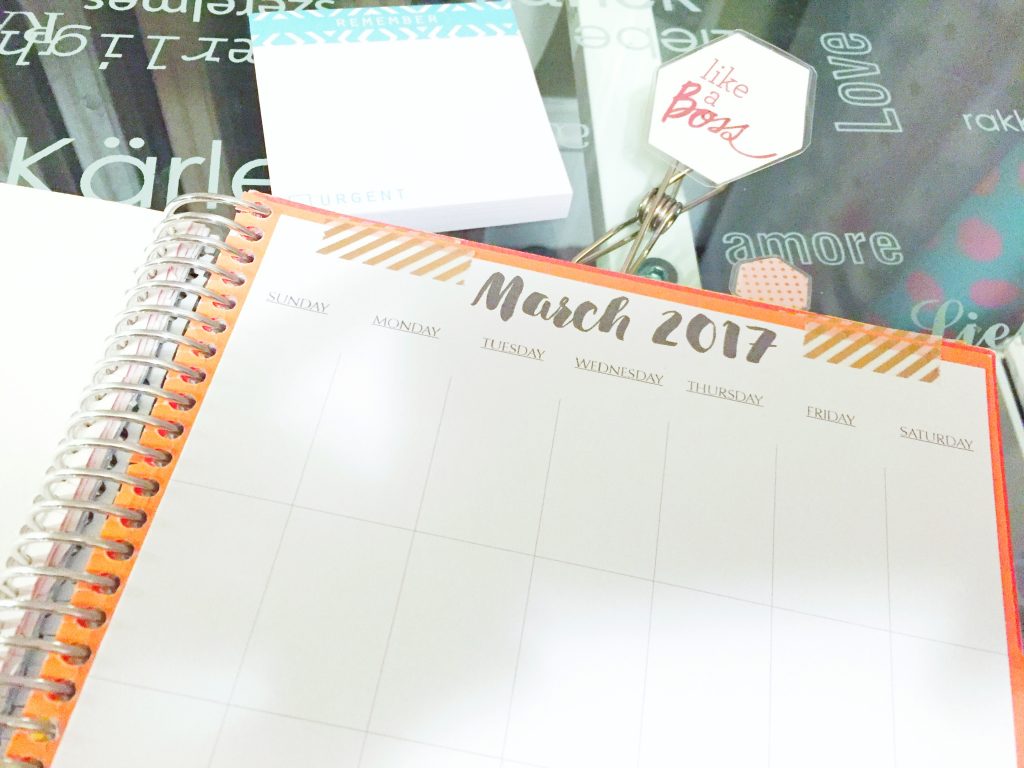
To get that overview into my notebook planner I re-used my dividers from my old Limelife planner and DIYed a monthly layout to fit them. To get the dividers out of your old planner and into your notebook you can:
- Uncoil both your notebook and old planner, remove the dividers, place them in the front of your notebook and then recoil them
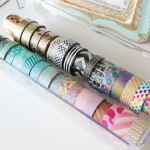
- Or do what I did and snip the dividers out of the LL planner and snap them to the front of the Erin Condren notebook. (Next time I use the snip method, I’ll laminate them with 5 mil and have them punched at Staples so they’ll last longer.) To add the calendar, you can design and print blank monthly calendars (which you can download here), cut them down so they’re smaller than your dividers and use colorful washi tape to tape them to the dividers.
Now, you don’t have to reuse your dividers, but I like to save money where I can and thought this was a great way to do that. But you can always DIY your own dividers and still add the calendar pages with the washi tape or even double sided adhesive.
Step 3: Glam Up Your Planner
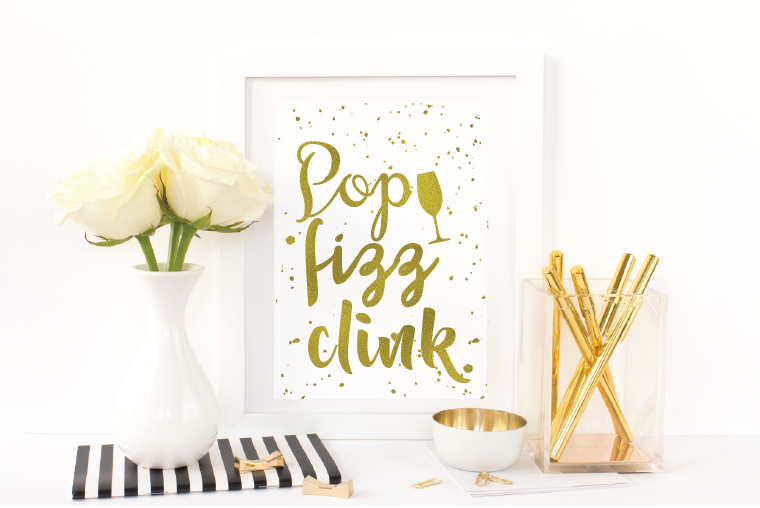
So I didn’t want to completely sacrifice cuteness for cost. The EC notebook overall is super cute, but my calendar pages are pretty, well…plain. Aside from the washi tape, I wanted to give a little extra glam to my pages. So I went with my all time favorite craft medium – foil! (Foil is kind of a running theme on this blog.) I used this file of date stickers I created for my Cameo. (Feel free to download them as well.) I printed them on a laser printer, broke out my MINC Foil Applicator and some pretty foil colors, foiled them, sent them through the Cameo and voila!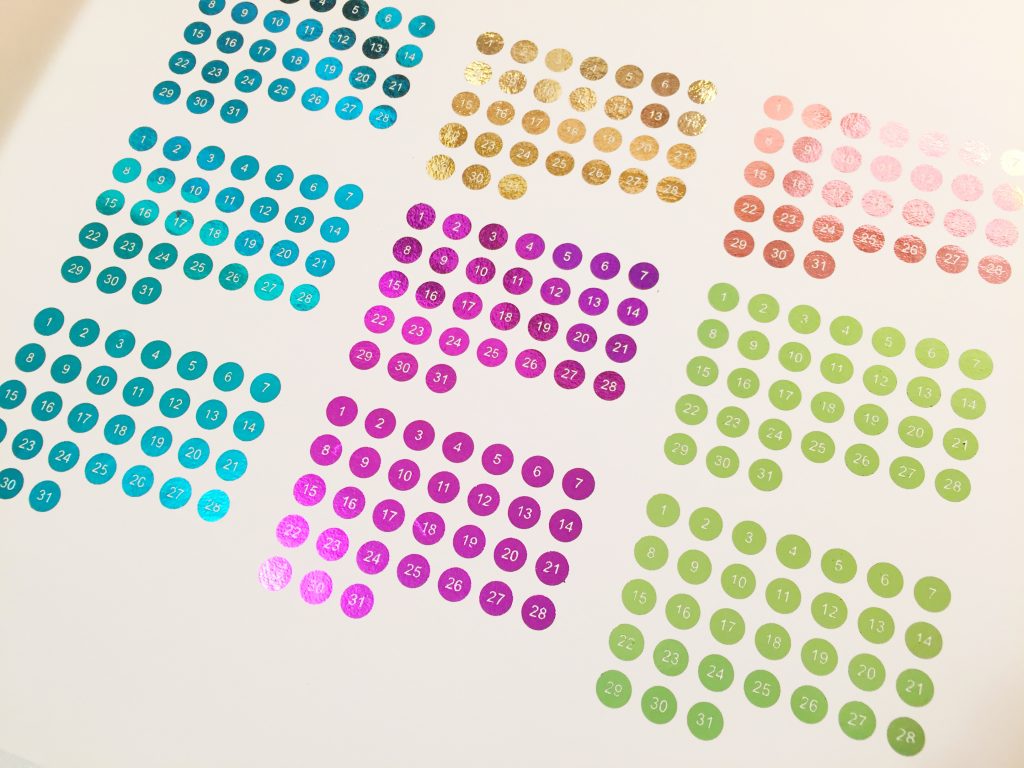
Now I have fabulous shiny stickers to make my plain month sparkle!
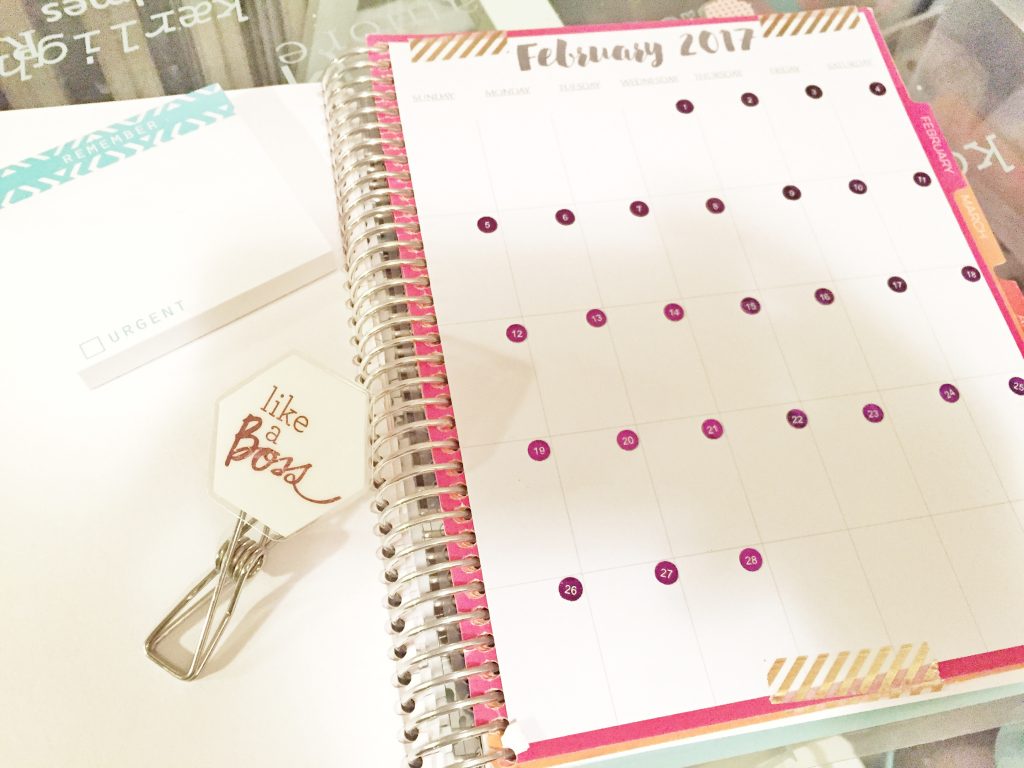 Now if you don’t have a MINC Foil Applicator (go get one!) then you can design your own stickers on fabulous paper to make your planner shine!
So there you have it! A planner you can ACTUALLY plan in, see what’s going on in your schedule and customize without spending a ton of money and time.
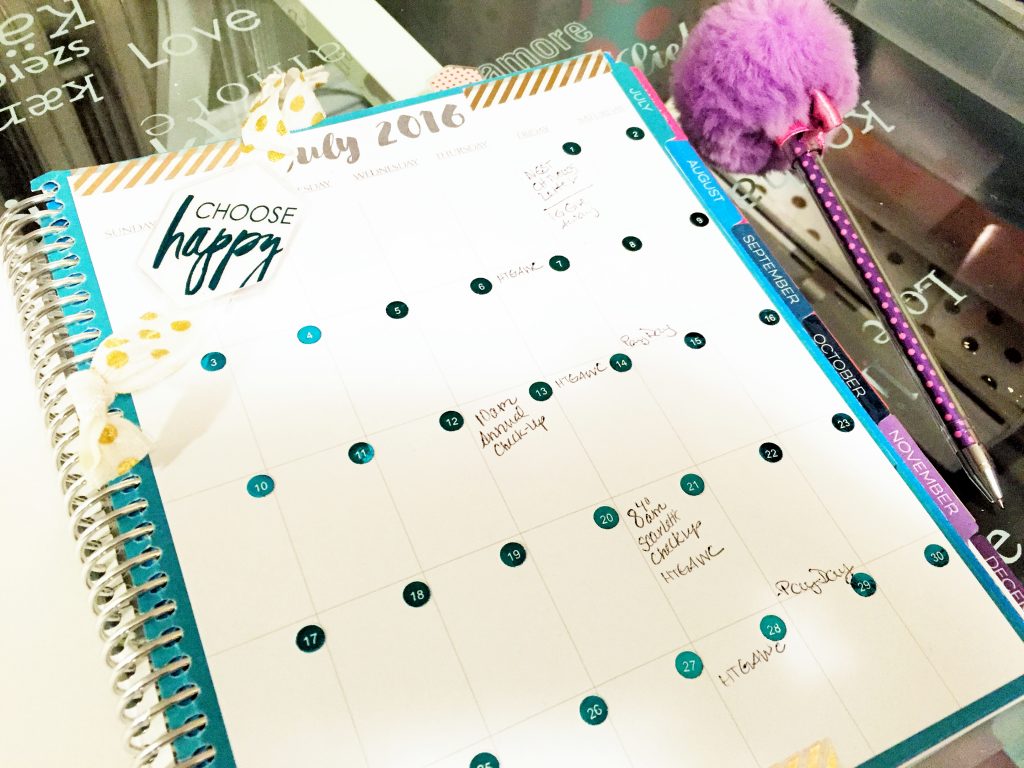 I know this isn’t for everyone, but it seems to be working for my inner mom boss! Hopefully it’ll work for you too! Enjoy!
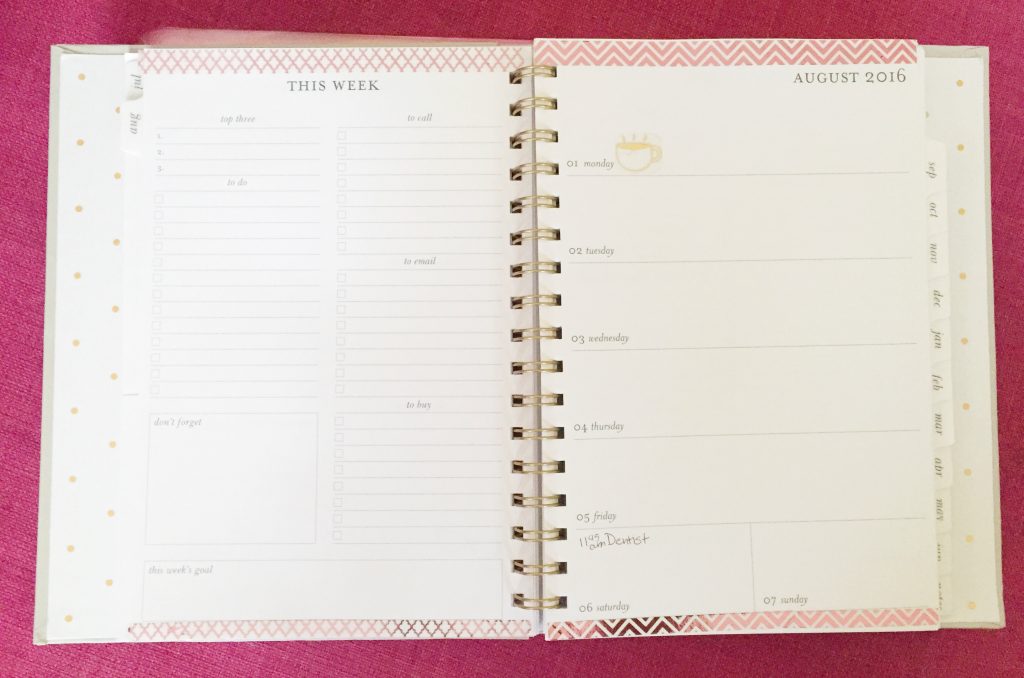
July 19, 2016 UPDATE: Great news. If you’re not the DIY/Frankenstein type, have no fear. Sugar Paper makes a line of planners that are functional and affordable. And they’re accessible because they’re at TARGET. I got one recently because it allows for weekly and monthly planning, groups to-do / to buy lists, and it gorgeous! So check out these planners in addition to using some of the tips above to make your ideally functional planner.
