Pinkimono

Creating A Pretty & Simple Life

  • Email
  • Facebook
  • Google+
  • Instagram
  • Pinterest
  • Twitter
  • Blog
  • Mom Boss-ing
    • Westley & Scarlett
    • Tips for Thriving
  • Craft Magic
    • htgawcrafting
    • The Foil Factory
  • Simple Solutions
  • Freebies
  • The Shop

December 4, 2015 by: Pinkimono Girl

HTGAWC: Make Your Own DIY Holiday Cards with A Touch of Foil

One of my friends on Facebook accepted the #htgawcrafting challenge after reading my tutorial on making DIY Gold Foil Ornaments. In her comments she mentioned that she didn’t know what the MINC Foil Applicator was. I explained, but realized not everyone is going to have one of these fabulous machines. (Plus they’re a bit pricey.) BUT the foil isn’t expensive. (JoAnn’s sells it for $9.99 a roll.) So I thought about what project I could do with the foil but not the machine.

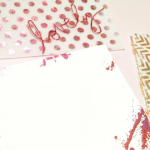
Craft Magic hit me. I remembered this post from DamaskLove.com about using the foil on double-sided tape to decorate a pencil cup. That got me thinking that I could do something similar with holiday cards. So for today’s htgawcrafting project, I am making DIY Holiday Cards with a Touch Of Foil – sans the machine. Instead, we’ll use tape to apply the foil, no heat!


Supplies to Make DIY Holiday Cards with a Touch Of Foil

  • Silhouette CAMEO cutting machine
  • Silhouette Design Store – Holiday designs
  • Heidi Swapp Reactive Foil in Red, Gold, Green and Teal
  • Xyron Sticker Machine (I used the 9in sticker maker)
  • Thermoweb Memory Tape Runner
  • Crop-O-Dile Corner Chomper Tool
  • Cardstock

Steps

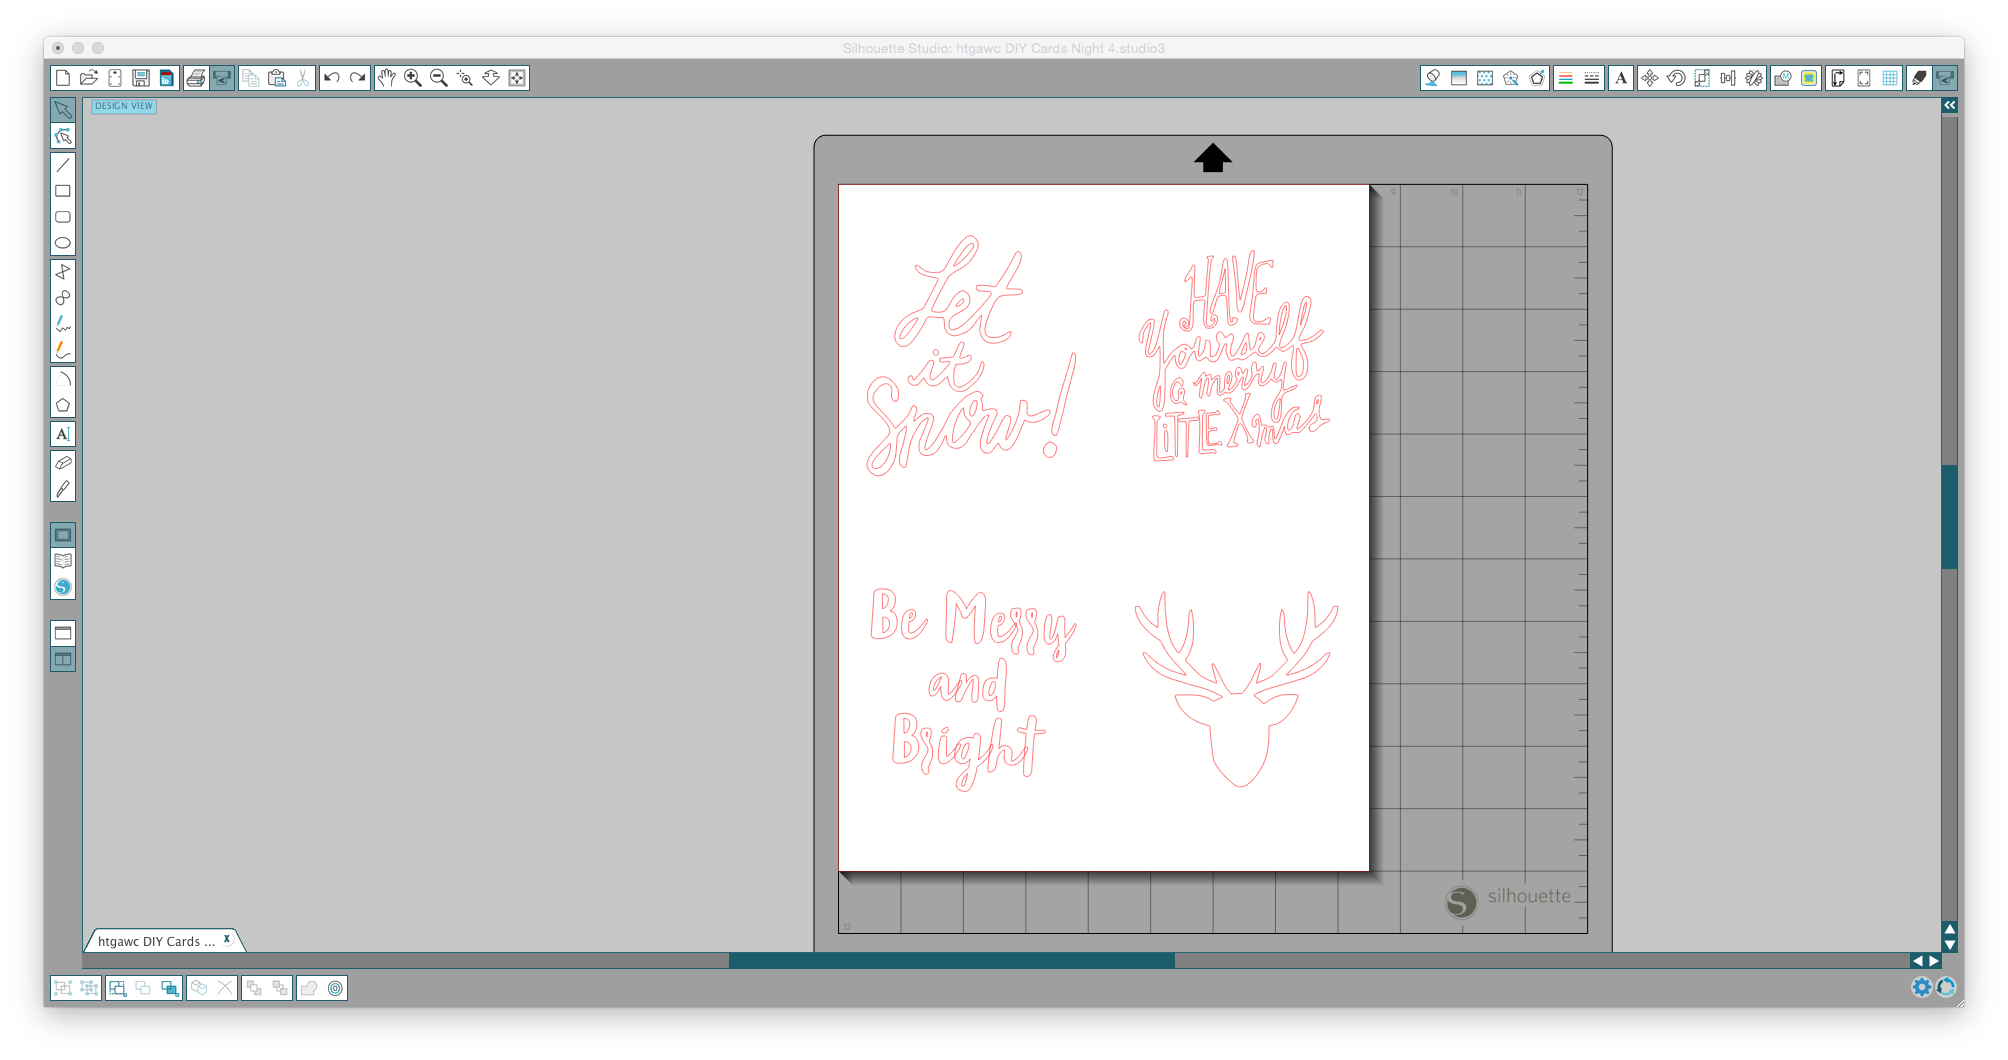
Step 1: Open a new document in your Silhouette Studio® software. Adjust your paper settings for 8.5 x 11.

Step 2: Divide your paper into 4 even rectangles – 4.25 x 5.5. These will become your card fronts.

Step 3: Visit the Silhouette store and download any holiday designs you like. Once you download your Silhouette or custom designs, place them on your cards. Size your artwork to your specifications and for each one of your four cards. 

htgawc 4 Silhouette

Step 5:  Send your design through your Cameo with the ratchet blade setting at 3 or 4 depending on how sharp your blade is on your cardstock. Remove your cardstock from the mat when you’re done. 

htgawcrafting Night 4 Holiday Cards To Cut

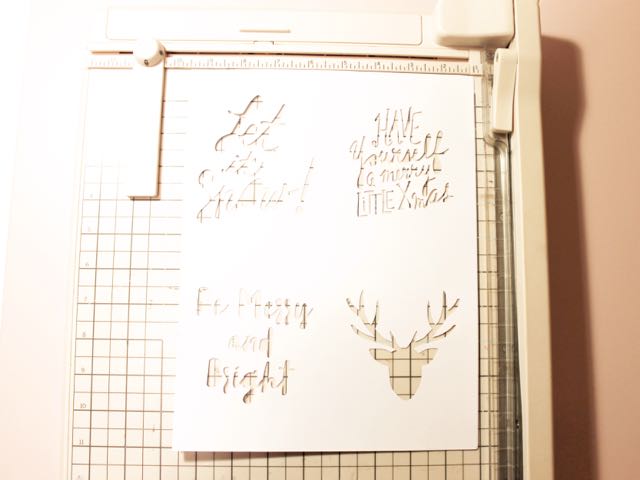
Step 6: Cut your cardstock into 4 cards – 4.25 x 5.5. Also cut a plain piece of cardstock into 4 matching pieces. These will be the cards backs.

htgawcrafting Night 4 Holiday Cards Cut

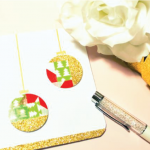
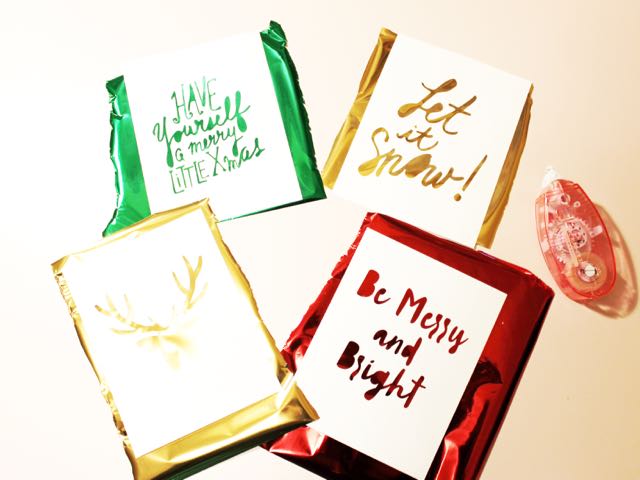
Step 7: Cut four pieces of different color Heidi Swapp MINC Foil to place on the back of your cards. Adhere them with a tape runner. You could also run the card through a sticker maker and then add it to the foil. Trim any extra foil so nothing is hanging over the edges of your cards.

htgawcrafting Night 4 Holiday Cardswith Foil

Step 8: Take your card backs and run them through your sticker maker.

Step 9: Line your sticky card backs up to your card fronts. If it’s a little misaligned, that’s okay, just trim your card so it’s even.

Step 10:  Use your Crop-a-Dile to round the corners. I like the 1/2 inch rounder.

htgawcrafting Night 4 Holiday CardsCropped

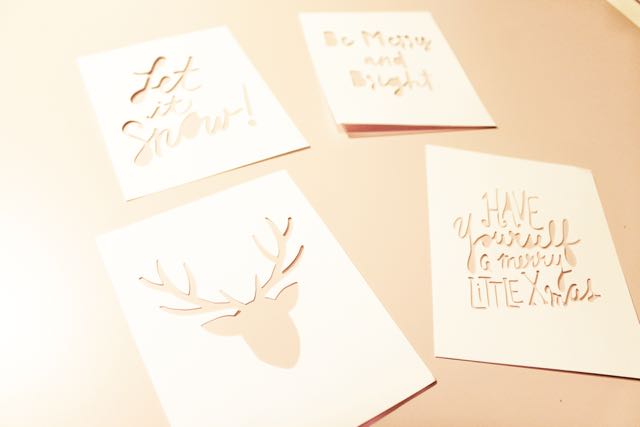
Voila! You have come super cute and simple Holiday cards. Feel free to decorate the fronts and backs of your cards. I used some of my leftover gold foiled snowflakes from my DIY Gold Foil Garland project. I turned them into stickers and added them to the front of the cards. 

htgawcrafting Night 4 Holiday Cards Final

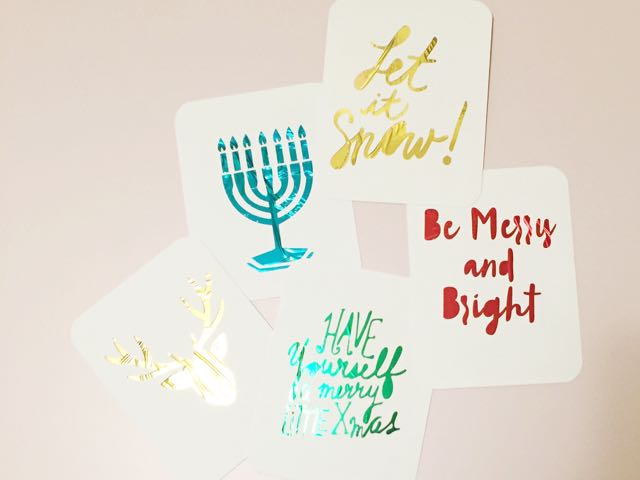
I just love how these holiday cards came out. I think they’re perfect to give out at work or even for kids to give out at school! Let me know how you did. Post your photos on Instagram and hashtag it #htgawcrafting! Can’t wait to see your cards!

Till tomorrow…

Other Posts You Might Like

  • HTGAWC: Make Your Own Simple Washi Tape Holiday CardsHTGAWC: Make Your Own Simple Washi Tape Holiday Cards
  • HTGAWC: DIY Gold Foil OrnamentsHTGAWC: DIY Gold Foil Ornaments
  • HTGAWC: Make Your Own DIY Gold Foil GarlandHTGAWC: Make Your Own DIY Gold Foil Garland
  • HTGAWC: DIY MINC Foil StationeryHTGAWC: DIY MINC Foil Stationery

Instagram

Instagram requires authorization to view a user profile. Use authorized account in widget settings

Categories

Latest Pins

 Holiday Mitten Gift Card Holder  - The gift card giving season is among us! ( = Seriously, give those Amazon, Target and Apple gift cards to your friends and family with a little something extra. These handmade gift card holders are a super cute and convenient way to share some holiday cheer. Theres a place to securely add your card and space to leave a sweet holiday message!Handmade Gingerbread Man Christmas Shaker Card - Oh Snap! Its Christmas! Celebrate with this pretty, shaker card for the puny person in your life! Visit the shop now to snatch up this one of a kind, handmade shaker card.Handmade Gingerbread Man Christmas Shaker Card - Oh Snap! Its Christmas! Celebrate with this pretty, shaker card for the puny person in your life! Visit the shop now to snatch up this one of a kind, handmade shaker card.Handmade Unicorn Christmas Shaker Card - Unicorn magic is here for the holidays. Visit the shop now to snatch up this one of a kind, handmade shaker card for the unicorn addict in your life this holiday!Handmade Unicorn Christmas Shaker Card - Unicorn magic is here for the holidays. Visit the shop now to snatch up this one of a kind, handmade shaker card for the unicorn addict in your life this holiday!Small Hanukkah Shaker Gift Tags - Just loaded some adorable "Happy Hanukkah" gift tags to the shop. Perfect way to make your gifts pop this year!Whimsical Gold ScriptThe 30 Best Pumpkin Decorating Ideas Youve Ever SeenMelted Crayon Pumpkins by Dream a Little Bigger and other cool pumpkin ideas Easy No Carve Pumpkin Ideas that Make the Best Halloween Decorations


Archives


SHOP PINKIMONOPAPERS

SHOP PINKIMONOPAPERS

Shop pretty, custom designs for stationery like note cards, notebooks, planner accessories and items for special occasions.

FREEBIES

FREEBIES

FREE printable wall art and other goodies are available every week! Add a little fun to your home or office with these printables. Print, frame and hang t!

Hi Friends!

HI! I'm Amber and welcome to Pinkimono. I'm a mom to 2 lil' sweeties, my son Westley and my daughter, Scarlett. I'm a MomBoss, Blogger, Designer, DIYer, Paper Addict & PINK girl. I'm happy you stopped by. I hope you find some helpful tips and goodies that inspire you to live a pretty & simple life too! [Read More…]

Let’s Connect

  • Email
  • Facebook
  • Google+
  • Instagram
  • Pinterest
  • Twitter
  • Home
  • About Pinkimono Girl

© 2022 · Fun Genesis WordPress Theme by, Pretty Darn Cute Design