 So I am a HUGE fan of the show How To Get Away With Murder. Not only does it keep me entertained for 1 hour, it gives me 60 minutes of Me Time. I place myself if my “cone of Amber silence” and take in the drama and shadiness of Annalise, Frank, Bonnie and the Keating 5. Now with it being on hiatus, I am a broken woman. Okay, that’s way extreme. But seriously, I miss my Me Time and it hasn’t even been a week.
That is, until early this week. Awhile back my sister and husband told me I should name this blog “How To Get Away With Crafting” due to my obsession with crafting and the ABC hit. I thought it was cute, but not exactly what I was looking for in terms of a name. But it’s been sticking in the back of my mind for awhile. Then craft magic hit me earlier this week. I realized I could totally use that name for a monthly craft challenge to myself to fulfill my Me time. Then I thought, why not open it up to anyone else who wants to join me.
So here’s how the “How To Get Away With Crafting” challenge works. Like the wonderful show, you have one hour to craft something fabulous. So it should be simple enough to be done within an hour. After you’re done, take pictures of your finished craft and post it to Instagram with the hashtag #htgawcrafting.
Since this is the first month, I’m determined to do one 1-hour craft a day for the holiday season. That’s one craft a day till Christmas week. Whew! Here we go.
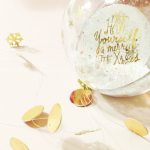
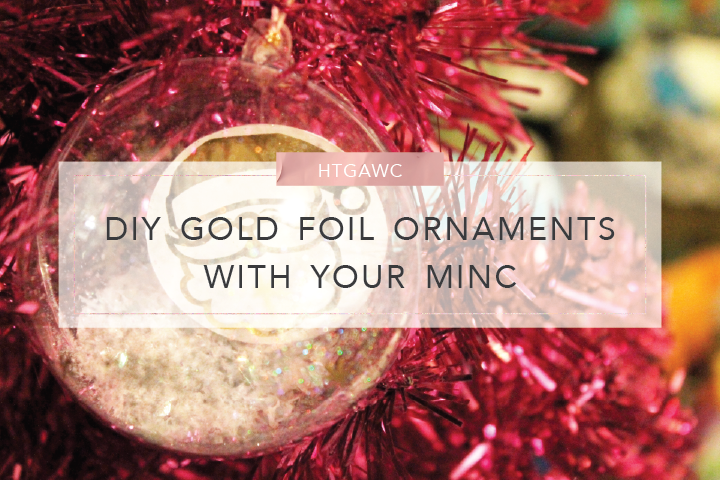
Today’s 1-hour craft is DIY Gold Foil Ornaments.
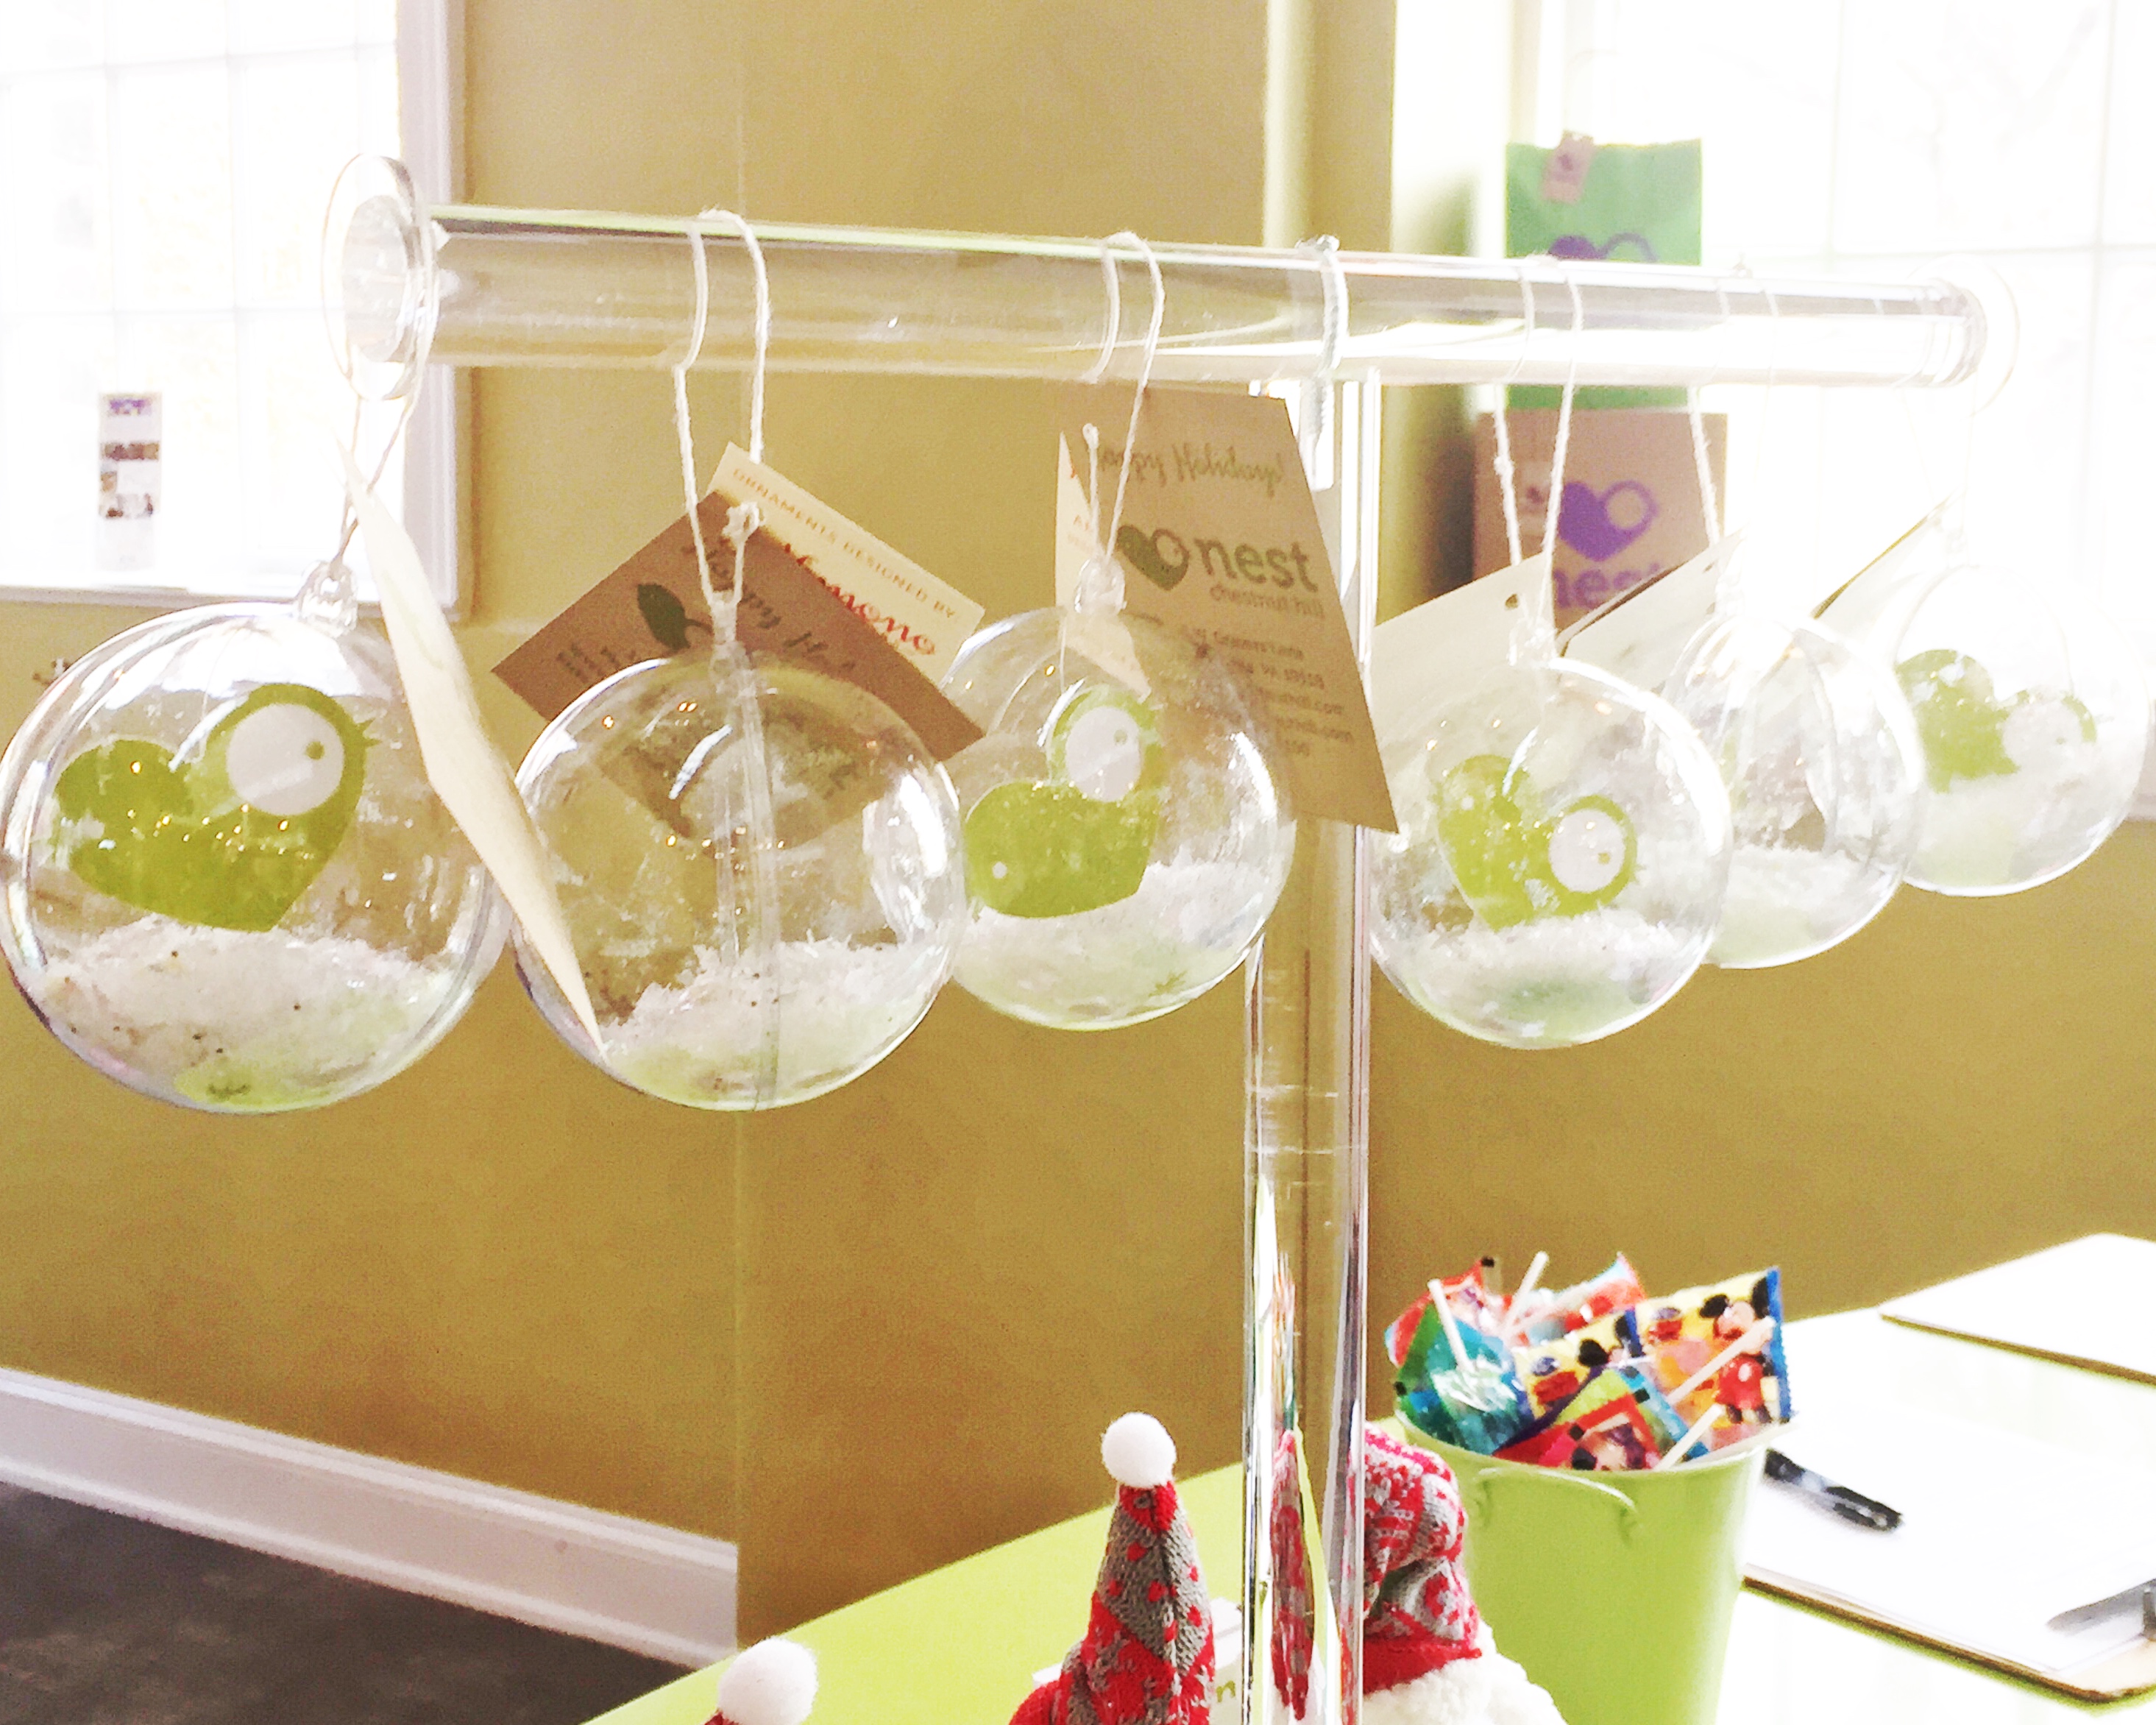
This was inspired by a set of ornaments I did for NEST Chestnut Hill to give away with their gift cards for the season.
I liked them so much I decided to do a set for my personal pink Christmas tree. (Of course, I have a pink tree.) Bellow are the steps to make these pretty little guys.
Supplies to Make DIY Gold Foil Ornaments
- Silhouette CAMEO cutting machine
- Heidi Swapp MINC Foiler Applicator
- Thermoweb iCraft DECO foil in gold
- 1 sheet of heavy cardstock
- Buffalo Snowflakes Iridescent Sprinkles
- Fine glitter
- 5 80mm clear ornaments that come in halves
- Thermoweb Tape Runner
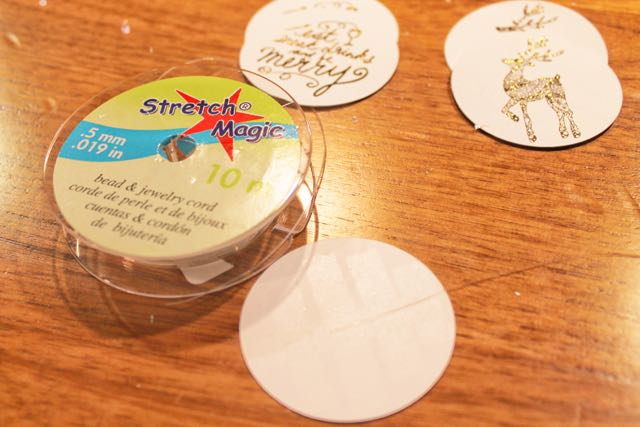
- 5 pieces of 2.5-inch Stretch Magic String
- Hot glue gun & glue
- Bakers twine
- Gold Metallic Sharpie
Steps
Step 1: Open a new document in your Silhouette Studio® software. Turn the registration marks on.
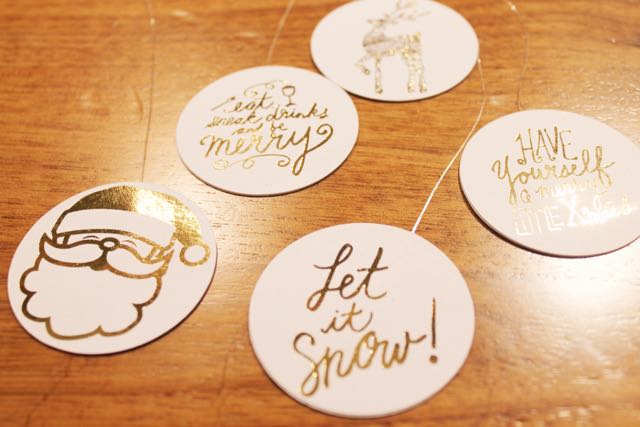
Step 2: Draw 10 2-inch circles. For each ornament, you’ll need two copies of each image – one for the front, the other the back. I went with 5 different Christmas themed expressions and icons. For each ornament, place your shape in a circle. (Remember to do this twice – front and back) Finish by applying cut lines to the circles.
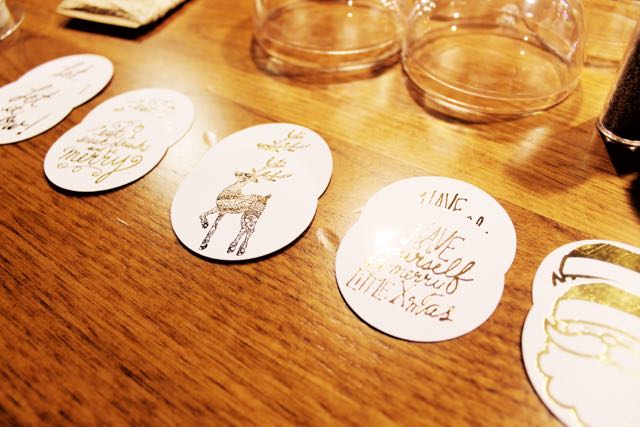
Step 3: Print your images out on heavy cardstock on a laser printer. Place your printout onto the MINC transfer folder. Select your foil color, cover your images with it and send it through your Heidi Swapp MINC Foil Applicator. I chose gold foil, but I think rose gold, silver or pink would look awesome on my pink tree. Just use whatever colors match holiday your theme. Once your images have been foiled, use a spare minute to admire how pretty they are.

Step 4: Return to your cutting mat and place your foiled print out onto it. Send your foiled images through your Cameo with the cut settings for the 2″ circle on cardstock. Afterward, take your perfectly cut images from the mat and set them to the side.
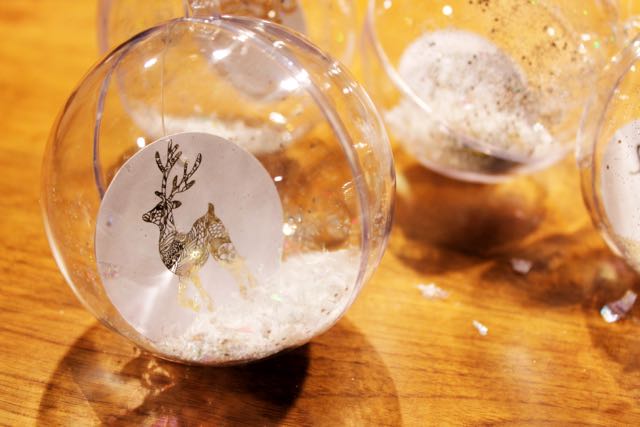
Step 5: Take a half of each acrylic ornament and fill it with a teaspoon (or more) of “snow.” Add a little glitter. I used a combination of Martha Stewart Sterling, WOW! Platinum and Recollection Opaque Sparkle.

Step 6: Take a set of your foiled images, a piece of string and your tape runner. Use your tape runner on the back of one image. Center the string on the sticky side so half of it hangs from the top. You’ll use this to anchor the image to the ornament. Sandwich the string with the other image.
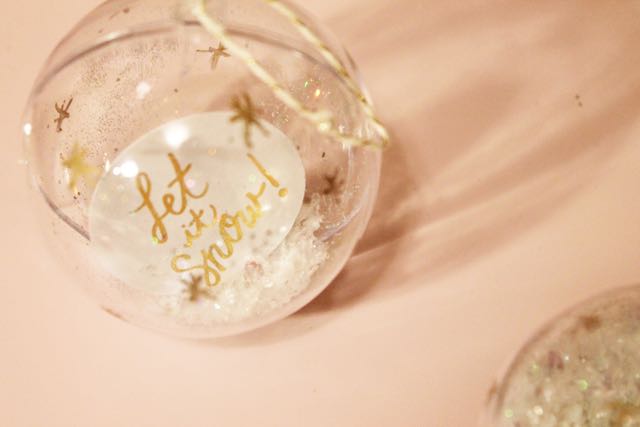
Step 7: Take the half of your ornament with the snow and glitter and thread the string with the image through the hole at the top of the ornament. It’s your call on how long or short you want to make the image. For some ornaments, I made the string short and some a little longer so it looked like the image was sitting in the snow.
Step 8: Seal all of your ornament goodness with the other half. I used a little bit of hot glue on the top of the closure. Between the cats and the kid, I can see these beauties getting knocked over.
Step 9: Thread your baker twine through the closure at the top to make a loop so you can hang your ornament.
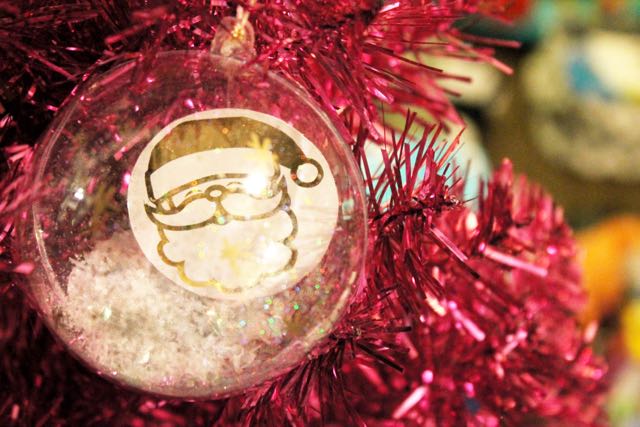
Step 10: Take your gold Sharpie and draw little ”snowflakes” on your ornaments.
Repeat these steps for each ornament and voila! Craft magic! You now have classy and shimmery holiday gold foil ornaments that are uniquely yours.
So, let me know if you accepted the challenge and if so what did you make? Did you follow this tutorial or make something else? I would love to know.
Till tomorrow…