After fighting my asthma for the past week, and going to the ER, I finally got some good news. Baby Girl Finch’s delivery dates has been scheduled! I’m so excited! I’m also realizing I need to get moving on updating the nursery. I originally planned on overhauling the entire room so it would be cream and gold. But after looking at Westley’s rainbow mobile to inspire last week’s htgawcrafting challenge – DIY Starry Mobile, I decided to keep the rainbow theme and just update the nursery with stars and cats. (The stars are for Baby Girl Finch and the cats are for Westley. He LOOOOOVES CATS!) I was further convinced to keep the rainbow theme when I saw this gorgeous mantle on Instagram from @mandipops.
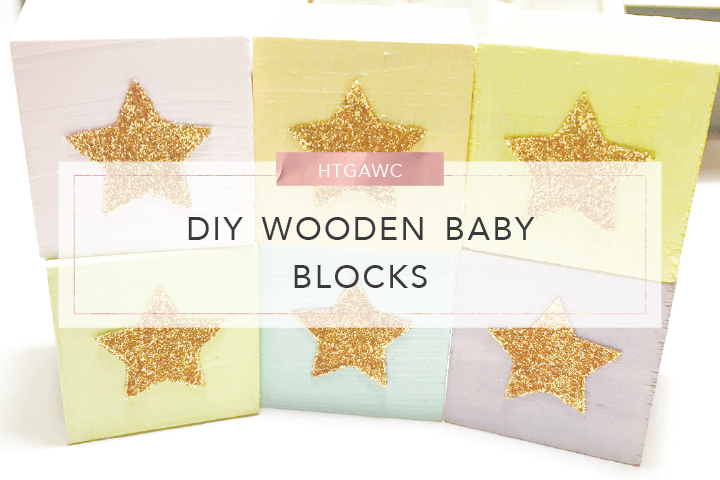
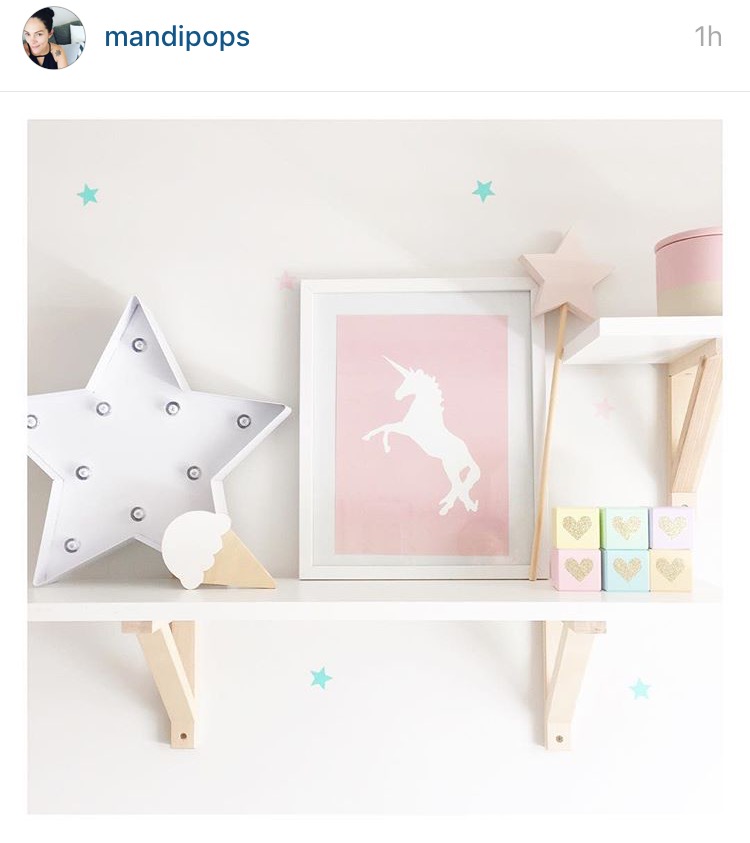 I instantly fell in love with the rainbow baby blocks with the hearts. Now, if you want to order these exact blocks, follow@lillypillyarts on Instagram. She made the wonderful blocks and has some beautiful product. So for this week, via inspiration from @lillypillyarts, we’re making our own Starry Rainbow Baby Blocks.
Let’s get started!
Supplies for Starry Rainbow Baby Blocks
- 1 piece of cardstock
- Silhouette Cameo machine
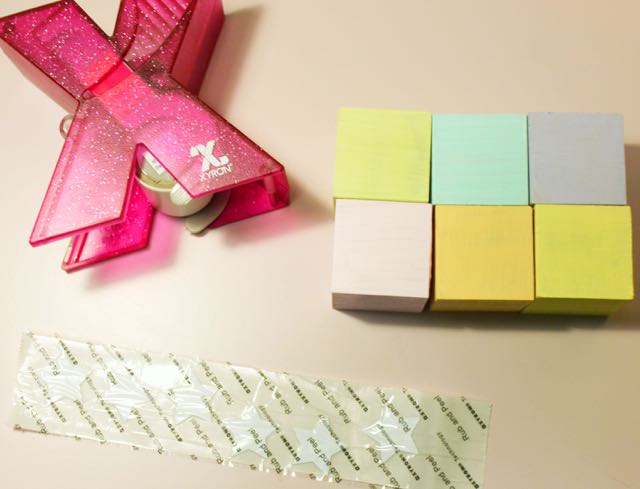
- Xyron 1.5″ Sticker Maker
- 6 – 1.5″ Wooden Blocks
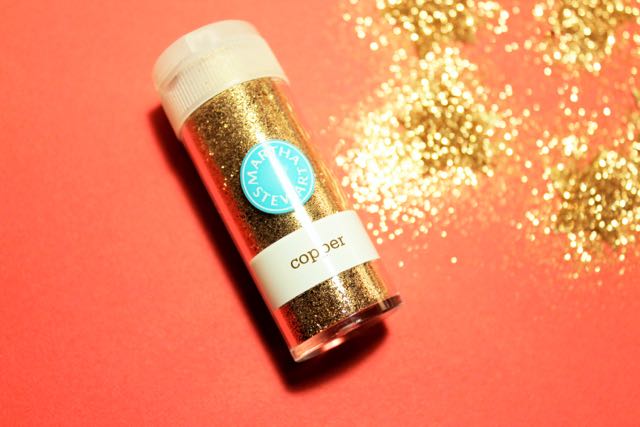
- Martha Stewart Crafts® Fine Glitter in Copper
-
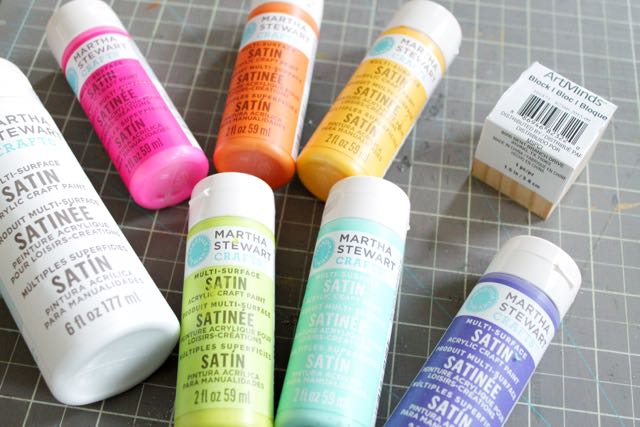
Martha Stewart Crafts® Multi-Surface Satin Acrylic Craft Paint in
- Party Streamer
- Mace
- Pollen
- Granny Smith
- Beach Glass
- Purple Yam
- Wedding Cake
- Foam Brush
- Dish to mix your paint
Steps
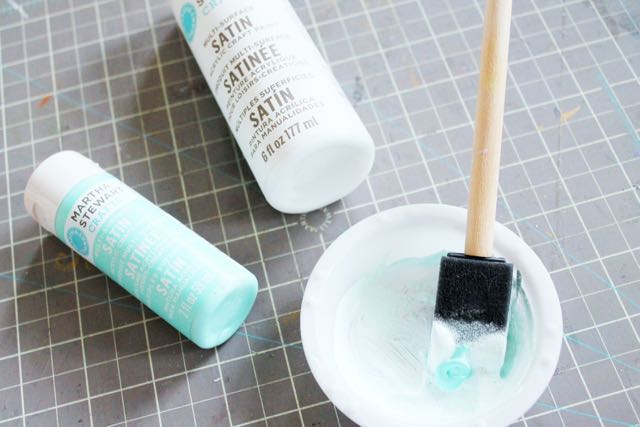
Step 1: Take your paints and prepare to mix them to get the colors you desire. Because this is for a neutral bedroom, I chose to significantly lighten all of my paints to a baby/pastel shade.
To do this, I would take 2 parts Wedding Cake (white) paint and mix it with 1 part of the color I was working with. If needed, I added additional drops of Wedding Cake.
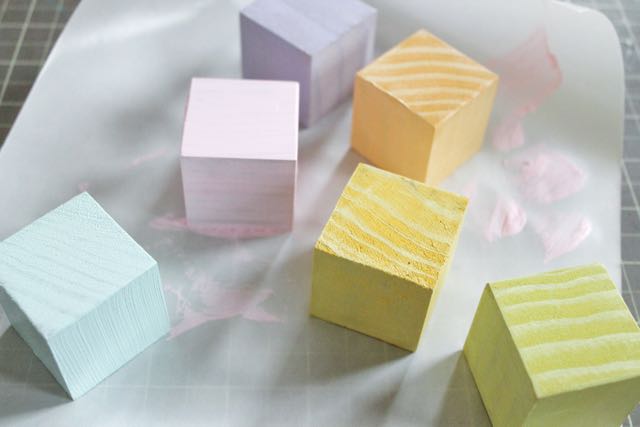
Step 2: Using your foam brush, paint your entire wooden block with your paint mixture.(You may need to do 2 or 3 coats.) Do this for each block. Depending on how creative you are, you could paint each side of each block a different color. I painted each block in a solid color. When you’re finished, set your blocks to the side to dry.
Step 3: Open your Silhouette Studio on your computer. Either upload your own star or download them from the Silhouette Design Store. Size your star to 1″ x 1″ and duplicate it 5 times. You should have 6 stars. Add your cut lines to your stars.
Step 4: Set your cut settings for cardstock. After adjusting your cut settings on your computer and on your machine, load cardstock and let it cut.
Step 5: Remove your stars. Run them through your Xyron Sticker Maker. Remove the protective paper to reveal the sticky side.
Step 6: Shake your Copper glitter over the sticky side of your stars. (Make sure you place paper or something to catch your glitter so you can reuse it. Plus that’ll cut down on the mess.)
Step 7: Run your stars through your Xyron Sticker Maker again. This time, make sure your glittered side is face up. This way the back of the glittered star will be sticky so you can place it on your blocks.
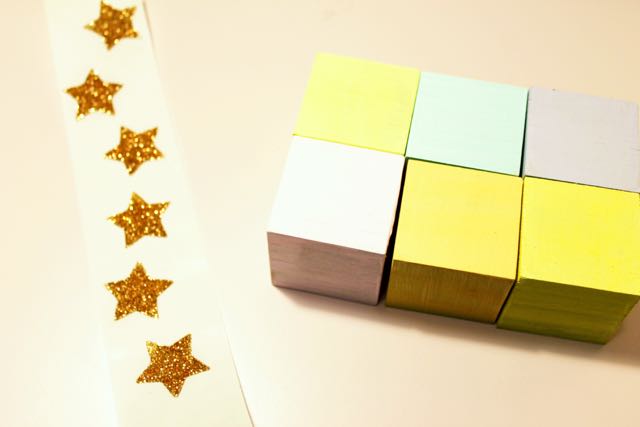 Step 8: Once your blocks are dry (It took less than 30 minutes for my blocks to dry completely) get ready to add your stars. Remove a single star sticker and center it on a block. Once you’re comfortable with the placement, stick it on the block. Repeat with the remaining 5 blocks. Then take the protective paper from your stickers and rub it across your stars. This will allow you to really stick your star on the block without damaging the glitter.
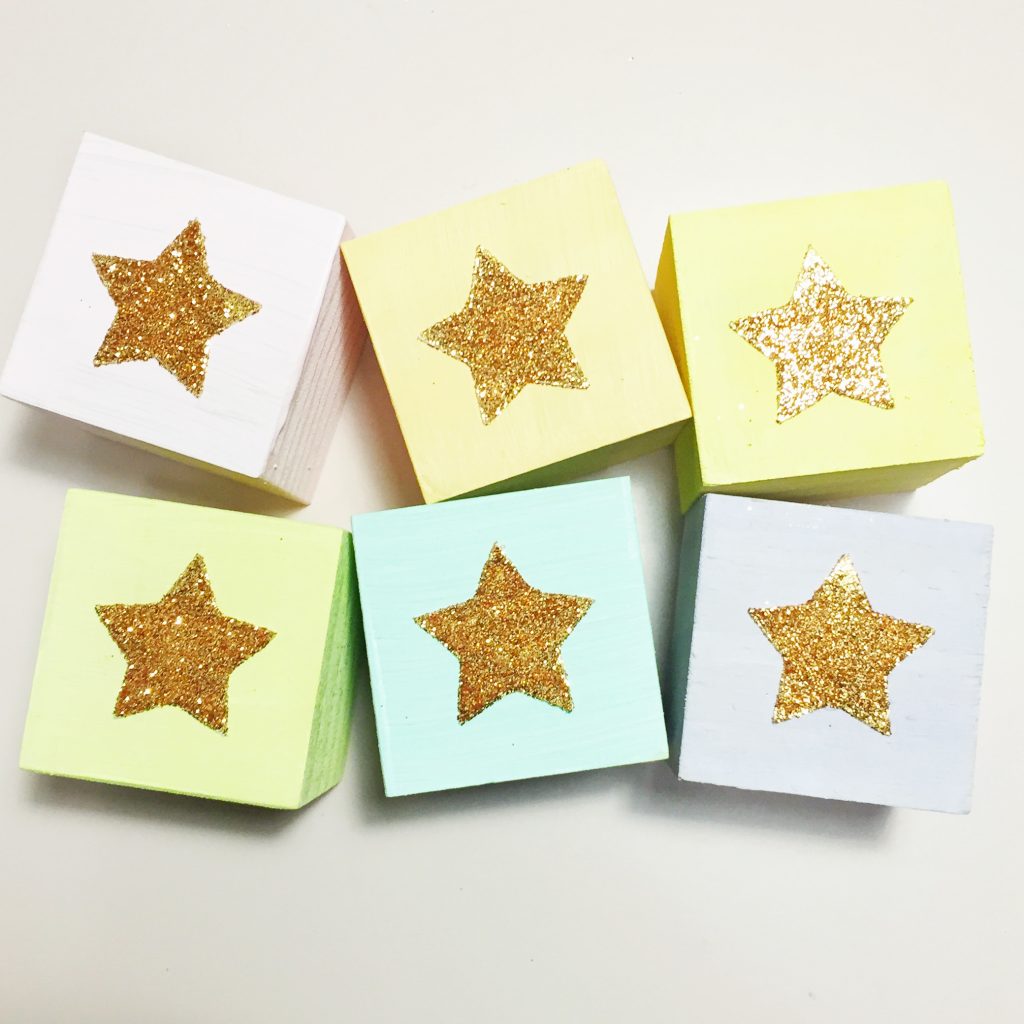
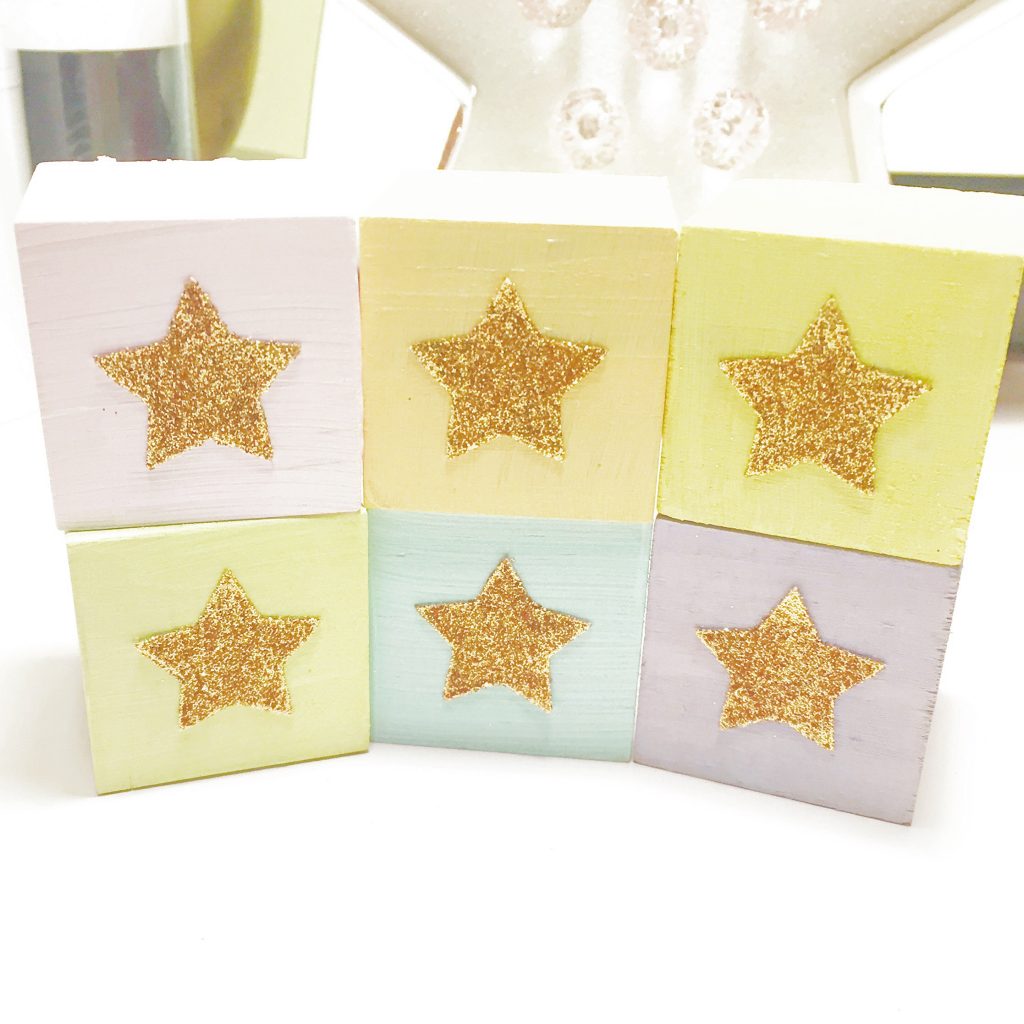
That’s it! You should have 6 adorable sweet starry rainbow baby blocks to add a little star power to your nursery mantle. I love how these turned out. I may do this again once both of my little ones are older and place their names on the blocks.
So how did your starry rainbow baby blocks turn out? Westley seemed quite pleased with how these turned out. Hopefully, Baby Girl Finch will feel the same way. Show me how your baby blocks turned out by posting to Facebook, Instagram or Twitter with #htgawcrafting. Can’t wait to see what you created.
