If you’re like me, you’re JUST getting your holiday cards out in the mail. Better late than never, right? Well, I hate spending money on expensive cards and I like making something unique for my friends and family. You can see the cards I made last year in this post. For this year, I’m going to do something a little simpler. (Last year took me forever to make those cards.) This year, I’m going to use some washi tape to make simple ornament themed holiday cards.
Let’s get going so you can have enough time to make these cute cards too!
Supplies for Simple Washi Tape Holiday Cards
- Holiday themed washi tape
- Cardstock
- Computer/Printer
- Ruler
- Scissors
- EK Tools 1 1/2 Inch Circle Punch
- Martha Stewart Crafts® Scoring Board
- Martha Stewart Heavy-Duty Guillotine Paper Trimmer 12″
- Xyron sticker maker or Tape runner
- Sharpie® Fine Gold Metallic Marker
- Crop-O-Dile Corner Chomper Tool
Steps
Step 1: Decide what holiday sentiment you want to print on the inside of your card. Design your card to whatever size you’d like to send. I designed mine to be 5″x4″ vertical cards. Then print your card on cardstock.
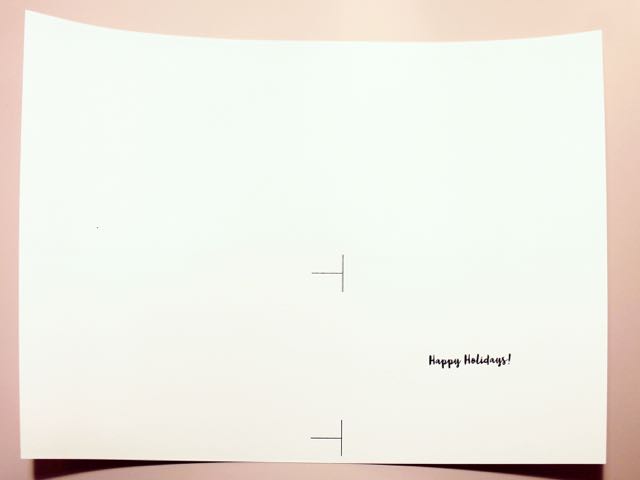
Step 2: Score and cut your card to your desired size. Feel free to round the corners with your Crop-A-Dile Corner Chomper. I used the 1/2 inch setting.
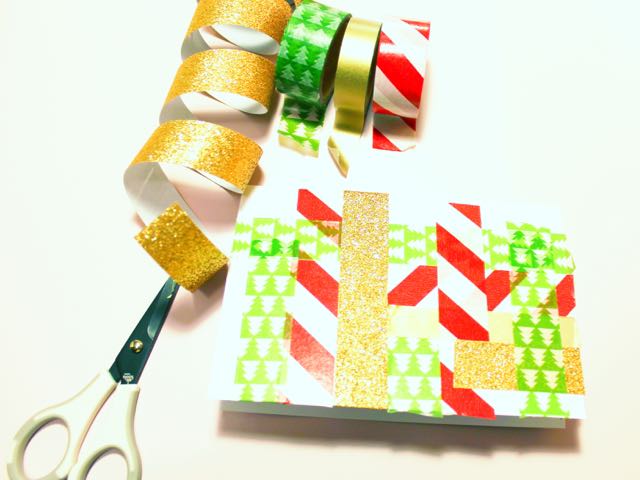
Step 3: On a different piece of scrap cardstock, layer different holiday themed Washi all over it. Place them in different directions, on top of each other, criss-cross, whatever feels right. Remember it won’t matter how crazy it looks once we punch our ornaments out. Here are the Washi tapes I used:
- Heidi Swapp Marquee Love Washi Tape in Red Stripe
- Heidi Swapp Marquee Love Washi Tape in Christmas Collection – Green Tree
- Heidi Swapp Marquee Love Washi Tape in Gold Glitter
- Scotch Expressions Wahsi Tape
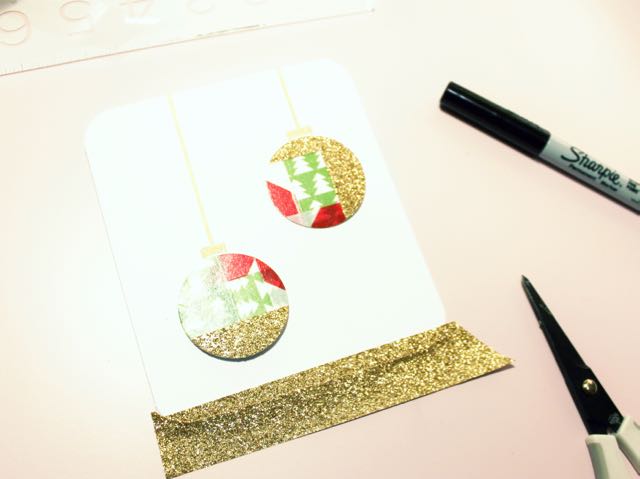
Step 4: Using a circle punch, punch out two circles for your ornaments. I used my 1.5 circle punch. I thought this size looked good on the 5″x4″ card.
Step 5: Adhere your ornaments to the front of your card with your sticker maker or tape runner.
Step 6: Using a gold Sharpie or pen, draw the tops of each ornament. Then using a ruler (unless you’re a rock star at drawing straight lines) draw a straight line from the top of your card to the middle of your ornament.
Now I thought this would be it, but my card looked a little empty to me. So I decided it needed more glitz! You can stop here if you like, but for more pizzaz, complete the next steps.
Step 7: Using a piece of the gold glitter washi tape, line the bottom of your card. You want to have a little over an 1/8 of an inch on the card, with the remaining tape hanging off.
Step 8: Cut off the extra hanging washi tape.
Step 9: Sign your card with a sweet message on the inside.
Step 10: Send your card to someone you love!
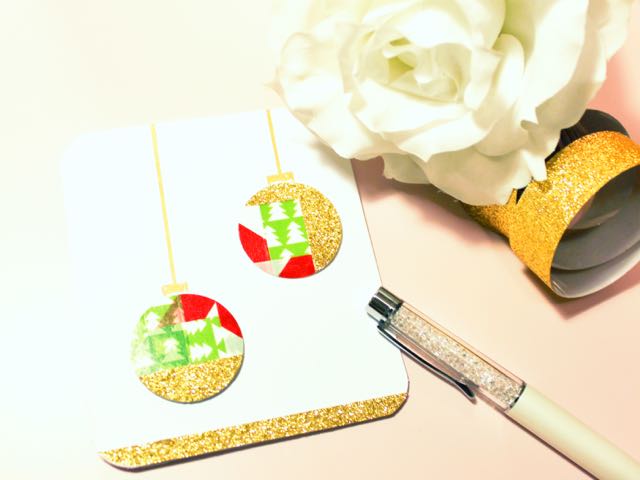
That’s it. Pretty simple I think. You can definitely do 10+ of these in an hour. And each one will be unique. Oh and this can be fun to do with your little ones. Let them go nuts with the washi tape layering part of this tutorial. Who knows what designs they’ll come up with for your cards.
Let me know how your cards ended up. Post your pics on Instagram with the hashtag #htgawcrafting! Can’t wait to see them!